
Moving Beyond VPNs: Application Level Ac…
Having difficulty managing how remote teams, vendors, or contractors…
 August 22, 2025
Businesses often set up their own VPN as they serve as a crucial network security tool for protecting network resources and business applications. Also, individual users who need more control over their data, or want to remotely use their home network could create their own VPN server. However, setting up a dedicated VPN server is often considered a difficult task requiring significant technical know-how, as is the case with many open-source solutions out there.
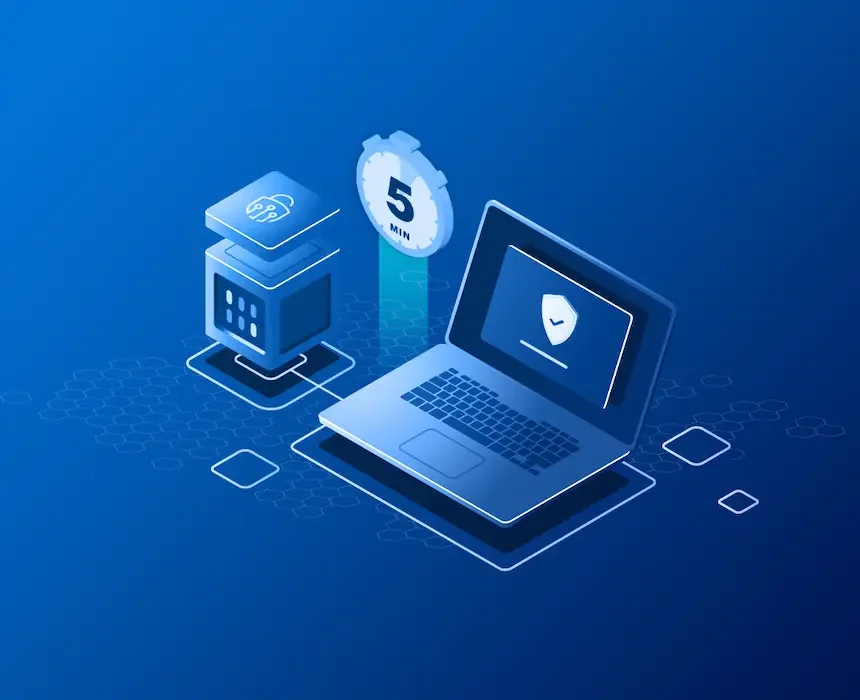
But now, you can set up your VPN server in less than 5 minutes with UTunnel VPN’s cloud VPN as a Service and we’ll explain how.
There are several scenarios where setting up your own VPN server will be advantageous:
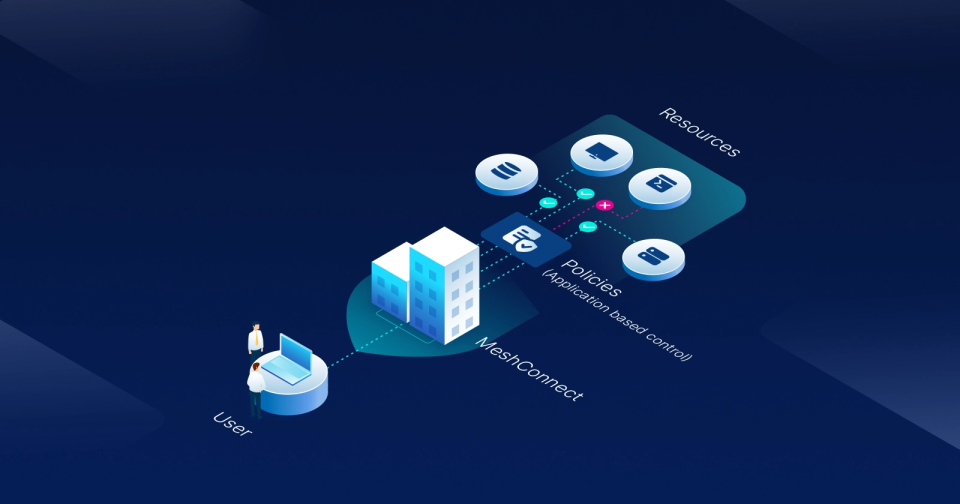
Secure and Easy Remote Access for Businesses: A dedicated VPN server lets you securely access private resources like ERP, HRMS systems, or other business applications. Using a VPN to restrict external access adds an additional layer of security to your resources. Using a VPNaaS from UTunnel to make your VPN server provides additional security with 2-factor authentication and ease of access with easy SSO(Single Sign-On) integrations with identity providers(Okta, OneLogin, etc.).
Better Privacy for Personal Users: Setting up your own VPN server for personal use will provide you with more privacy compared to publicly shared VPN servers. Also, a dedicated Personal VPN server will give you a clean static IP address as opposed to public VPN IPs which are regularly blacklisted by websites. No more sharing servers and IPs with strangers, you get total control of your server and add friends and family to your network at will.
Using UTunnel’s Integrated Cloud VPN option, you can host your own VPN server at your preferred cloud location in just a few clicks. UTunnel is integrated with cloud service providers such as DigitalOcean, Linode, Vultr, UpCloud, etc. making server deployment a breeze. You won’t have to run a single command and it takes just a few minutes for the VPN server deployment to finish. Steps to set up your own VPN server using this option:
This option(Bring Your Own Server/On-Premise) lets you use a Virtual Private Server(VPS) on your own cloud account in AWS, DigitalOcean, Oracle Cloud, Azure, etc., or a physical server at your own office to set up your VPN server. This option is also quick and simple. You just need to run 4 commands on the server and the rest you can easily manage from the UTunnel web dashboard. With your own VPS/physical server, you get better control over your VPN using this option.
Just follow to steps below to deploy your On-Premise VPN server using the BYOS option:
sudo mkdir /utunnel && cd /utunnel
sudo wget https://files.utunnel.io/production/deploy/install_bundle_20.tar
sudo tar -xf install_bundle_20.tar
sudo /utunnel/bin/utnservice register YOUR_REG_TOKEN
You need to replace YOUR_REG_TOKEN with the registration token you received in your previous step.
Now, start the UTunnel service on the server using the following command:
sudo /utunnel/bin/utnservice start
UTunnel VPN offers a managed VPN service that eliminates the complexity and time required for setting up and maintaining a VPN server. Our VPN as a Service makes managing VPN users, which is a major aspect of managing your VPN, as simple as possible. Everything from VPN server configuration, user roles, user/user group policies, and devices can all be controlled and managed easily from the UTunnel web dashboard.
Our VPN solution enables small and medium business owners to easily manage their company network and applications cost-effectively. You may also connect your company network and branch offices with UTunnel's simple site-to-site tunneling capability, enabling easy resource sharing and communication between these networks. Also, Single Sign-On integrations with Identity Providers such as Google Workspace, Okta, OneLogin, etc. make employee management simple. Overall, UTunnel provides a complete, efficient package when it comes to VPN management.
Now that you know how simple it is to set up and manage a VPN using UTunnel, sign up today with UTunnel’s Cloud VPN Service and experience the simplicity yourself.
If you choose UTunnel’s On-Premise or BYOS(Bring Your Own Server) option, you can choose from any of the following FREE options to create your VPN server. You will only need to pay UTunnel VPN for the number of user licenses (starting from $5/user/month) you use.
Oracle Cloud has an always-free option that lets you run 2 cloud VPS for free for an indefinite amount of time. Amazon Web Services (AWS) provides a free tier that allows you to use services for free, but it is limited to usage for up to 12 months. Google Cloud Platform (GCP) also provides some free credits for new users that are valid for 90 days. Other cloud providers like DigitalOcean, Vultr, Linode, Kamatera, etc. offer free trials with trial periods ranging from 30-60 days.
If you are opting to set up a VPN server using UTunnel’s integrated deployment option, you can choose your cloud service provider and server location easily from a drop-down menu on the UTunnel web dashboard. If you choose to bring your own cloud server (BYOS), it can be with any cloud provider and you can choose your preferred location from the cloud provider account. The choice of location is completely based on your requirements, but choosing a server location nearest to your physical location will provide you with better network performance.
Having difficulty managing how remote teams, vendors, or contractors…
August 22, 2025

Wondering if UTunnel is GDPR compliant or how it fits into your comp…
July 23, 2025
Are standard firewalls and other conventional methods not working ou…
July 14, 2025