Updated on 30 Jan, 2024
Access policies on the MeshConnect network act as a set of regulations based on which users are granted access to resources on the MeshConnect network. To add a user to the MeshConnect network, it's essential to assign them to an access policy. Therefore, users can only be added to the network once at least one access policy has been defined. Additionally, it's important to note that a user can be associated with just one access policy.
This guide explains setting up an access policy on a MeshConnect network from the UTunnel dashboard.
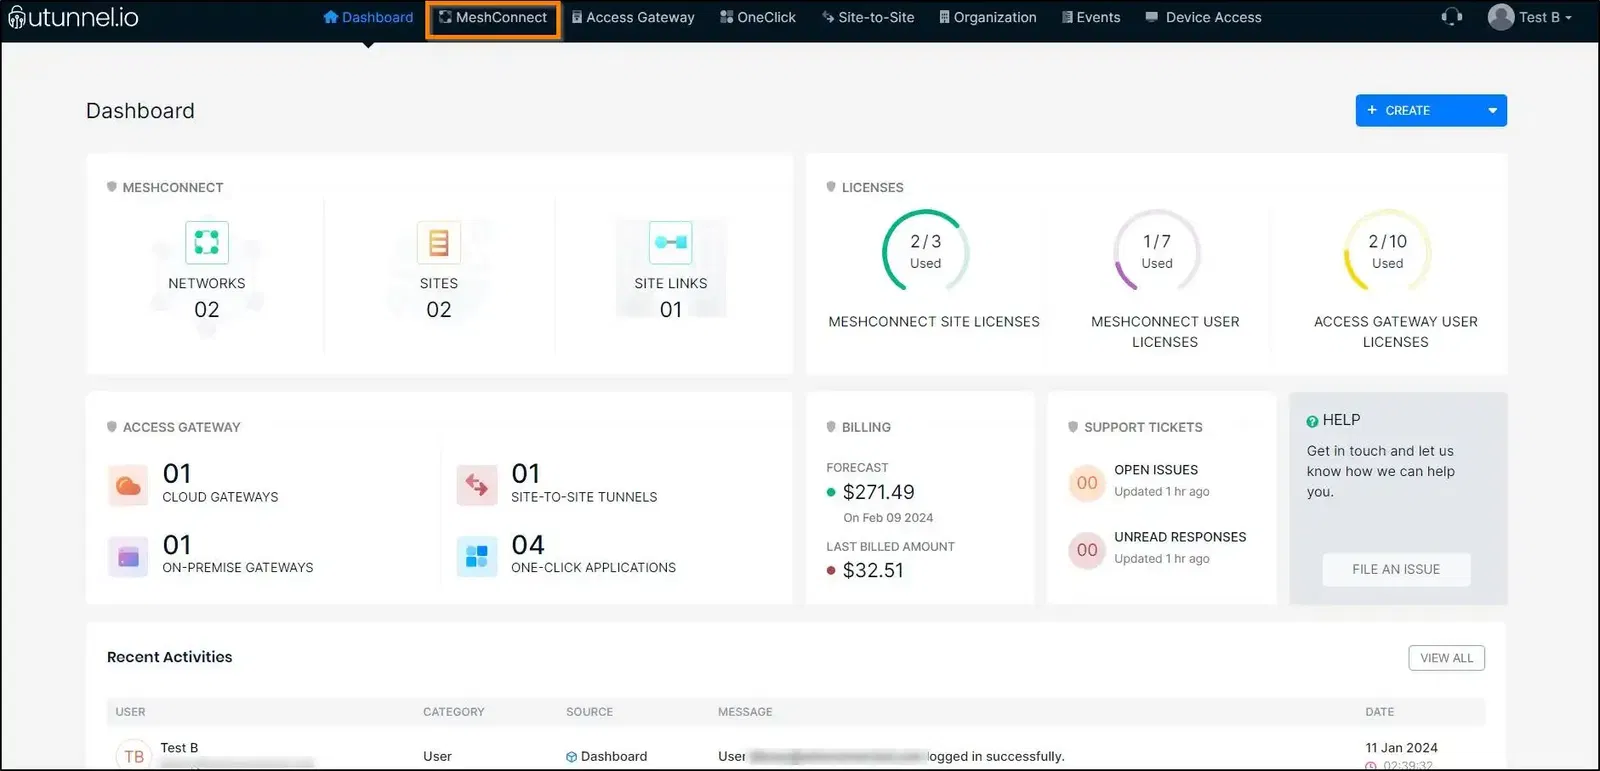
1.1 Log in to your UTunnel organization account and navigate to the MeshConnect tab.
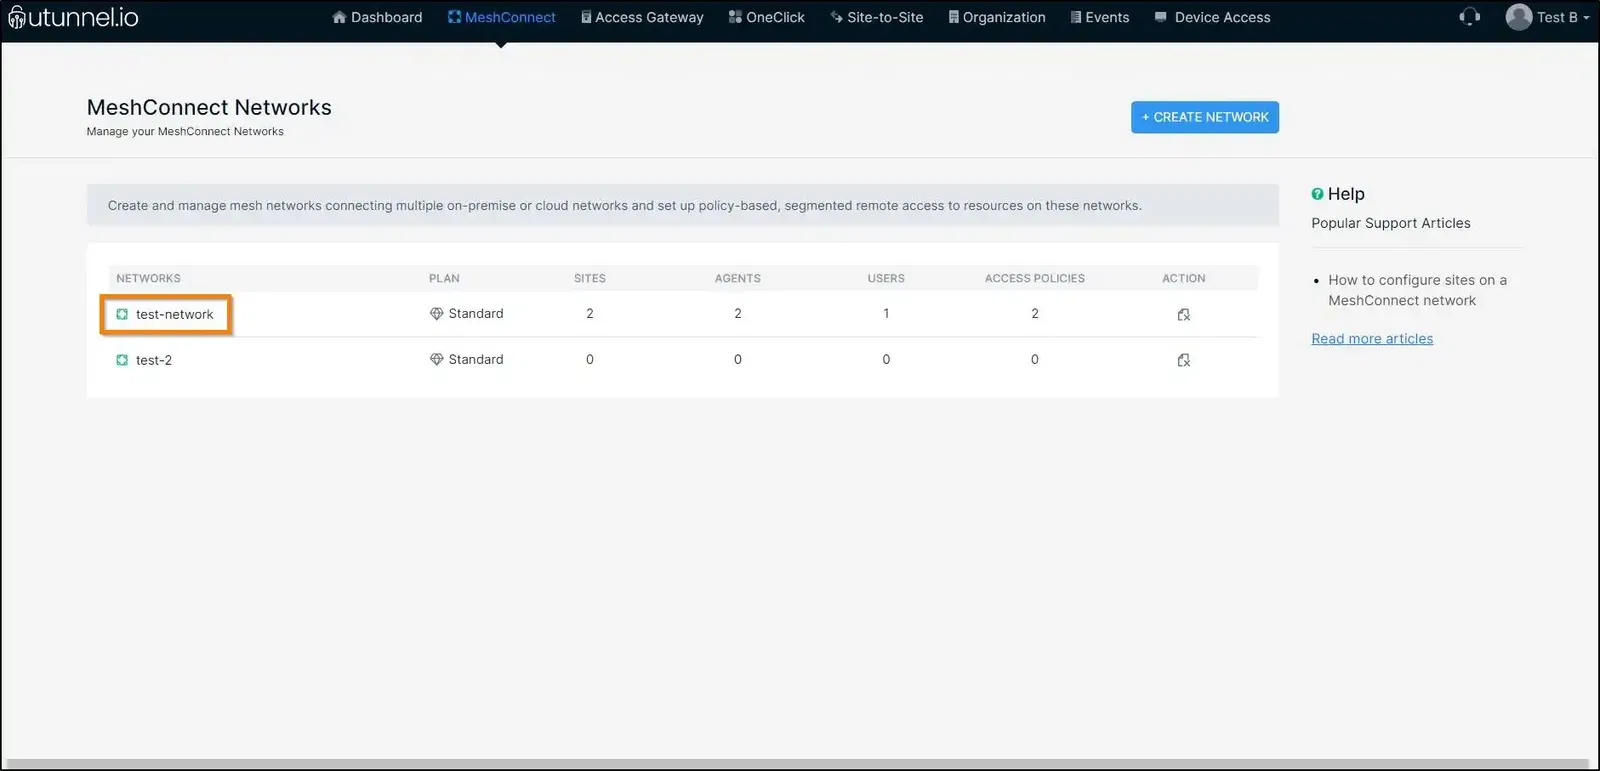
1.2 Click on the network on which you want to define access policies.
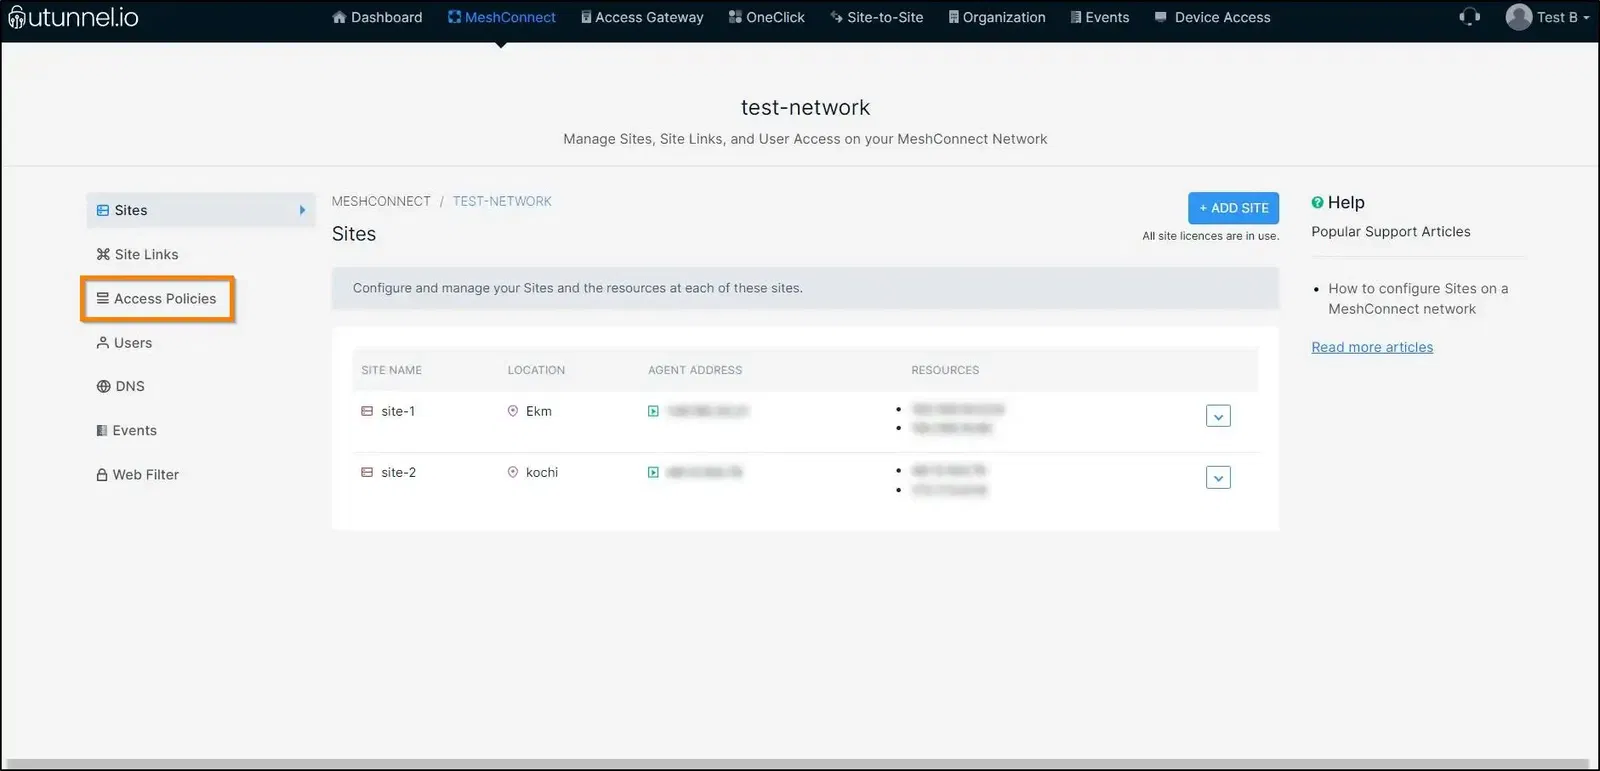
1.3 Navigate to the Access Policies section in the left-side menu.
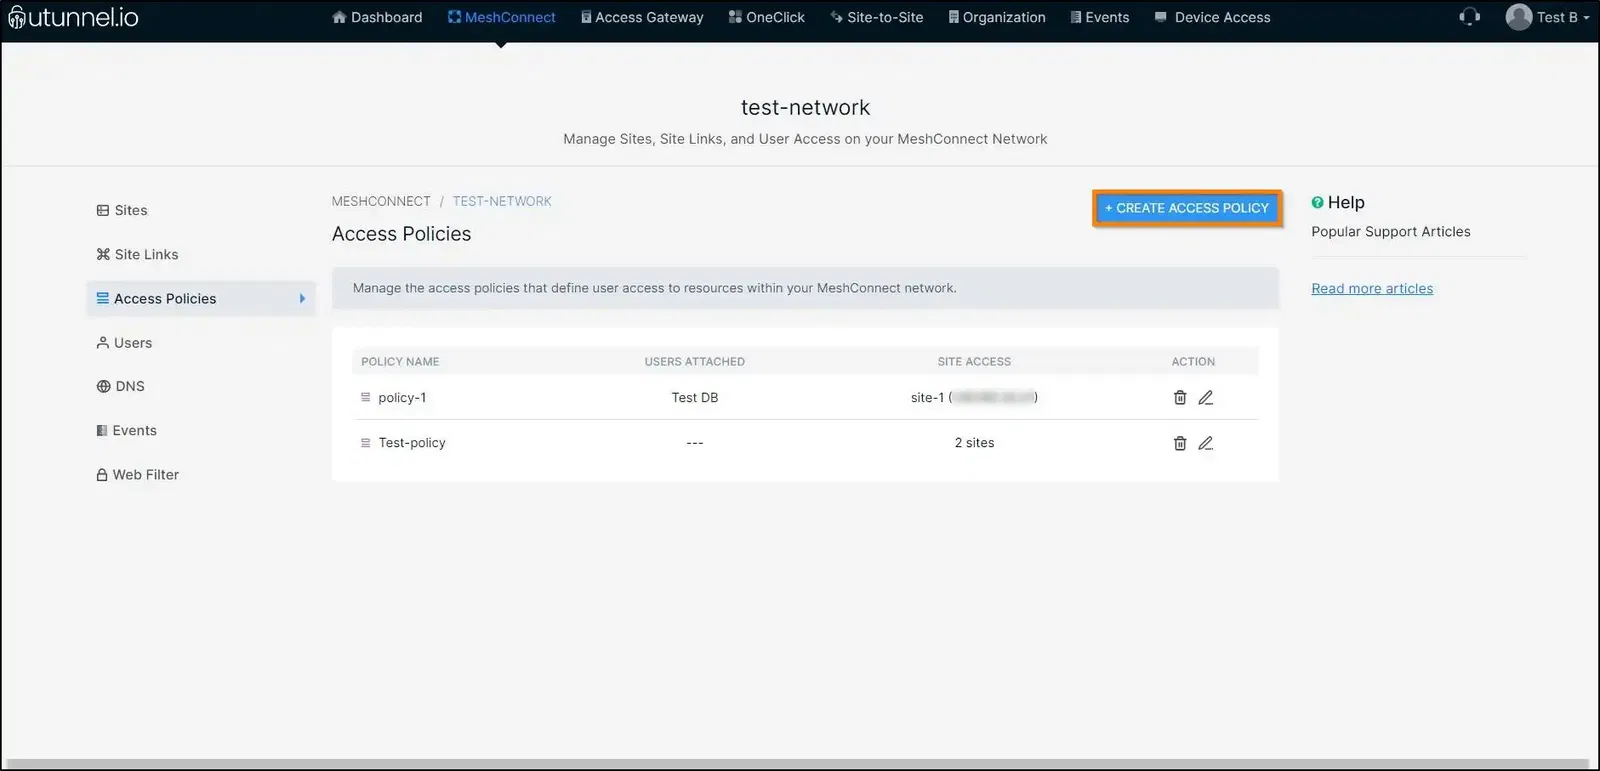
1.4 Click on the CREATE ACCESS POLICY button to set up access policies for your MeshConnect network.
1.5 Proceed to provide an easily identifiable name for your access policy. You can then navigate to the ADD RESOURCES button in the Site Access section to select the resources that users will be able to access upon connecting to the MeshConnect network with this applied policy. 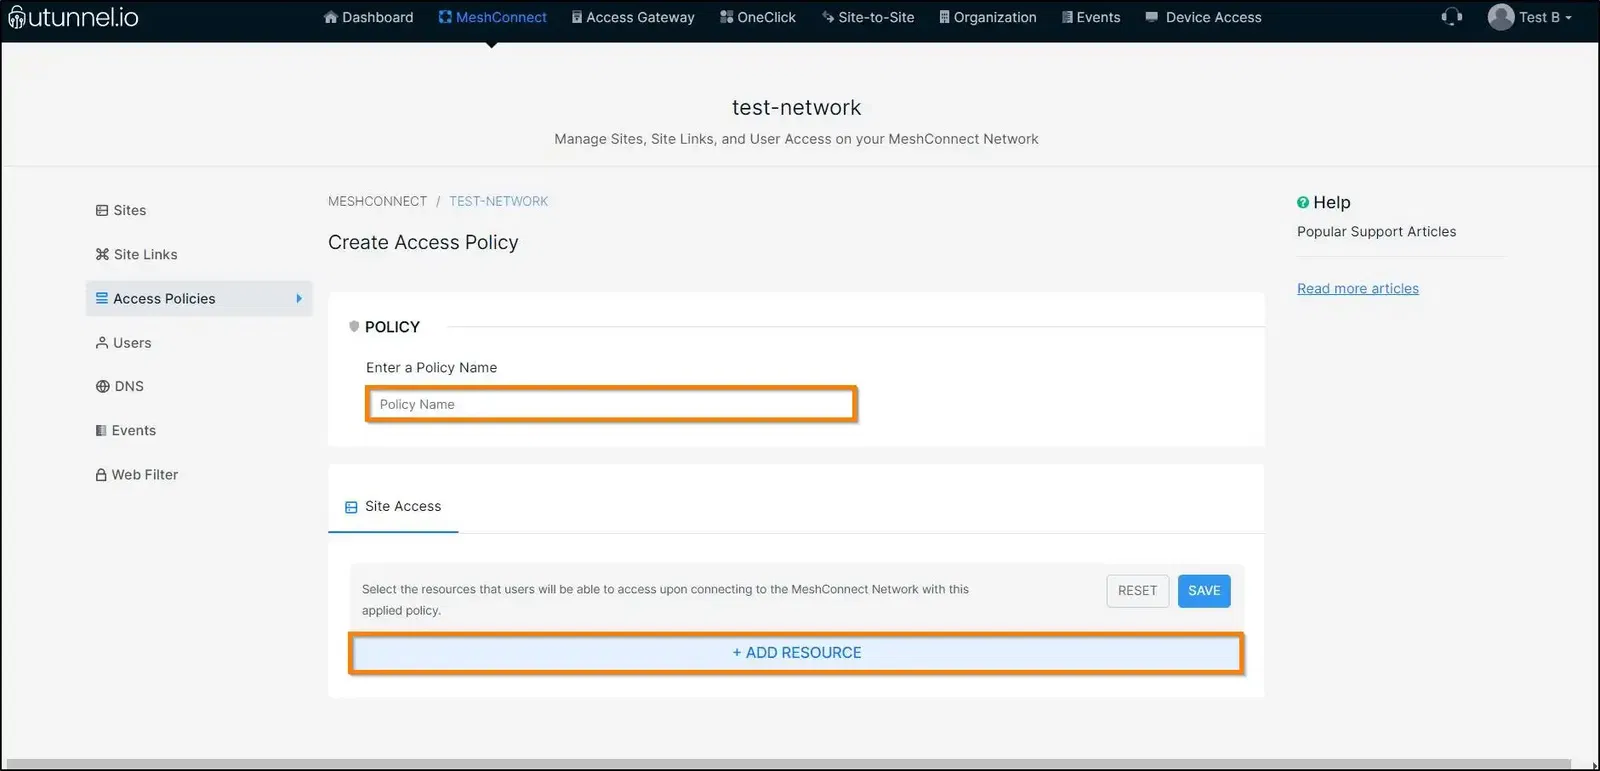
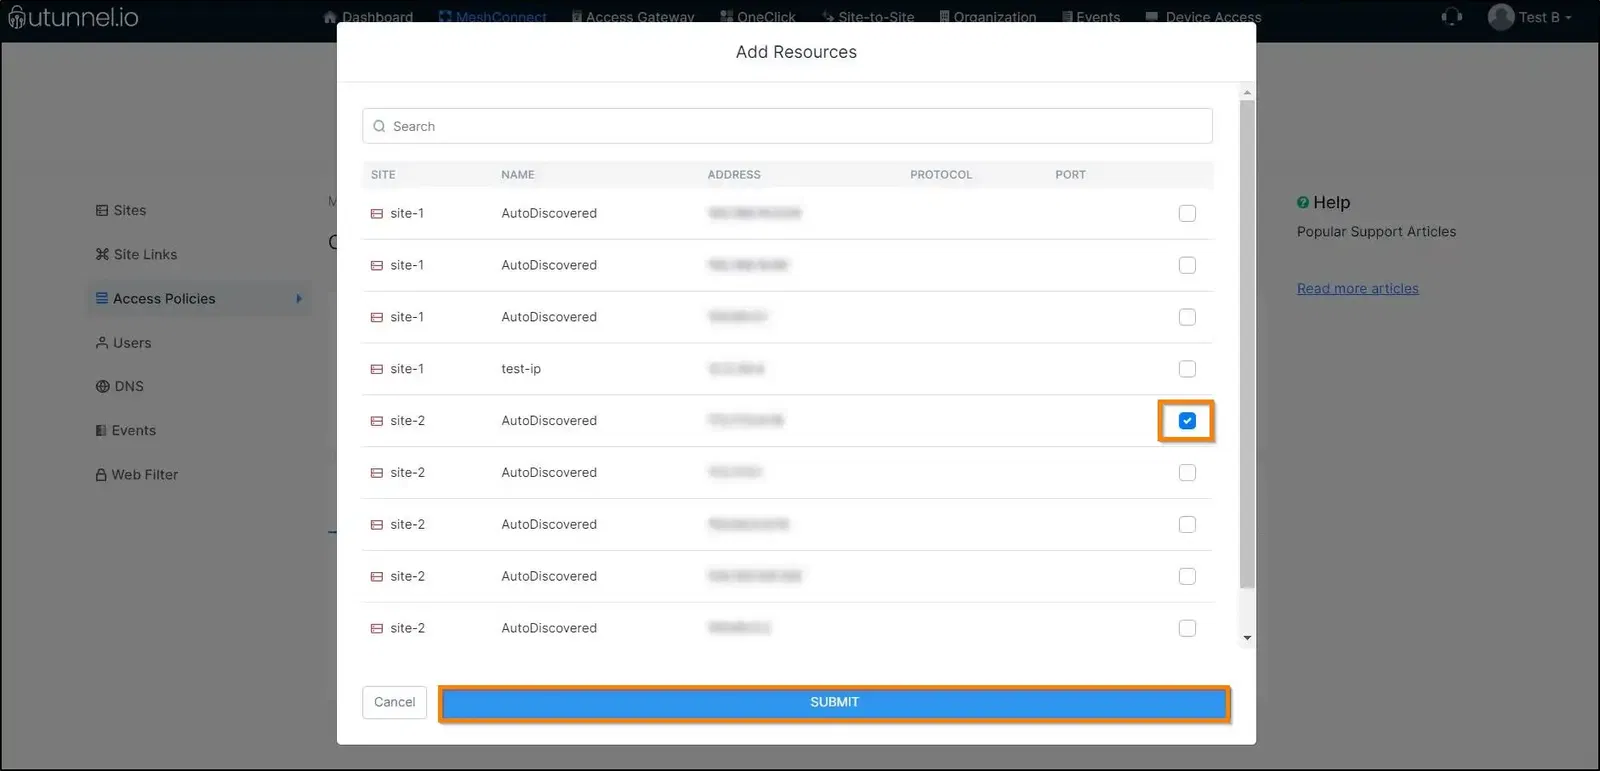
1.6 From the Add Resources pop-up window, you can select the resources you want to attach to this access policy by selecting the check box placed next to the corresponding resources. Click on the SUBMIT button to add your selected resources to the access policy.
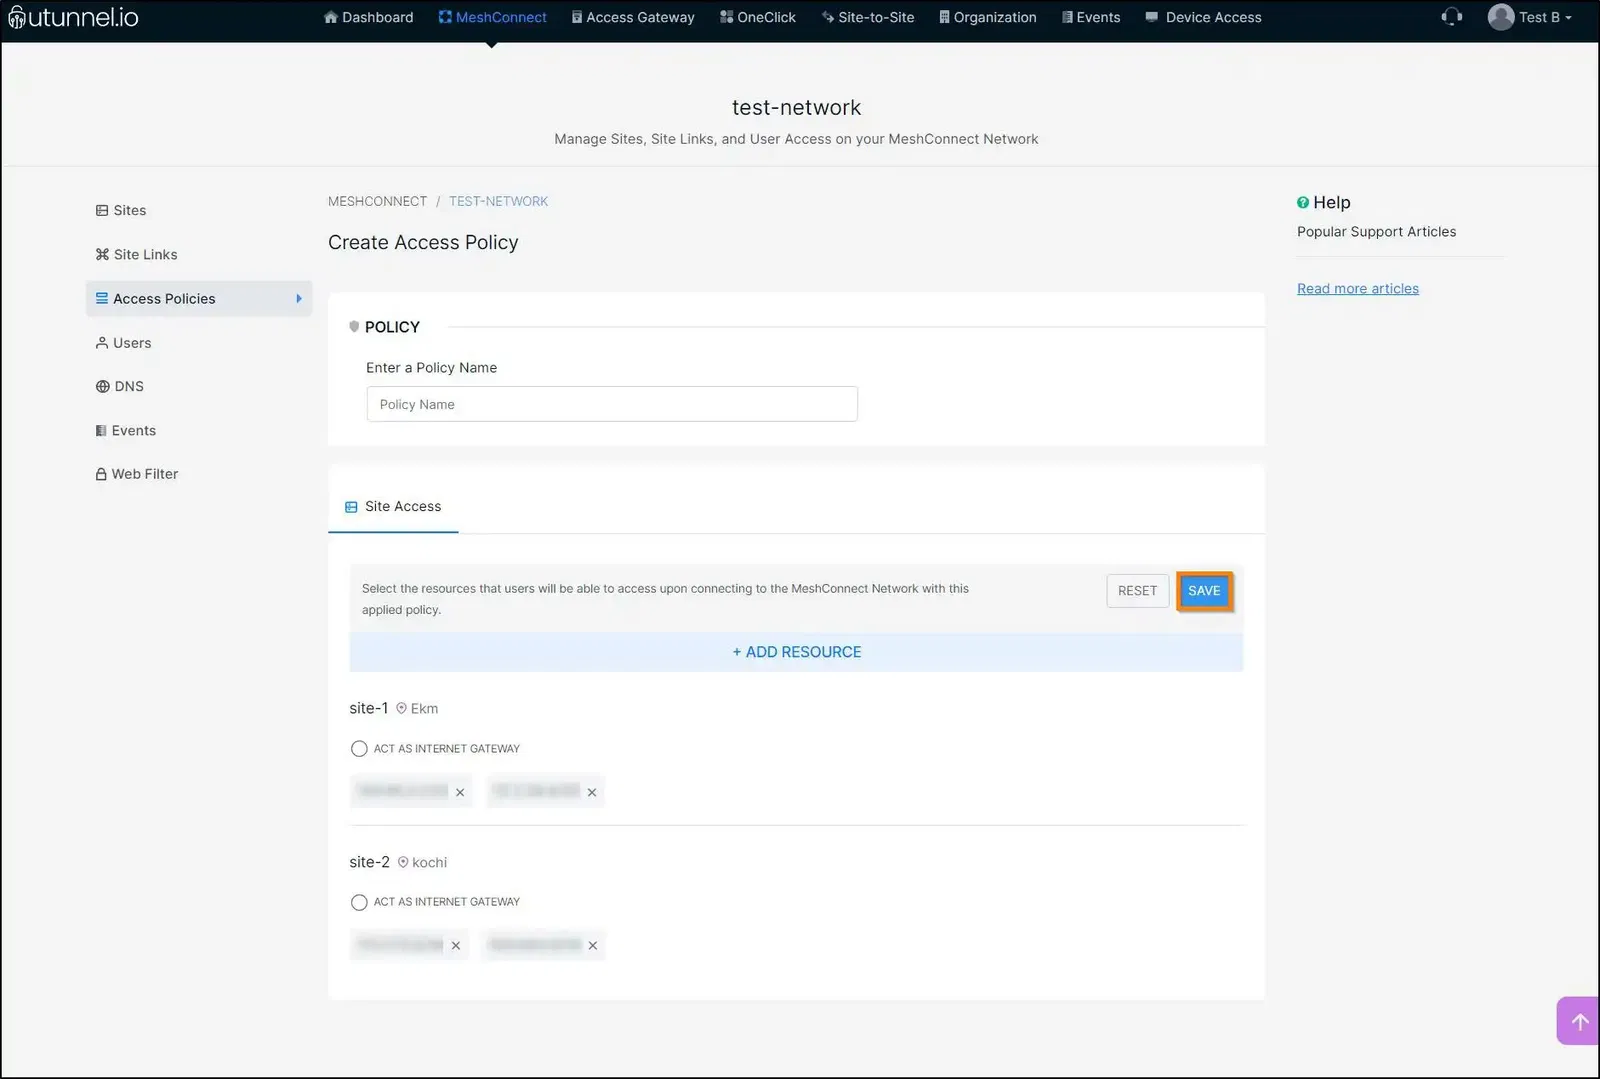
1.7 You also have the option to designate a Site as an internet gateway by selecting the "Act as Internet Gateway" checkbox. When you designate a Site as an internet gateway, it assumes the role of connecting users within the MeshConnect network to the internet. Consequently, users connected to this MeshConnect Network will access the internet using the IP address of this designated Site. Please keep in mind that within the MeshConnect network, you can designate only one Site as the internet gateway. If you do choose to assign a Site as an internet gateway, all of its associated resources will be automatically selected and attached to the policy.
Click on the SAVE CHANGES button once you finish configuring your access policy.
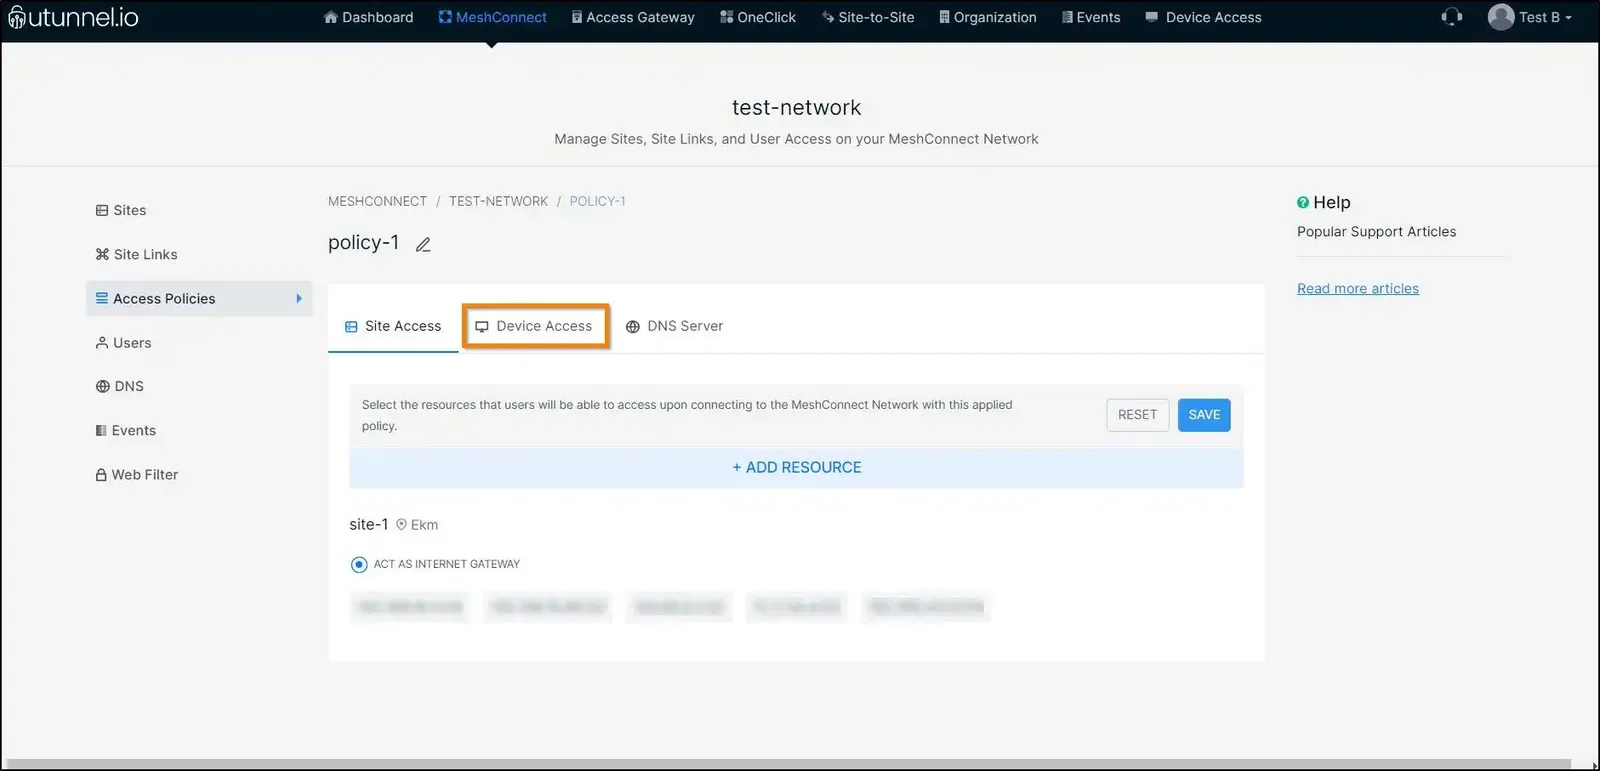
1.8 Navigate to the Device Access tab to configure your access policy settings.
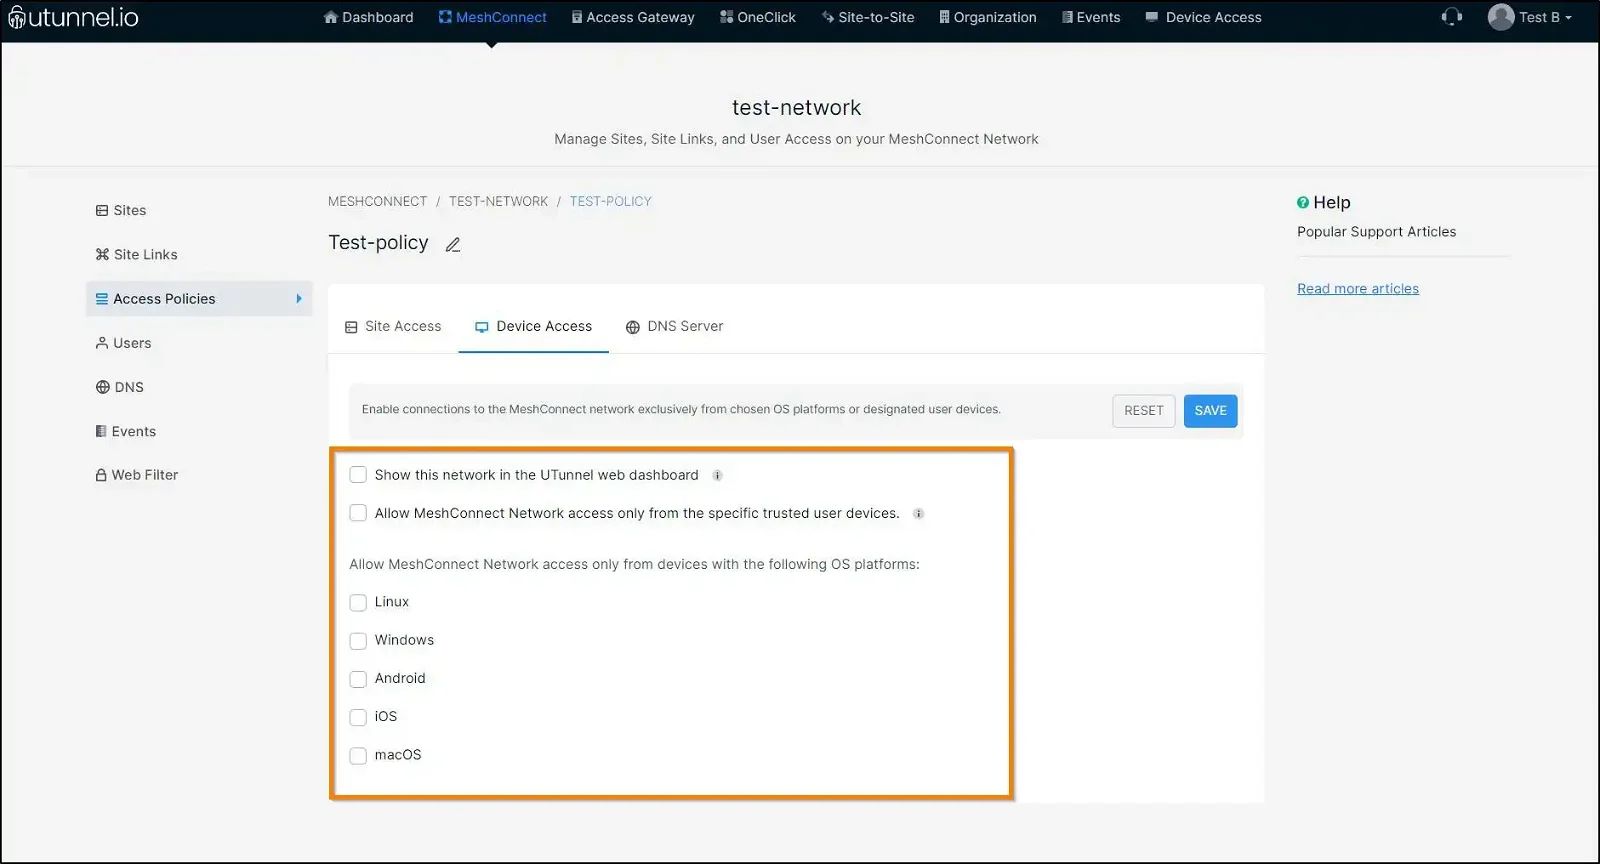
1.9 You can proceed to configure MeshConnect access policy settings by selecting the checkboxes beside the controls that you want to include in your access policy.
The controls let you (an admin/owner):
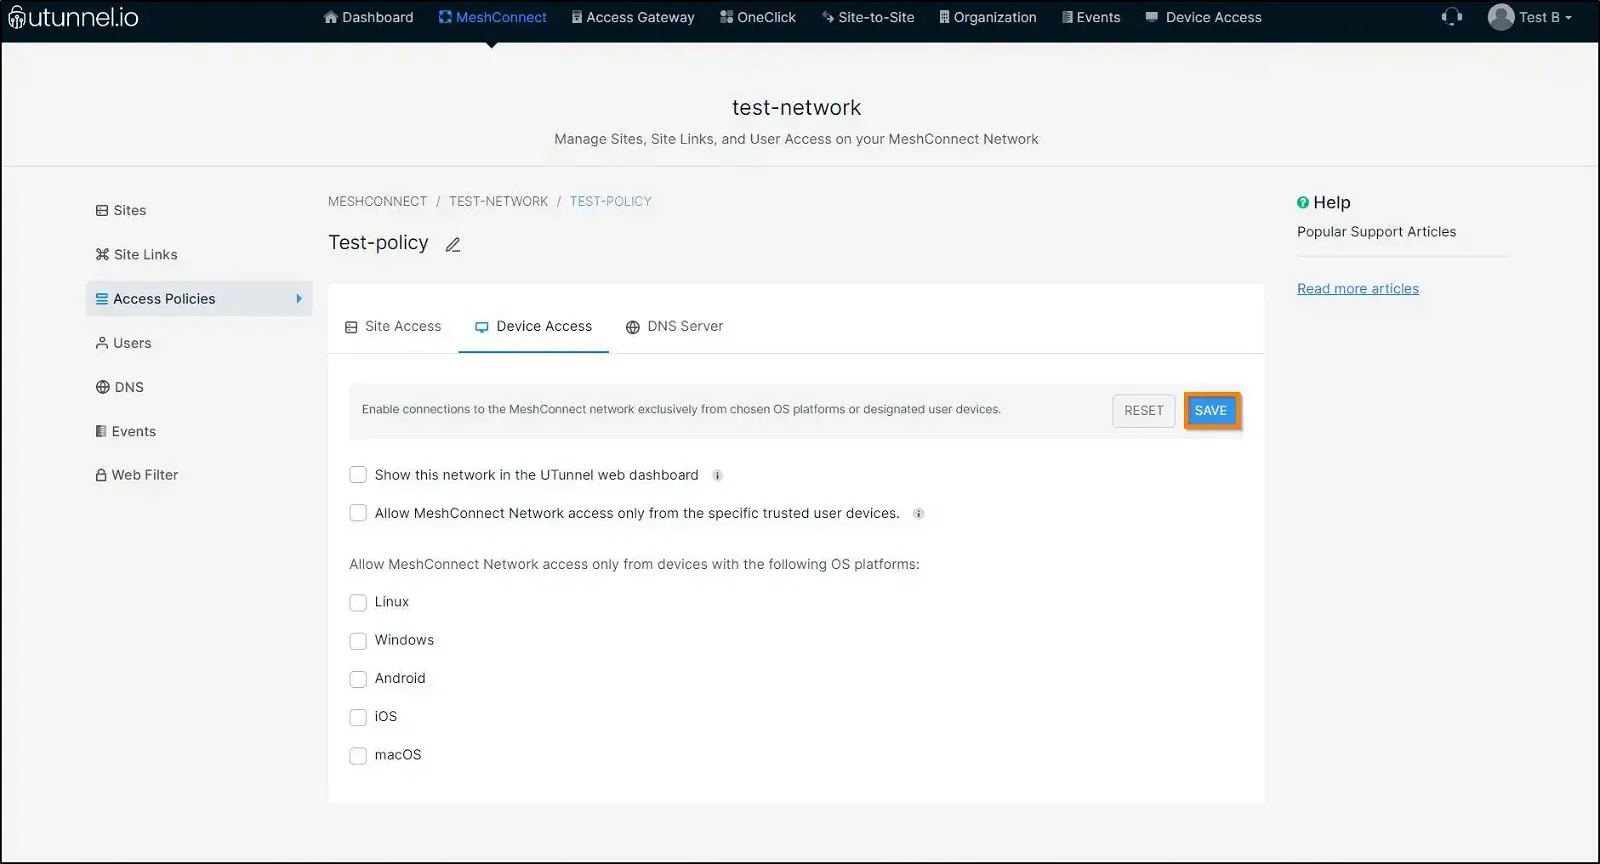
1.10 After customising the access policy with the necessary controls, click on the SAVE button to finish setting up the access policy.
Now that you have created an access policy, you can proceed to add users to the MeshConnect network by attaching them to the policy.
2.1 After creating an access policy, you can easily edit the policy settings using the edit icon beside the policy name.
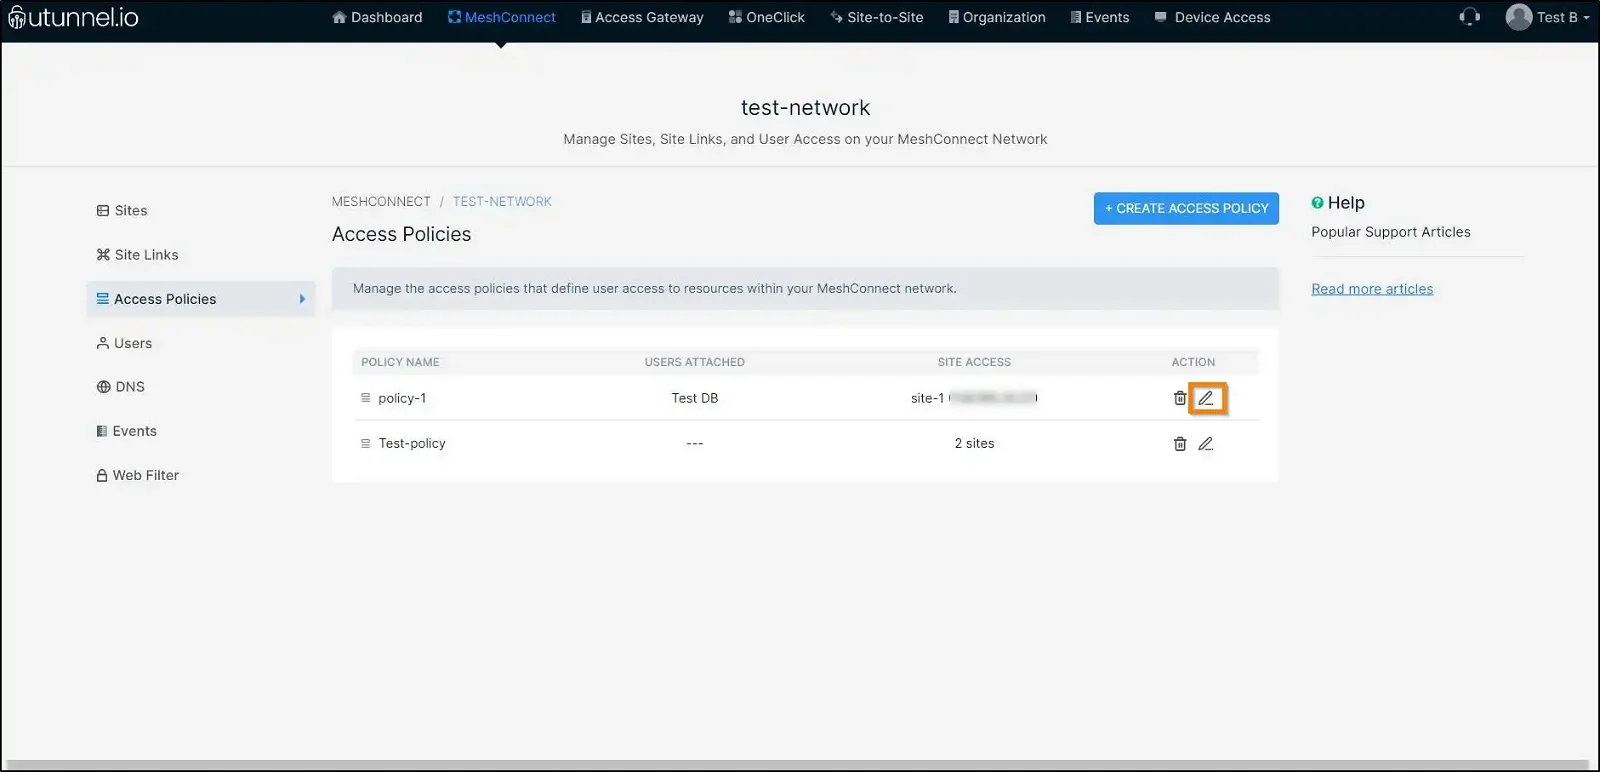
3.1 To delete an access policy, you can do the same by clicking on the delete icon beside the policy name.
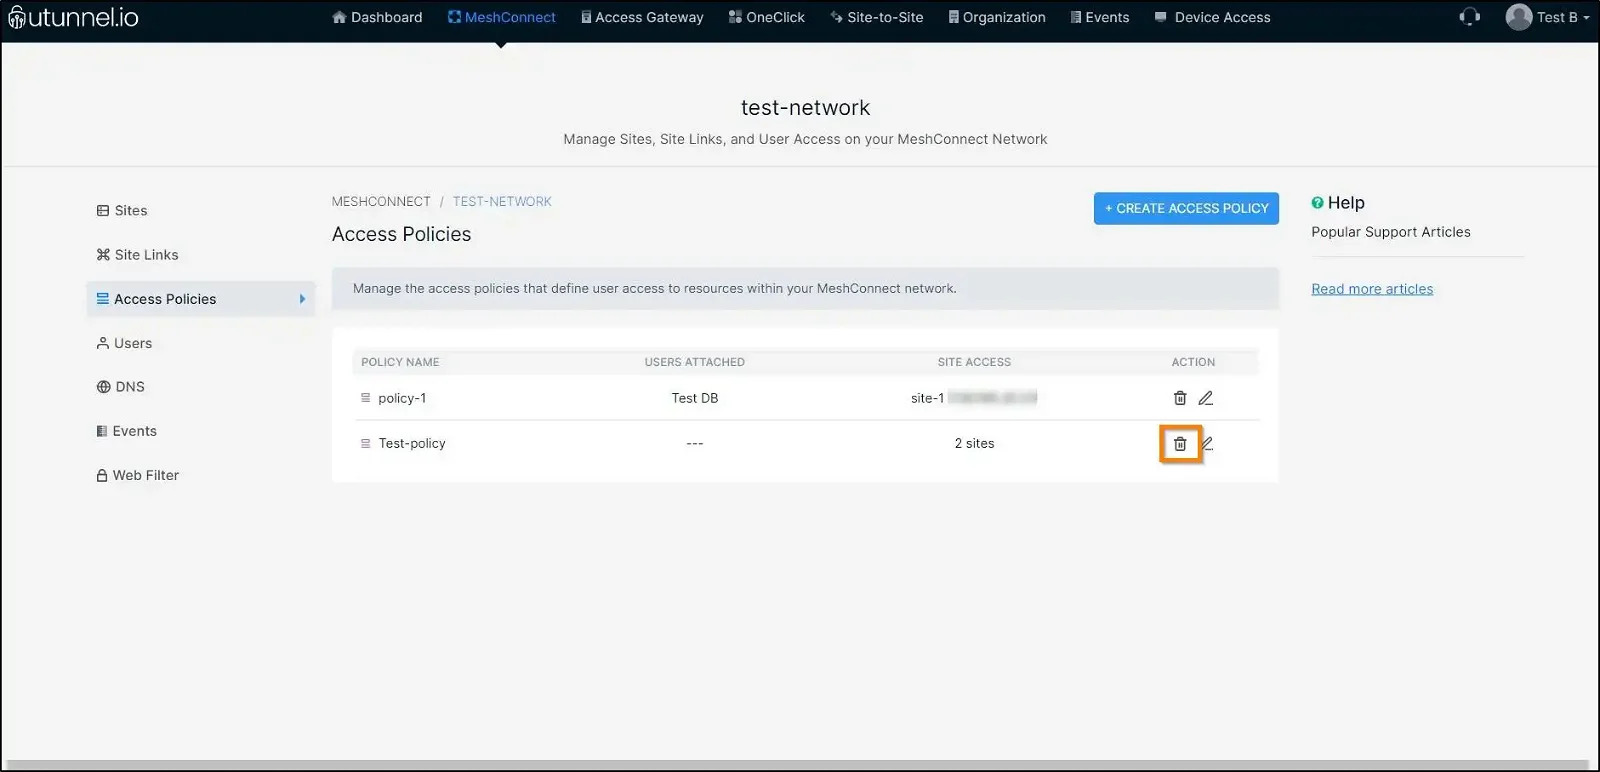
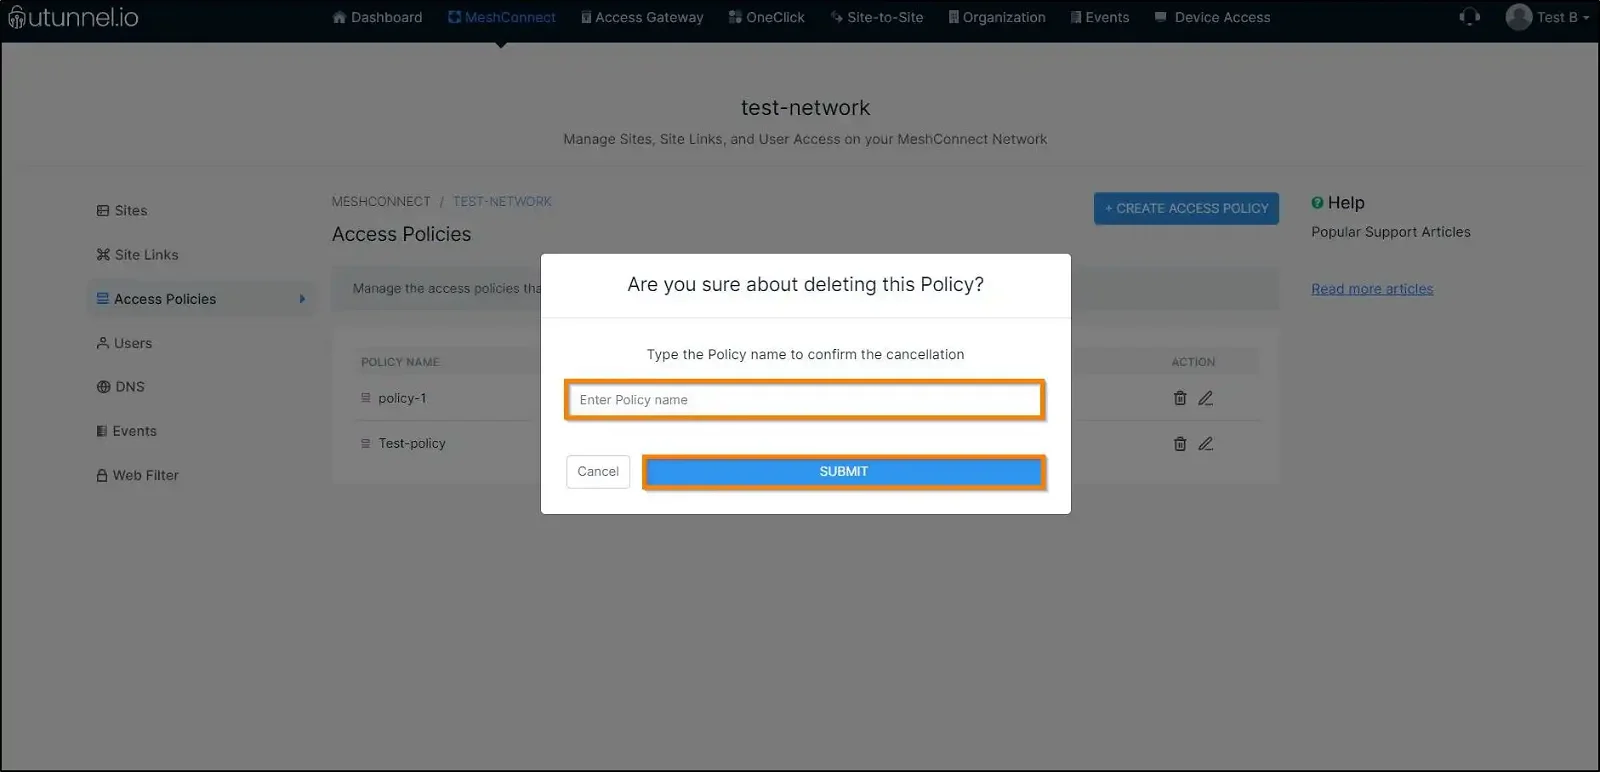
3.2 A pop-up will appear asking for your confirmation on deleting the access policy. Key in your access policy name and click on the SUBMIT button. That will delete your access policy.
