OneClick access policies are a set of regulations based on which a user or a group of users are granted access to a particular OneClick application. These access policies allow organization admins/owners to limit application access based on the user’s operating system, access time, and physical location.
This guide explains how to set up an access policy on a OneClick application in your UTunnel account.
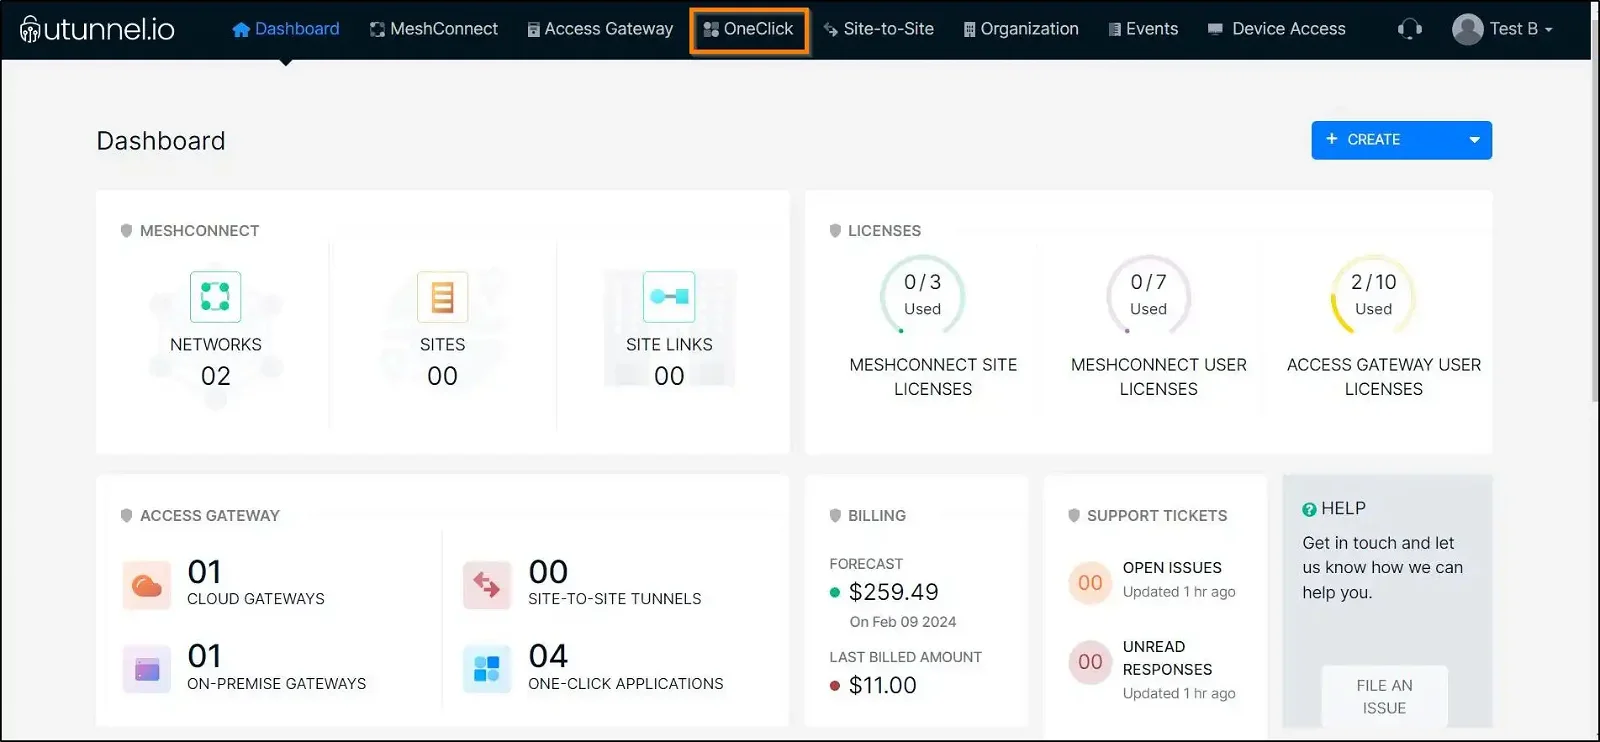
1. Log in to your UTunnel Organization account and navigate to the OneClick tab.
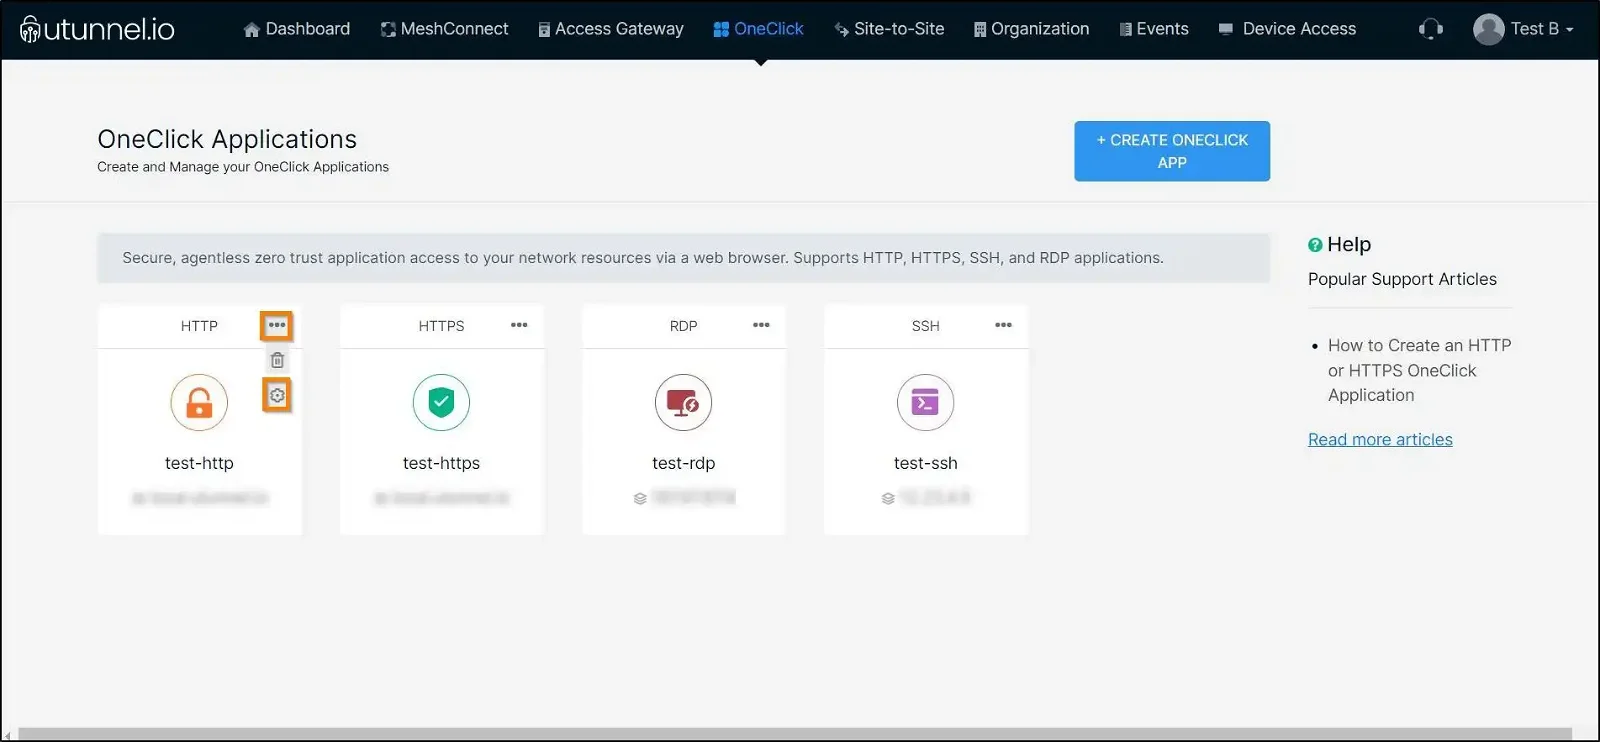
2. Hover your mouse pointer over the application on which you want to set up access policies and click on the gear icon in the bottom right corner.
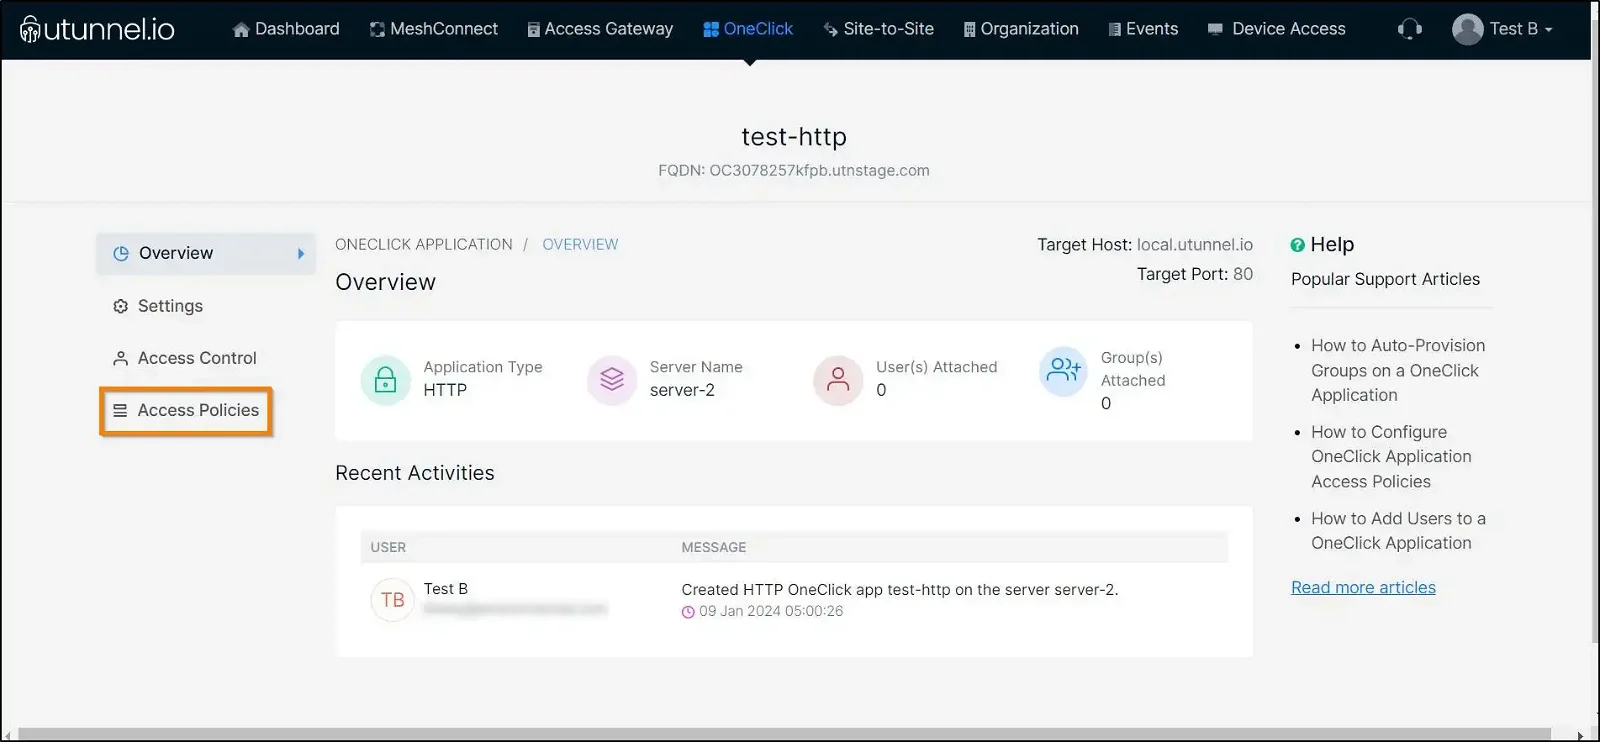
3. Navigate to the Access Policies section.
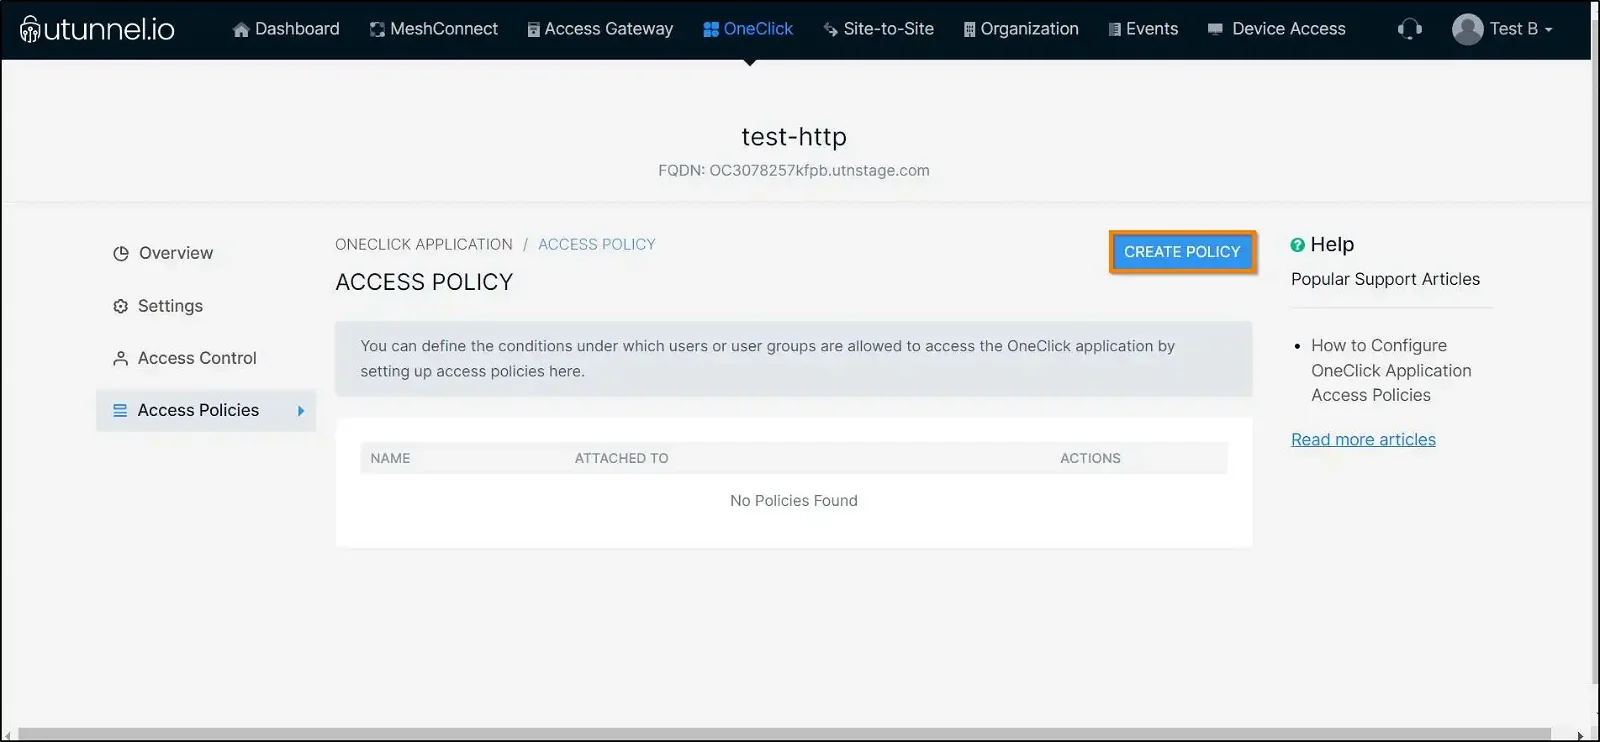
4. Click on the CREATE POLICY button to set up access policies for your OneClick application.
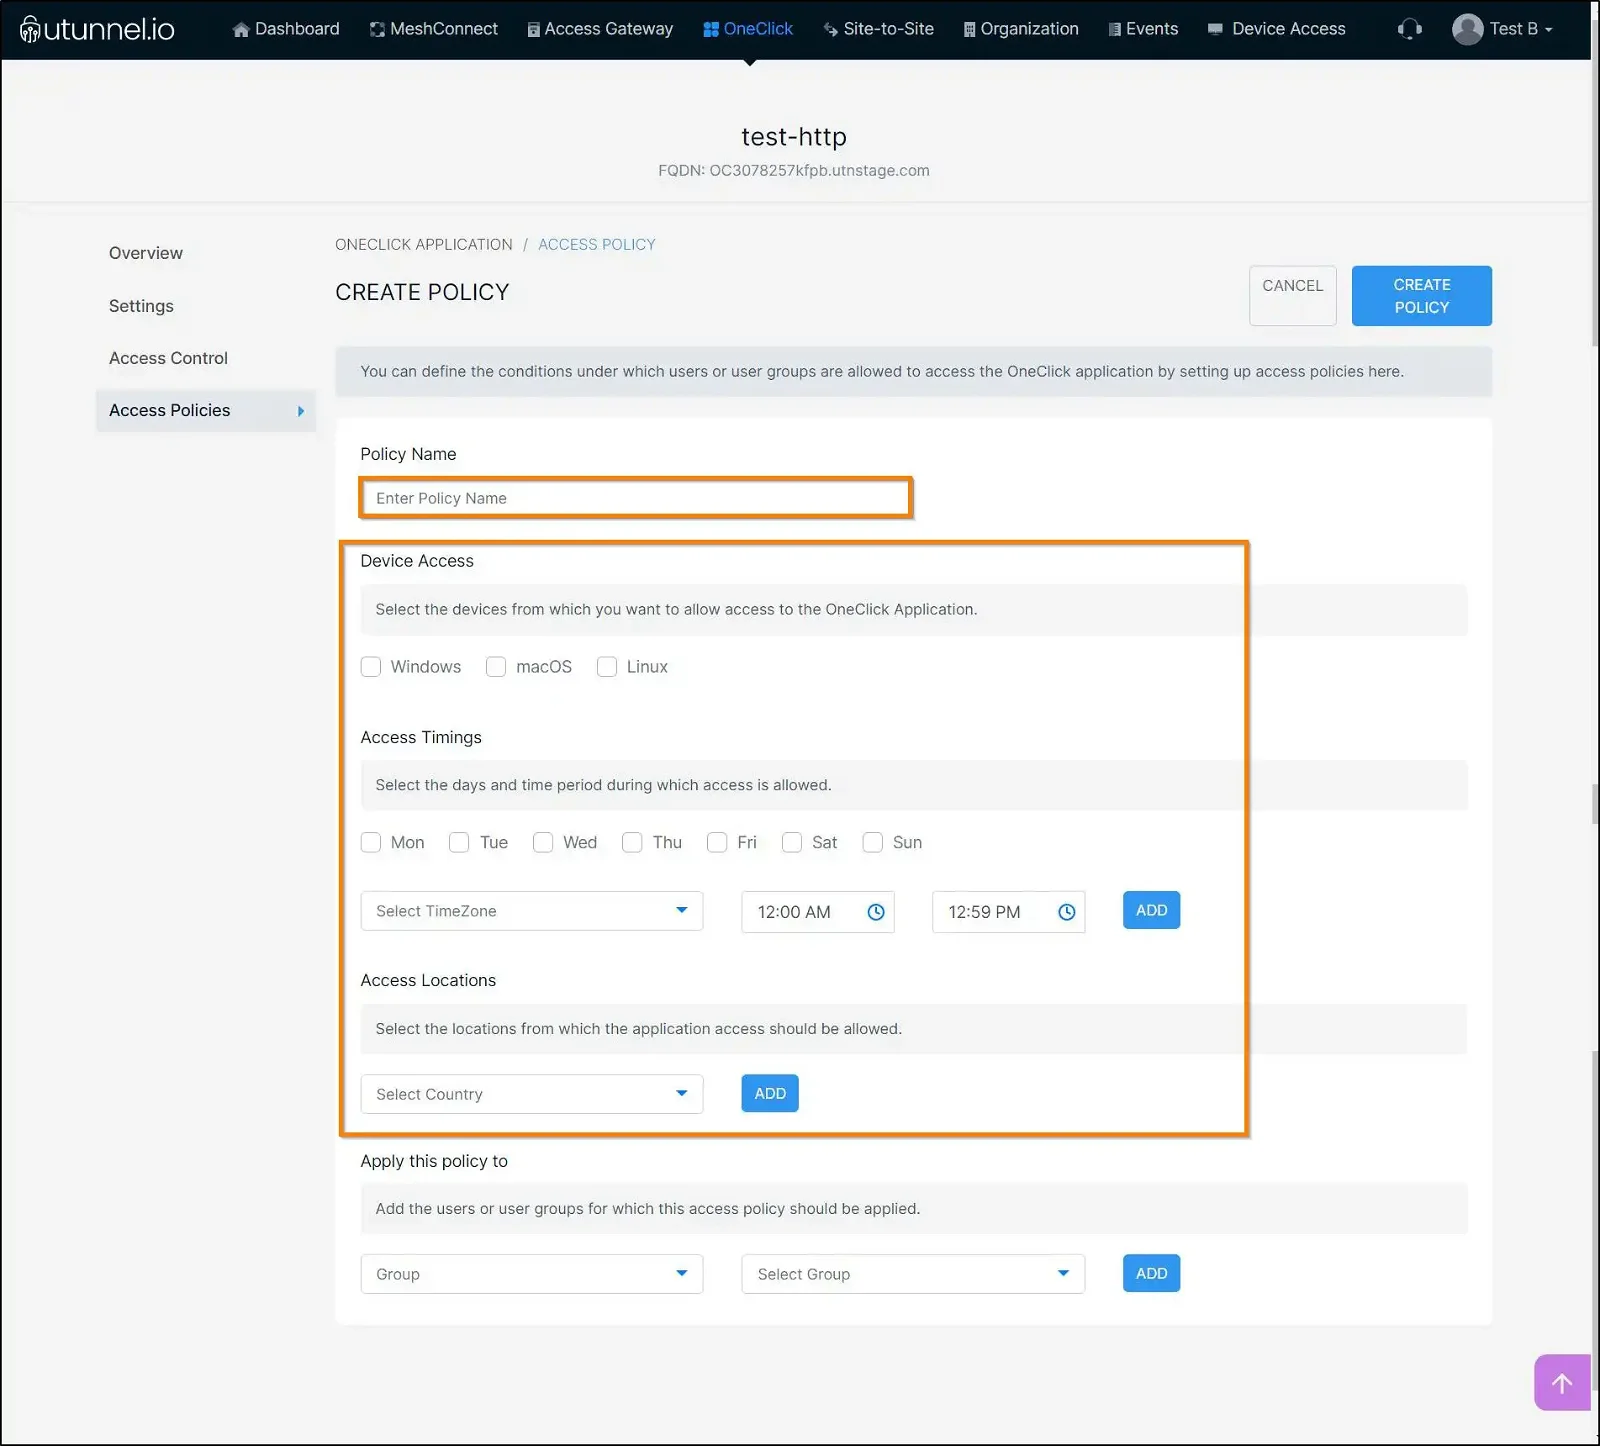
5. Enter an easily identifiable name for the access policy and configure the controls you want to include in the application access policy.
The following are the controls that an organization admin/owner can manage:
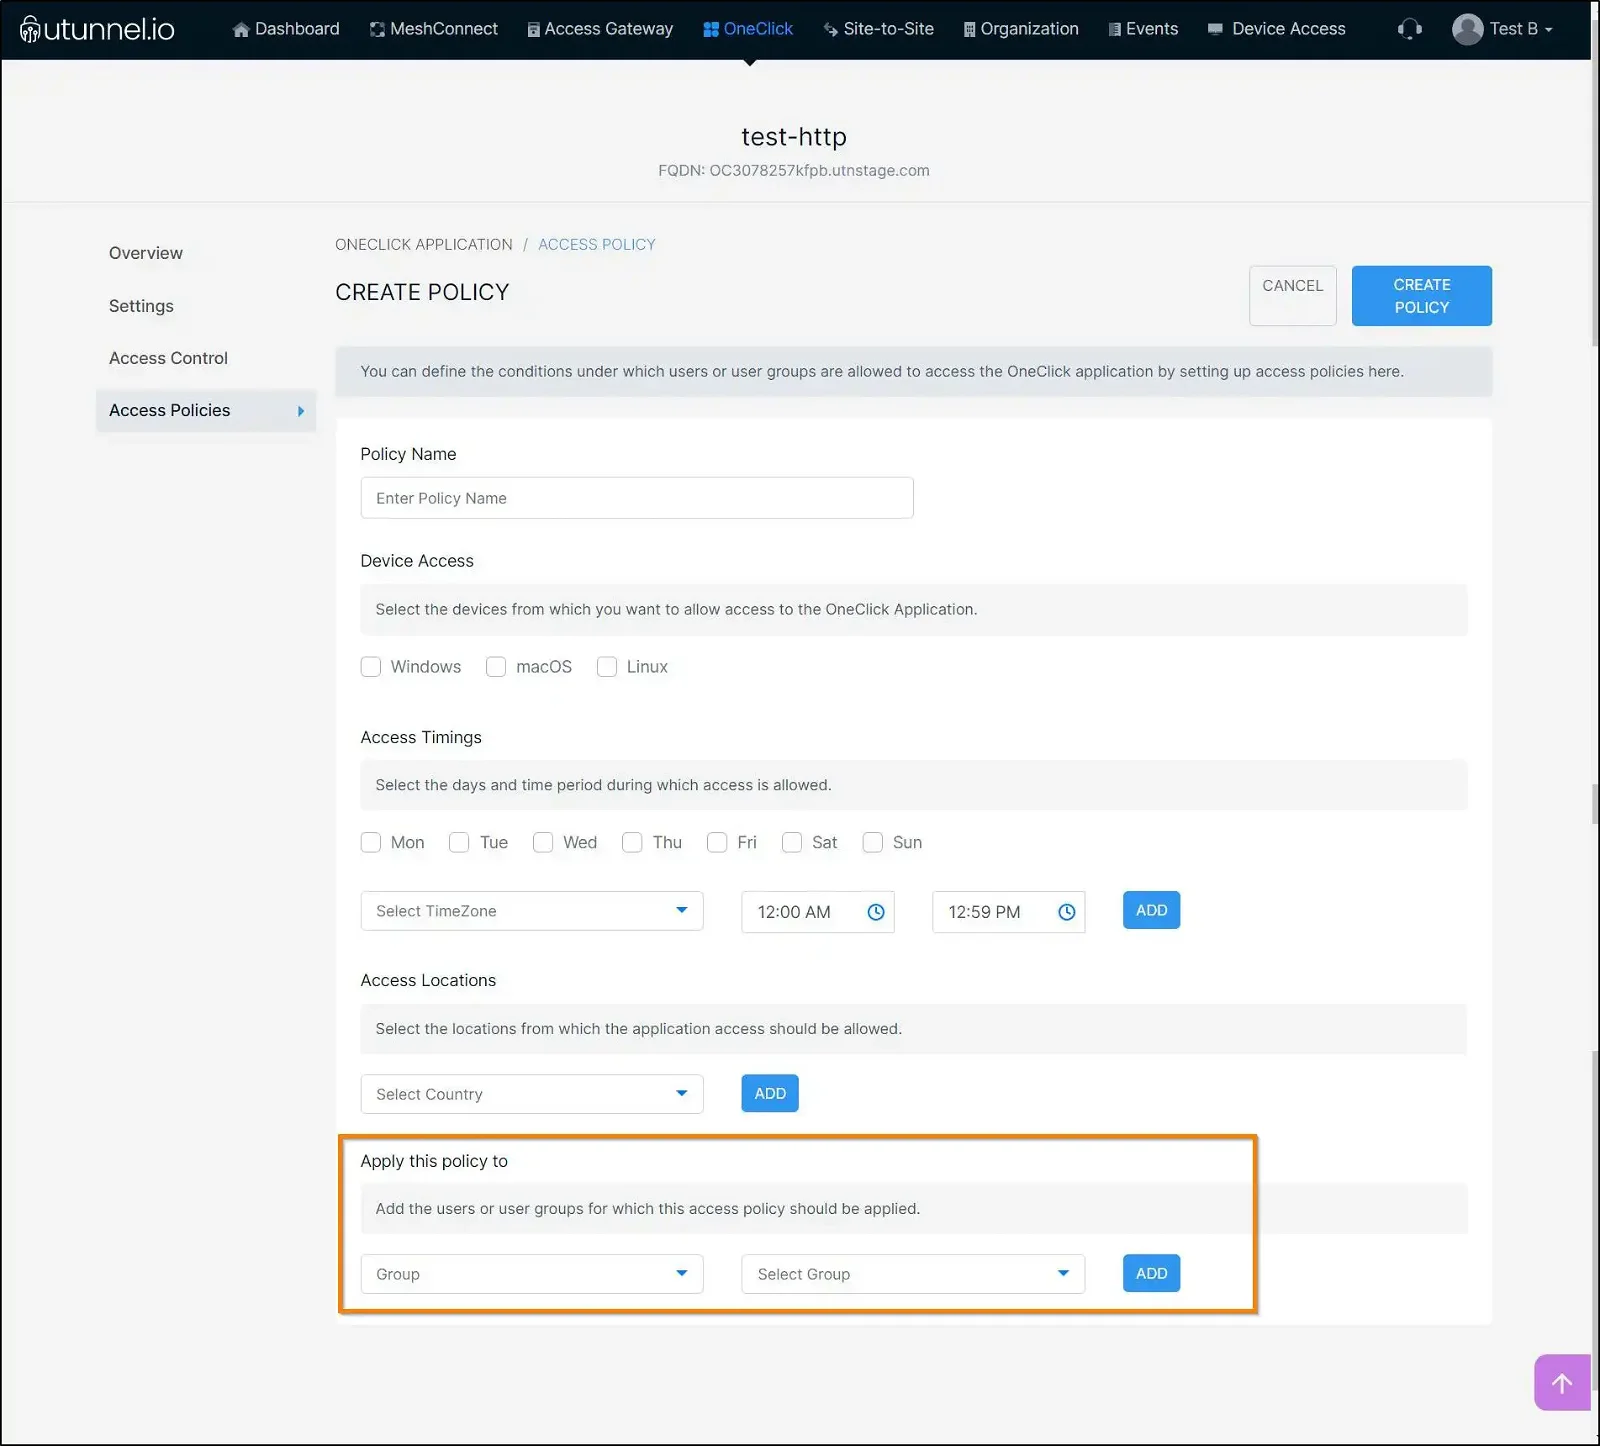
6. Select the groups or individual users for whom you want to apply this policy and click on the ADD button. You can add multiple users/groups here.
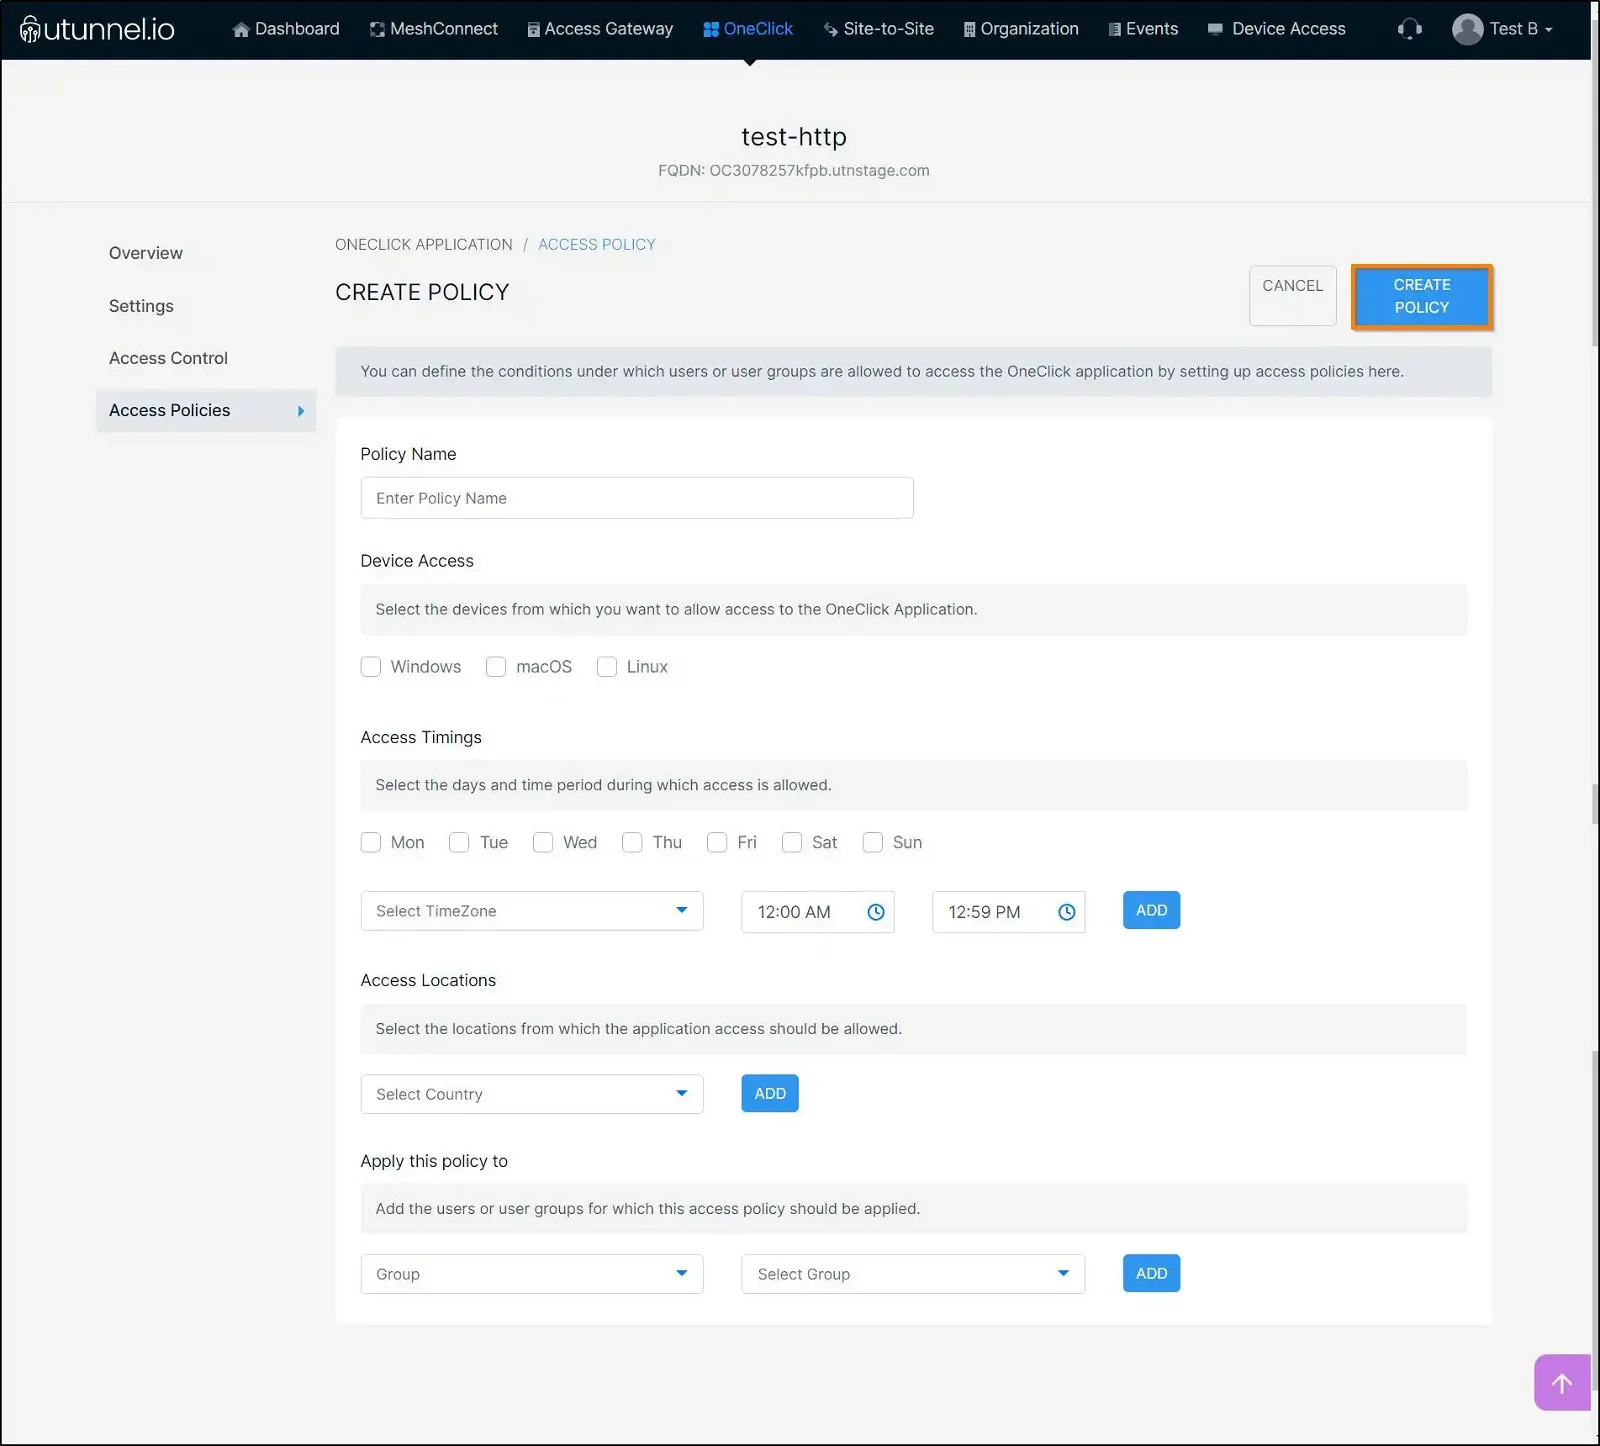
7. Click on the CREATE POLICY button to save and finish setting up the policy.
8. You have successfully created an access policy for your OneClick application according to your requirements and linked it to the user and user groups.
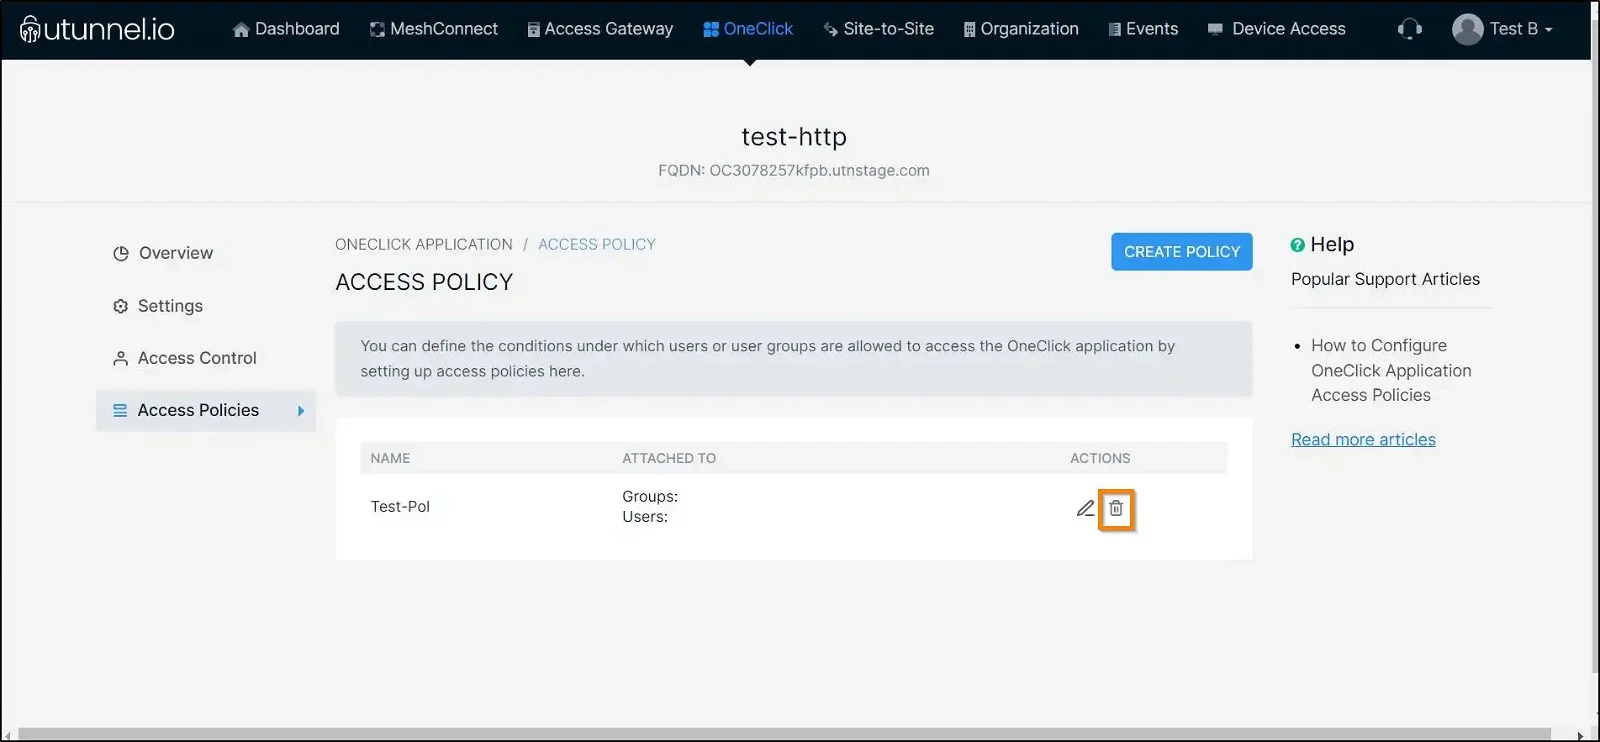
After creating an access policy, you can easily edit the policy settings and add/remove users from the policy using the edit button beside the policy name.
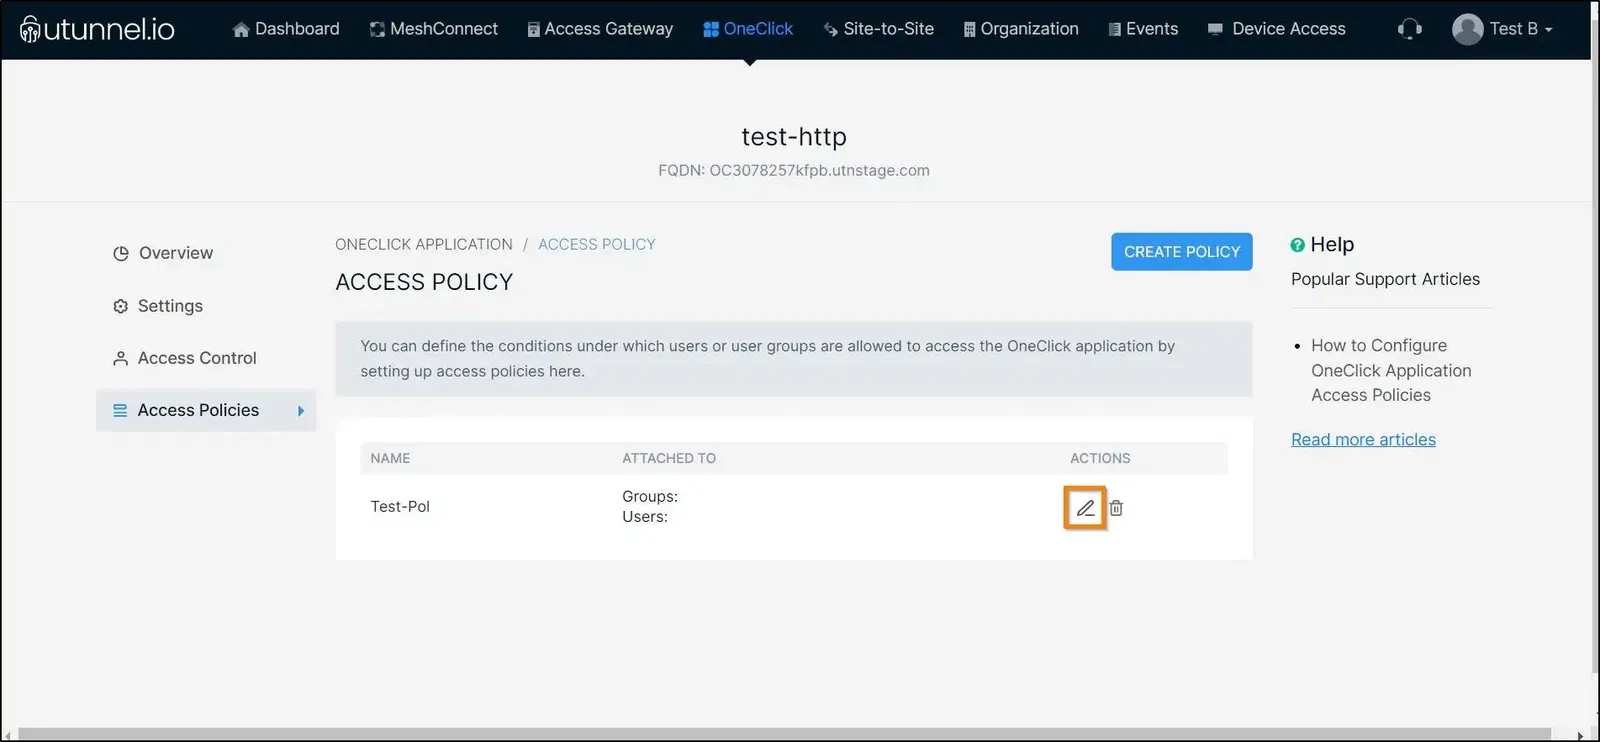
To delete an application access policy, you can do the same by using the delete button beside the policy name.
