This article will guide you on adding or inviting new users and grant access to your UTunnel VPN server. You are required to initiate an invitation to add new users. Once you send the invitation, the user should accept it to become a member on your server. You can send invitation to anyone. However, the number of invitations is restricted based on subscription (the number of users you had selected while creating the server. The receiver should have an account with UTunnel or they should sign up with UTunnel to access the servers.
The following steps will walk you through the steps to invite a new user.
1. Login to your UTunnel account and navigate to the Server tab. 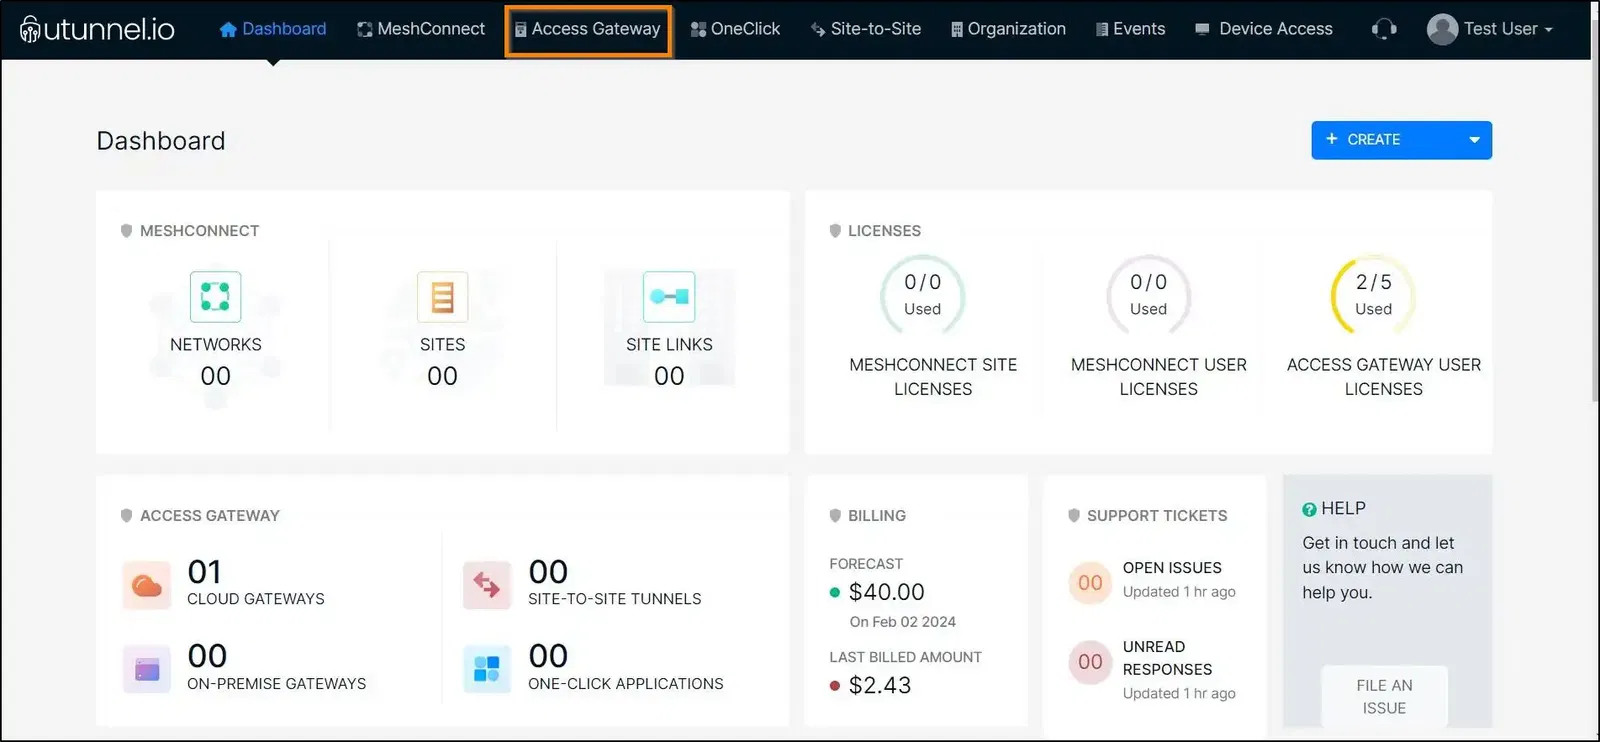
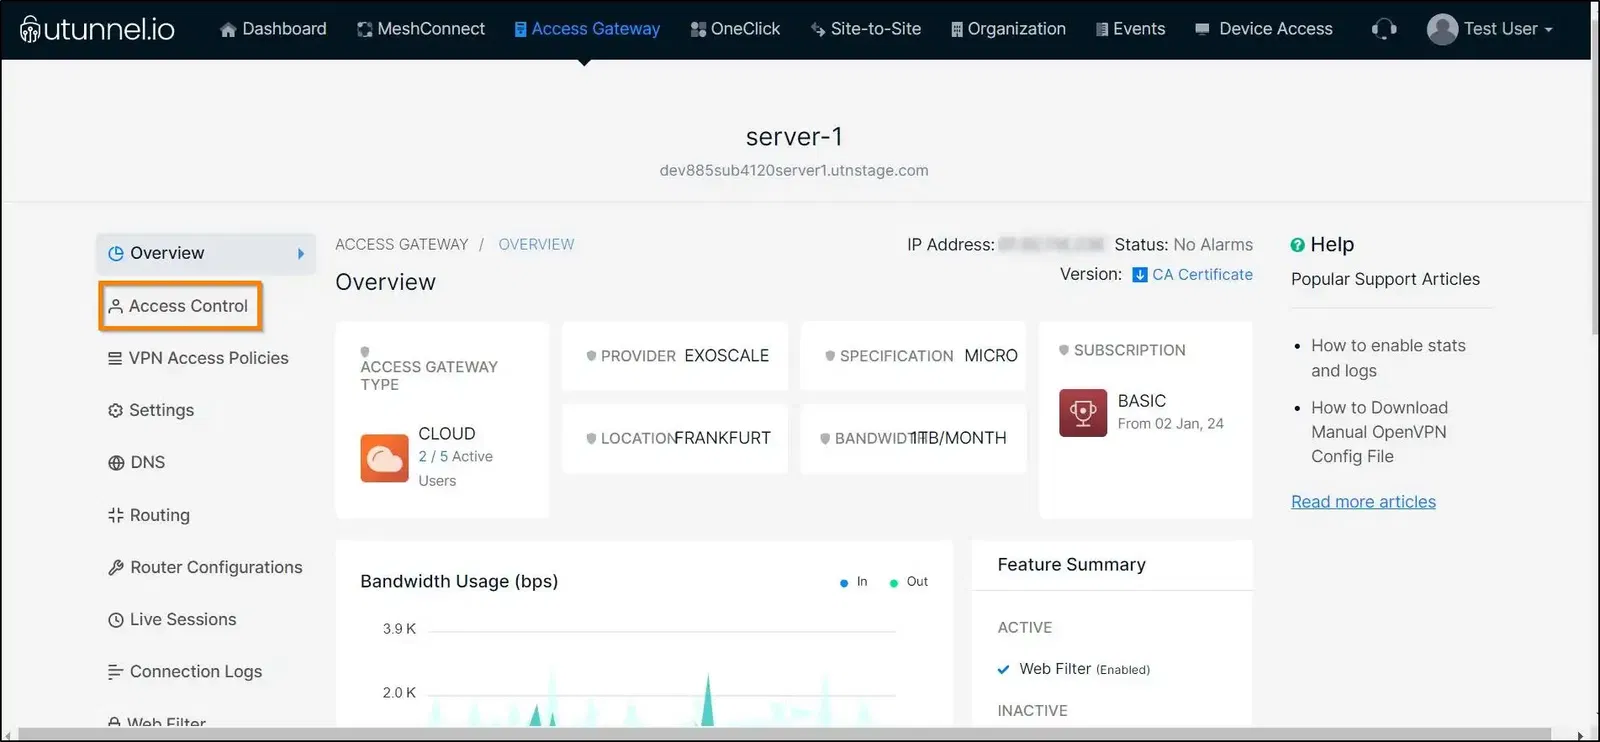
2. Click on the server to which you want to invite users.

3. Navigate to the Access Control section from the left-side menu.
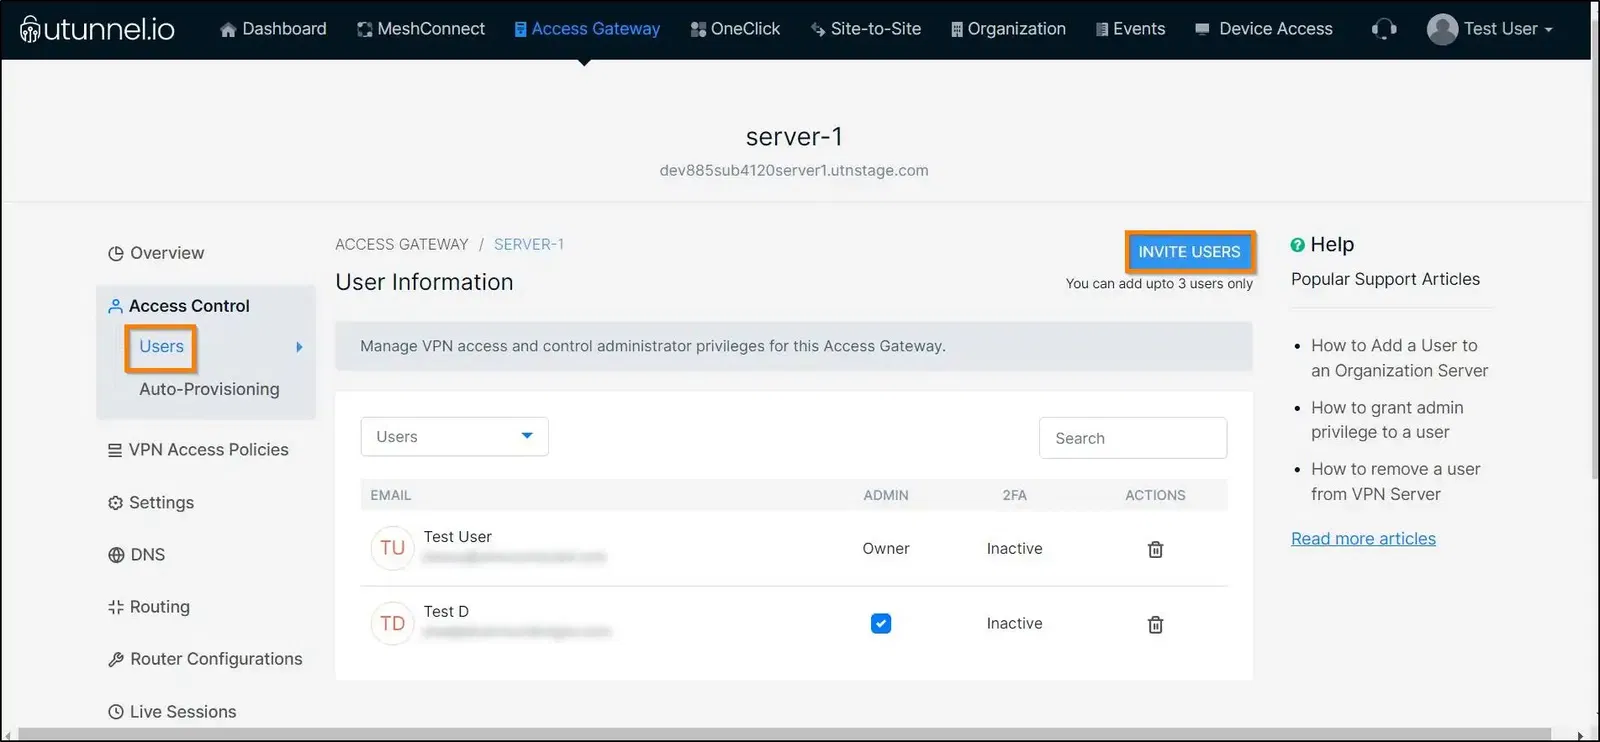
4. Proceed to the Users section from the drop-down menu and click on the INVITE USERS button to add a new user.
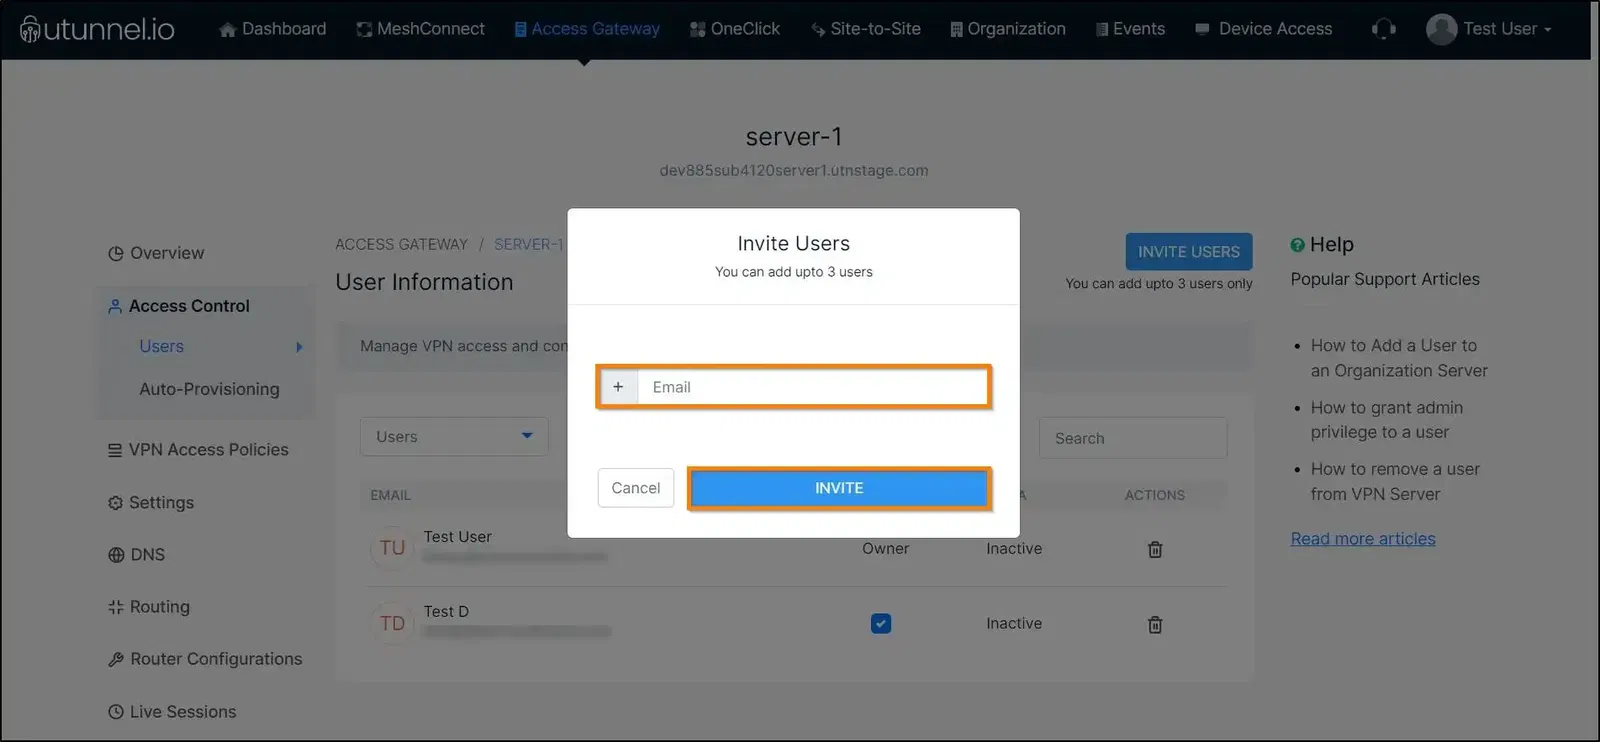
5. An Invite Users pop-up window will be displayed, with the maximum number of users that can be added to the server. You can type in the invitee's email into the respective field, followed by clicking the INVITE button.
6. The invitee will receive an activation email with a confirmation link. Click on the link to accept the invitation. Once confirmed, it will redirect the user to the Sign In page if the email address is already registered with UTunnel. If not, the user will be taken to the Sign Up page.
If you run into any issues, please contact UTunnel Support Team.