If you have UTunnel’s web filter enabled, the IP addresses that are blacklisted by default will get blocked when connected to the VPN gateway. But if you want to whitelist some of those IP addresses or domains, you can do so by adding them to the whitelist.
This guide describes how to whitelist an IP address from your UTunnel dashboard and exempt it from blacklisting.
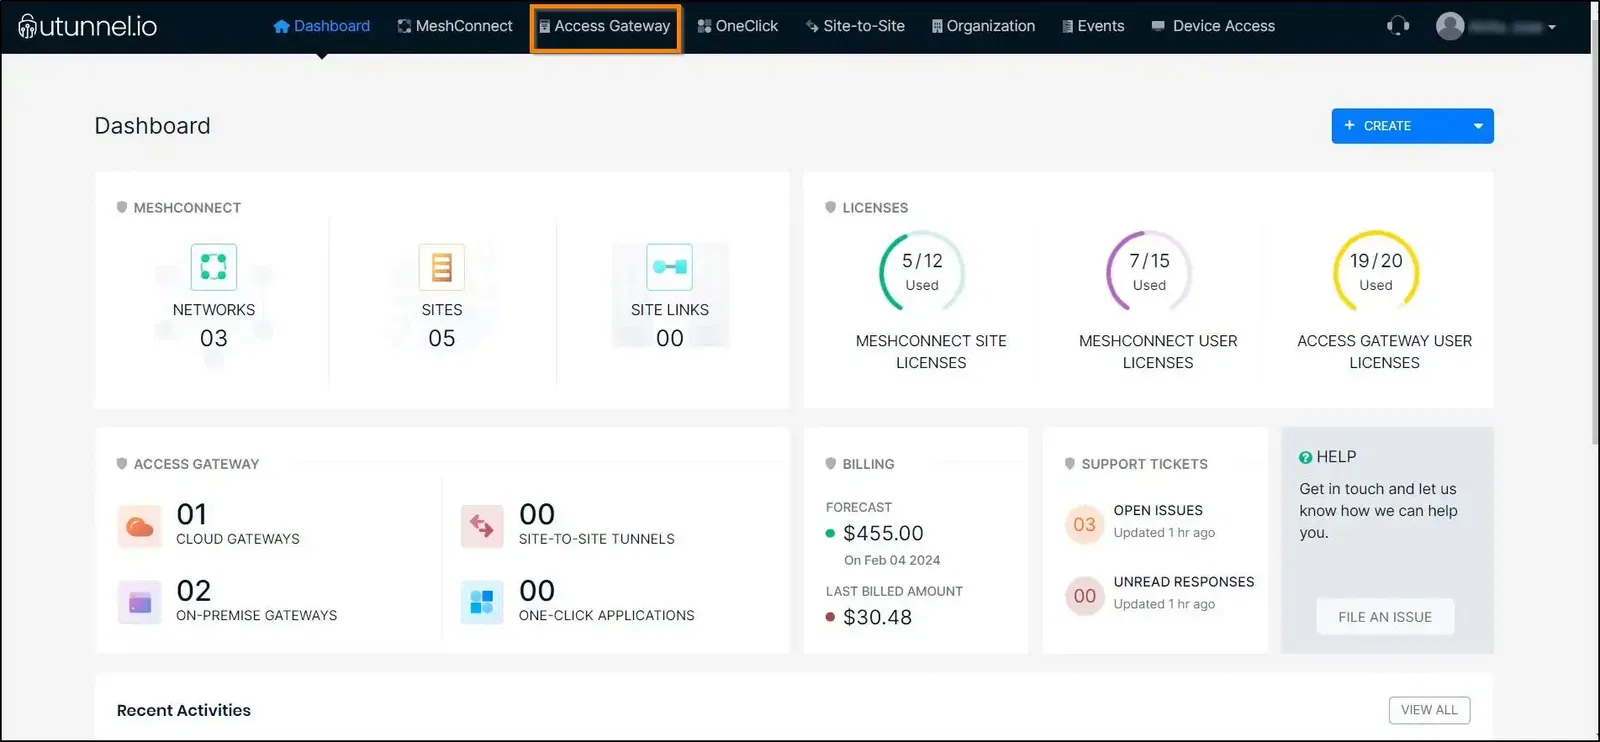
1. Log in to your UTunnel account and navigate to the Access Gateway tab.
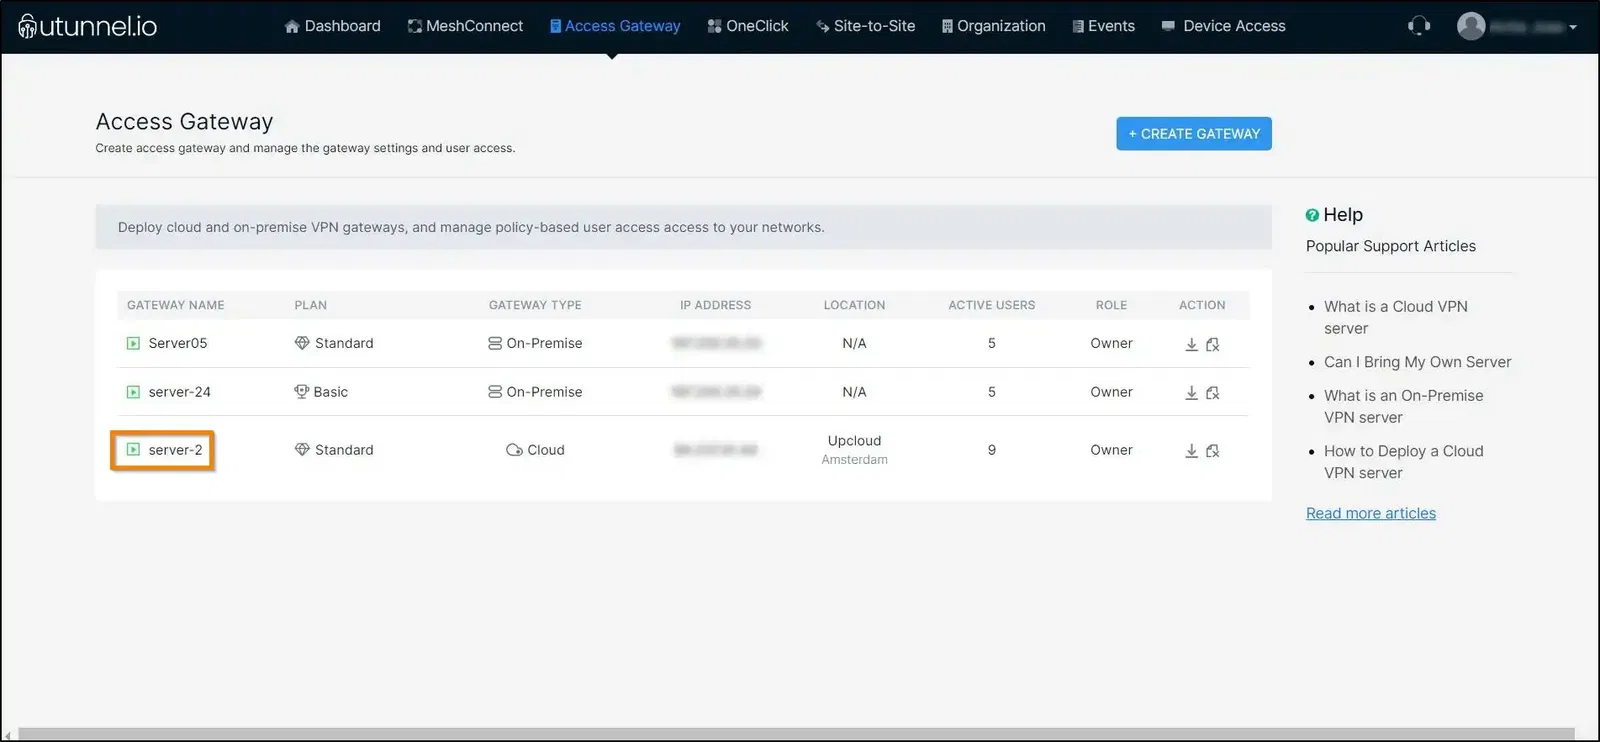
2. Click on the Access Gateway on which you want to enable the web filter and whitelist the IP address.
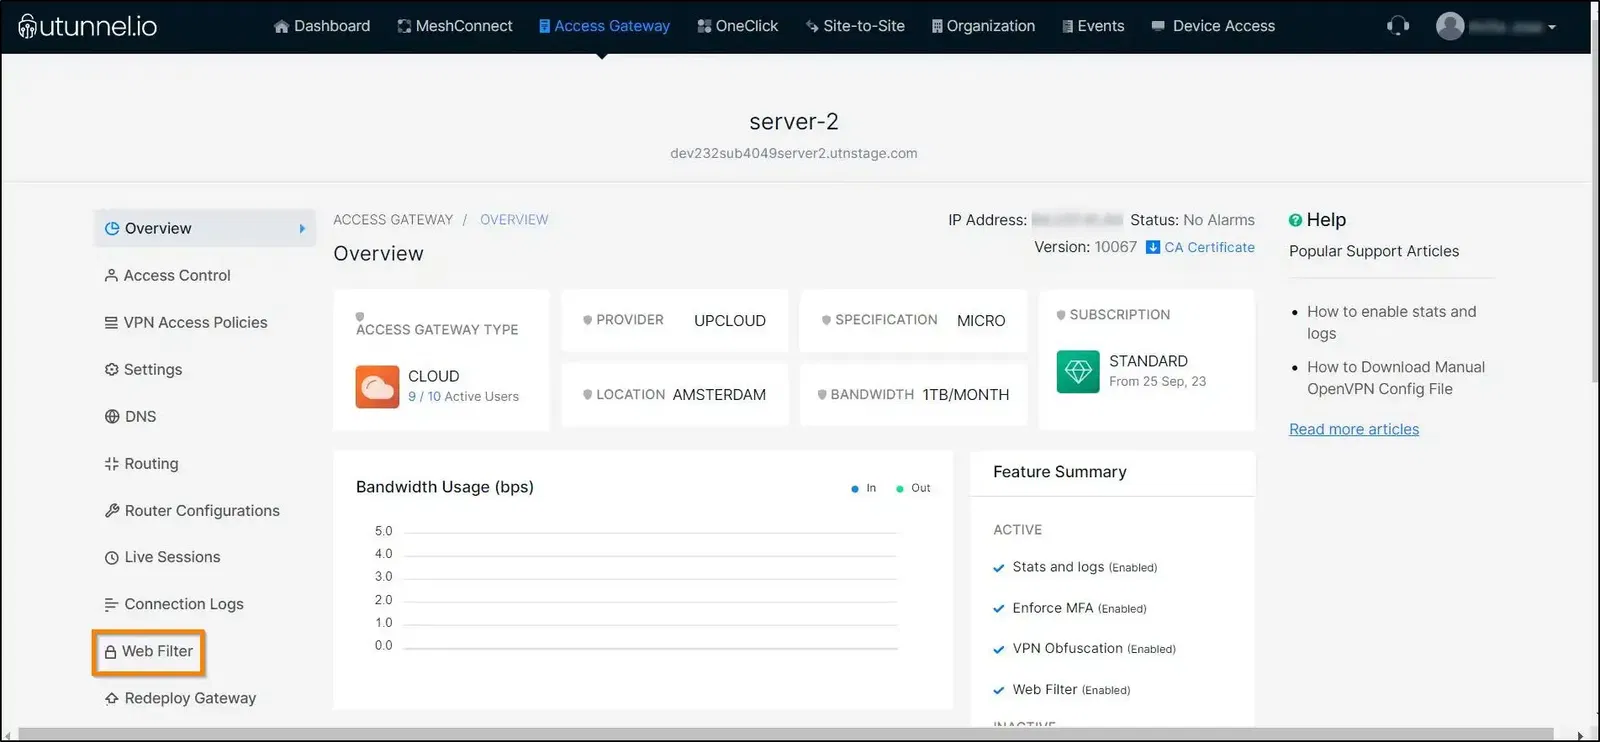
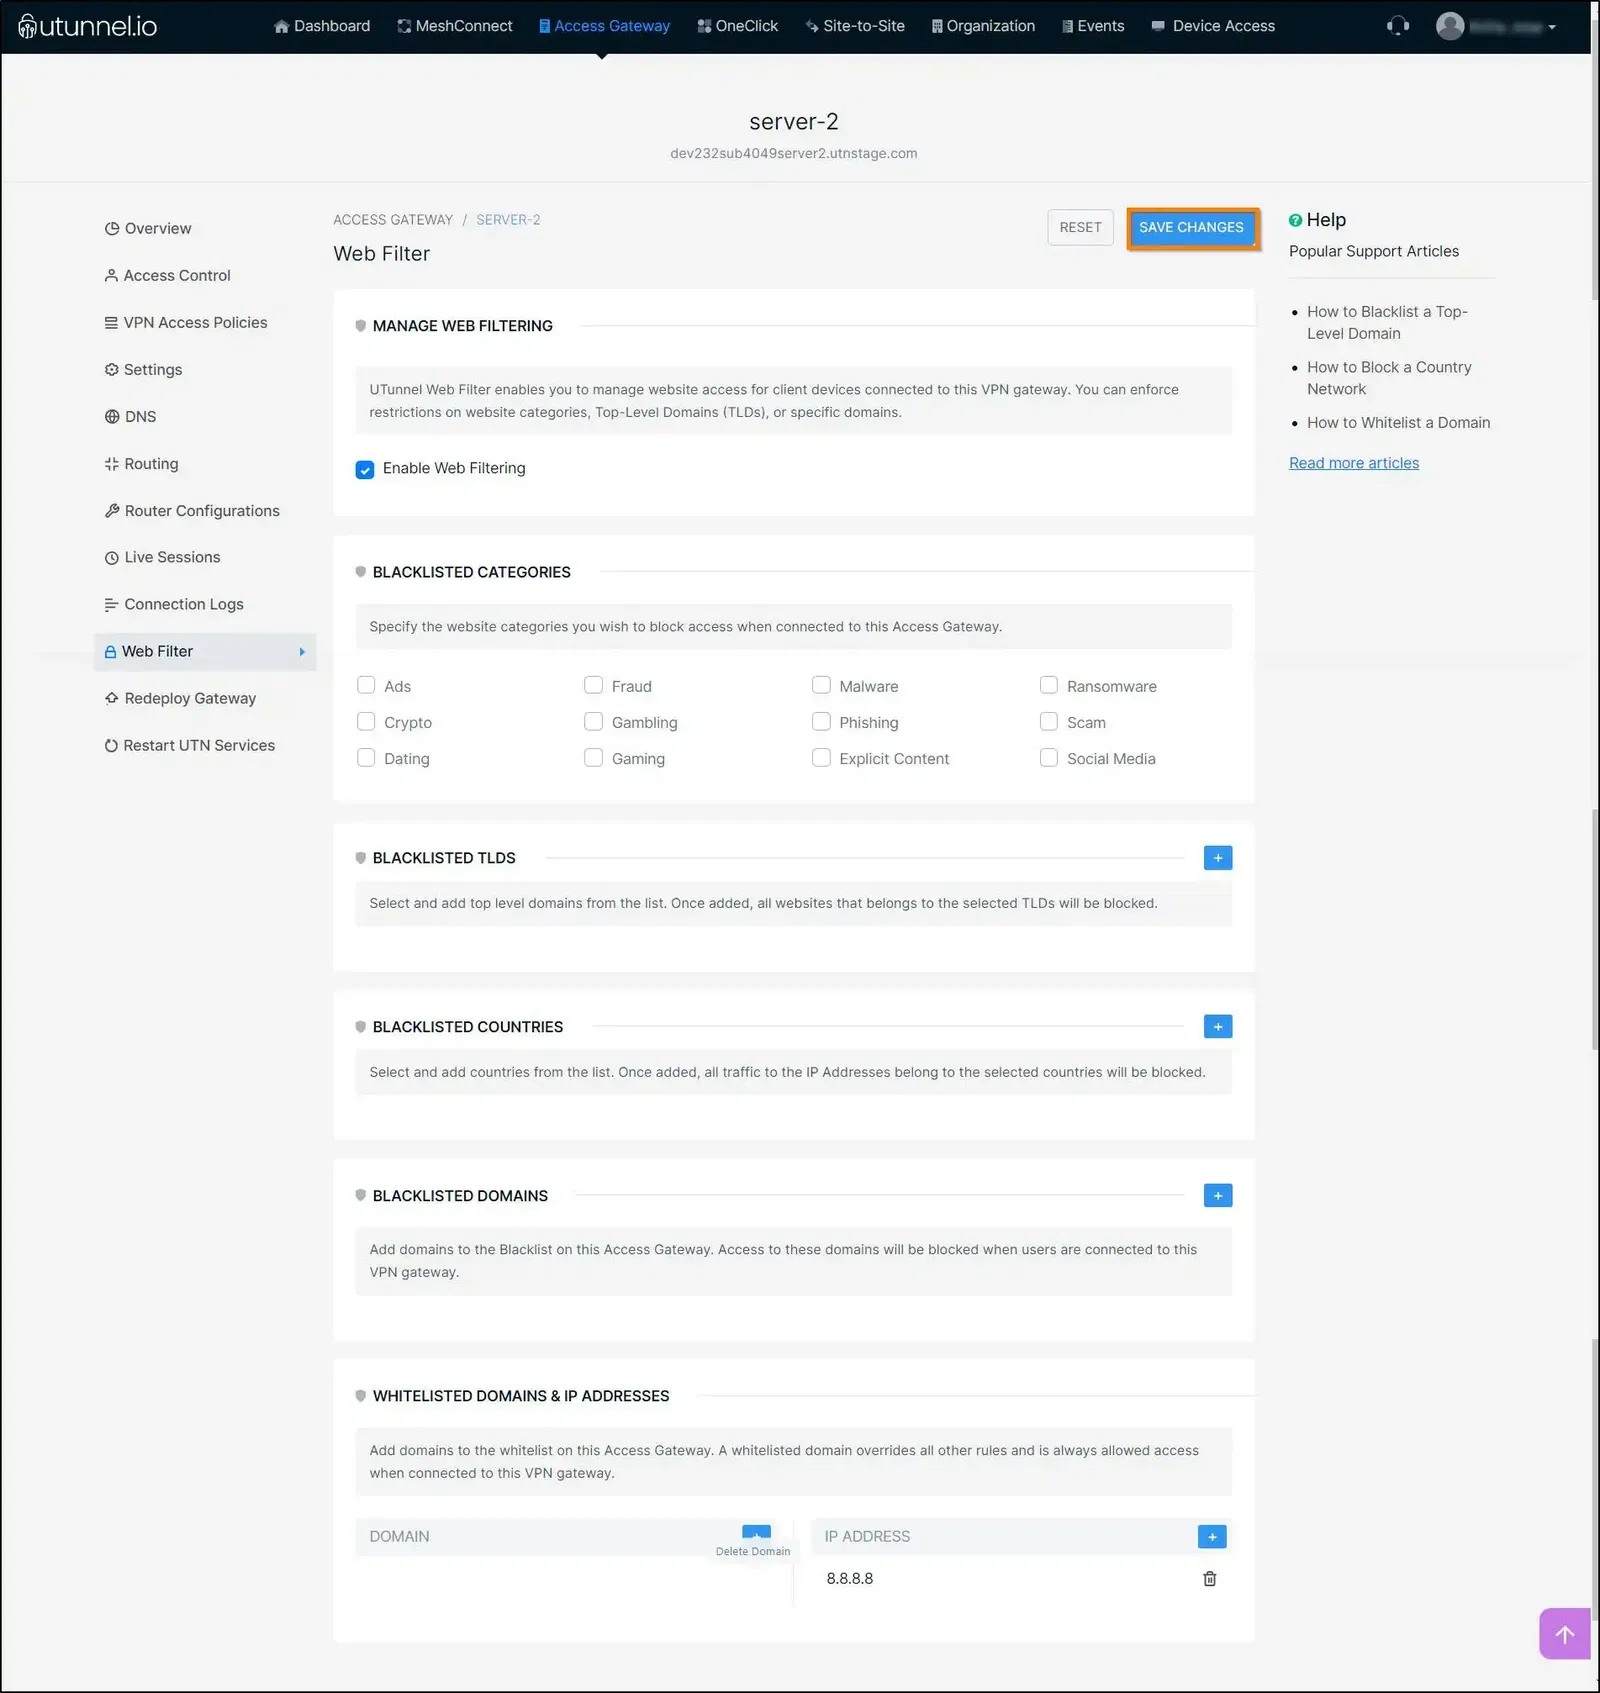
3. From the Access Gateway Overview page, navigate to the Web Filter option in the left-side menu.
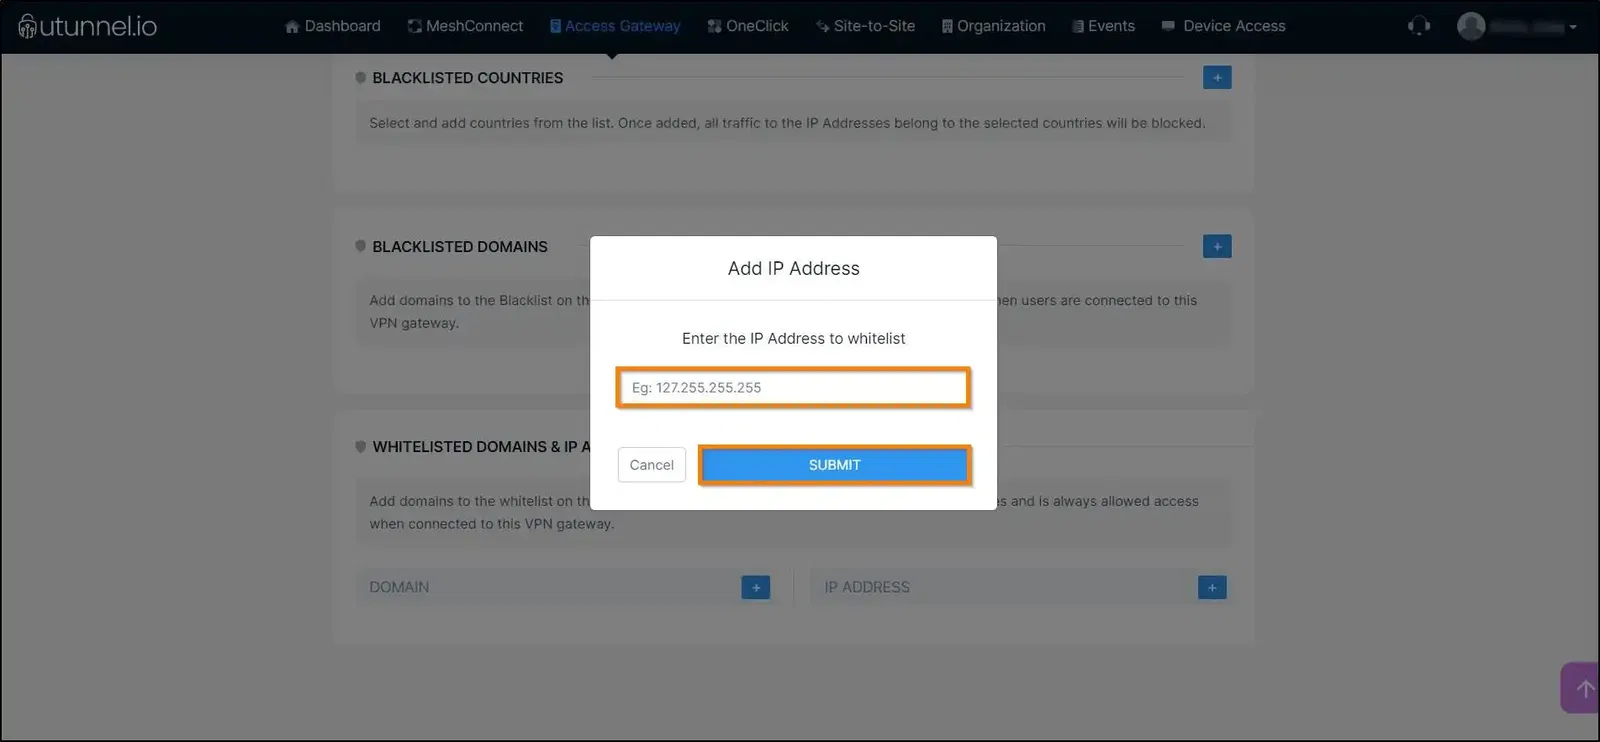
4. Enable the UTunnel Web Filter by clicking on the Enable Web Filtering option’s checkbox. Proceed to the IP ADDRESS section under the Whitelisted Domains & IP Addresses and click on the plus sign (+) to add an IP Address to the whitelist.
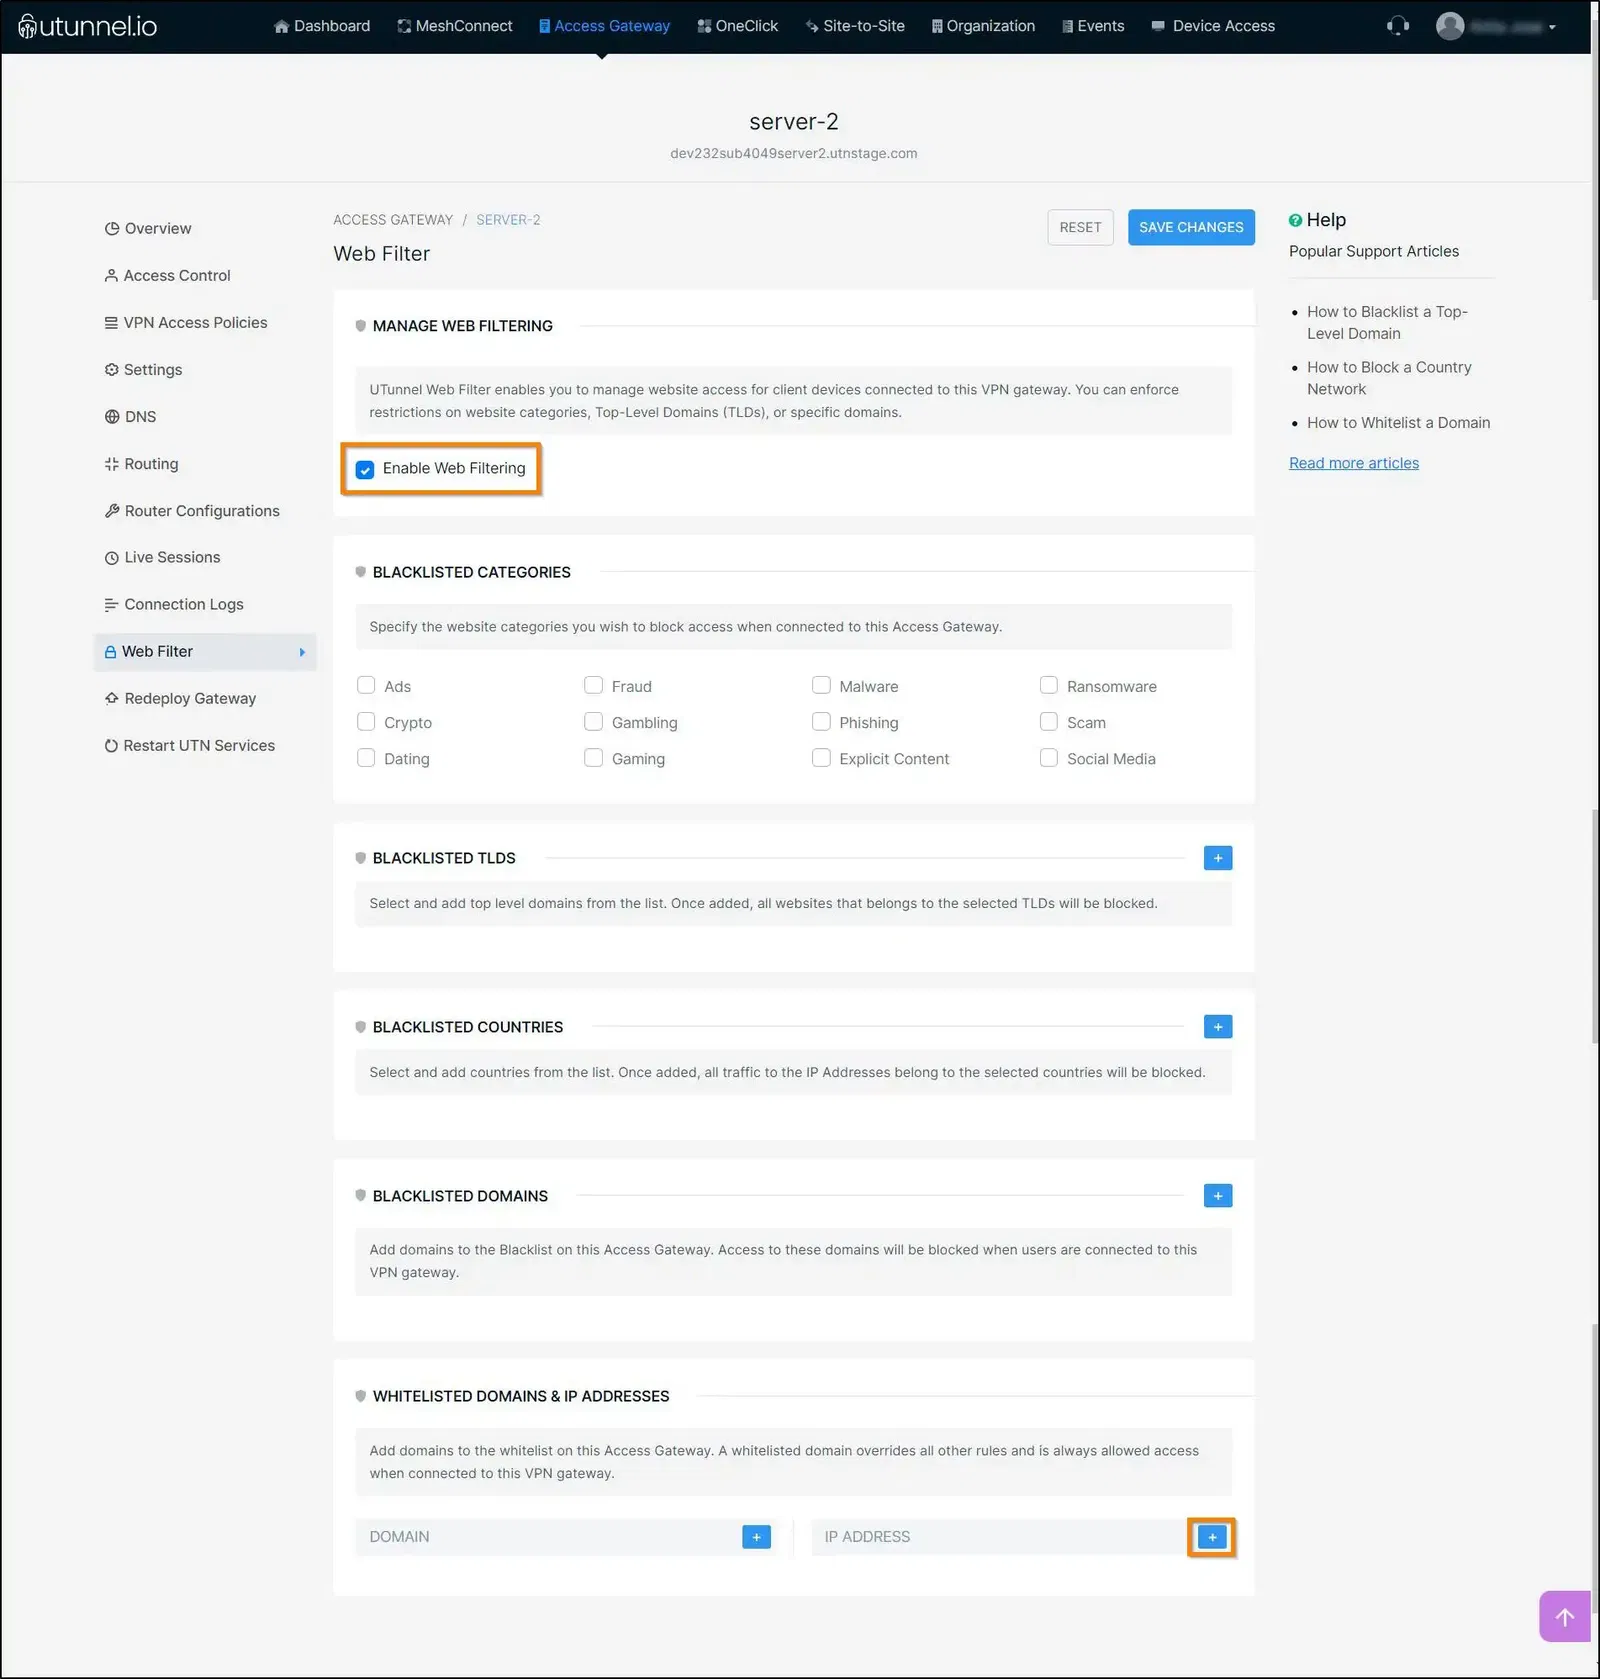
5. Key in the IP address you want to add to the whitelist into the respective field and click on the SUBMIT button to whitelist it.
6. Once you finish adding the IP addresses to the whitelist, click on the SAVE CHANGES button.
7. Since the changes are made on the access gateway level, the UTunnel service running on the access gateway needs to be restarted to reflect those changes. Click on the Apply button to initiate the service restart.
In case you have an integrated cloud VPN gateway, the UTunnel service will automatically restart. However, if it's an on-premise (BYOS) gateway, the restart needs to be performed manually.

Once the service gets restarted, you can start using the VPN and will be able to access the whitelisted IP addresses/domains.