Device filtering is the process of allowing or blocking specific devices from accessing the VPN. UTunnel facilitates device filtering by allowing the access gateway admin/owner to authorize or reject devices before they can establish a connection to the VPN gateway. Device filtering makes sure that only trusted devices are allowed to make VPN connections to the Access Gateway.
This article explains how to restrict VPN access to specific devices by enabling device filtering on your UTunnel account.
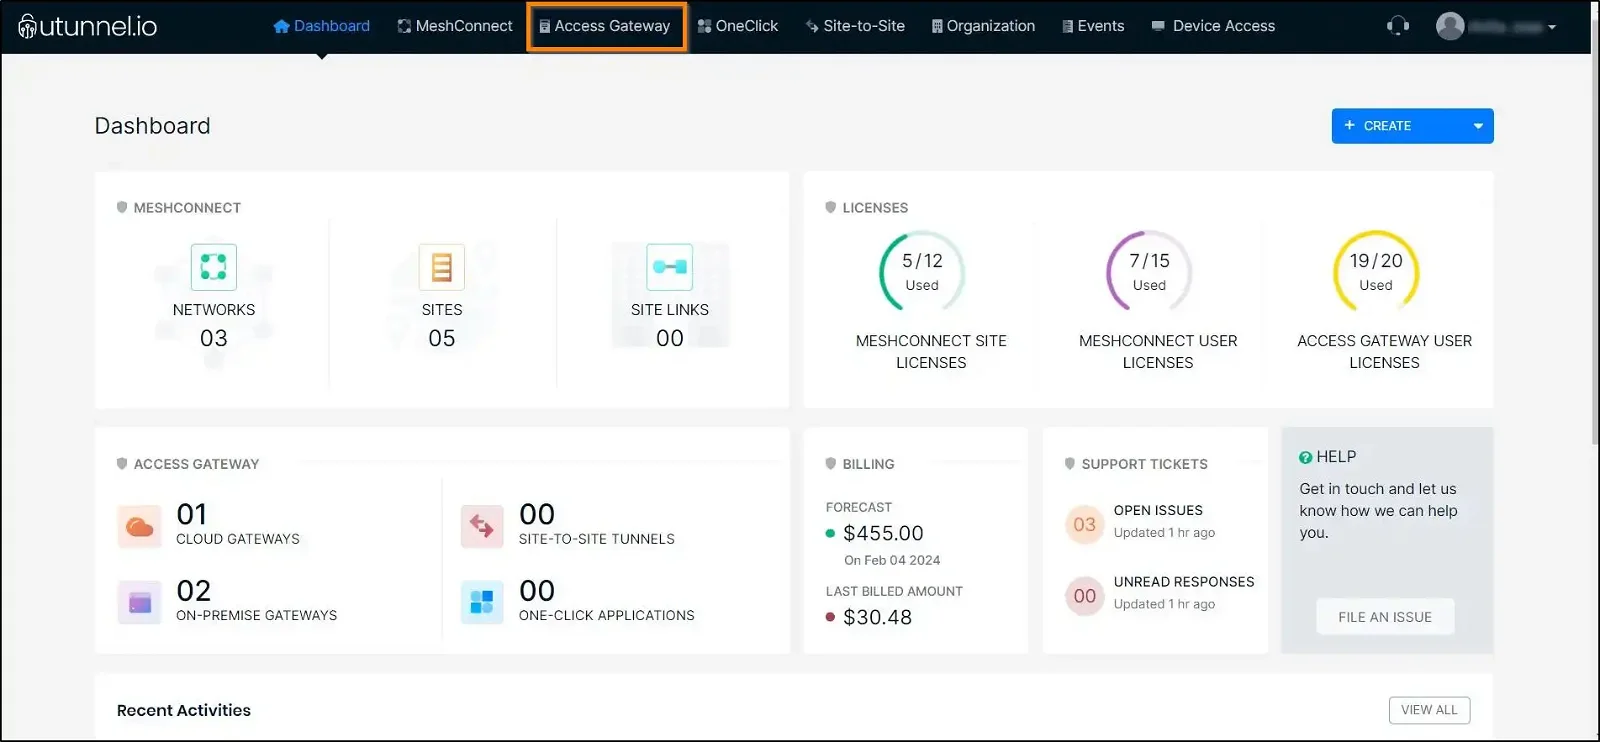
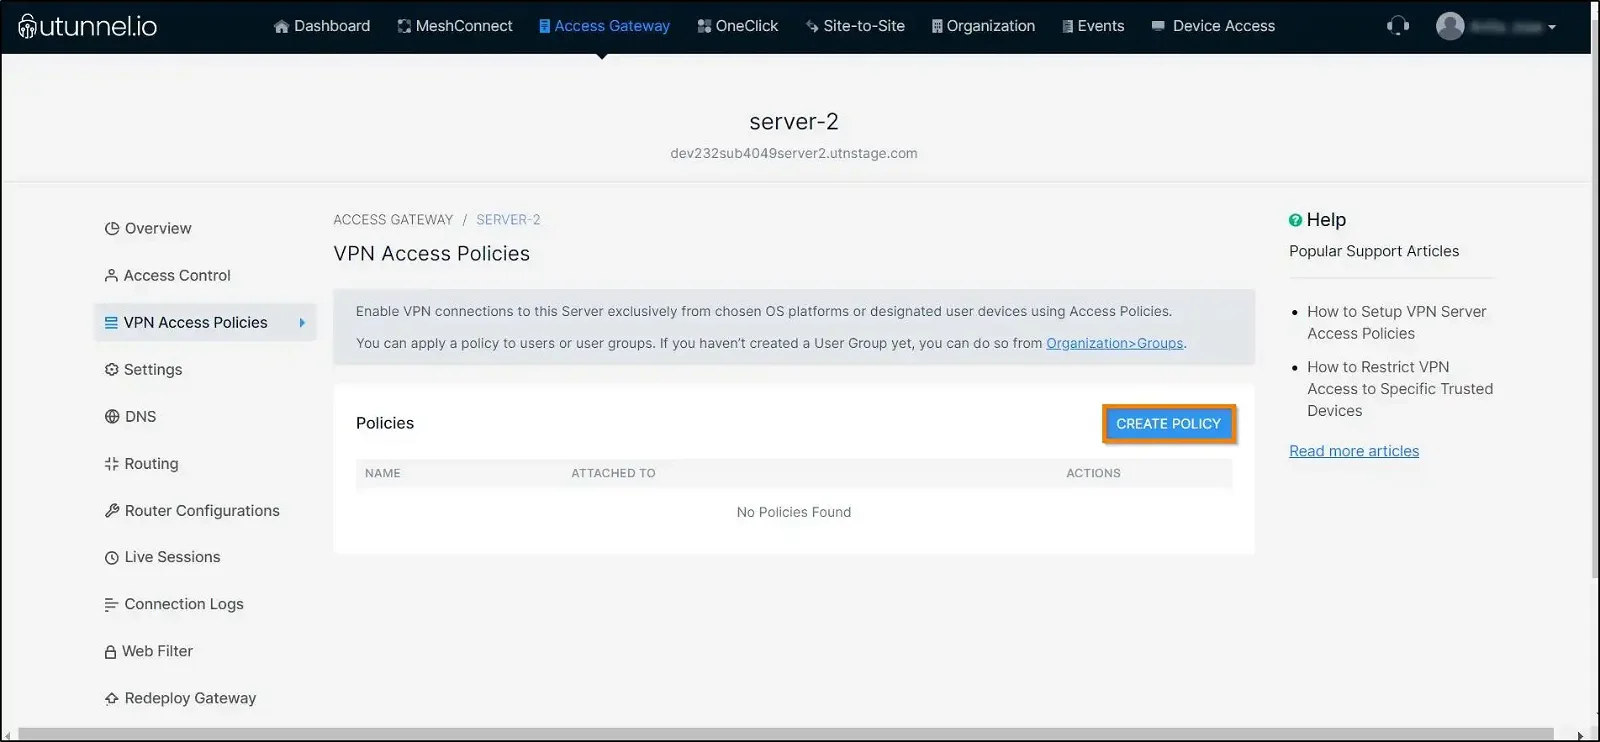
1. Log in to your UTunnel account (Personal/Organization) and navigate to the Access Gateway tab.
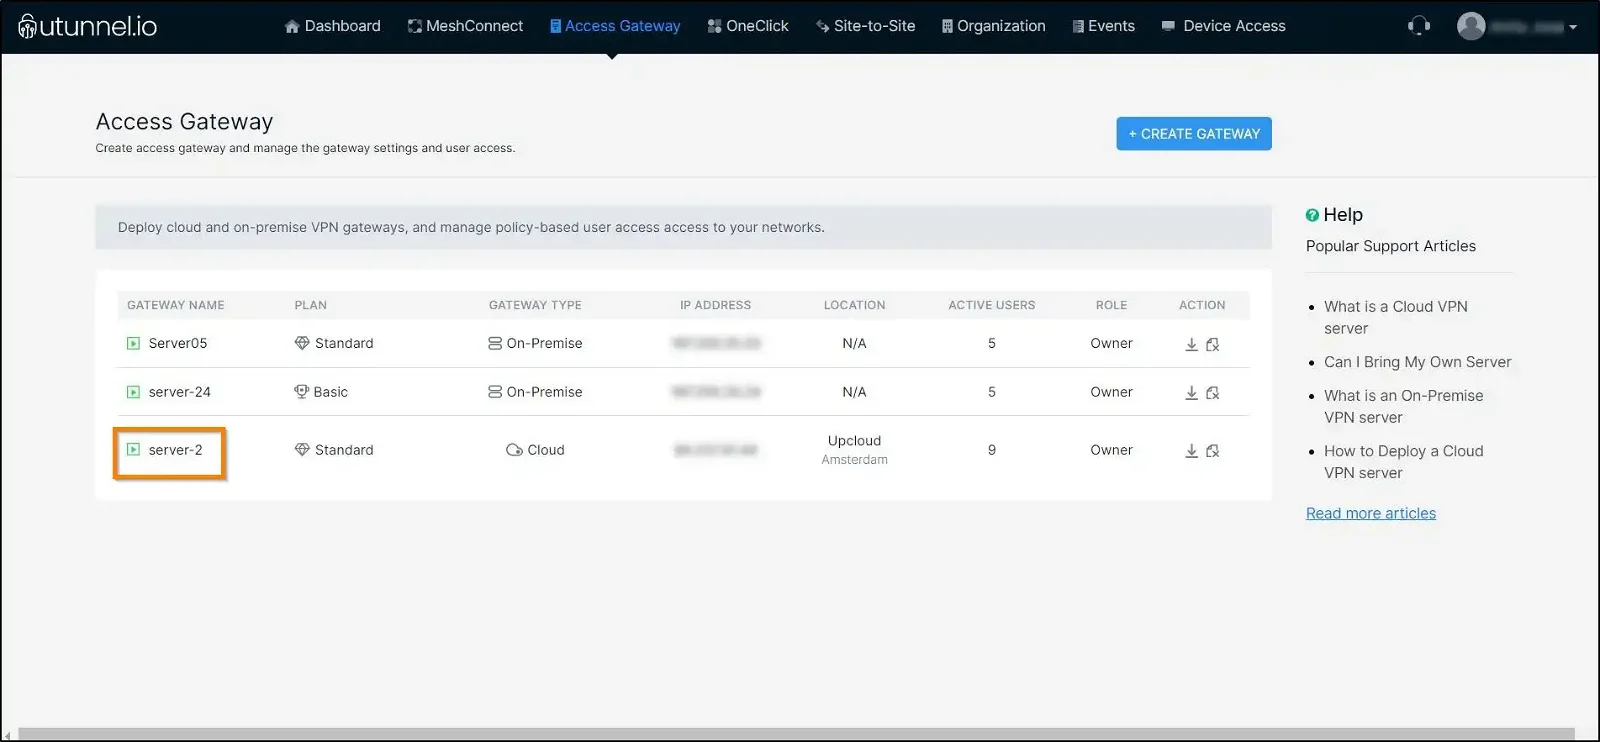
2. Click on the VPN gateway for which you want to enable device filtering.
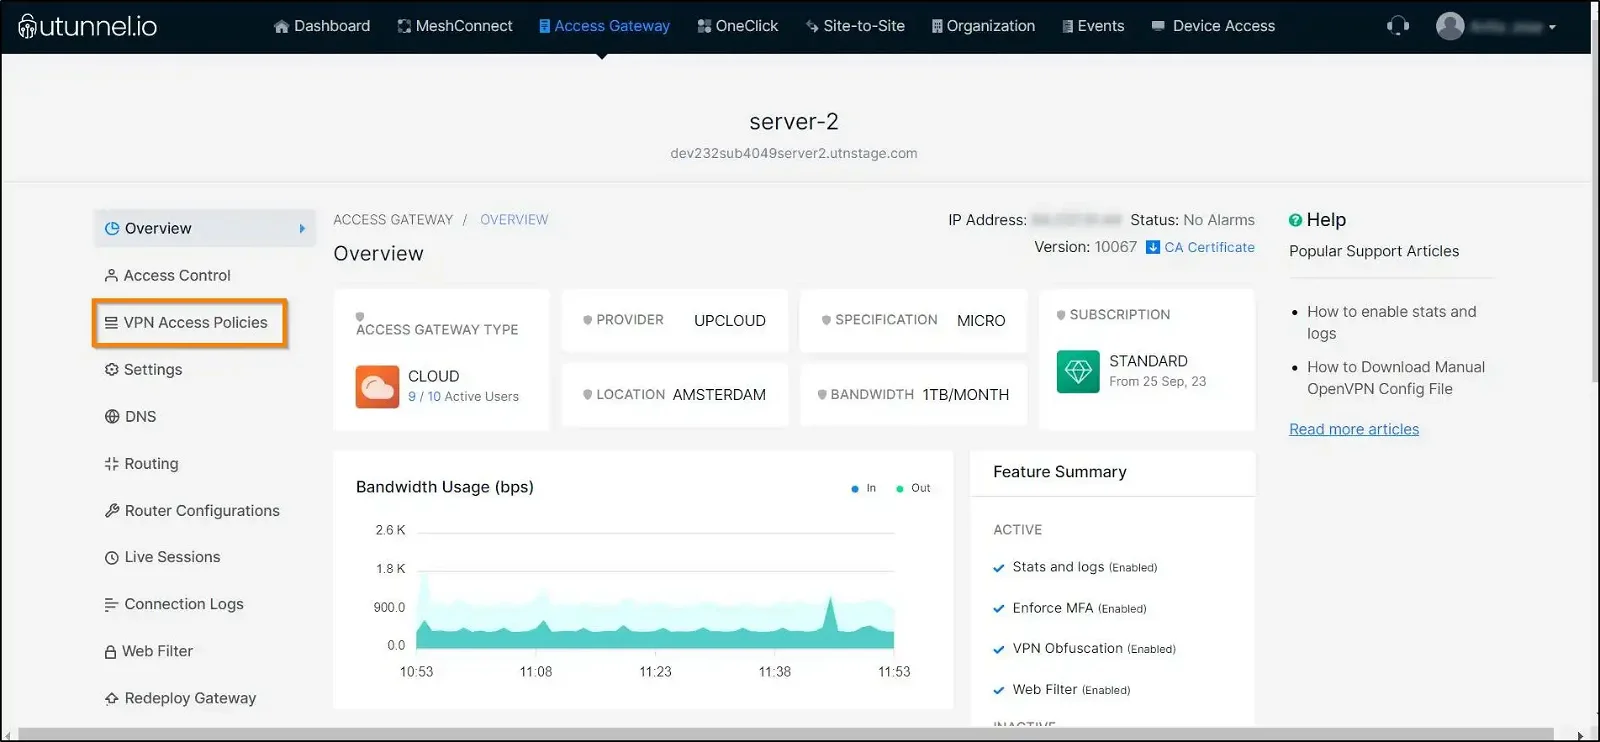
3. Navigate to the VPN Access Policies section from the left-side menu.
4. Click on the Create Policy button to enable device filtering.
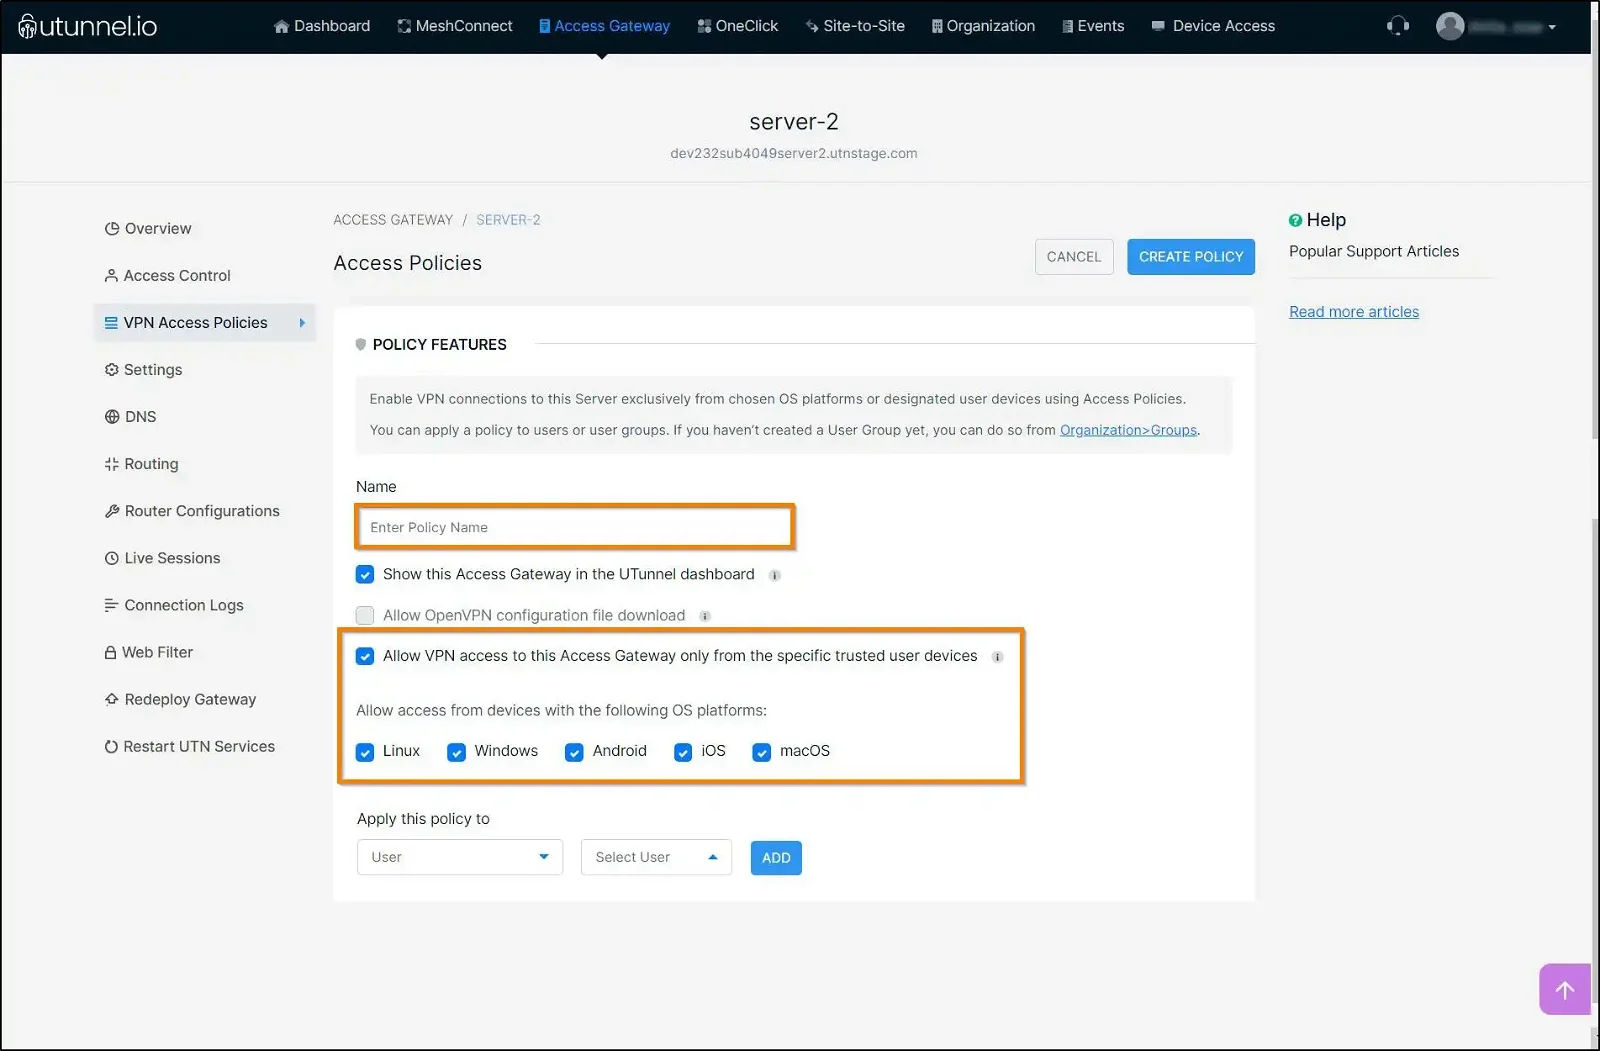
5. Enter an easily identifiable name for the access policy and select Allow VPN access to this Access Gateway only from the specific trusted user devices checkbox. You can proceed to select the OS platforms from which you would like to allow device access by ticking the respective checkboxes under the Allow access from devices with the following OS platforms option.
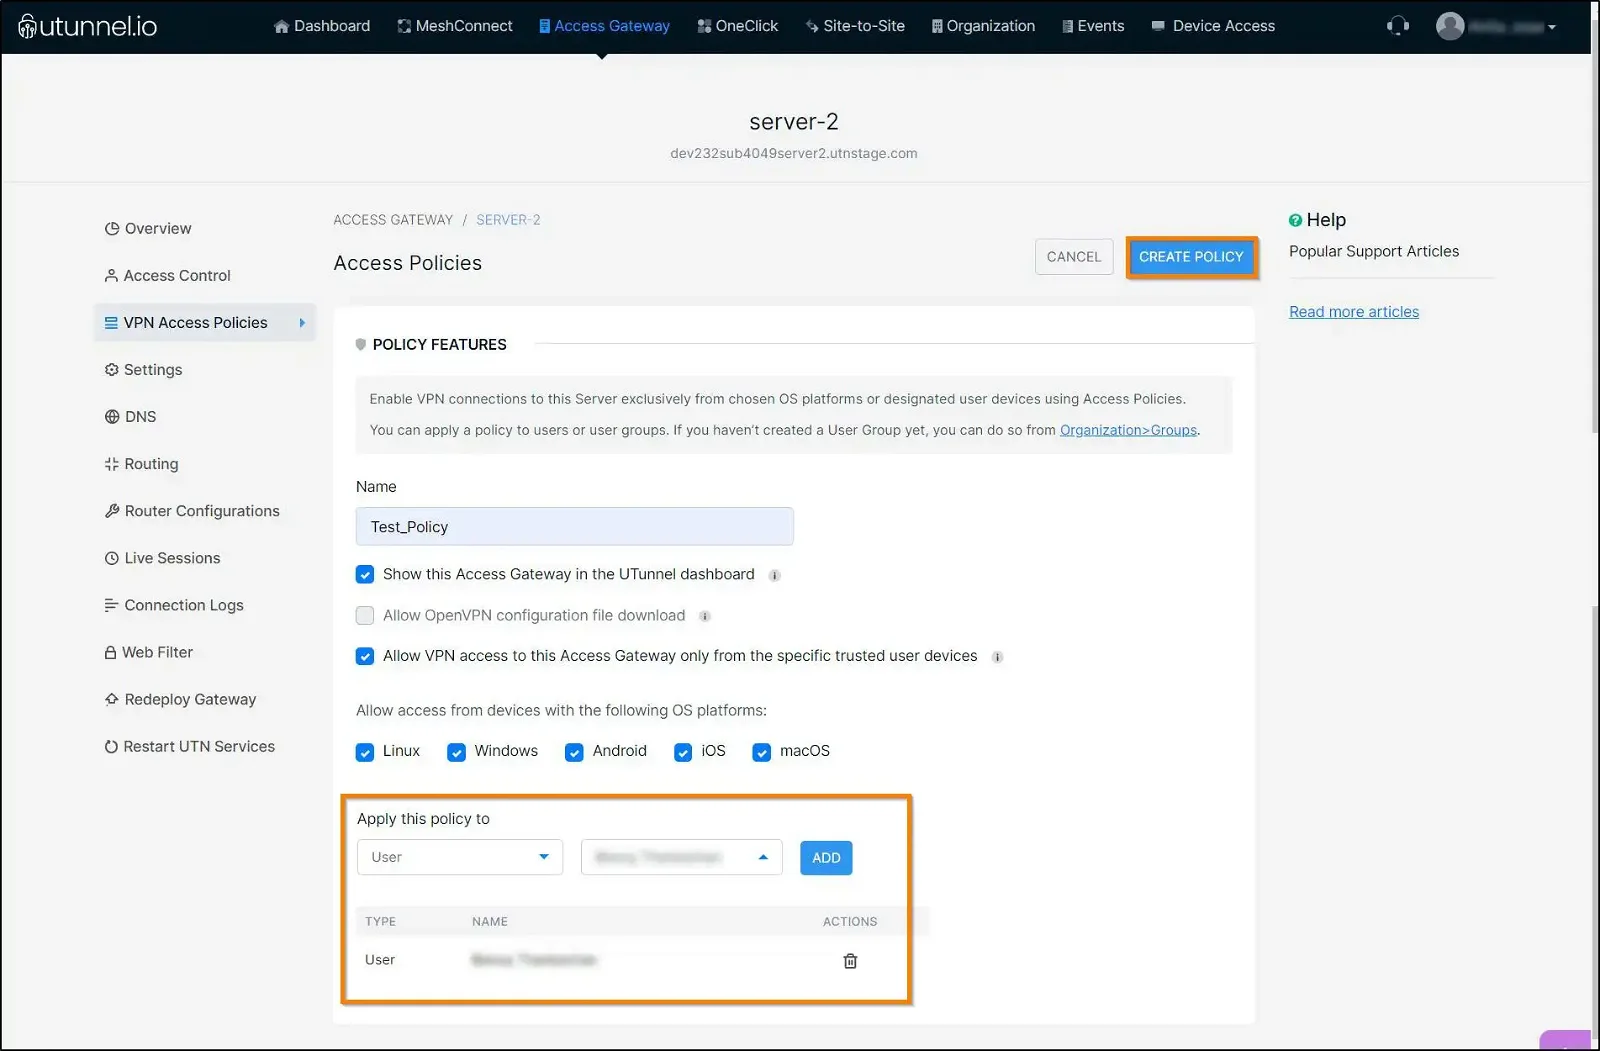
6. Select the groups or individuals for whom you want to apply device filtering and click on the Add button. Click on the Create Policy button to finish enabling the device filtering.
After creating the policy to enable device filtering, the server admin/owner can authorise or reject new user devices before they can create a connection to the VPN server. When a user tries to connect to the VPN server from a new device for the first time, an access request will get listed on the UTunnel web console.
To approve or deny such an access request and manage trusted devices, please follow the steps below.
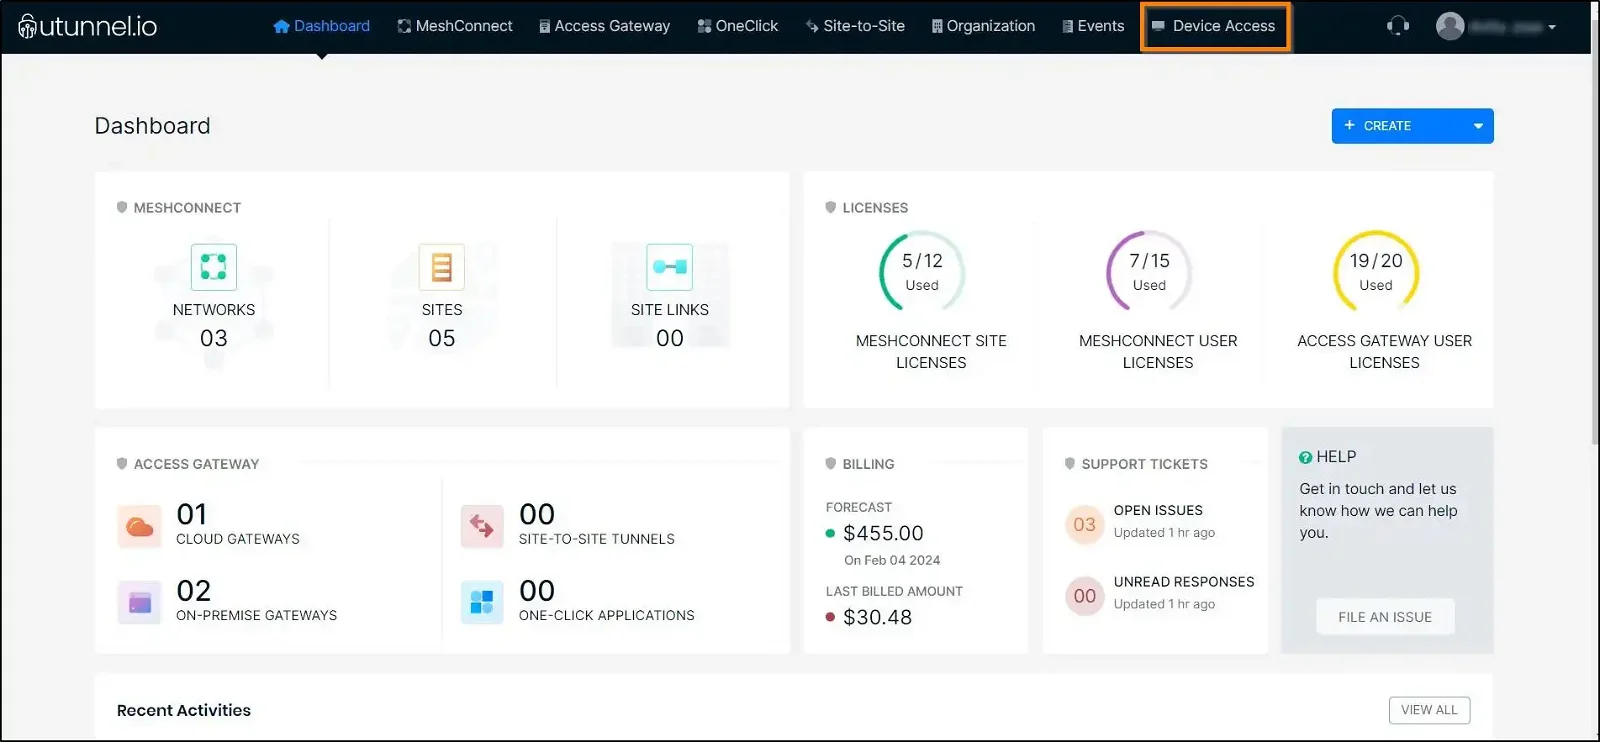
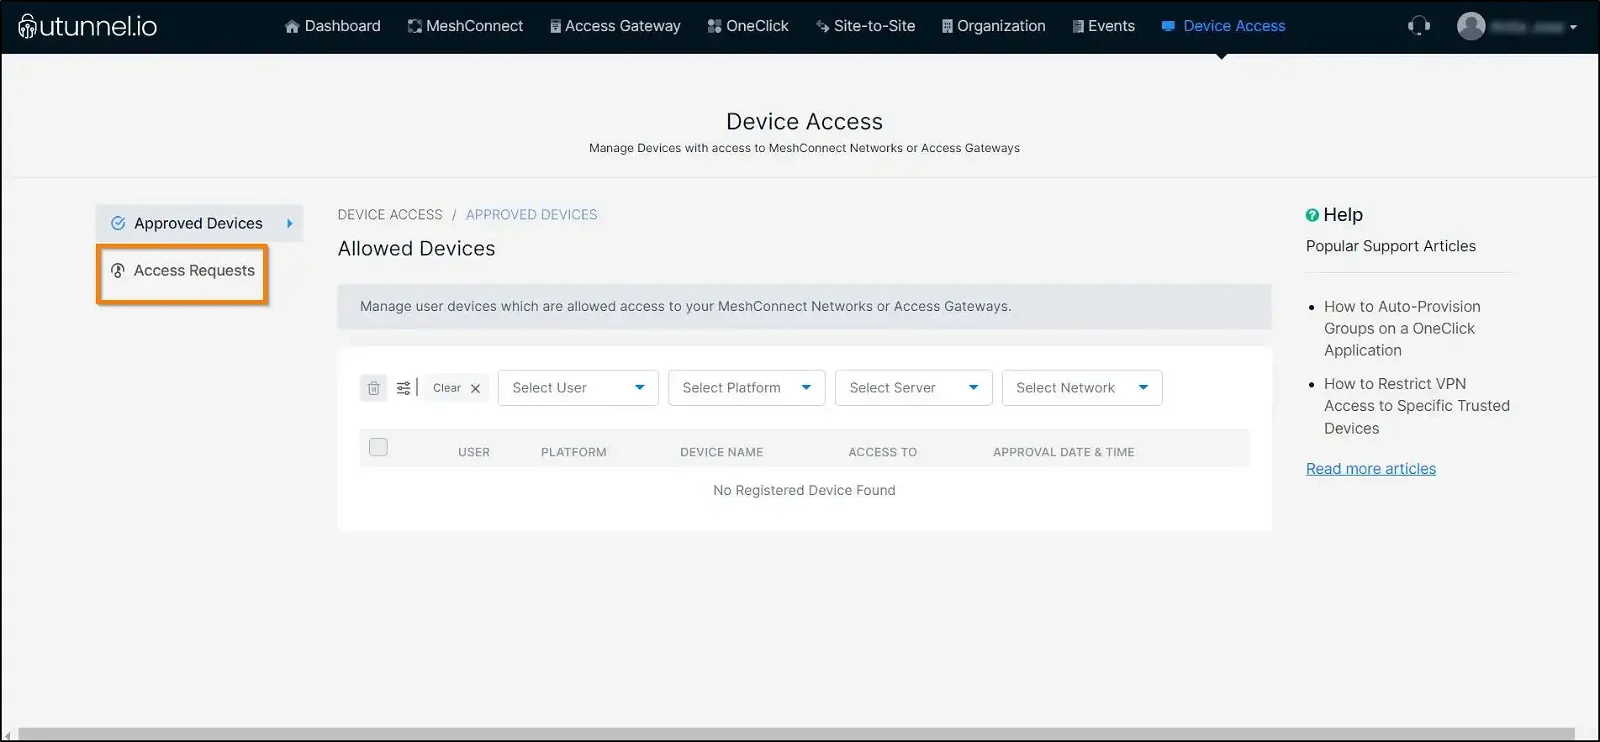
1. From your UTunnel dashboard page, navigate to the Device Access tab.
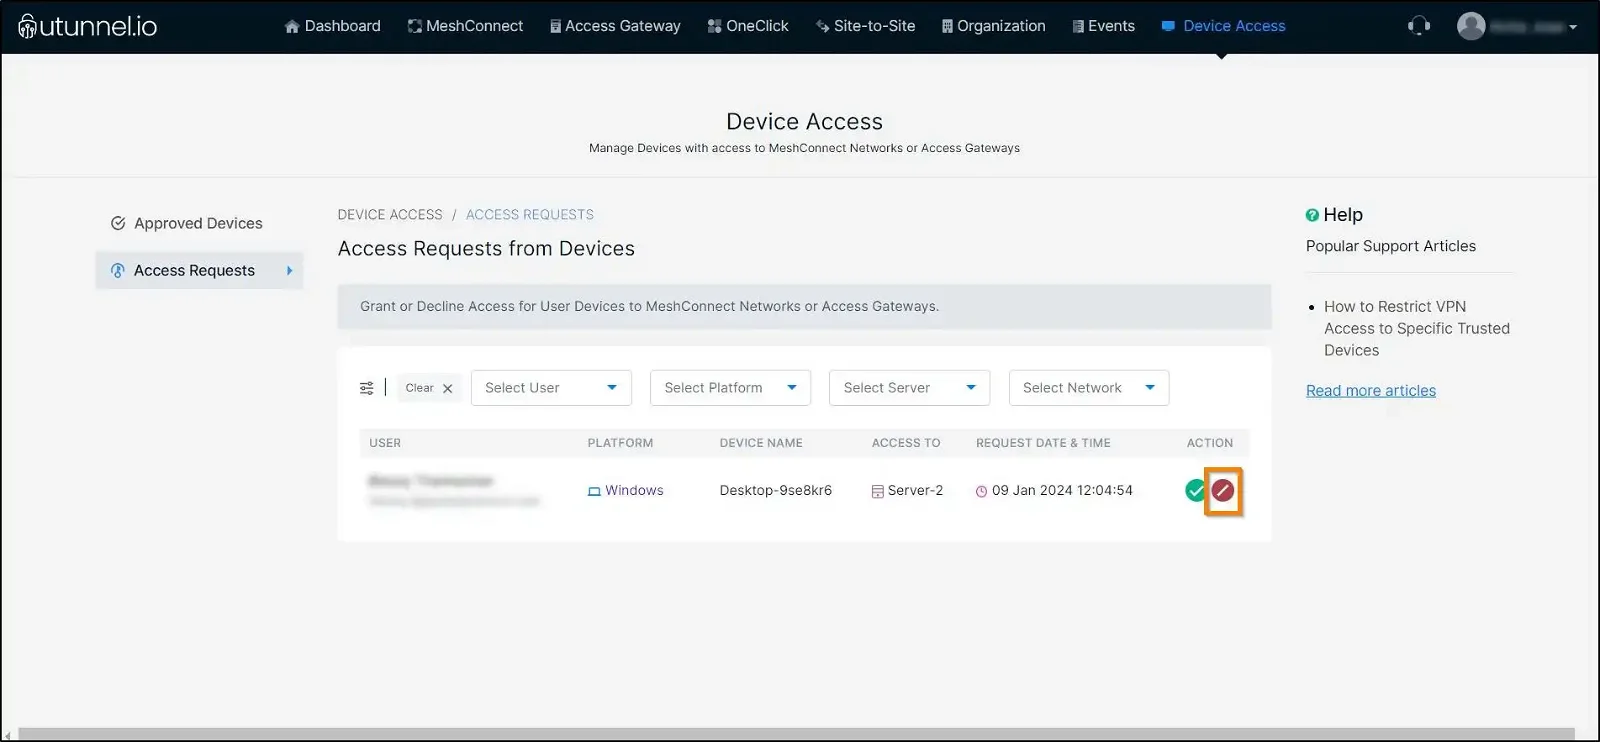
2. Within the Device Access page, navigate to the Access Requests tab to view the list of devices that have requested to connect with the VPN server.

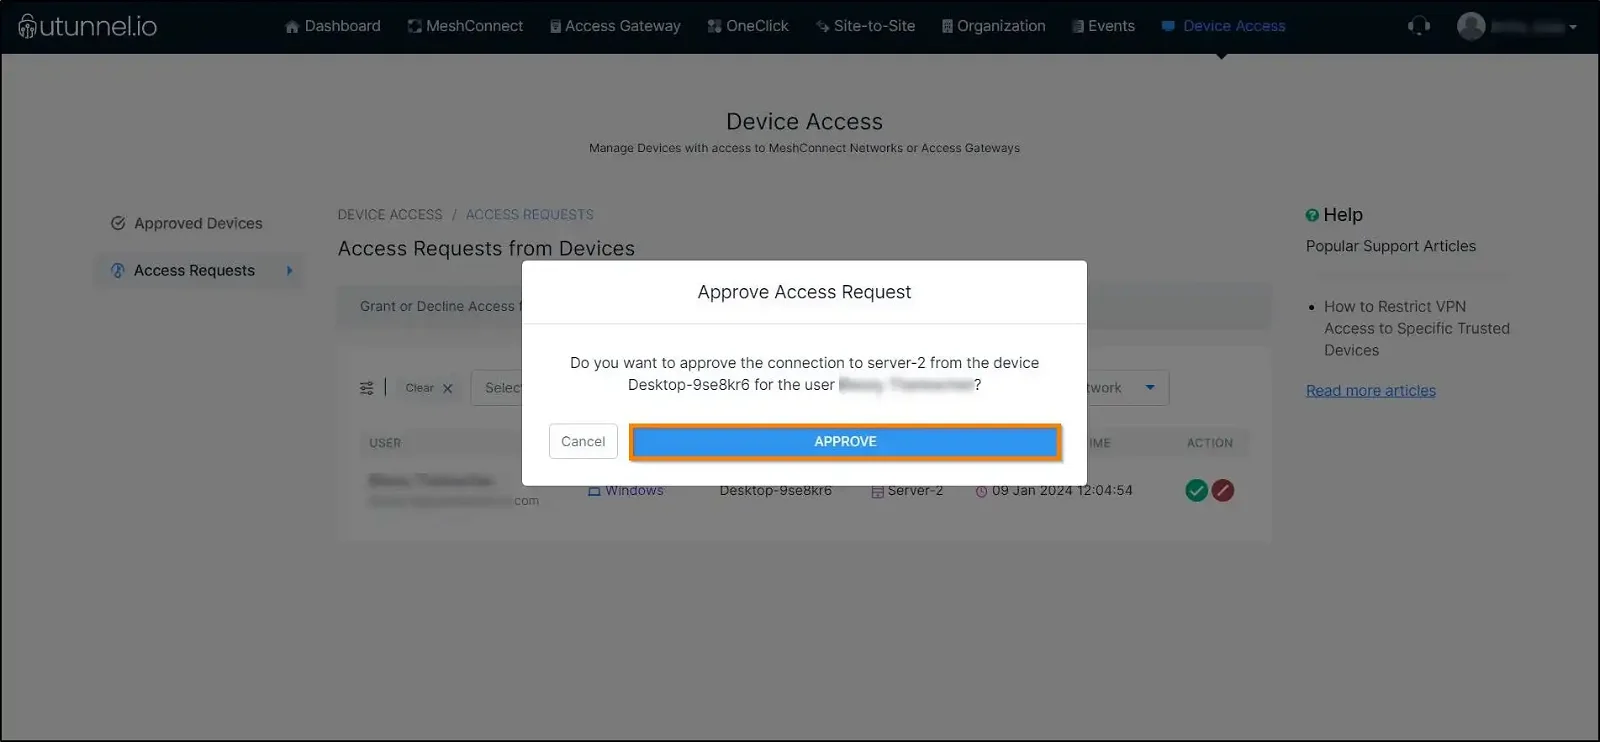
4. An Approve Access Request pop-up would appear asking for your permission to approve the access request. Click on the Approve button to allow the device access to the VPN service.
5. To deny an access request, click on the Deny button.
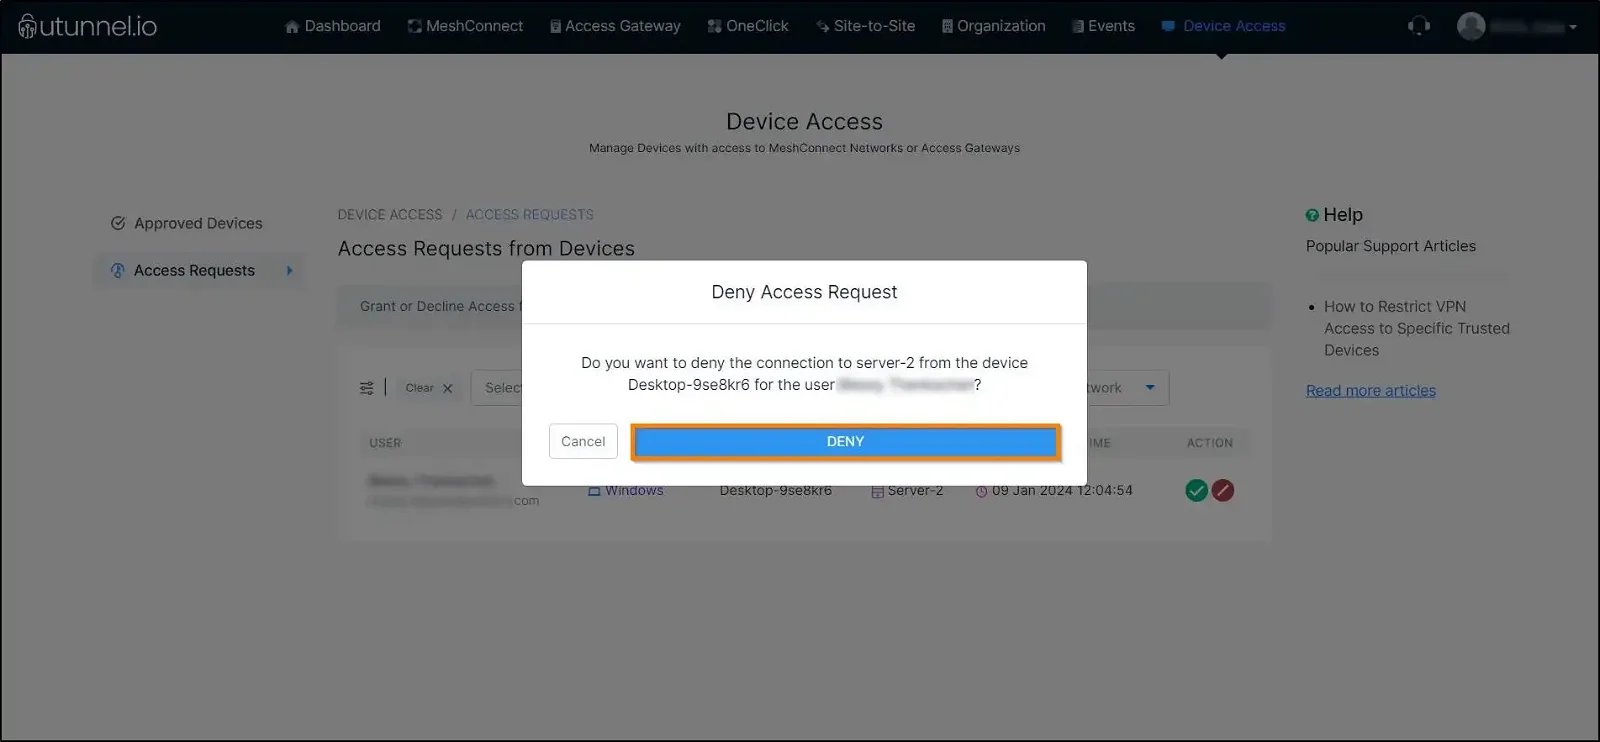
6. A Deny Access Request pop-up would appear, asking for your permission to deny the access request. Click on the Deny button to deny the device access to the VPN service.
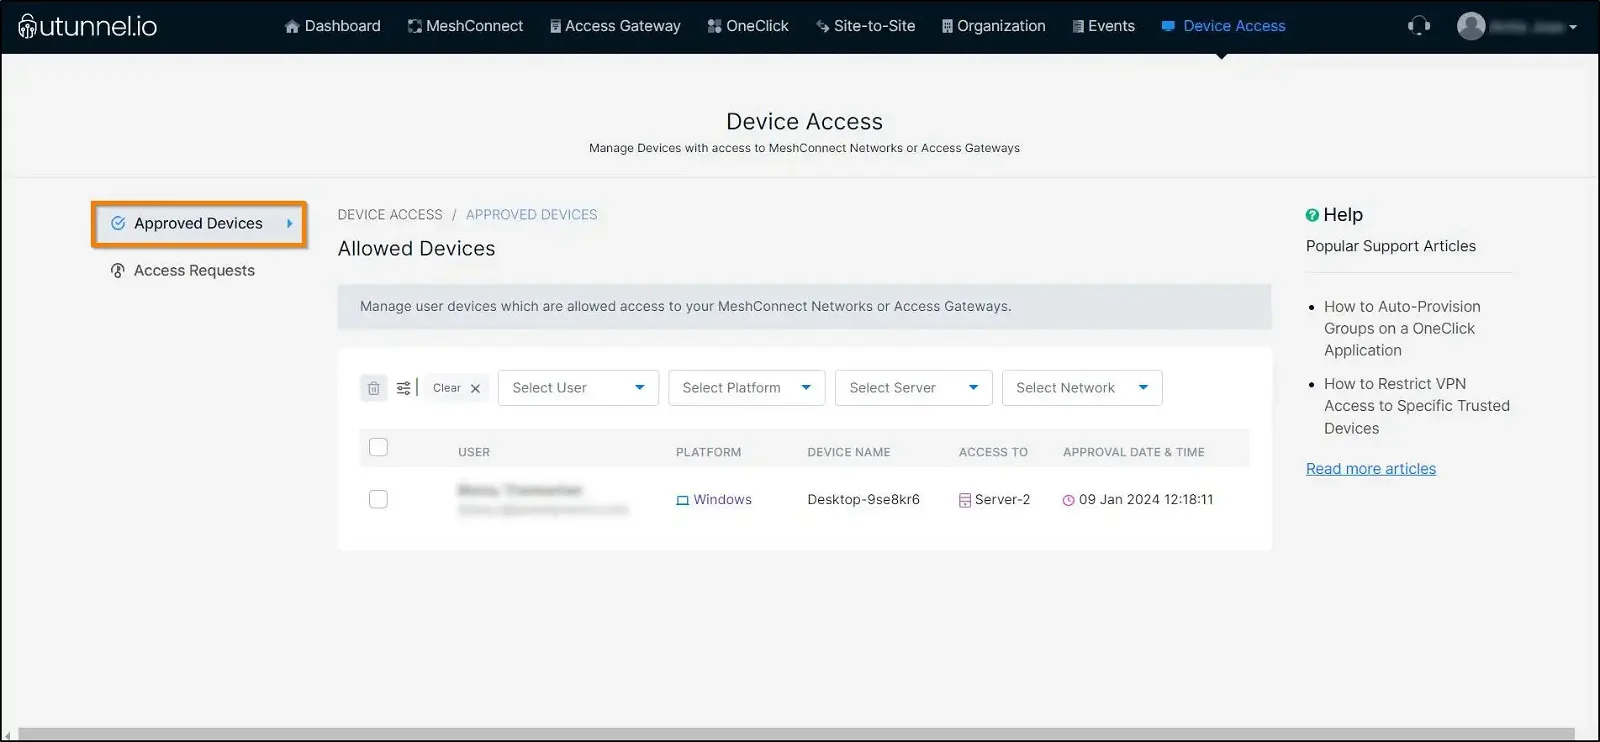
7. To view the list of approved devices, navigate to the Approved Requests page. Here, you can view the trusted devices that can access the selected VPN server. Here, you can also remove any approved devices as required.