Updated on 22 Jun, 2023
This guide will help you to redeploy an On-Premise VPN server from UTunnel VPN.
1. Connect to your server via SSH with root-level privileges and execute the following command to stop the UTunnel service:
sudo /utunnel/bin/utnservice stop
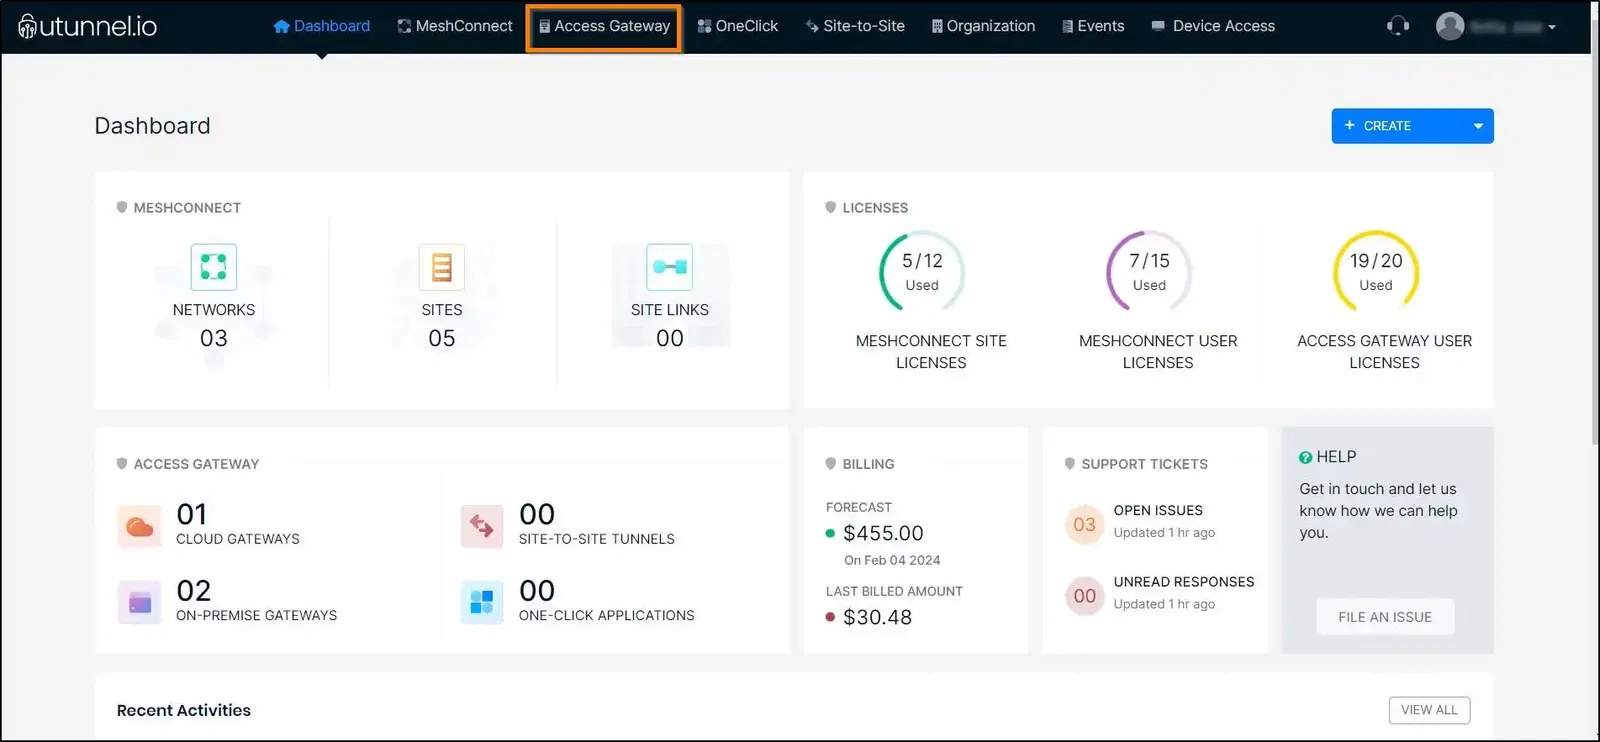
2. Access your UTunnel Dashboard by logging in to your UTunnel account.
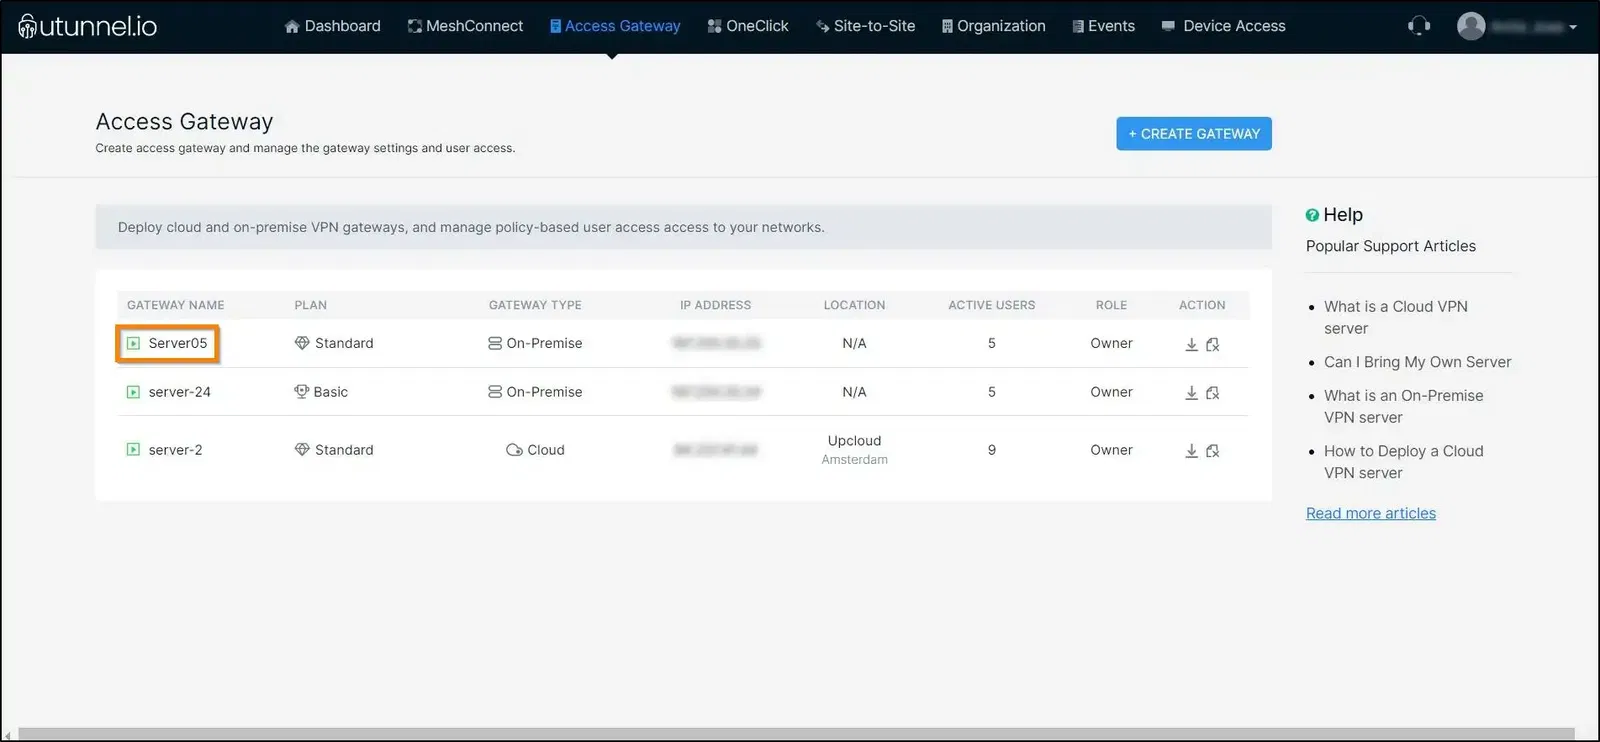
3. Click on the Server tab to access the on-premise server for which you want to change the IP address.
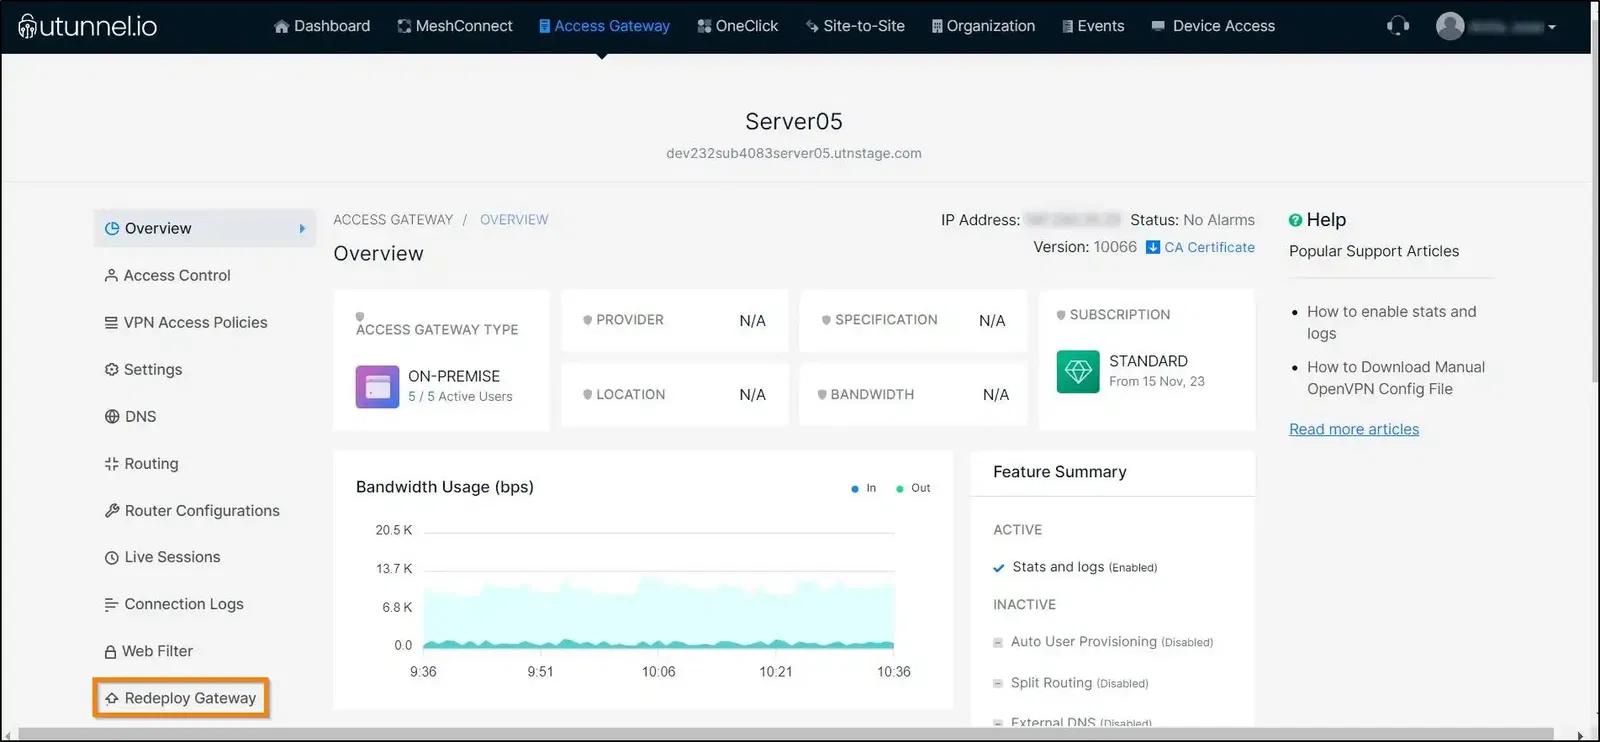
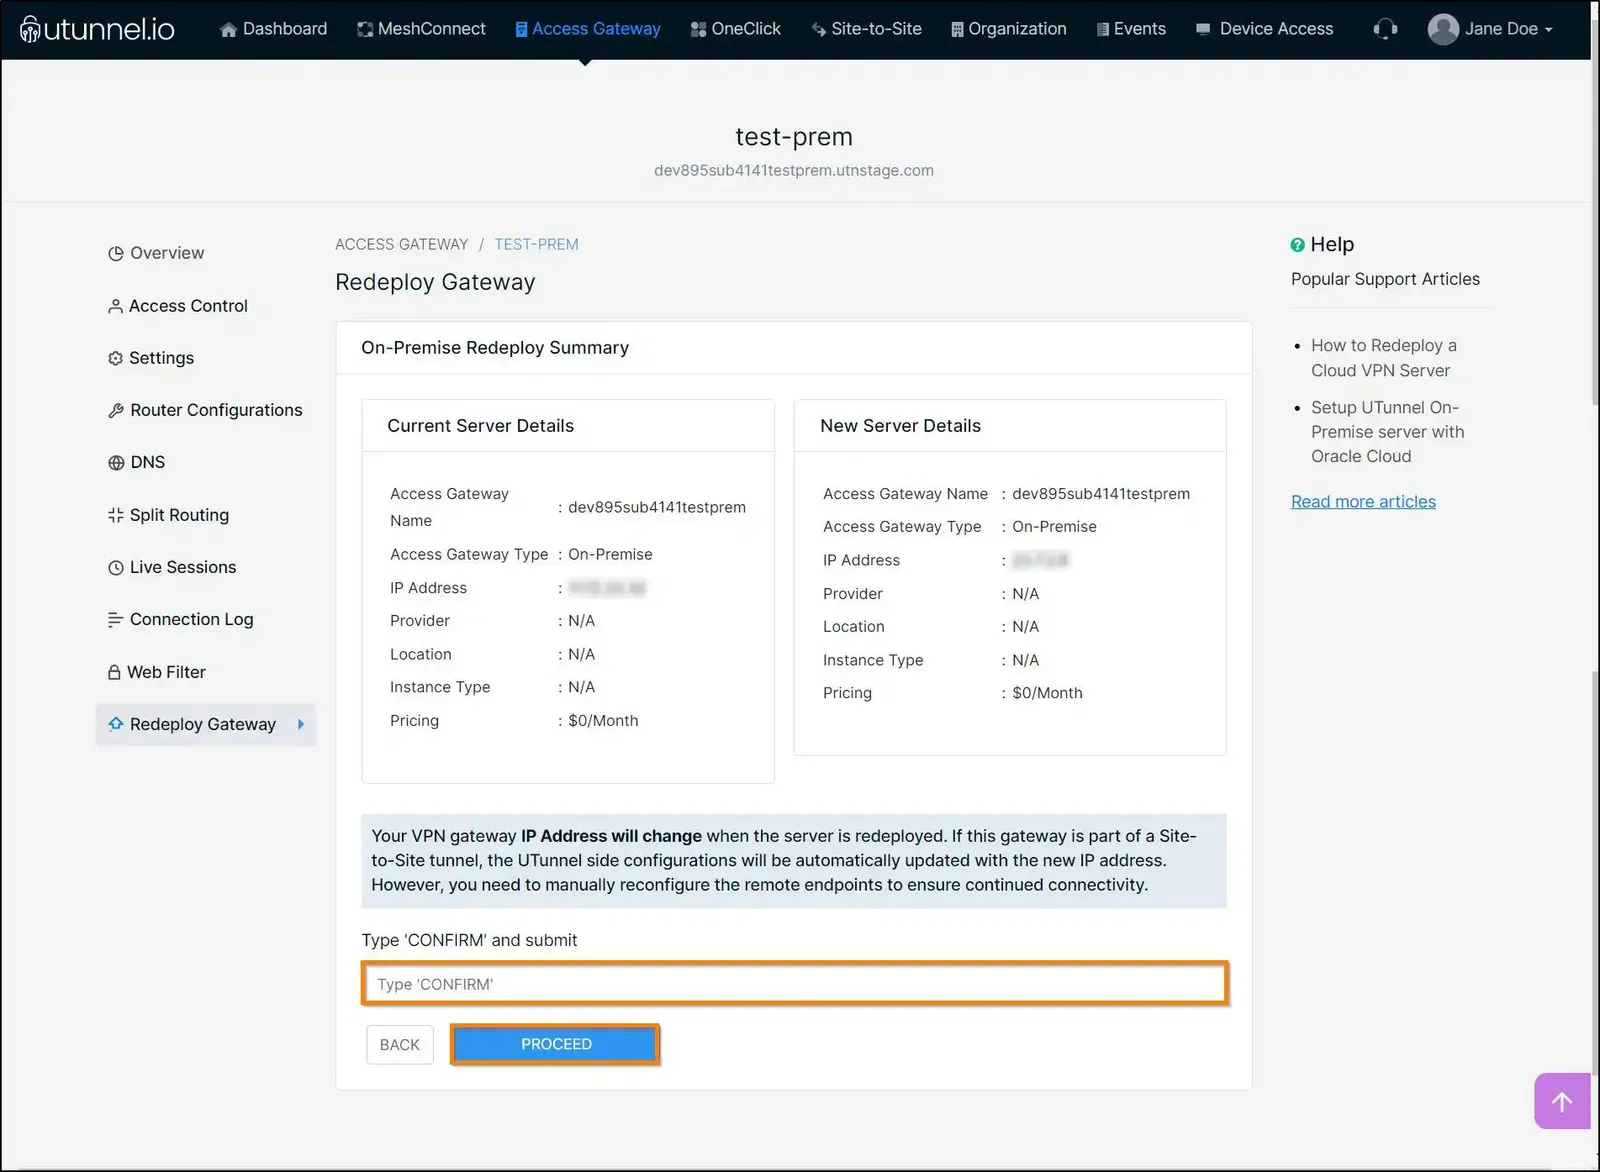
4. Select the "Redeploy Server" option from the left side menu.
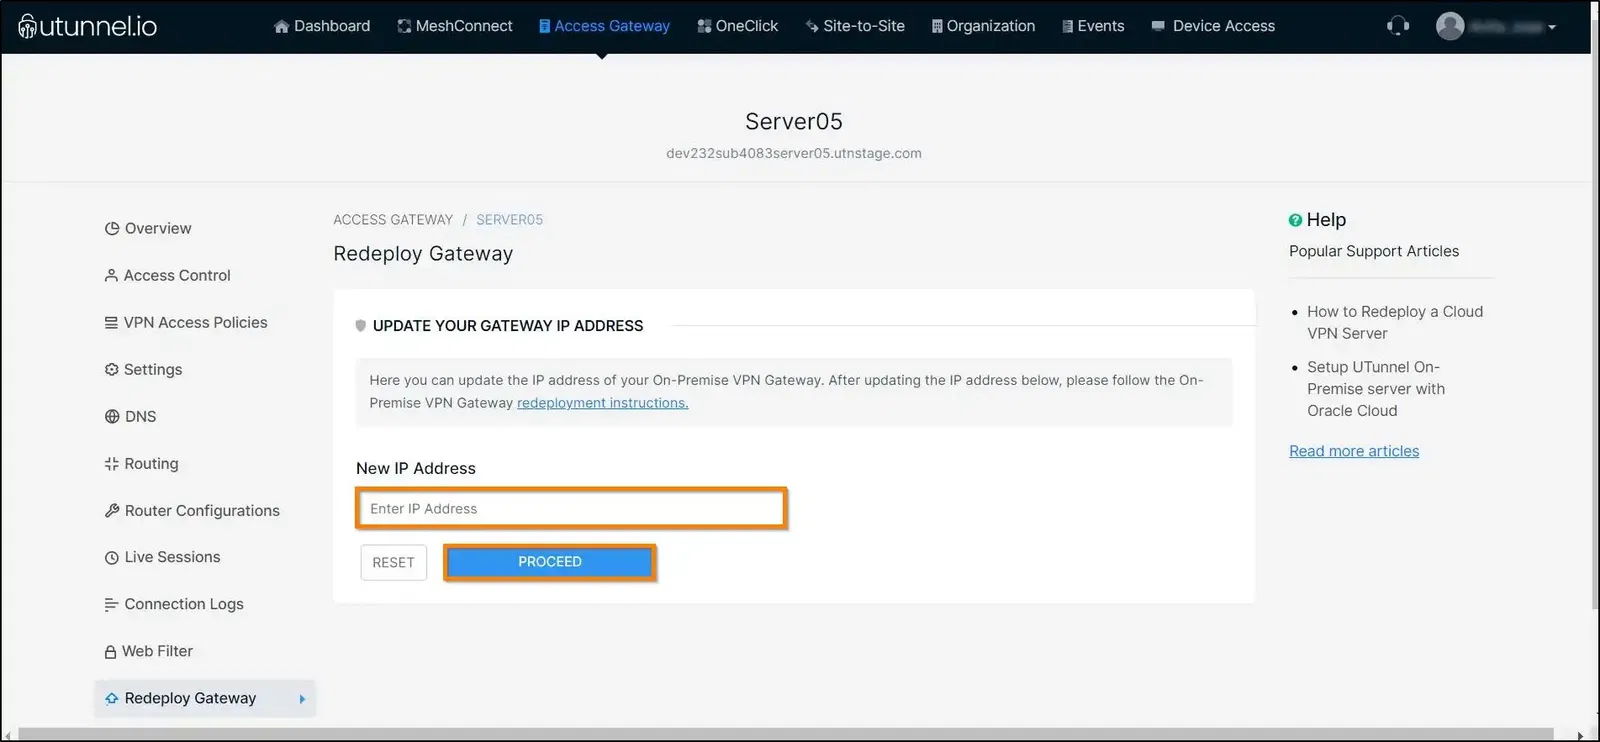
5. Type in the IP address you want to update to your UTunnel VPN server in the Enter new IP Address field and click the PROCEED button at the top right.
6. Key in CONFIRM into the required field and click on the PROCEED button to start redeploying the server.
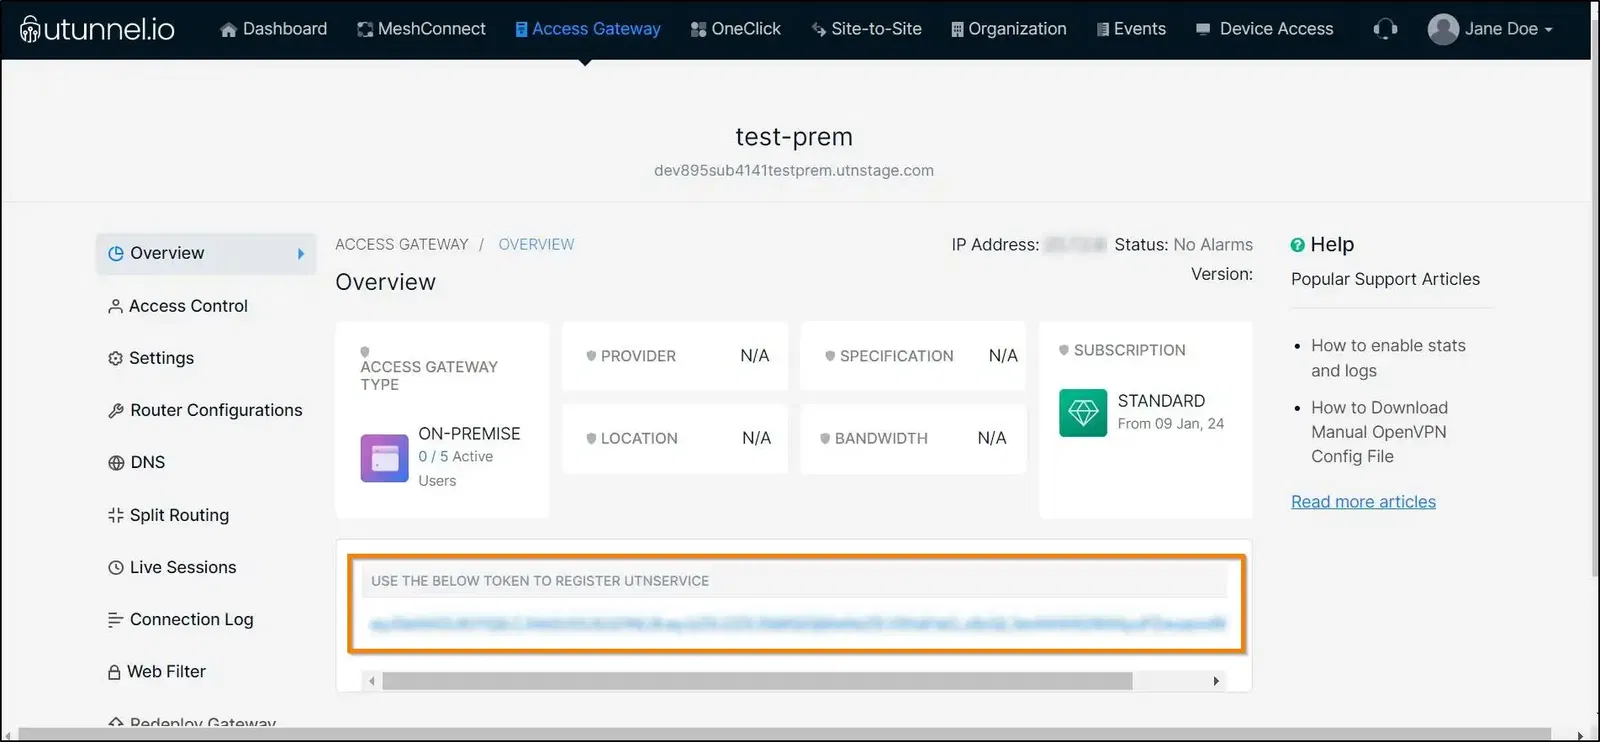
7. Now you will receive a token to register the utnservice. Copy the token and proceed.
8. Now, connect to your new server via SSH with Sudo access. After the successful login, execute the following commands:
sudo mkdir /utunnel && cd /utunnel
sudo wget https://files.utunnel.io/production/deploy/install_bundle_20.tar
sudo tar -xf install_bundle_20.tar
9. In the next command, you need to replace YOUR_REGISTRATION_TOKEN with the registration token you copied from the Server Details page (Step #8).
sudo /utunnel/bin/utnservice register YOUR_REGISTRATION_TOKEN
10. Now it's time to start UTunnel Service on your server. Run the following command for the same.
sudo /utunnel/bin/utnservice start
11. Make sure that inbound connections to the following ports are allowed to accept VPN connections.
Ports used for OpenVPN connections
Ports used for IPSEC connections
Ports used for managing UTunnel services like live sessions, firewall, and site-to-site tunneling.
Now your server would be ready to accept VPN connections. Invite users to your server and start using your VPN.
** Please contact support if you need assistance to set up an On-Premise Server. **