UTunnel provides its users with client apps designed for major operating systems, such as Linux, Windows, Mac OS, Android, and iOS. This article explains how to install and configure the UTunnel client app on the Linux operating system.
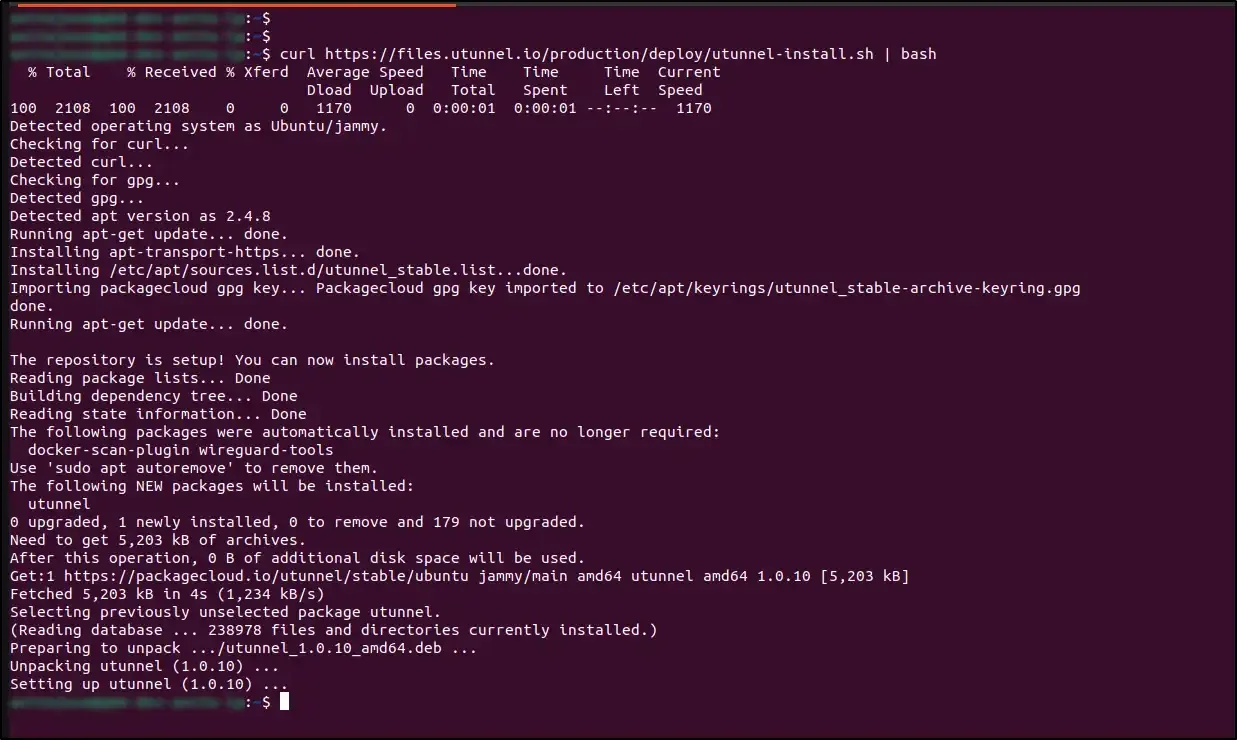
1. Run the following command on the command line to install the UTunnel Linux Client:
curl https://files.utunnel.io/production/deploy/utunnel-install.sh | bash
2. Initialize the client by running the following command:
sudo utunnel init
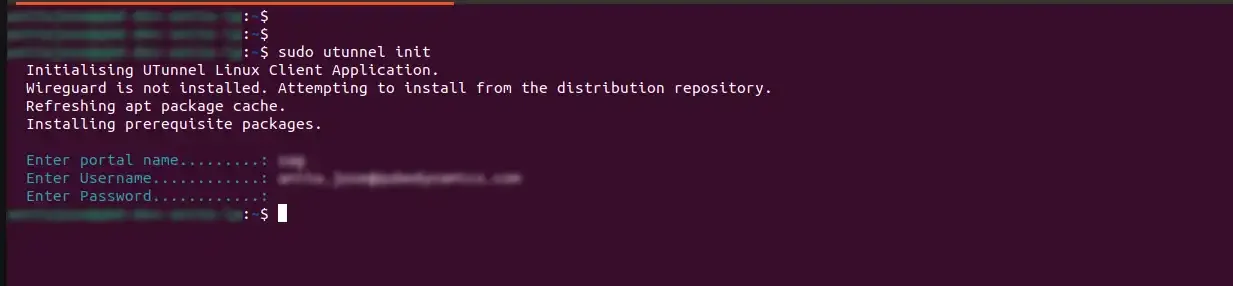
You will be prompted to give the Organization’s portal name—key in your portal name and username, which will be your email. If you are using a personal account instead of a business one, please key in the portal name as 'default'.
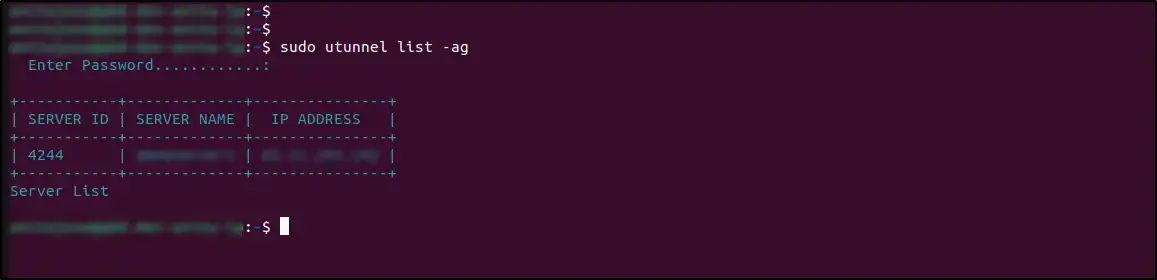
3. You can use the following command to list the available VPN Access Gateways for the user:
sudo utunnel list –ag
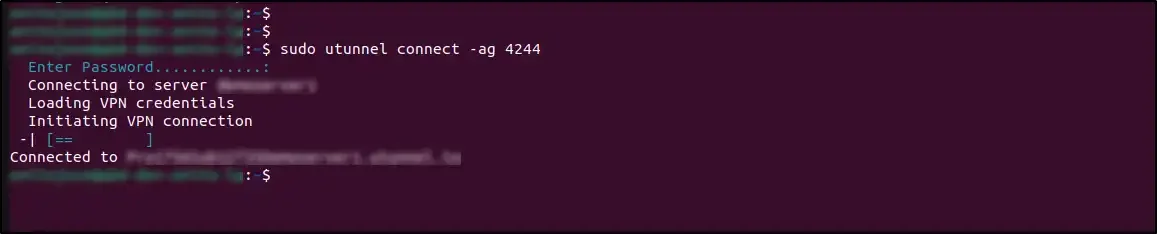
4. Now, to connect to a listed gateway, you can use the following command along with the server ID you had previously received:
sudo utunnel connect -ag <SERVER_ID>
5. To disconnect from the connected server, you can use the following command:
sudo utunnel disconnect
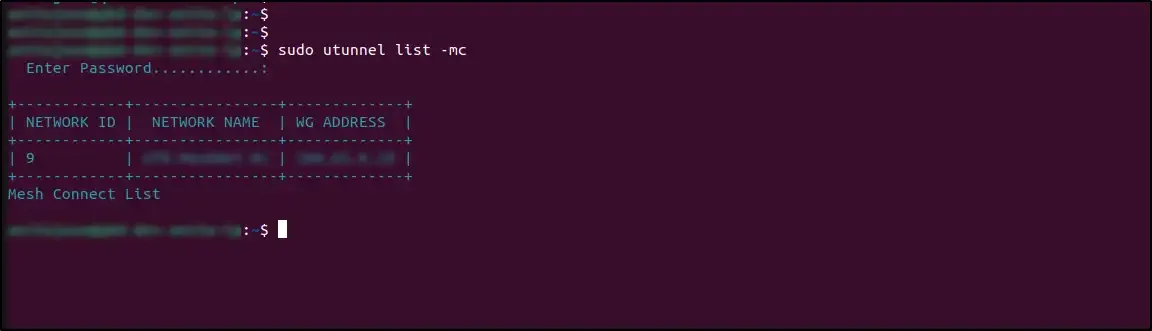
6. You can also list the available MeshConnect networks using the following command:
sudo utunnel list –mc
7. To connect to a listed MeshConnect network, you can use the following command along with the MeshConnect id you received earlier:
sudo utunnel connect -mc <MESHCONNECT_ID>

8. If you want to disconnect from the MeshConnect network, you can do the same using the following command:
sudo utunnel disconnect