UTunnel allows you to modify the default subnets behind the VPN and define subnets based on your specific requirements. This feature is useful for users who opt for the On-Premise or Bring Your Own Server (BYOS) option to deploy their UTunnel VPN server.
This guide describes how to modify the default subnets behind the VPN when using different VPN protocols.
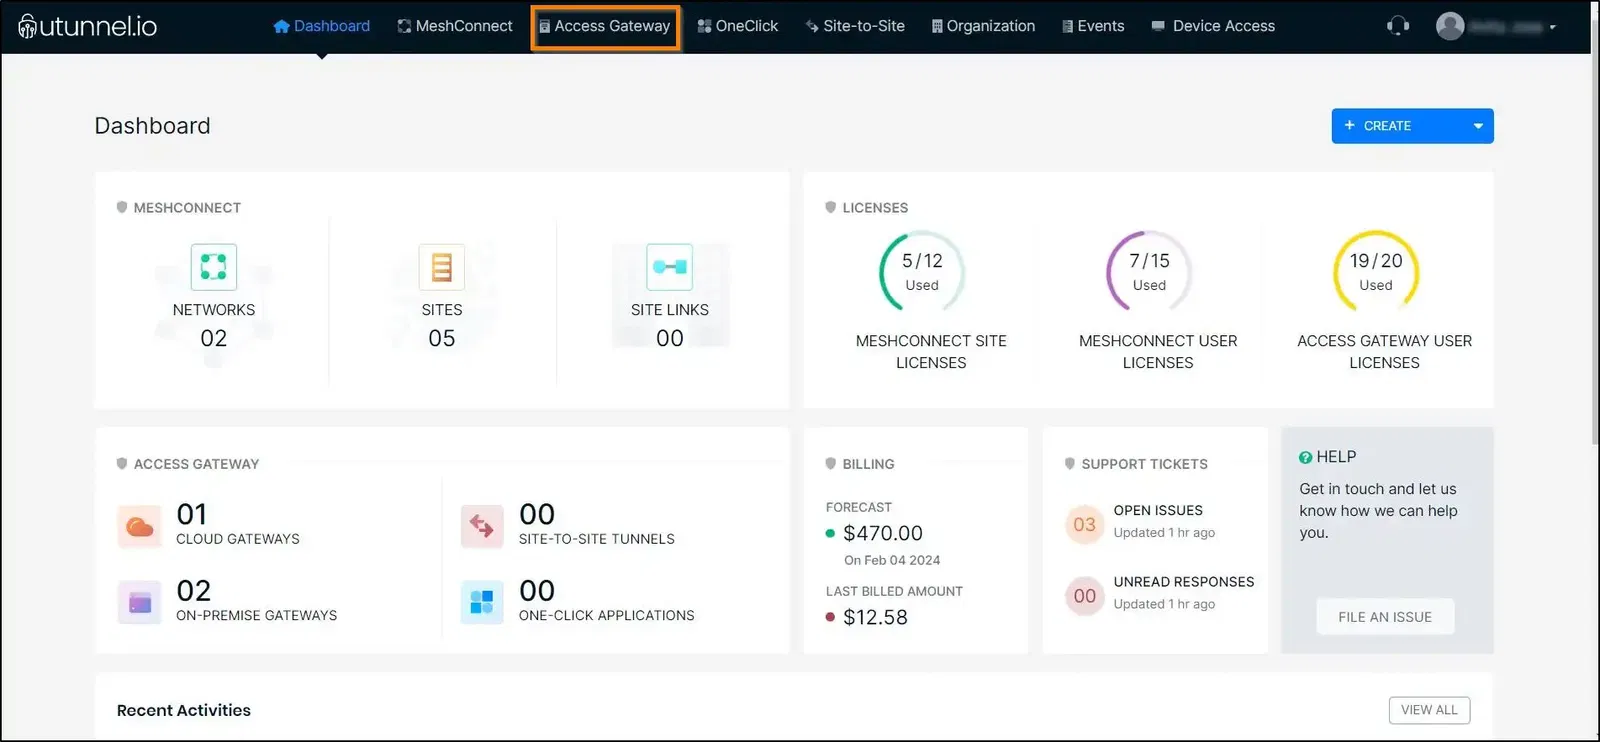
1. Log in to your UTunnel account (personal/organization) and navigate to the Server tab.
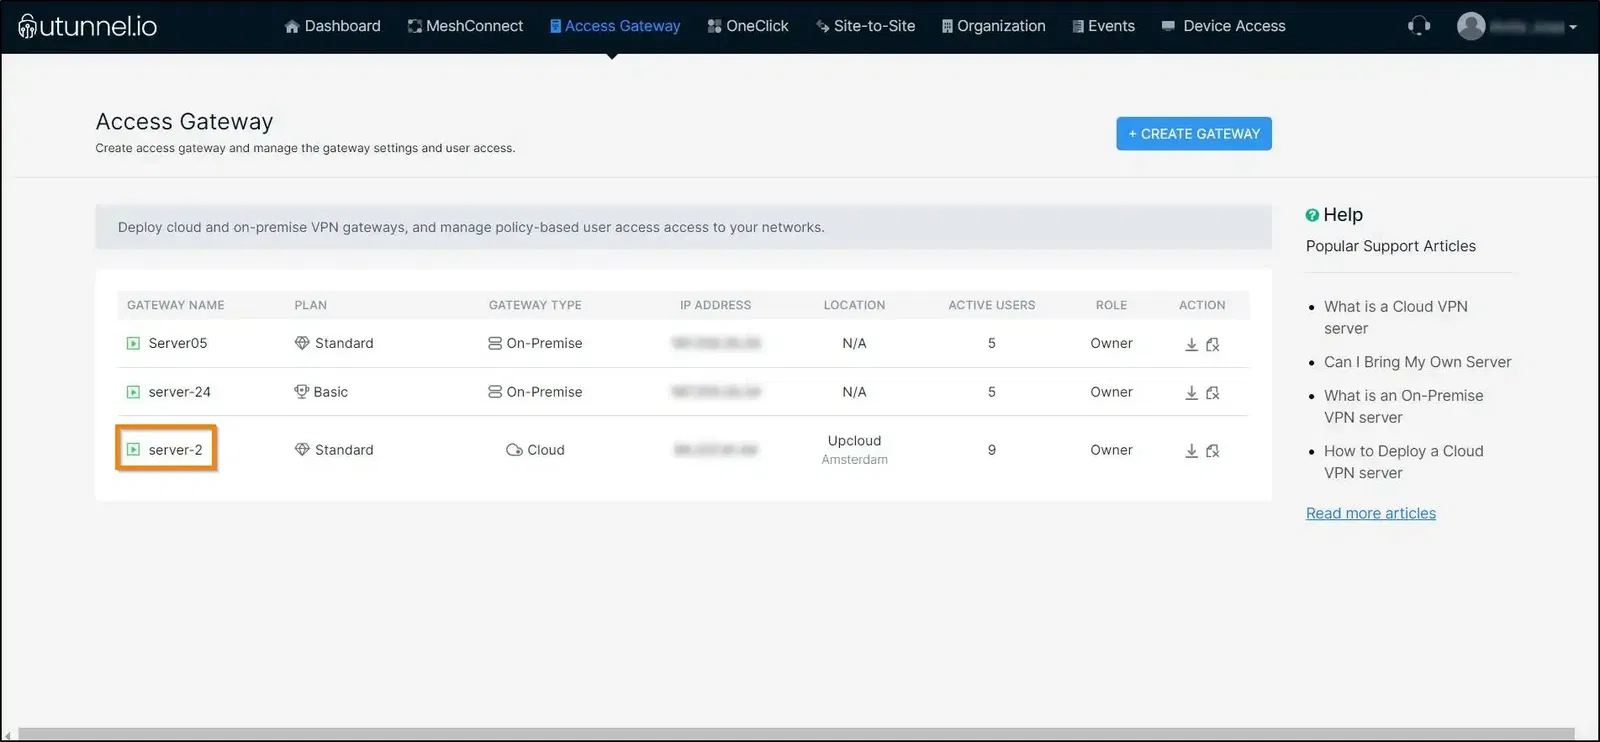
2. Click on the server name on which you want to modify the default subnets.
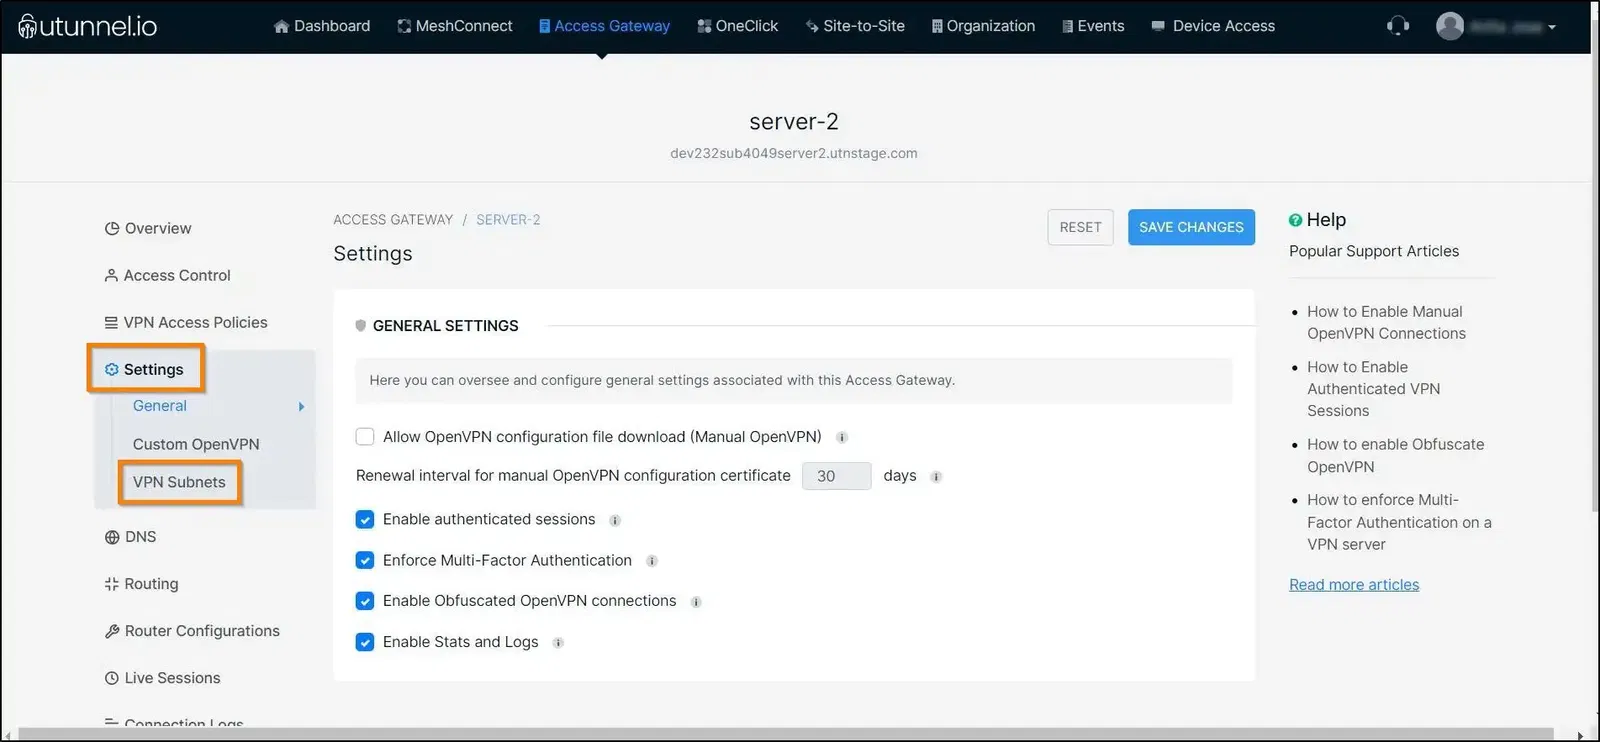
3. Navigate to the Settings tab in the side menu and click on the VPN Subnets from the expanded menu.
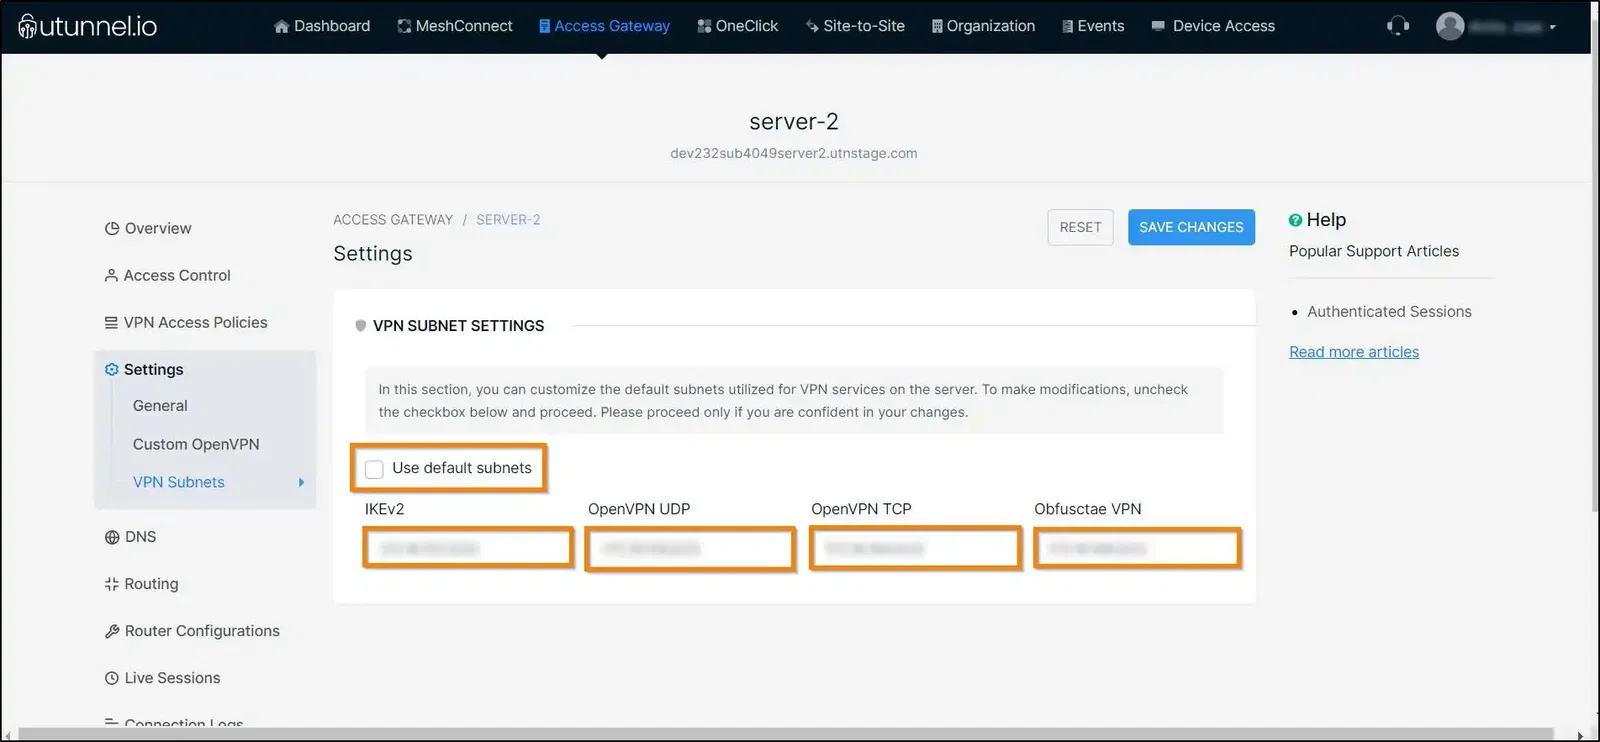
4. Within the VPN Subnet Settings page, disable the Use default subnets option by unchecking it. Key in your preferred IKEv2, OpenVPN UDP, OpenVPN TCP, and obfuscate VPN subnets to the corresponding text boxes and click on the SAVE CHANGES button.
After modifying the subnets, make sure that you restart the services on your VPN server for the changes to get reflected.
In the case of an integrated cloud VPN server, the service will restart automatically. However, in the case of an on-premise VPN server, the UTunnel service restart needs to be performed manually.