By default, UTunnel requires authentication when a user tries to sign in to the web dashboard or the VPN client application. However, you can configure your VPN gateway to require authentication during each VPN connection attempt using the authenticated VPN sessions option.
This guide describes how to enable authenticated VPN sessions on your UTunnel access gateway.
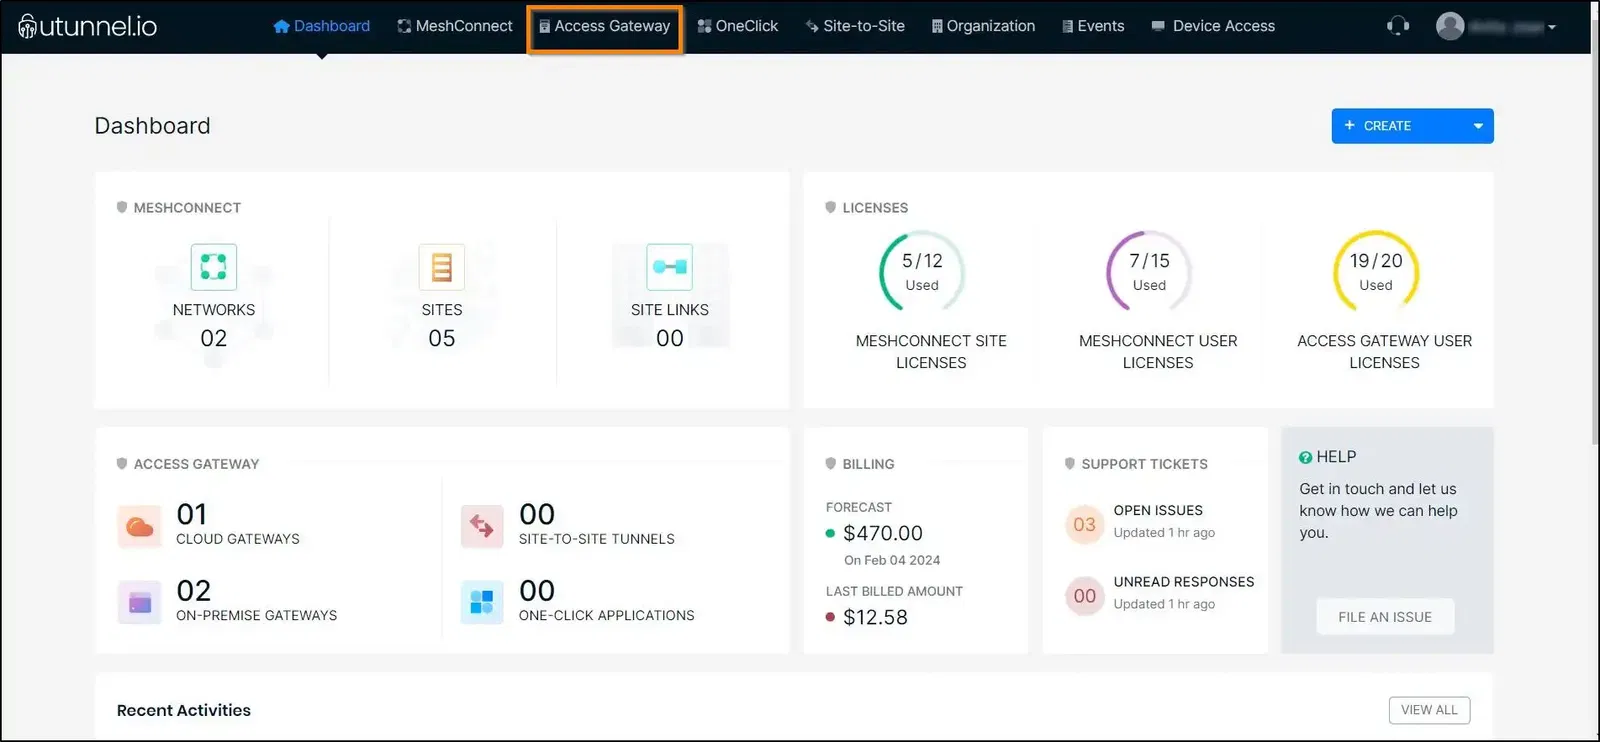
1. Log in to your UTunnel account and navigate to the Access Gateway tab.
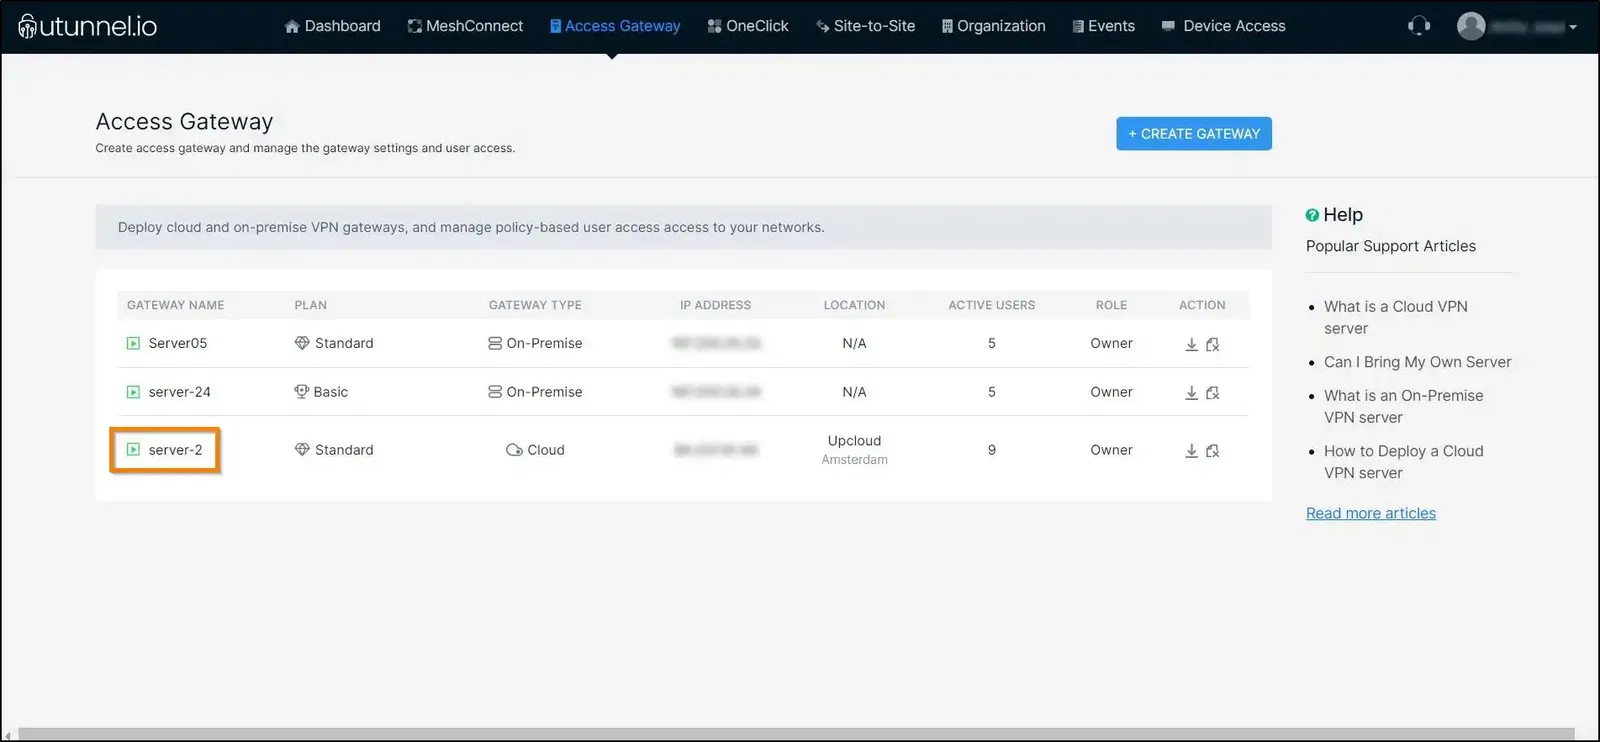
2. Click on the access gateway on which you want to enable authenticated VPN sessions.
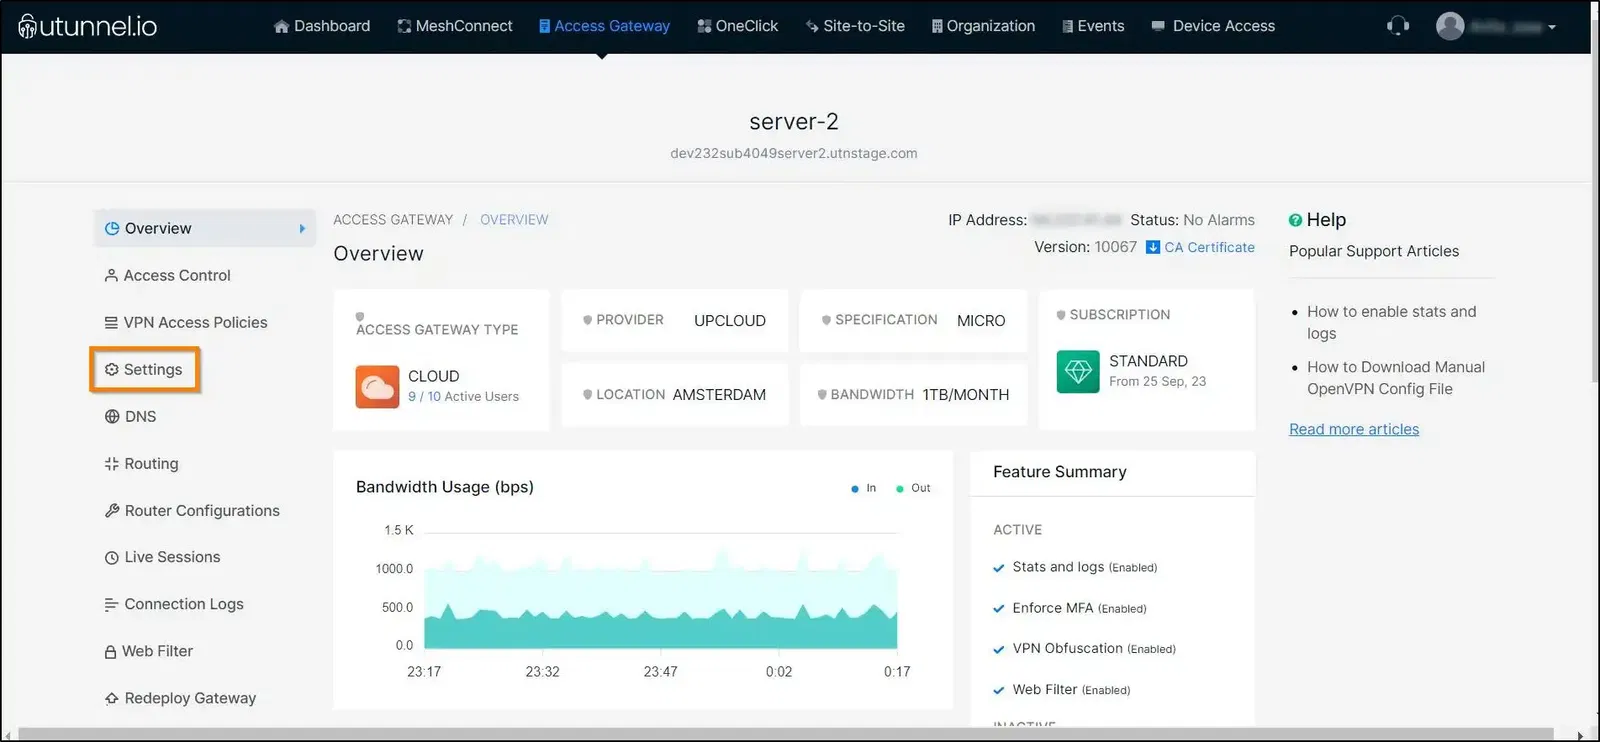
3. From the Access Gateway Overview page, navigate to the Settings option in the left-side menu.
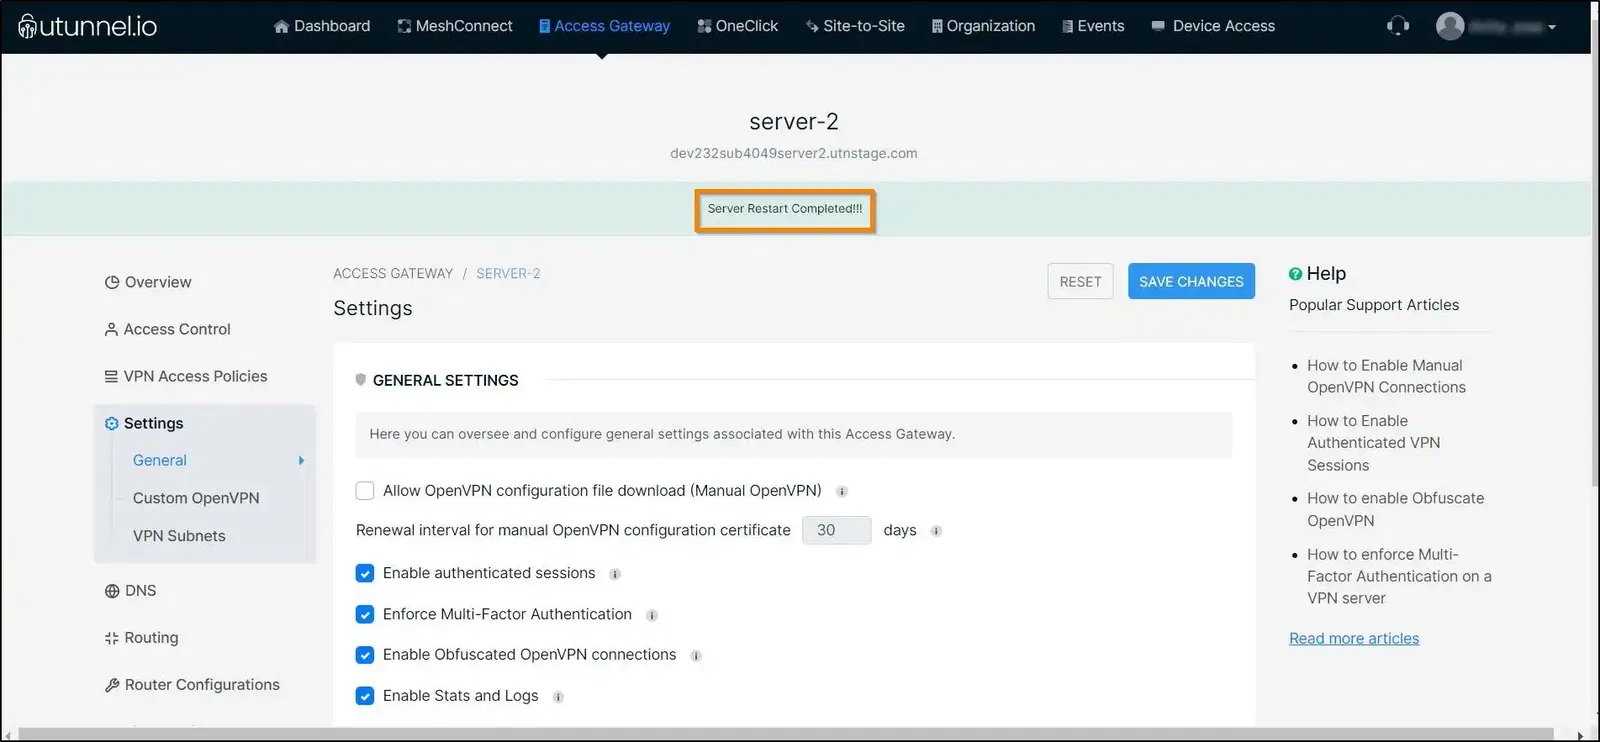
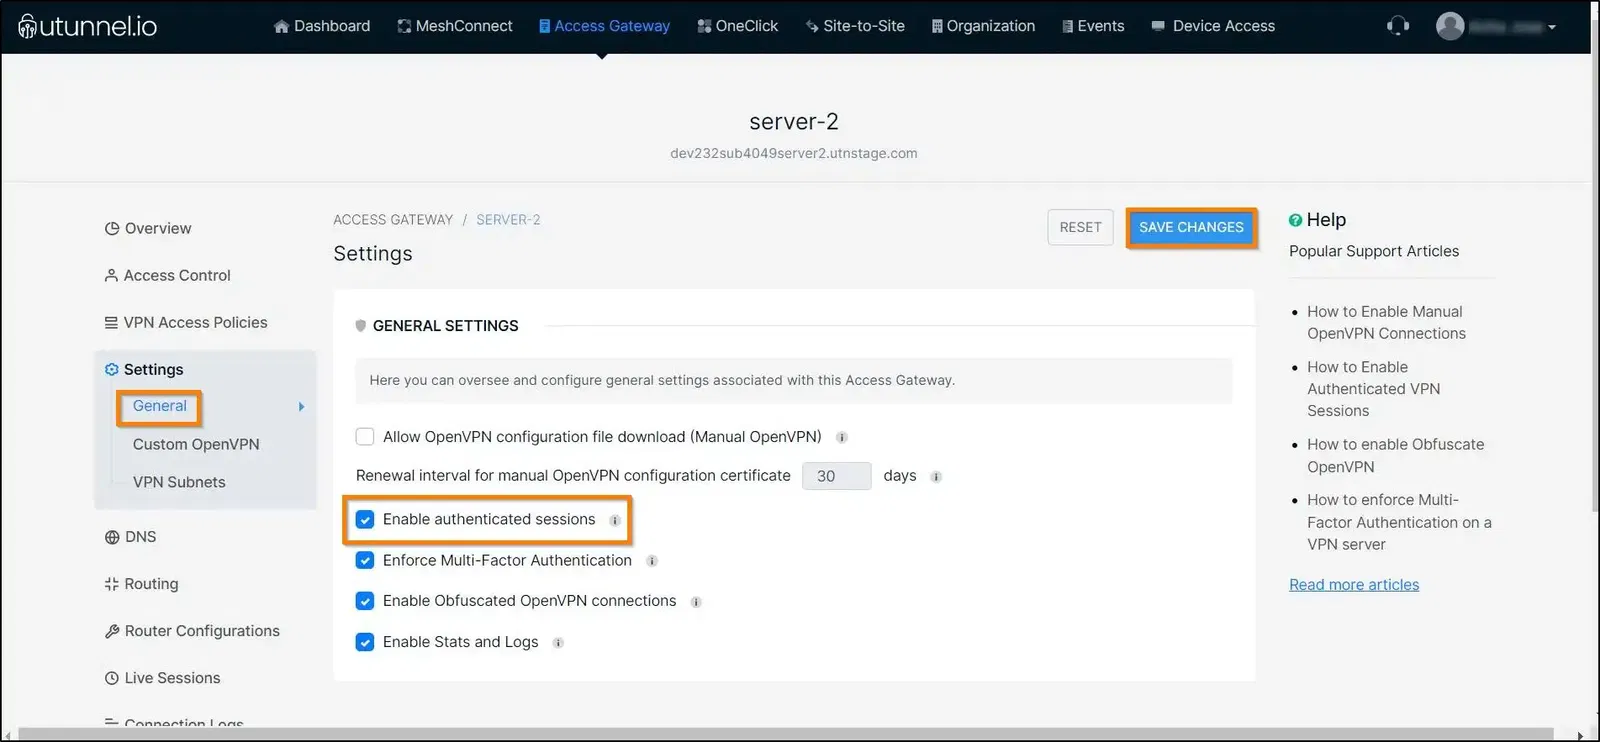
4. On the General Settings page, click on the Enable authenticated sessions option check box. Once you finish configuring the settings, click on the SAVE CHANGES button.
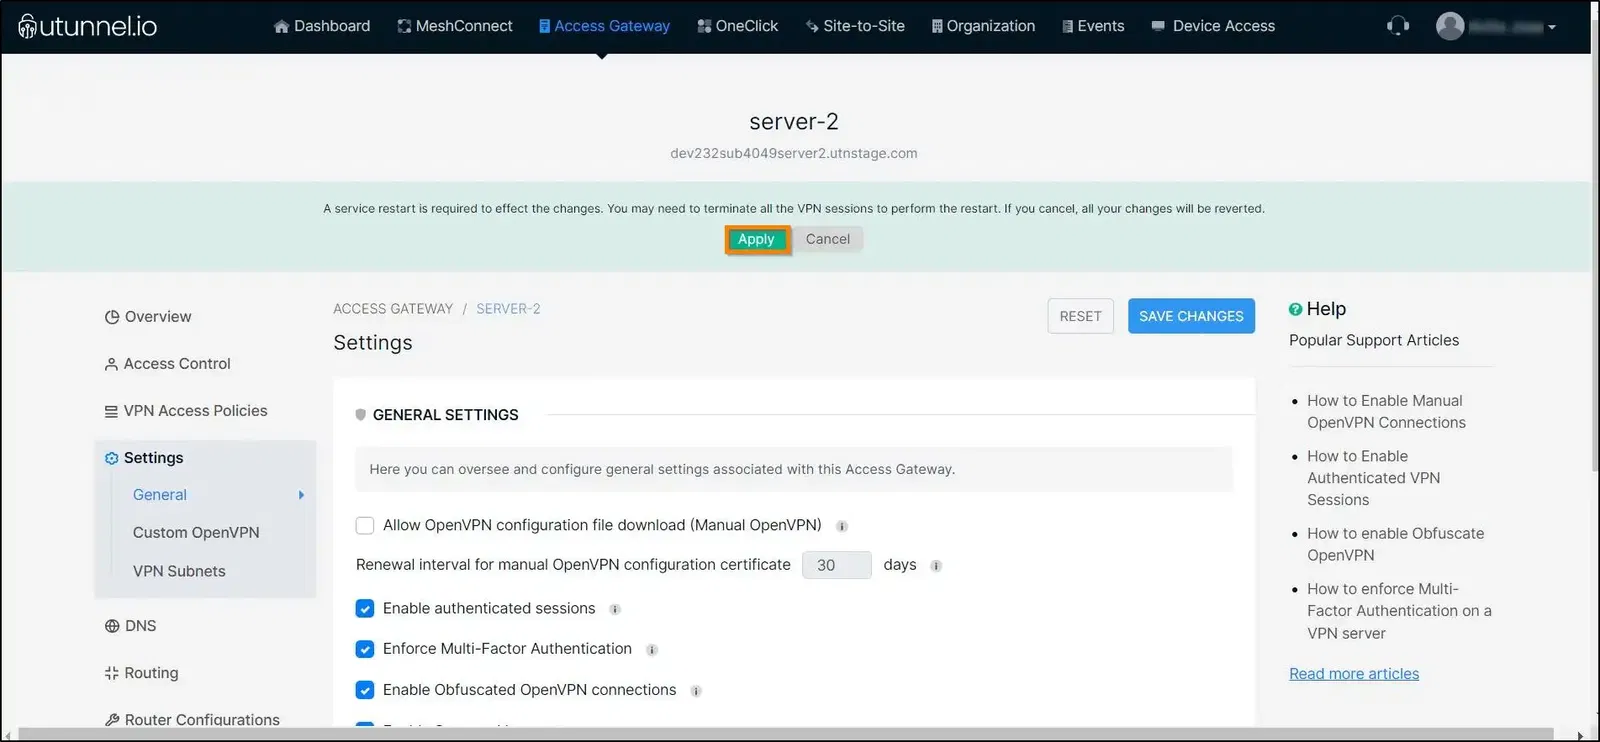
5. As changes are made to access gateway settings, the UTunnel service needs to be restarted to reflect these changes. Click on the APPLY button to initiate a service restart.
6. If you are using an integrated cloud VPN gateway, the service restart process will automatically be initiated. In the case of an on-premise gateway, you have to restart the service manually.
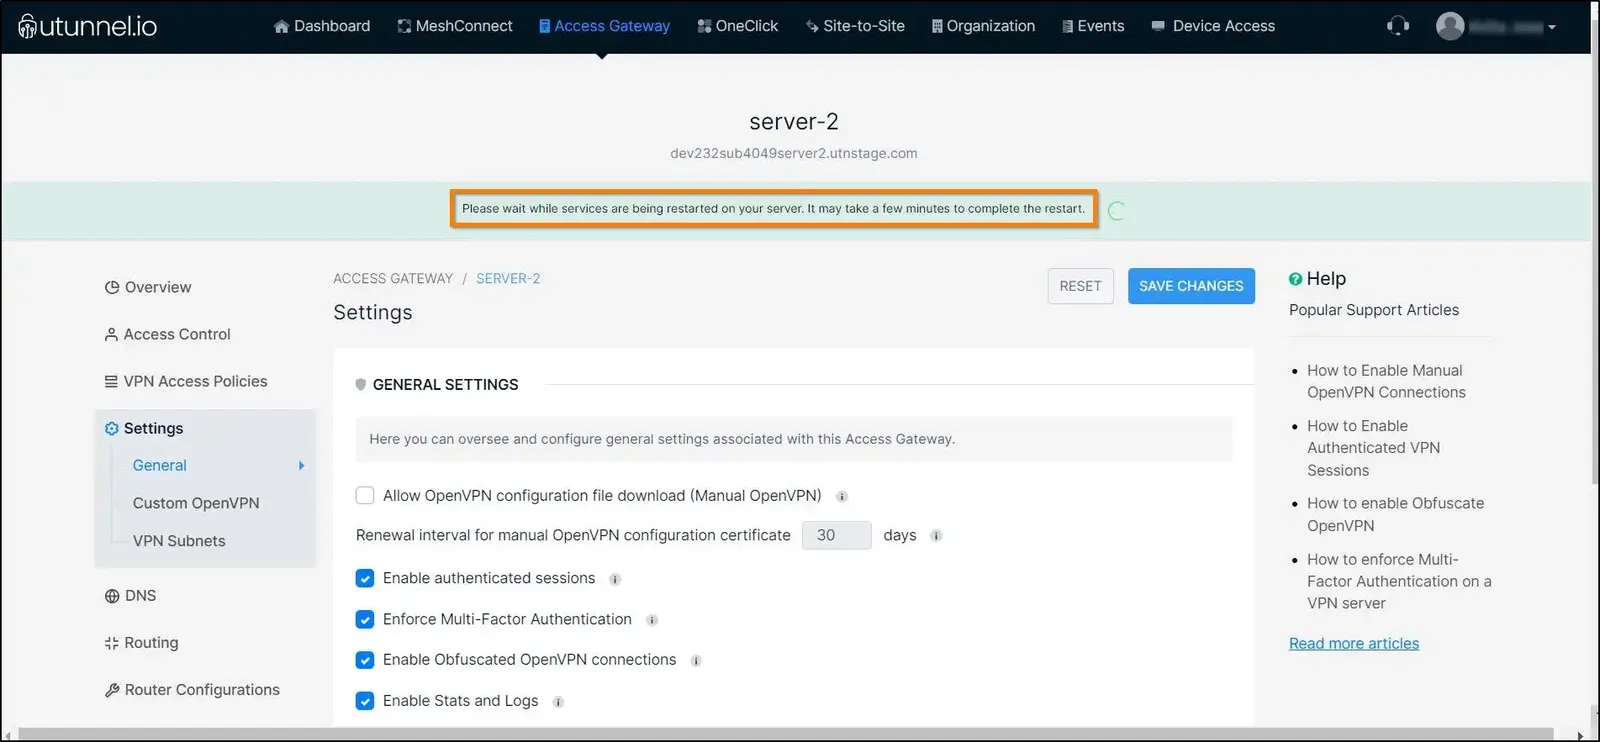
7. Once the access gateway restart is completed, you can access VPN from your client devices, and the session will be authenticated using the authenticated VPN session feature.