UTunnel’s web-filter helps block malicious websites and also allows users to blacklist top-level domains (TLDs) so that all websites belonging to the selected TLDs get blocked.
This guide describes how to enable the web-filter and blacklist a top-level domain (TLD).
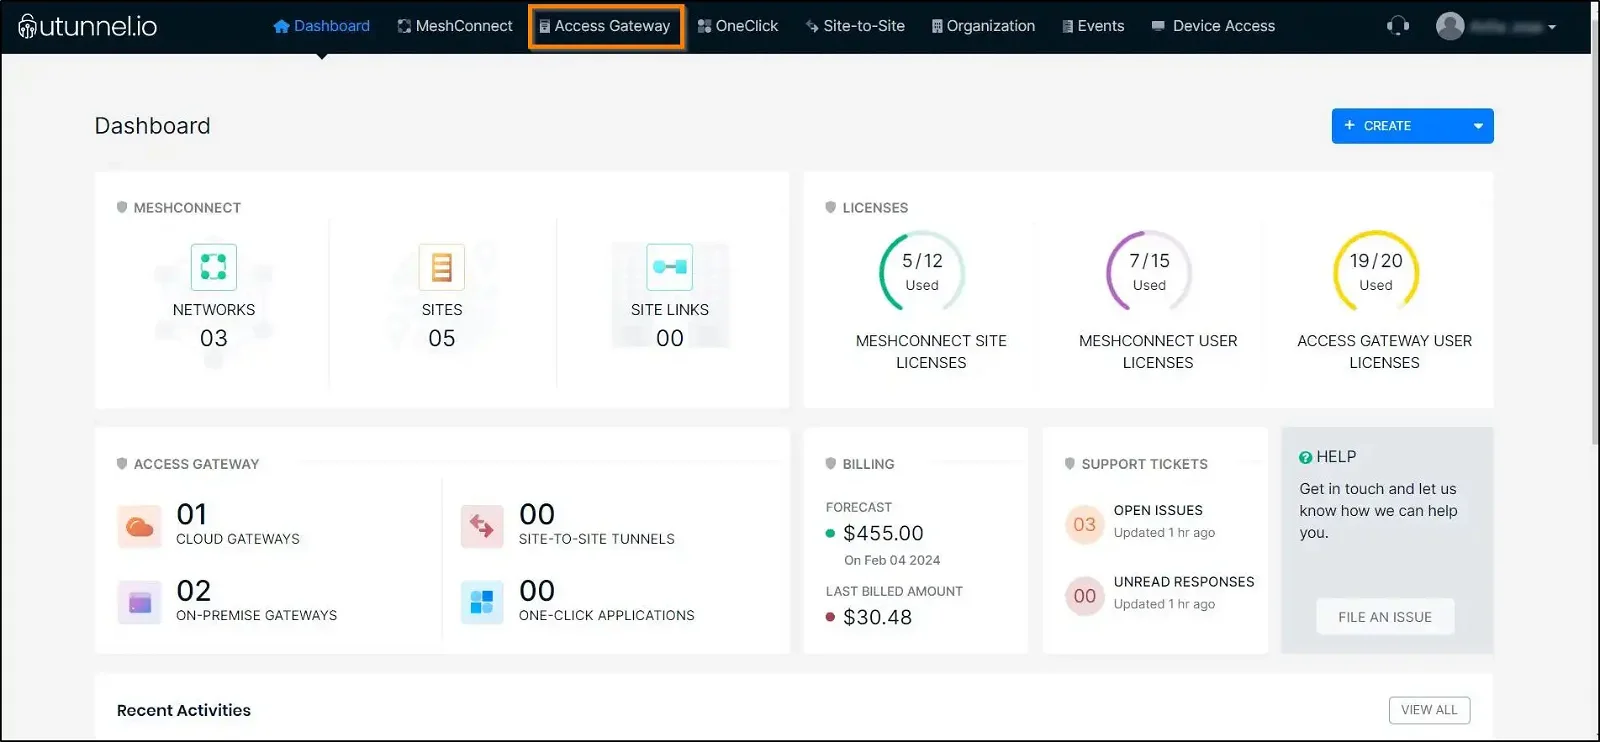
1. Log in to your UTunnel account and navigate to the Access Gateway tab.
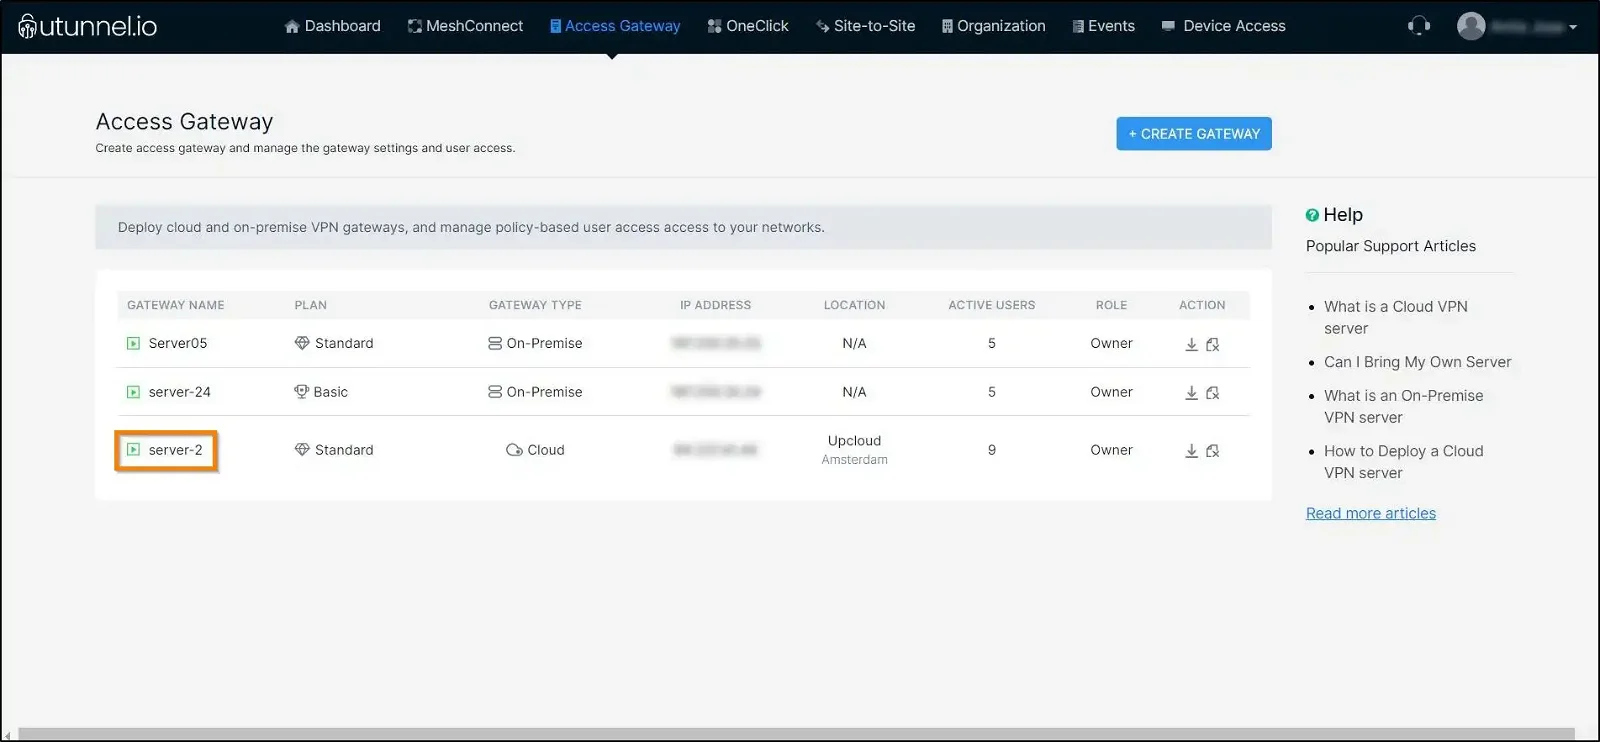
2. Click on the Access Gateway on which you want to enable the web-filter and blacklist a TLD.
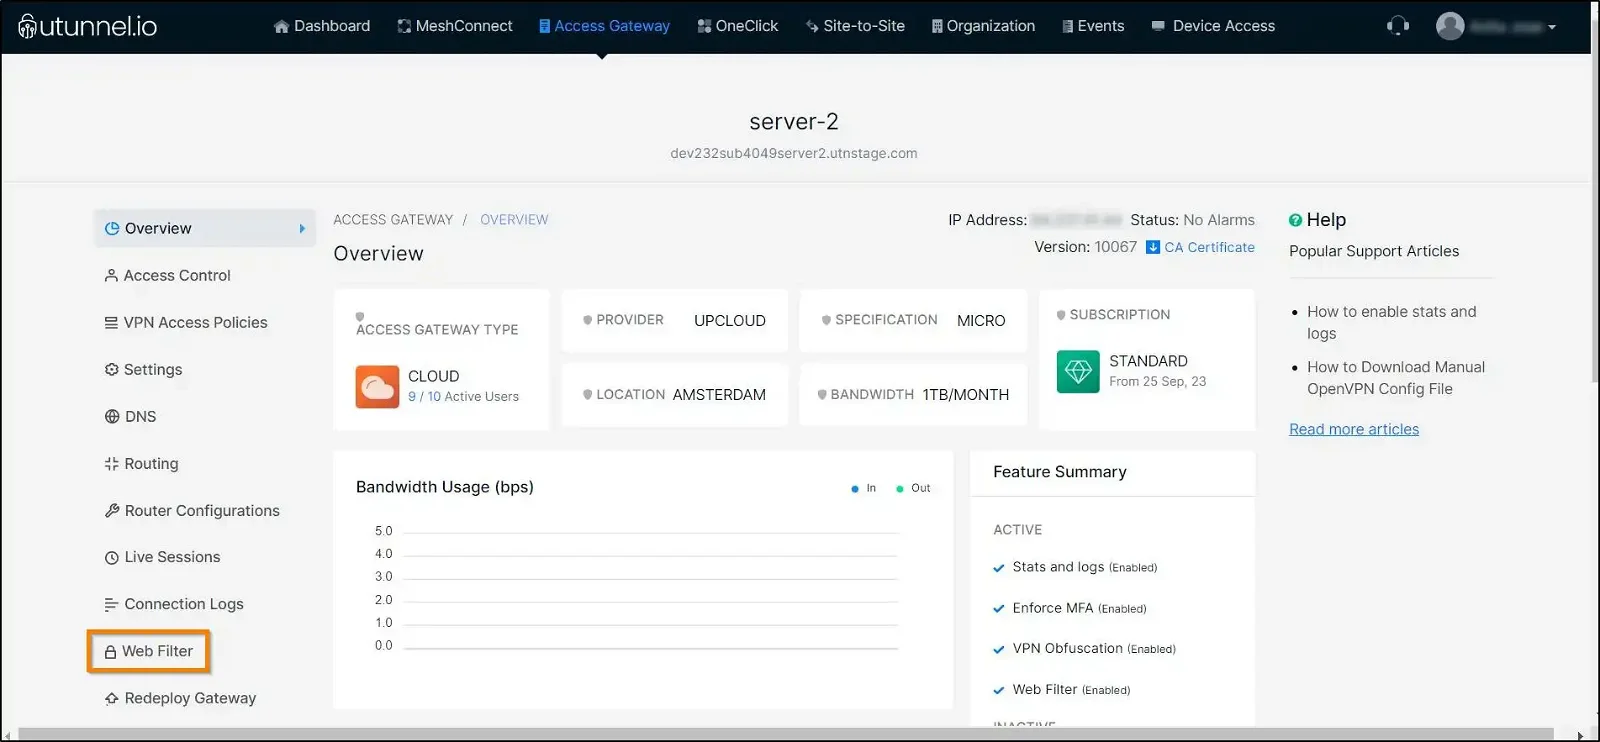
3. From the Access Gateway Overview page, navigate to the Web Filter option in the left side menu.
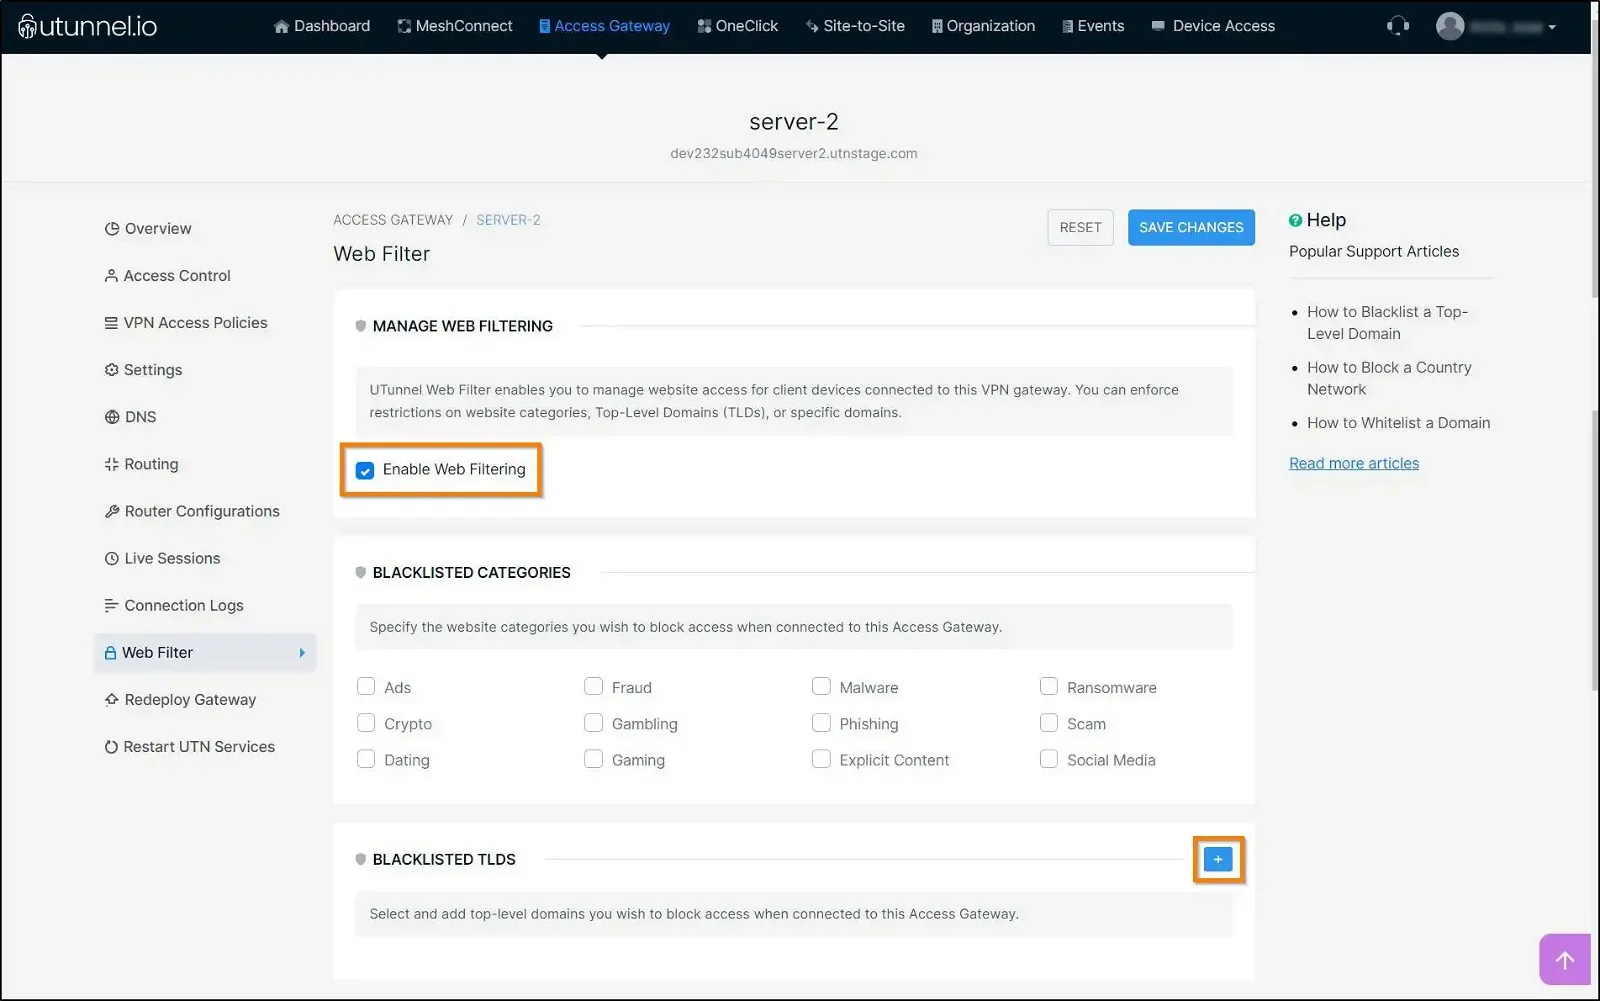
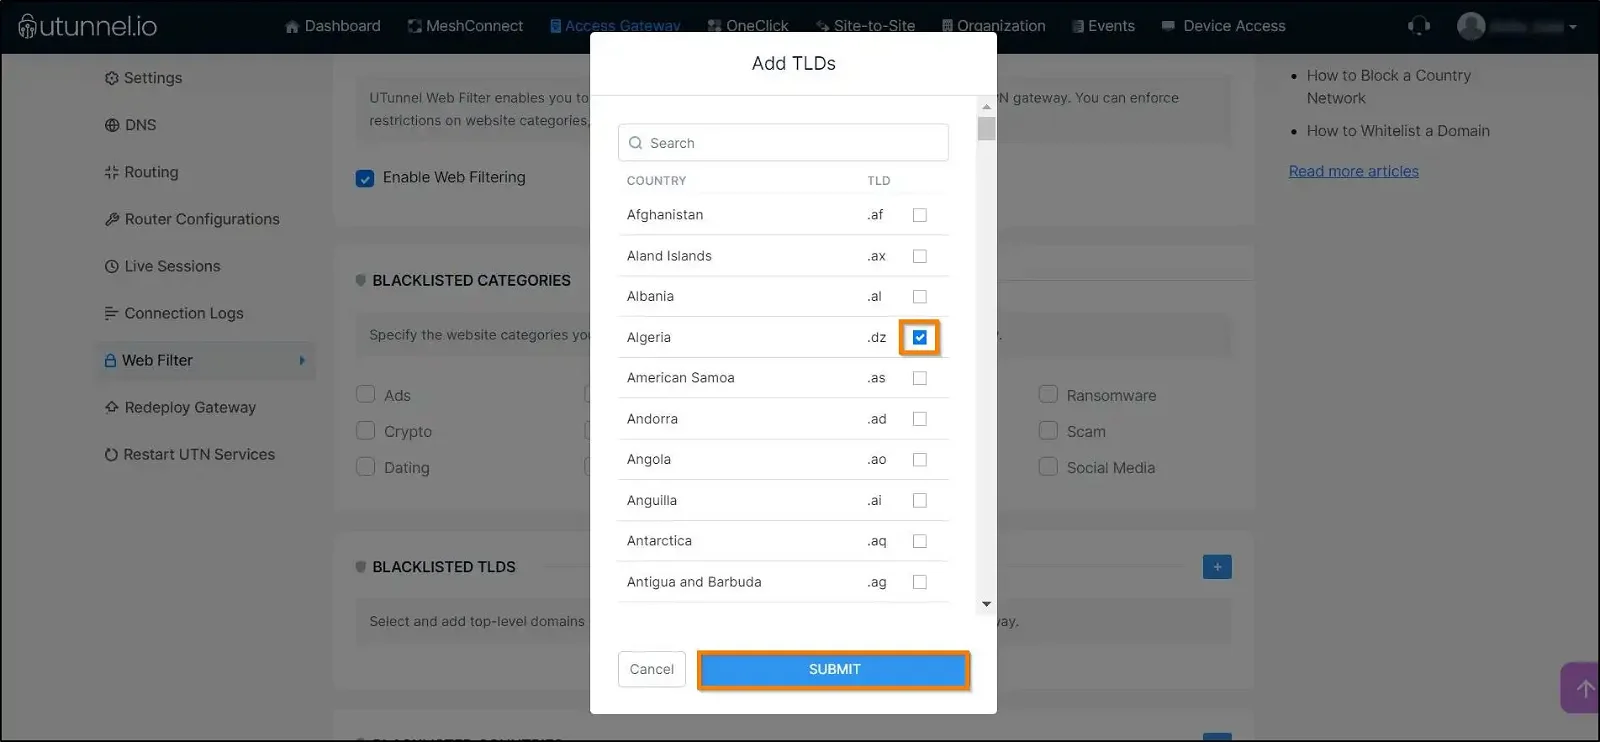
4. Select and click on the Enable Web Filtering check box to enable the web filter. Click on the plus (+) sign next to the Blacklisted TLDs option to add countries to the blacklisted list.
5. You can add TLDs to the blacklist using the Add TLDs pop-up. Search for the TLDs using the search box, and once you find the TLD you wish to add to the blacklist, you can select it by ticking the check box placed next to it. You can add multiple country TLDs to the blacklist and once you finish adding the TLDs to the blacklist, click on the SUBMIT button.
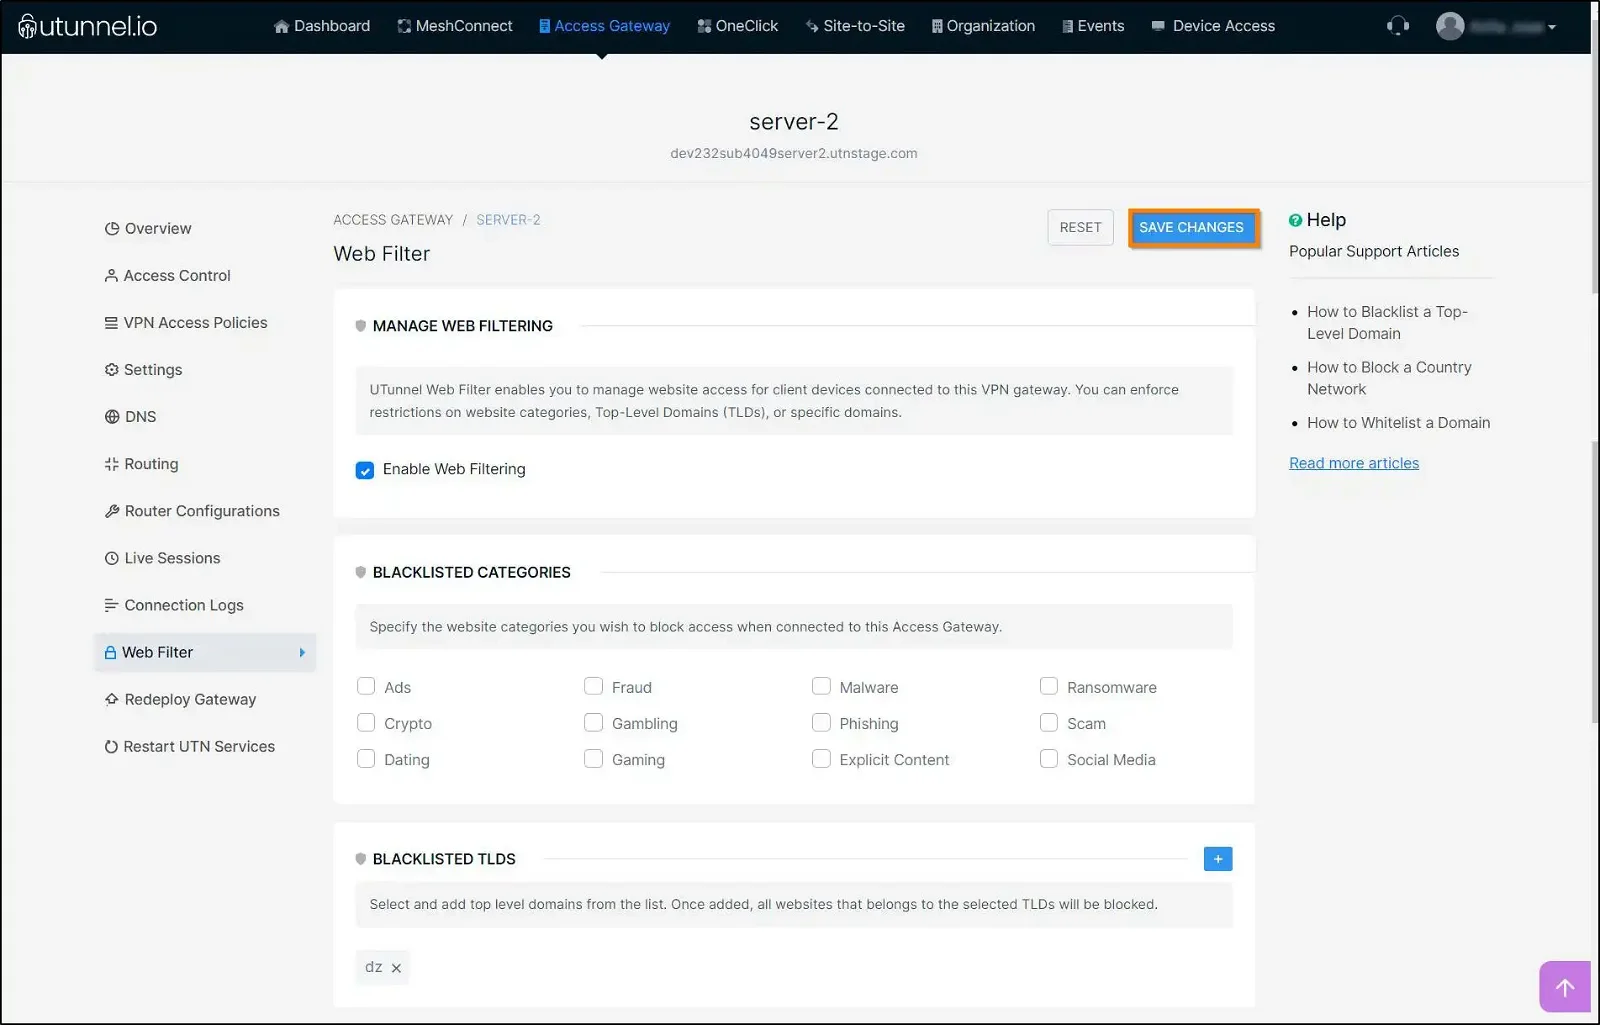
6. After adding the countries to the blacklist, click on the SAVE CHANGES button.
7. A UTunnel service restart is necessary to reflect the changes. Click on the Apply button to initiate the service restart.

8. If you have an integrated cloud VPN gateway, the service restart will be initiated automatically. However, if you are using an on-premise gateway, it needs to be restarted manually.

9. Once the service gets restarted, you can start using the VPN with the UTunnel web filter blocking all the websites belonging to the selected TLDs.

Popular Support Articles