By default, UTunnel enforces a no-log policy on its VPN servers. But, it allows you to enable VPN logs as tracking VPN usage is a necessity for many business use cases. By enabling the logging feature on your VPN server, you will get detailed information about the users connected to the VPN, devices used for VPN connections, live connections, VPN protocol used, connection time, disconnection time, etc. Please note that you can enable the stats and logs feature on the VPN server only if you have a Standard subscription plan.
This guide discusses how to enable the stats and logs feature on a UTunnel VPN server to get detailed information about the connections made to the VPN server.
1. Log in to your UTunnel account and navigate to the Server tab.
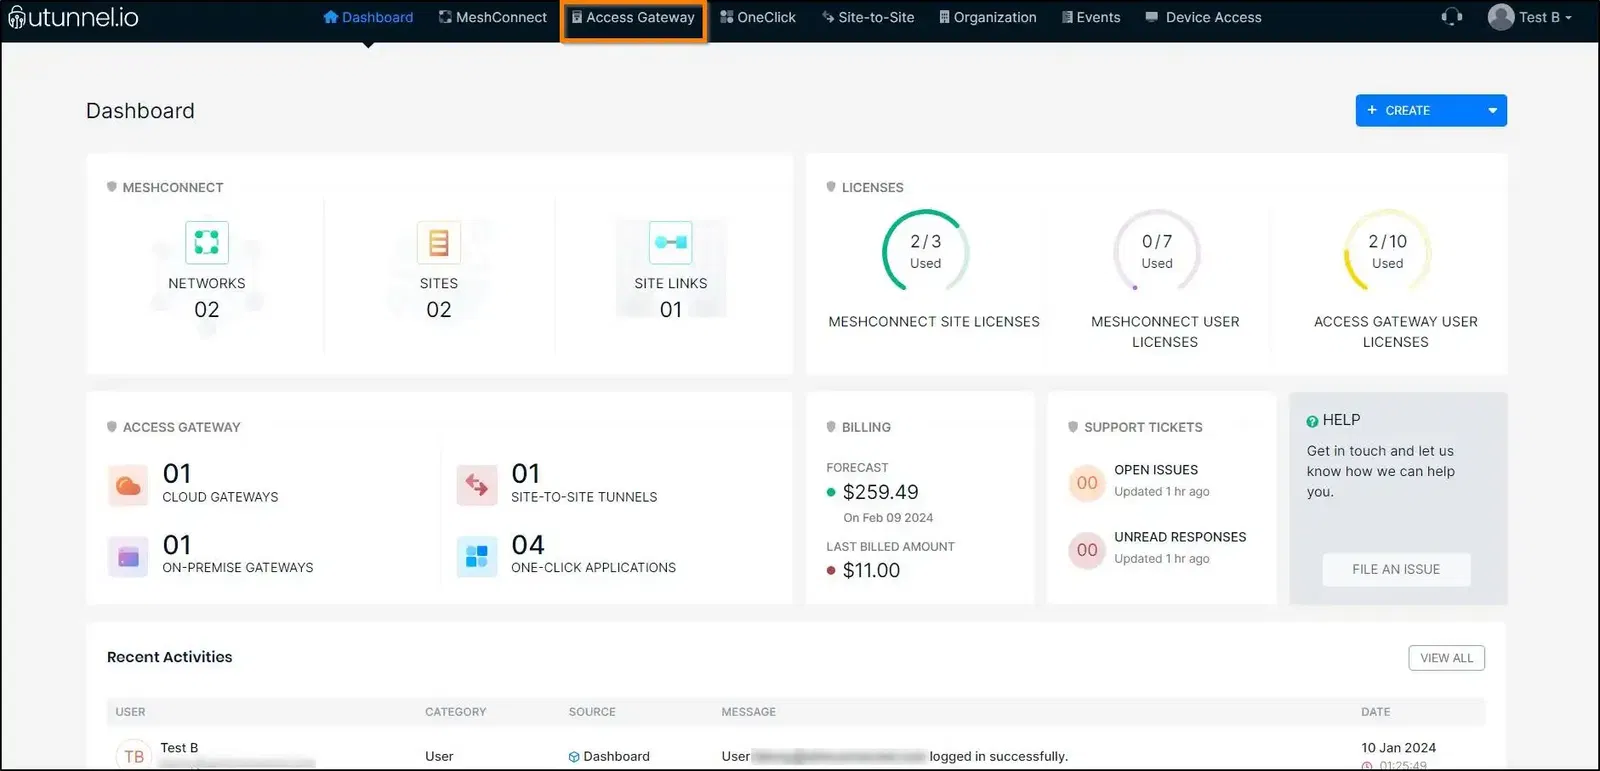
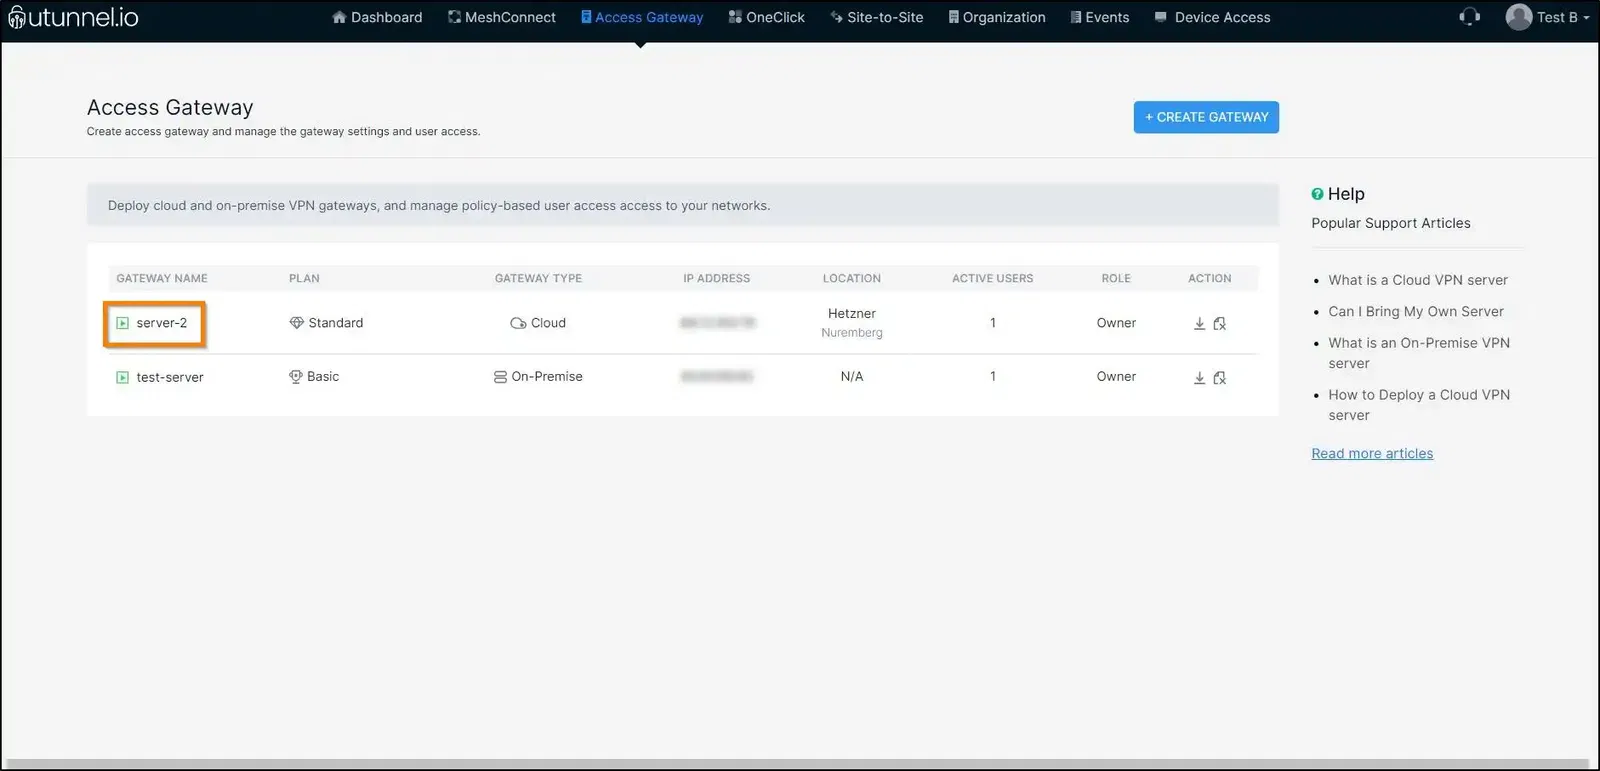
2. Click on the server on which you want to enable the stats and logs feature.
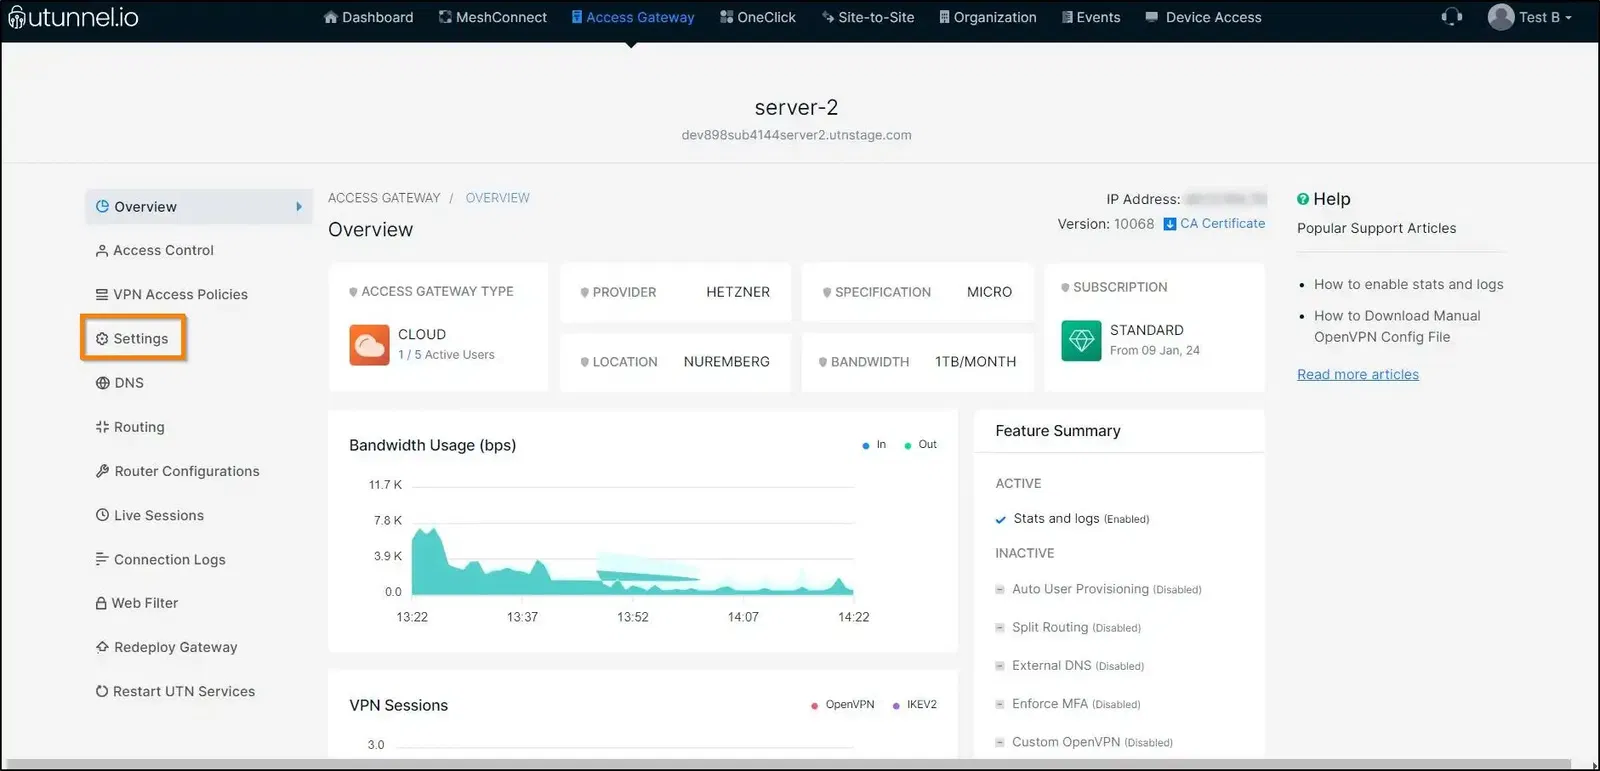
3. From the Setting Overview page, navigate to the Settings option in the left side menu.
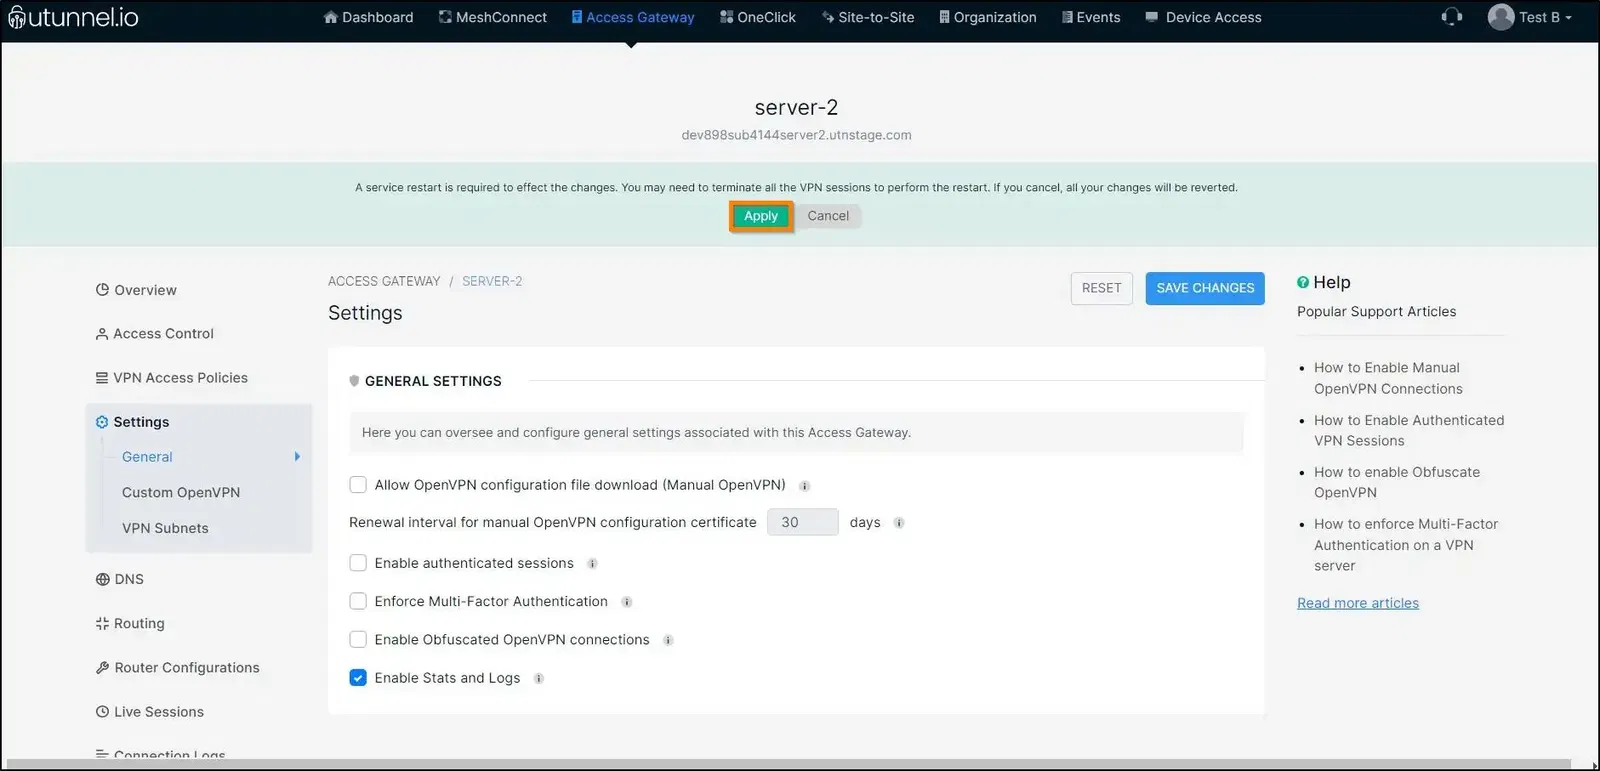
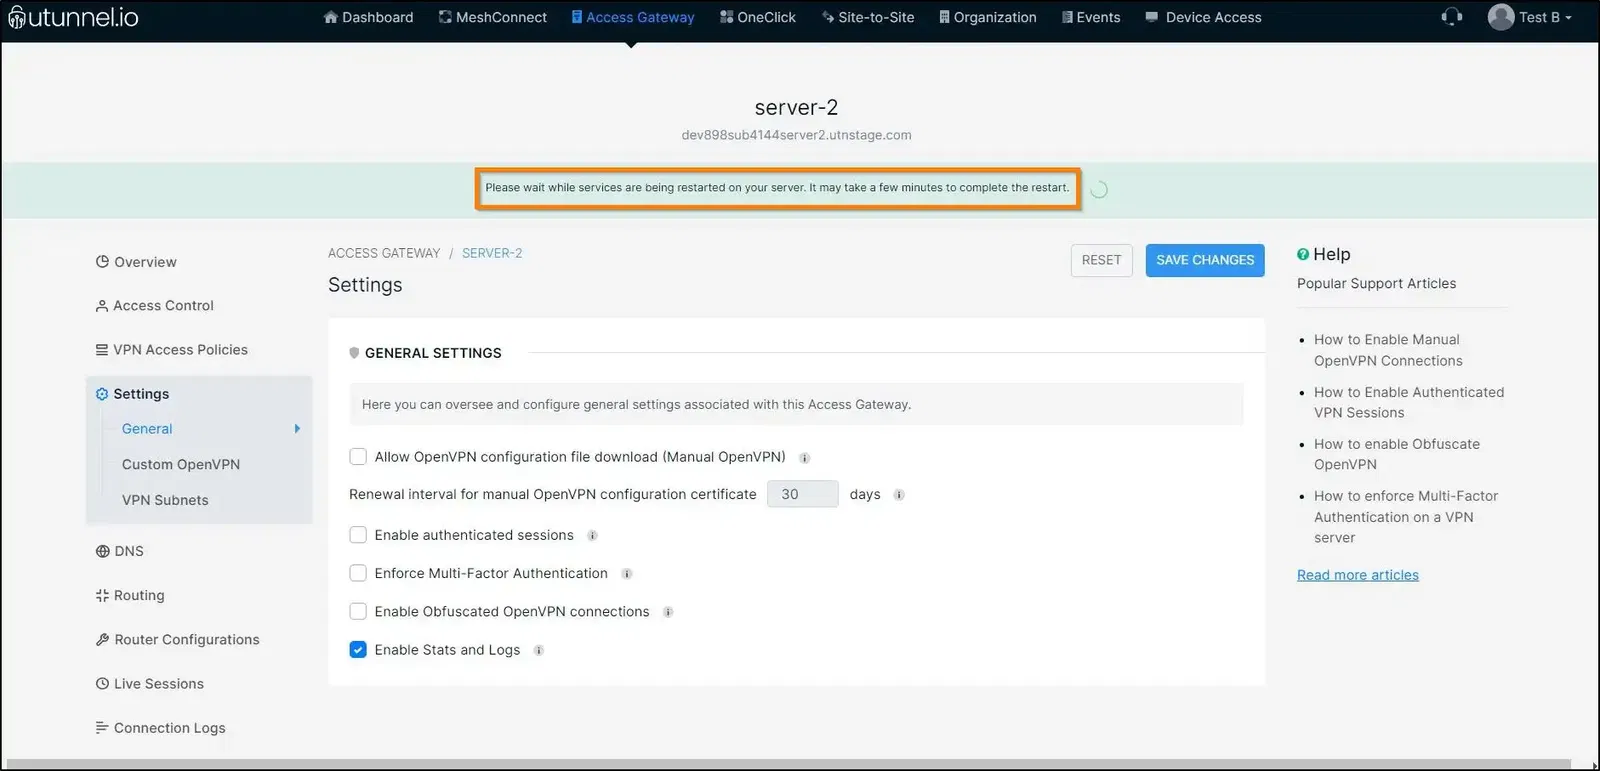
4. Select and tick on the Enable stats and logs checkbox and click on the SAVE CHANGES button.

5. As changes are made on the server level, it needs to be restarted to reflect those changes. Click on the Apply button to initiate a server restart. If you are having a cloud VPN, the server restart would initiate automatically. As for the on-premise VPN servers, they need to be restarted manually.
6. You will be asked to wait while the server gets restarted.
7. Once the VPN server gets restarted, you can start using the VPN services and get detailed information about the VPN connections made, live sessions, and many more.