When UTunnel’s web filter is enabled, a set of blacklisted domains are blocked by default when a user accesses the internet via the VPN. But if you think a legitimate domain is on the blacklist, you have the option to whitelist it. This option is also useful to exclude specific domains from getting blocked due to a country-level or TLD-level block rule that you’ve added to the web filter.
This guide describes how to whitelist a particular domain in the UTunnel web filter.
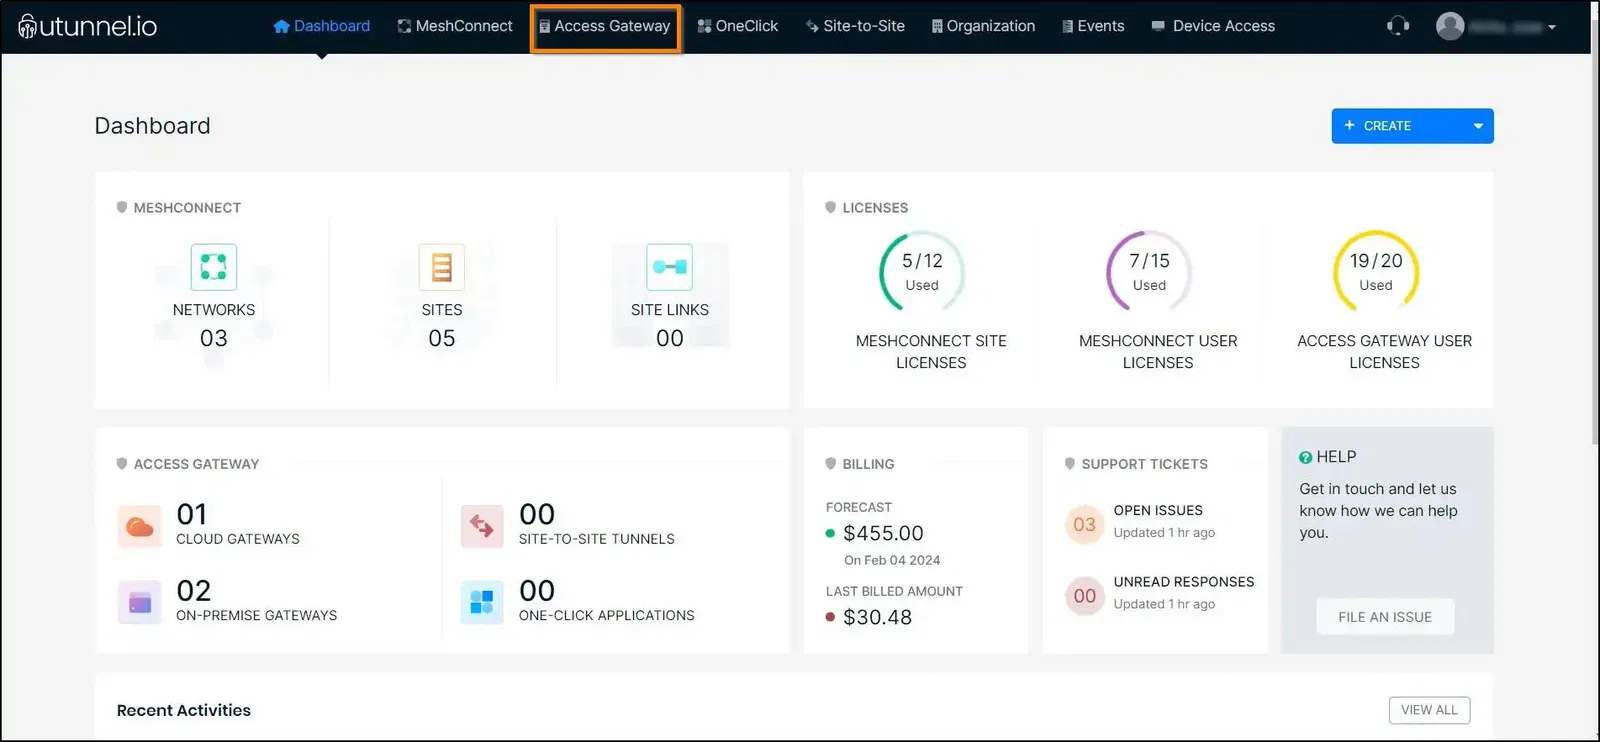
1. Log in to your UTunnel account and navigate to the Access Gateway tab.
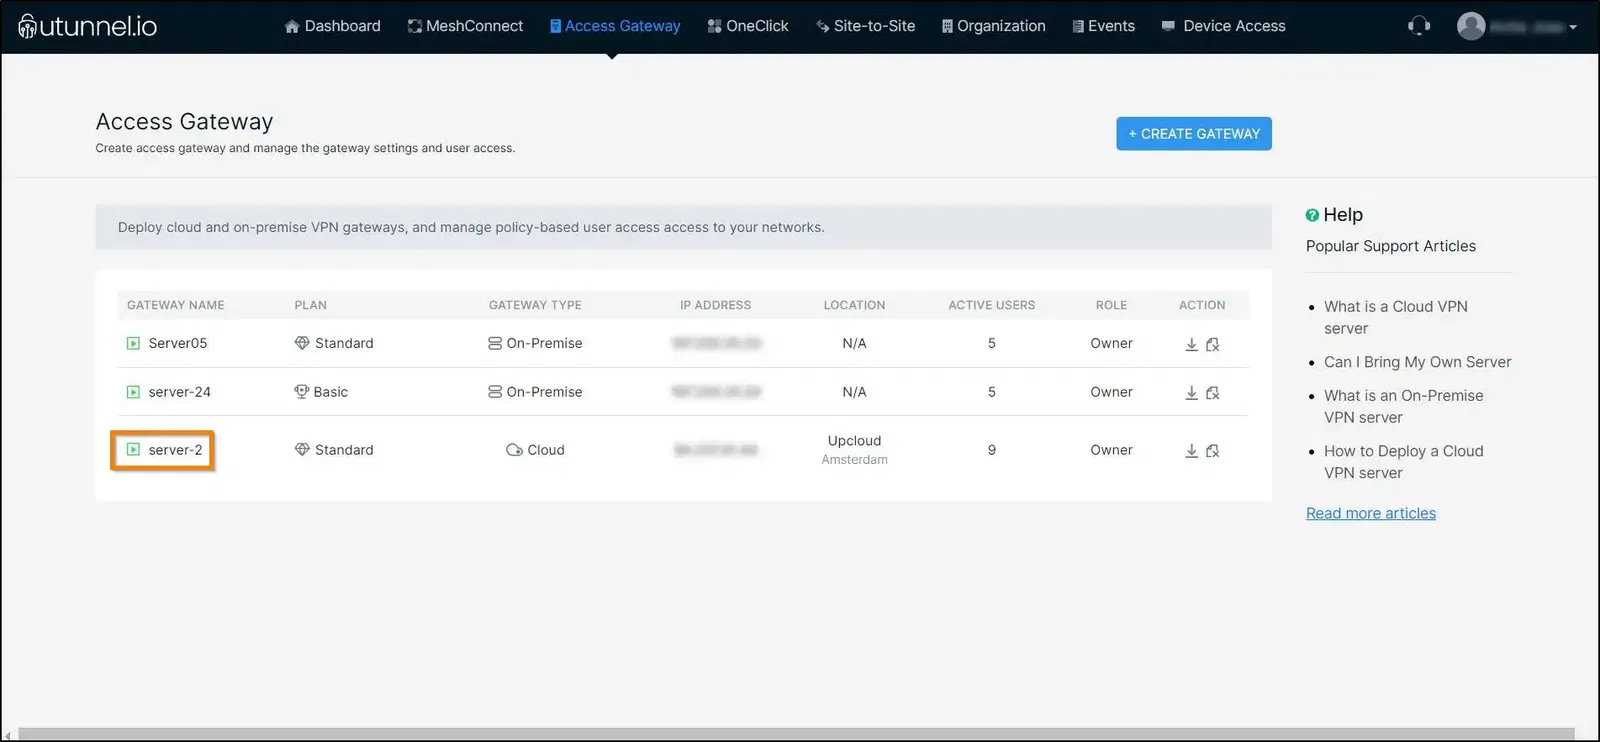
2. Click on the access gateway for which you want to configure the web filter.
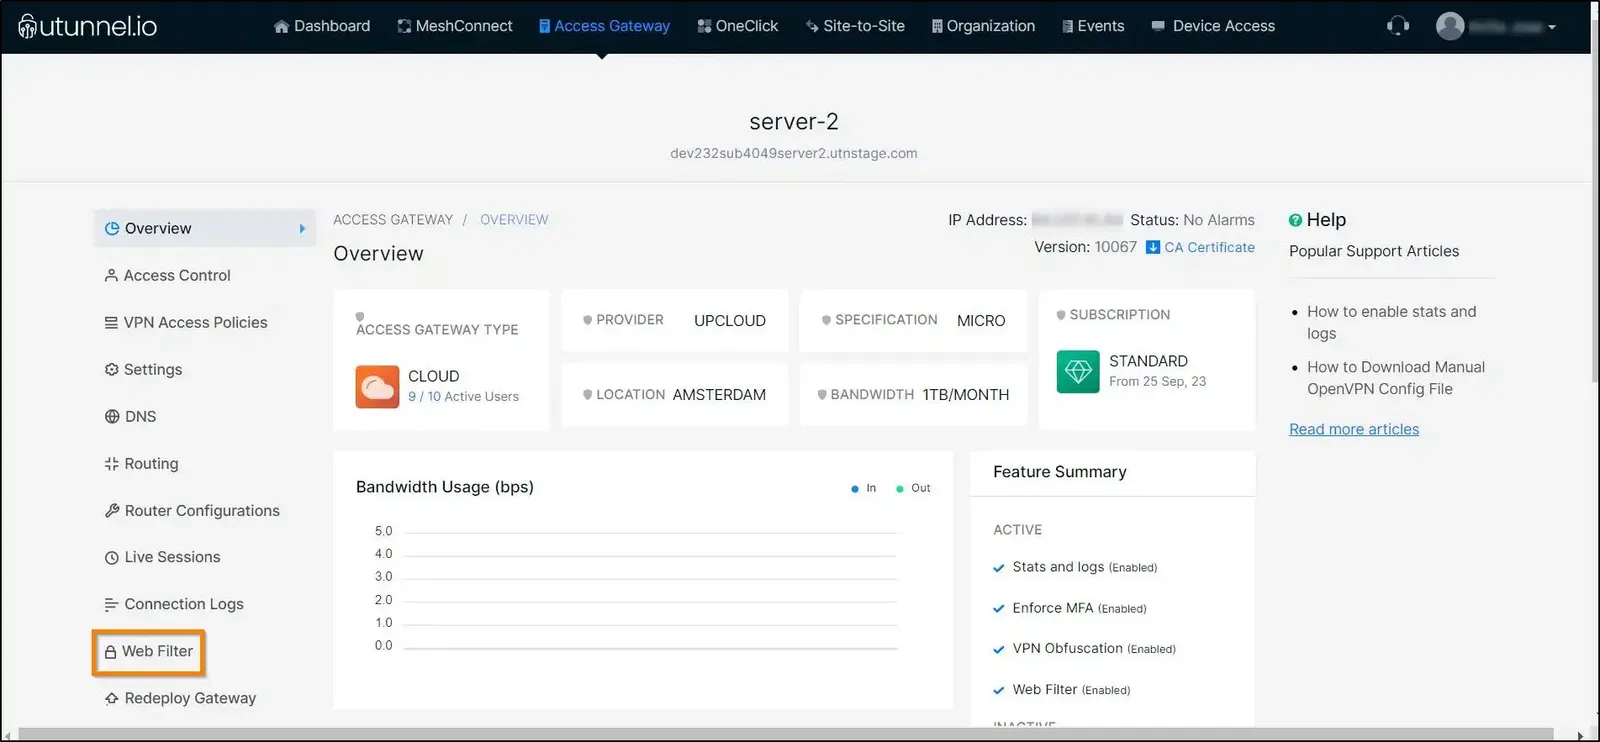
3. From the Access Gateway Overview page, navigate to the Web Filter option in the left-side menu.
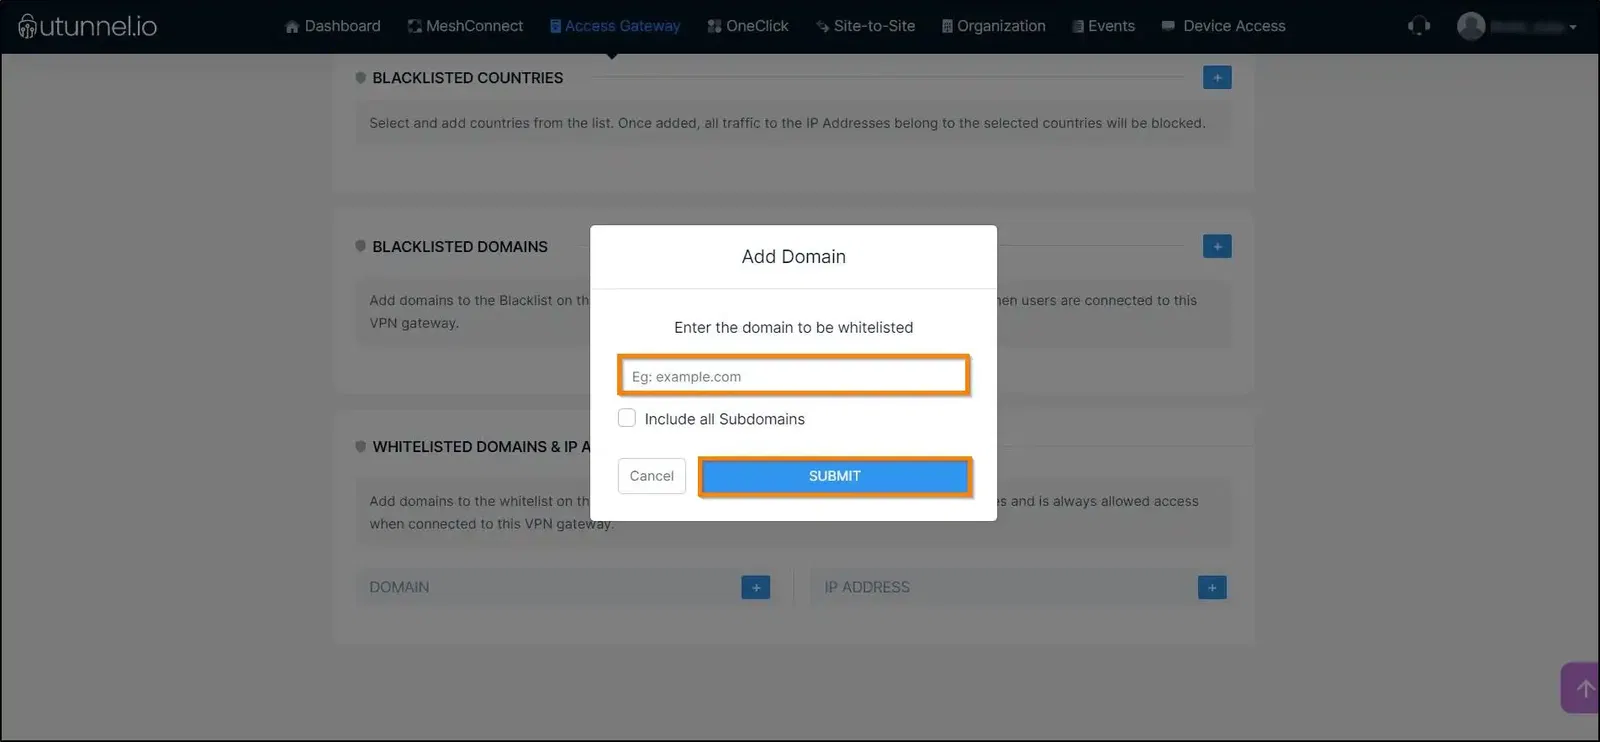
4. You can enable the UTunnel web filter by clicking on the Enable Web Filtering option’s checkbox. Proceed to the Domain section under the Whitelisted Domains & IP Addresses. Click on the plus sign (+) to add a domain to the whitelist.
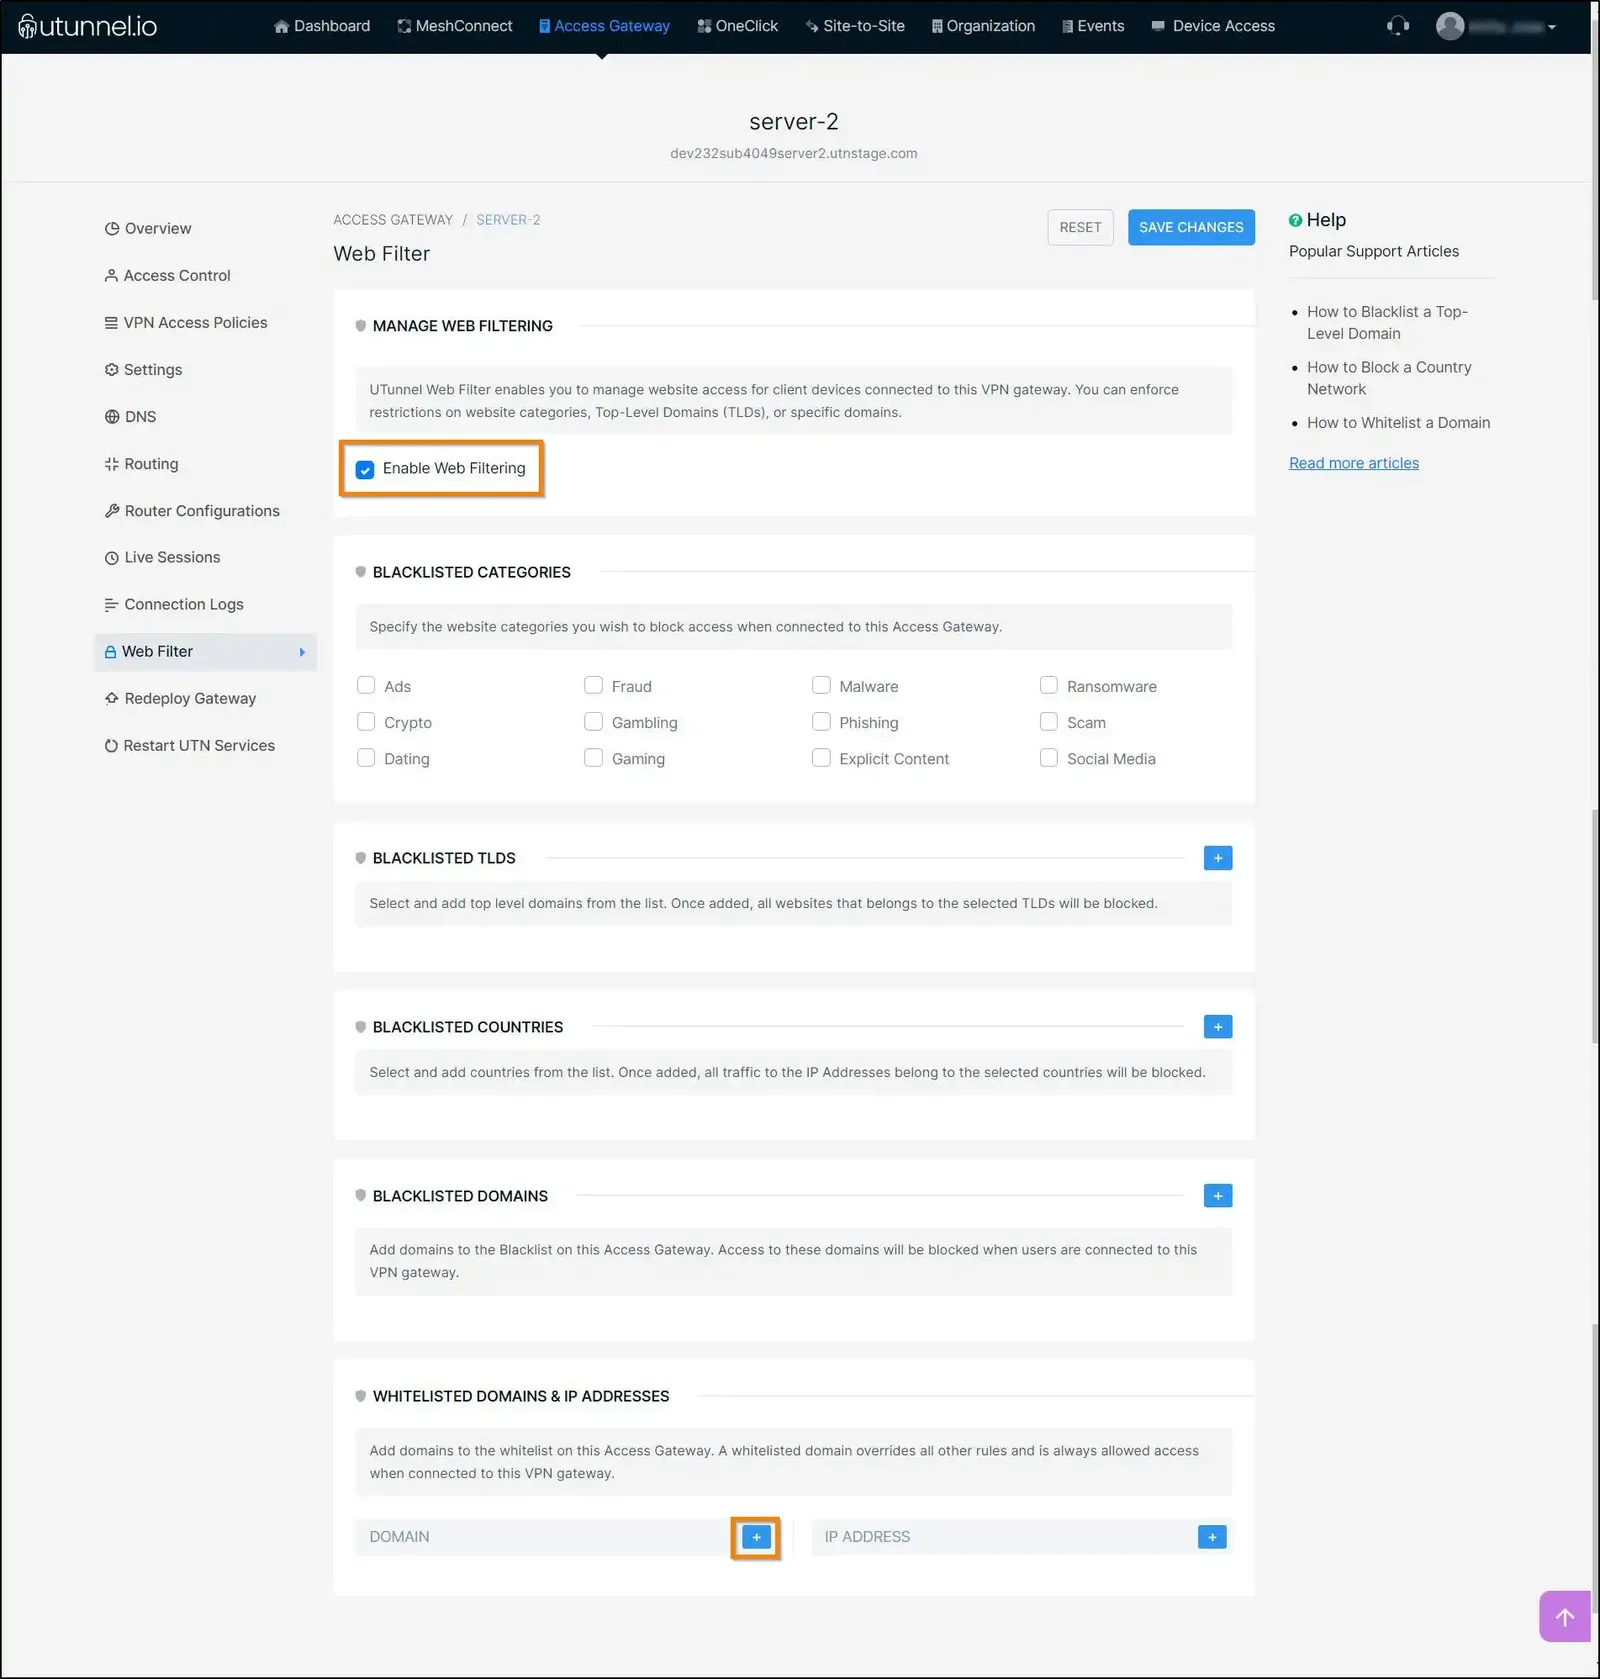
5. You will be presented with an Add Domain pop-up where you can key in your preferred domain into the respective field and click on the SUBMIT button to whitelist it.
6. Once you have added all your preferred domains to the whitelist, you can click on the SAVE CHANGES button.
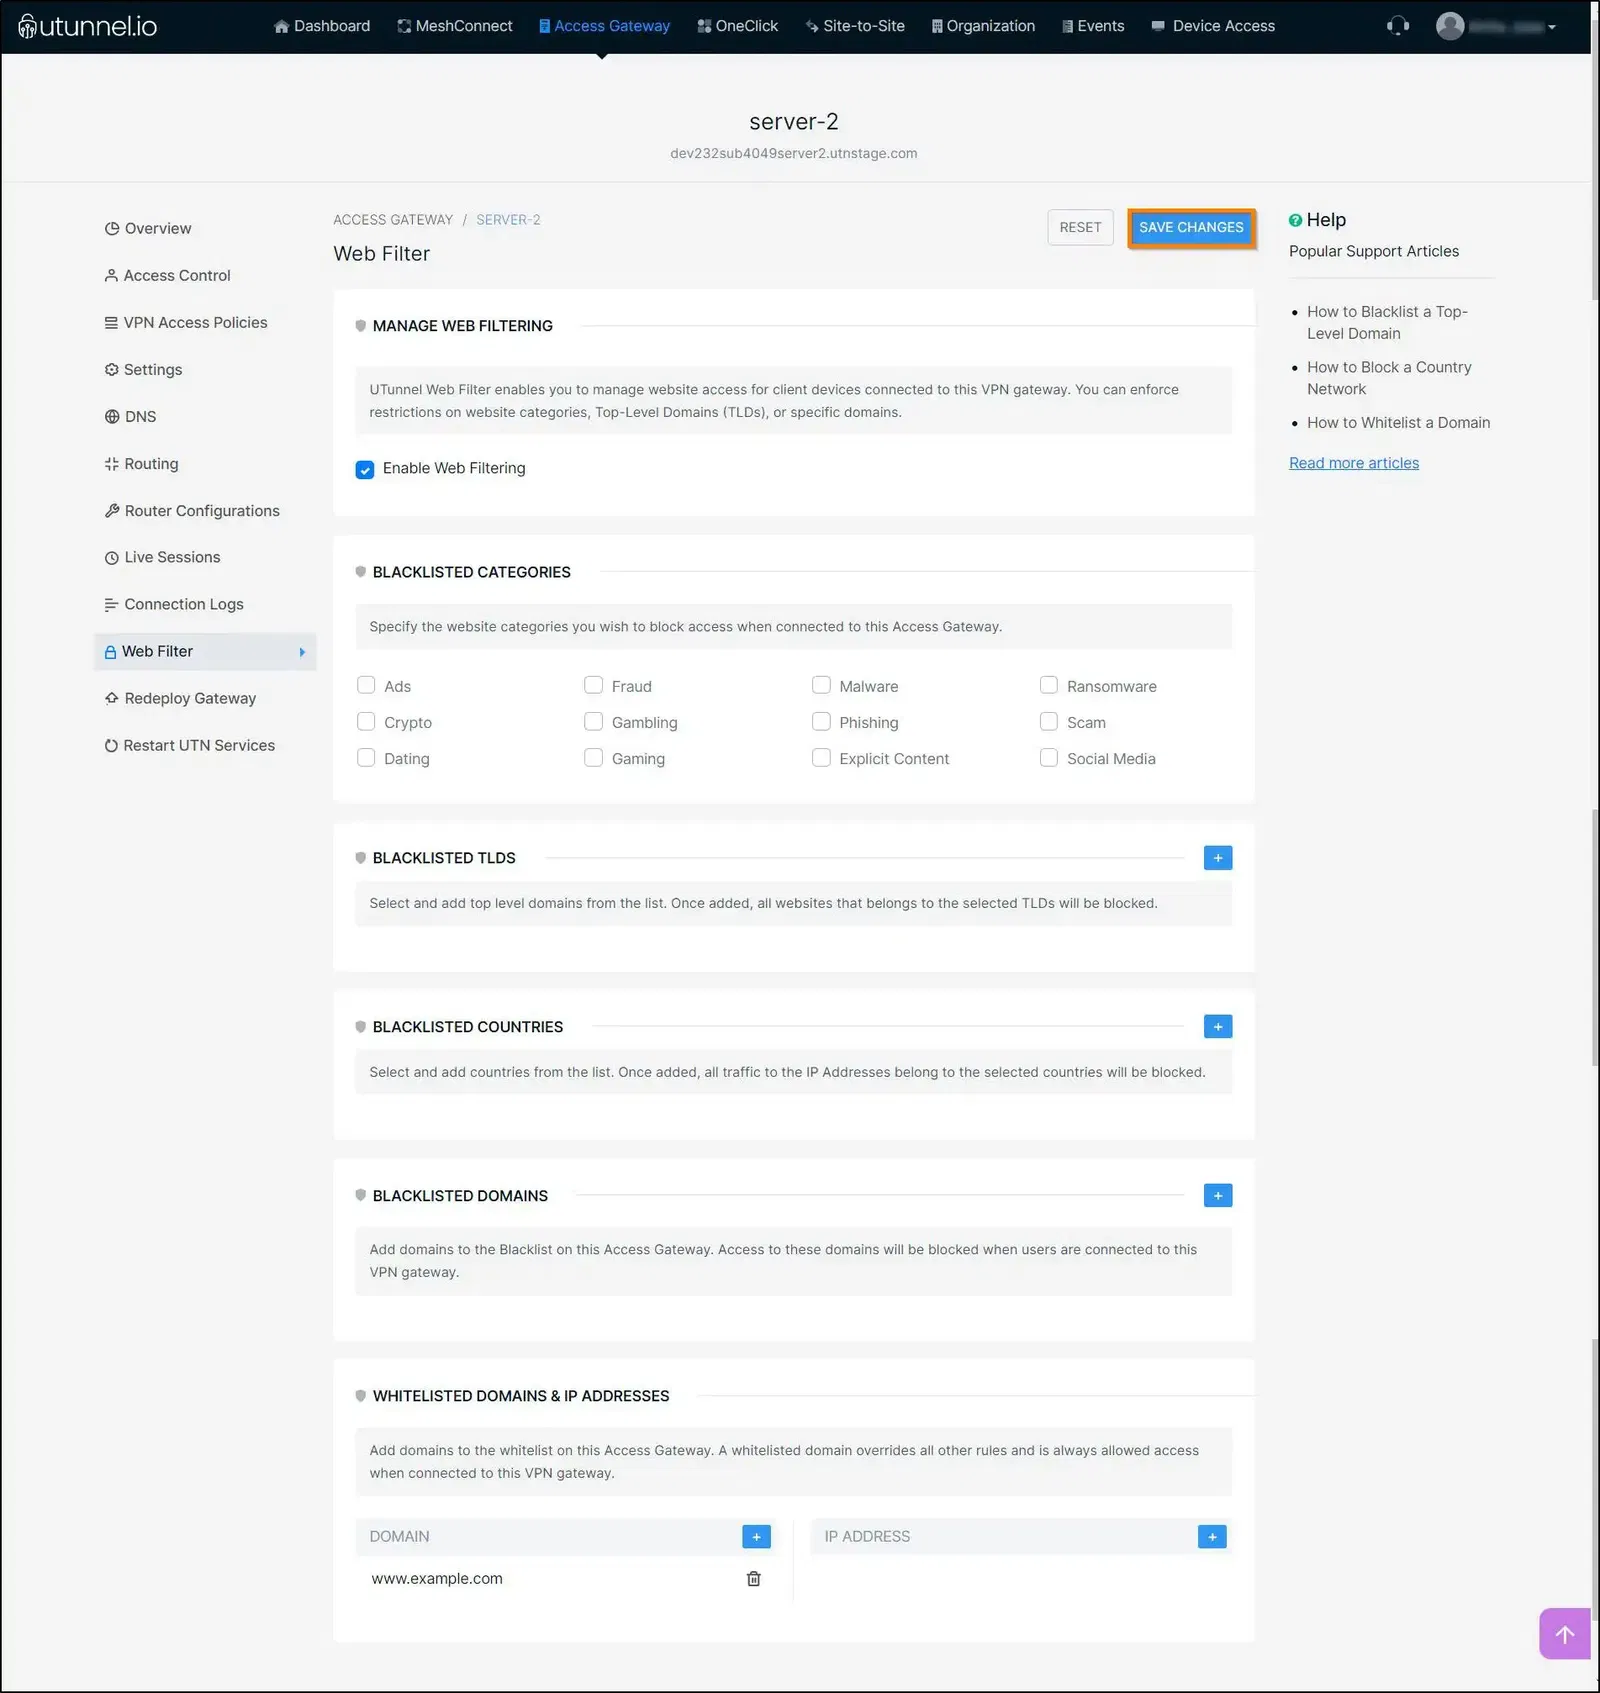
7. To activate the changes made on the access gateway, a UTunnel service restart is required. Click on the Apply button to initiate the service restart.

If you are using an integrated cloud VPN gateway, the service restart will take place automatically. However, on an on-premise VPN gateway, the services need to be restarted manually.
Once the service restart is finished, you can start using the VPN with the web-filter enabled while maintaining access to the whitelisted domains.
Popular Support Articles