You can use Tunnelblick to securely connect your Mac to a UTunnel VPN server using an OpenVPN configuration (.OVPN) file. Tunnelblick is a free, open-source graphic user interface for using OpenVPN in macOS. This guide will explain how to configure Tunnelblick to connect to your UTunnel VPN server.
To use this option to connect to your UTunnel VPN server, you need to enable manual OpenVPN connections first from the server settings.
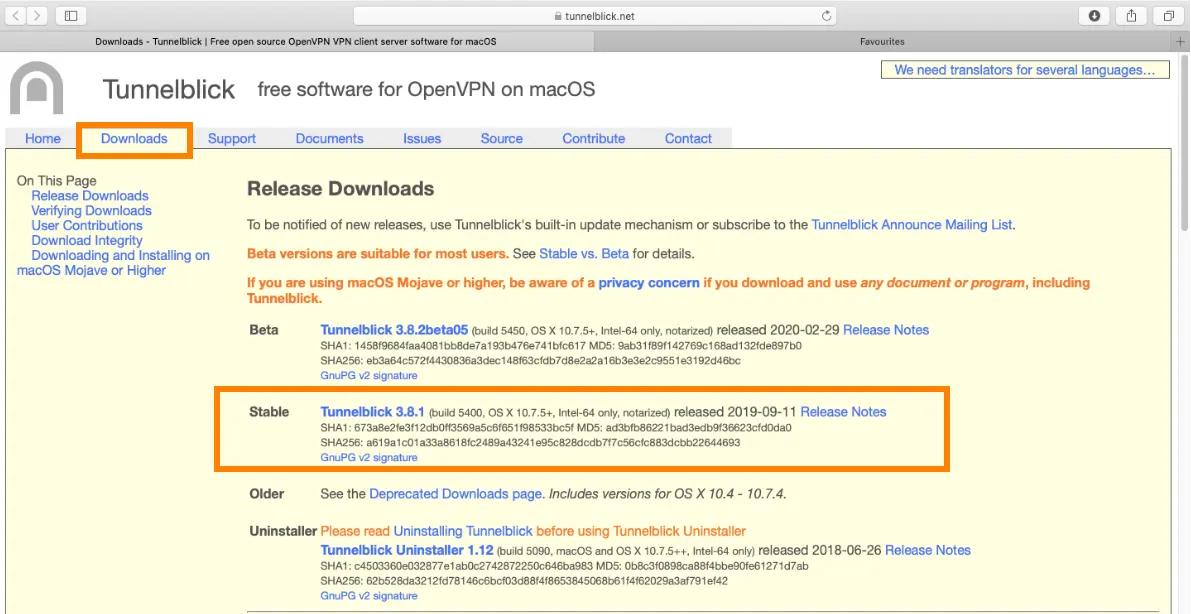
1. Navigate to tunnelblick.net from your web browser. Navigate to Downloads and select a stable version of the app to download.
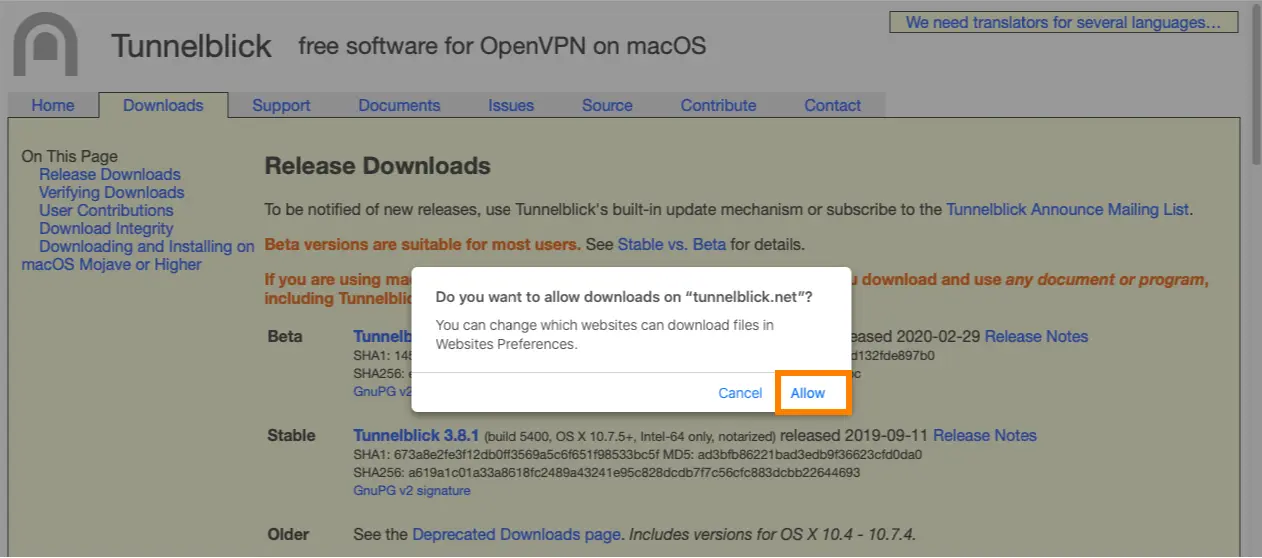
2. Click to download the app and select Allow to proceed with downloading the setup for Tunnelblick.
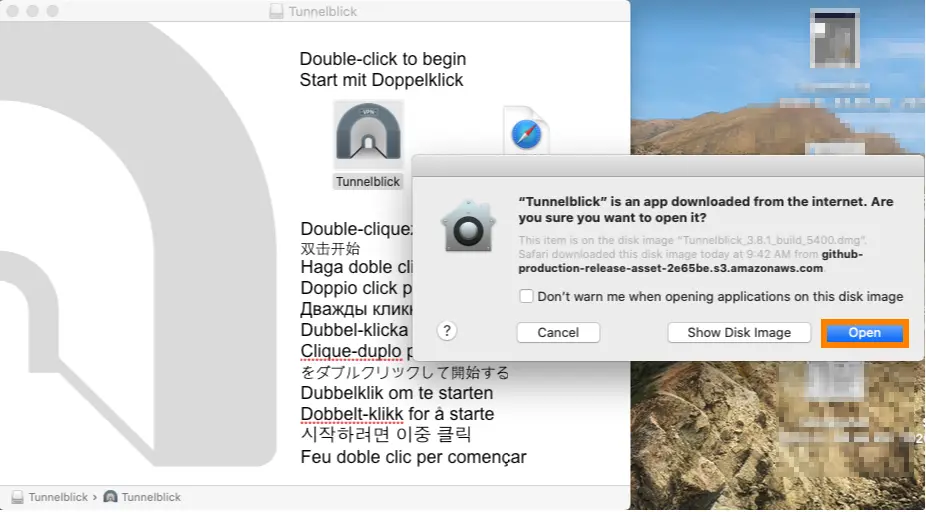
3. Once the download is complete, the file can be located in the Downloads folder. Double-click on the icon to run the Tunnelblick installer. Click the Open button to continue.
4. The downloaded Tunnelblick installer will be mounted as a disk.

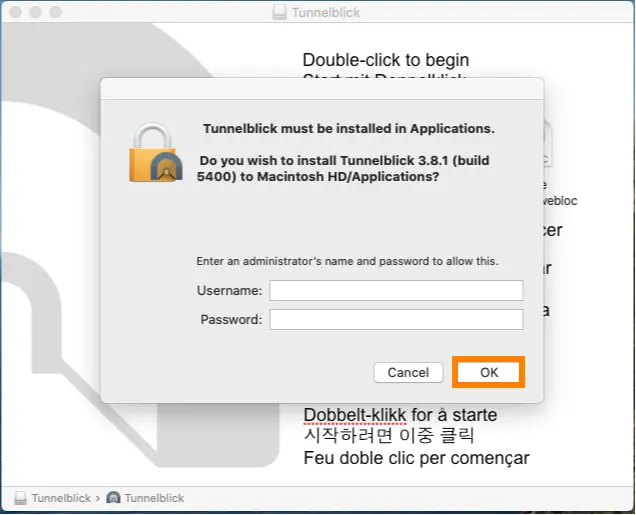
5. A prompt confirming the installation of the Tunnelblick application pops up based on your device’s security settings. Click the Open button to initiate the installation. Once selected, you will be prompted to enter your Administrator credentials. Click on the OK button to continue.
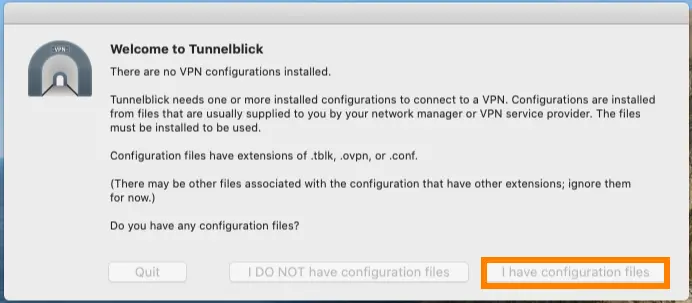
6. Once installed, you will get a prompt to add a VPN configuration. Select "I have configuration files" option and then click OK.
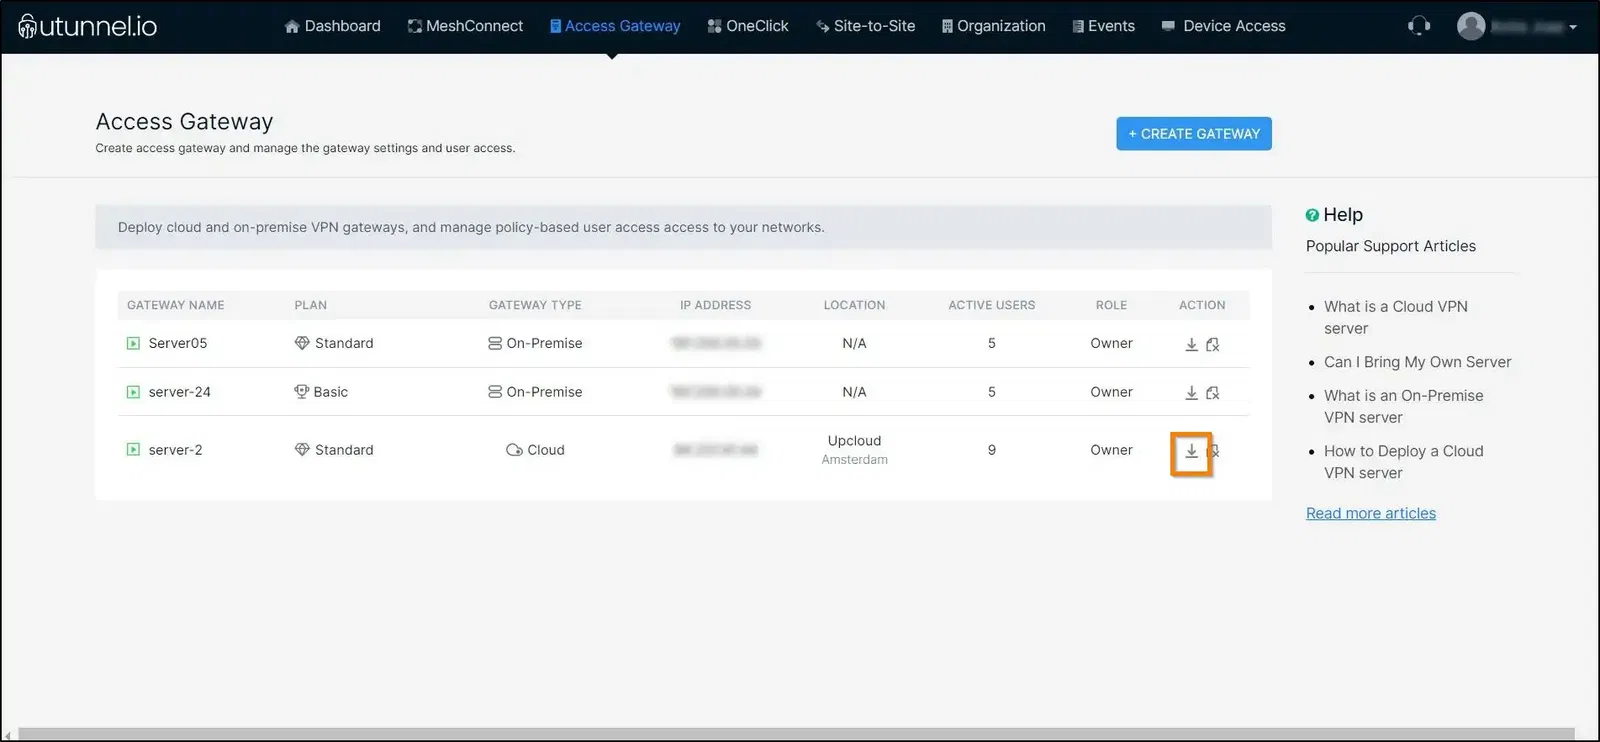
7. To configure the OpenVPN server, you need to download .OVPN files from the dashboard of your UTunnel server.
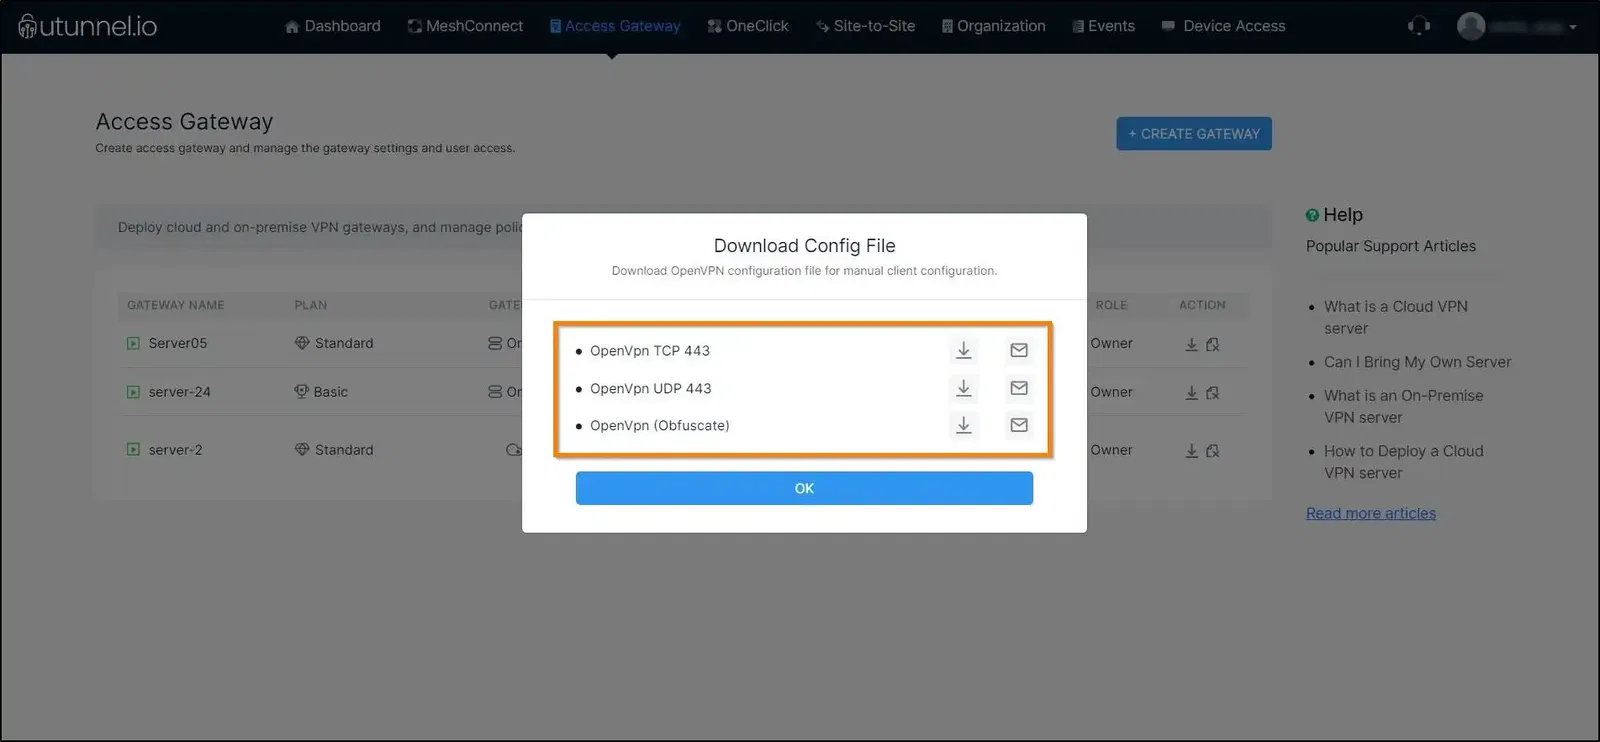
8. Select from either UDP or TCP to download the .OVPN file.
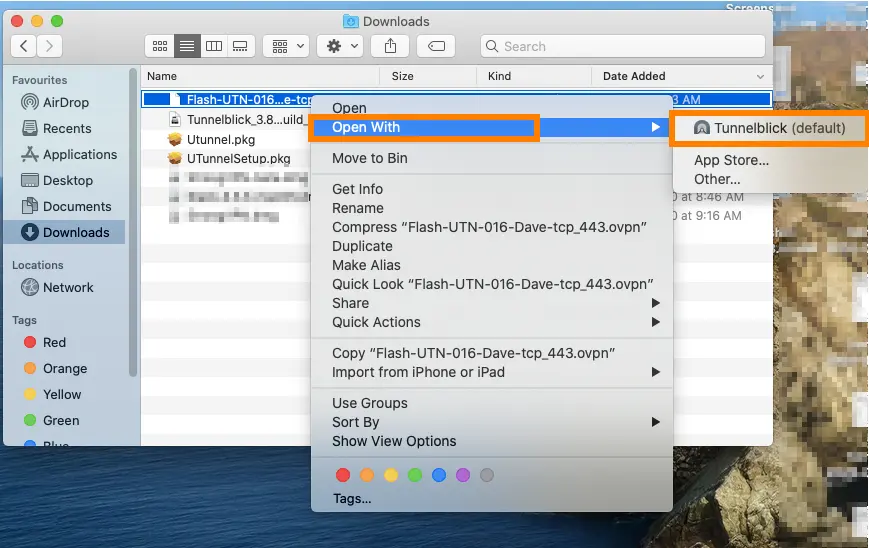
9. The file will be downloaded and saved on your device. Right-click on the file and select the Open With option and click the Tunnelblick option.
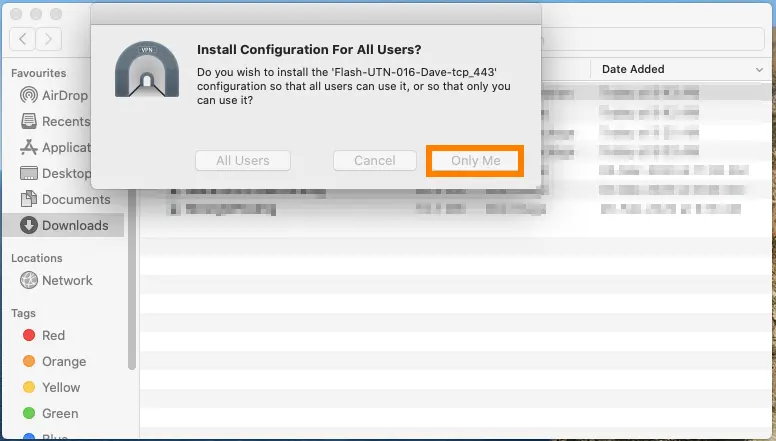
10. You will get a notification to select who can access the VPN. Here we have selected the Only Me option.
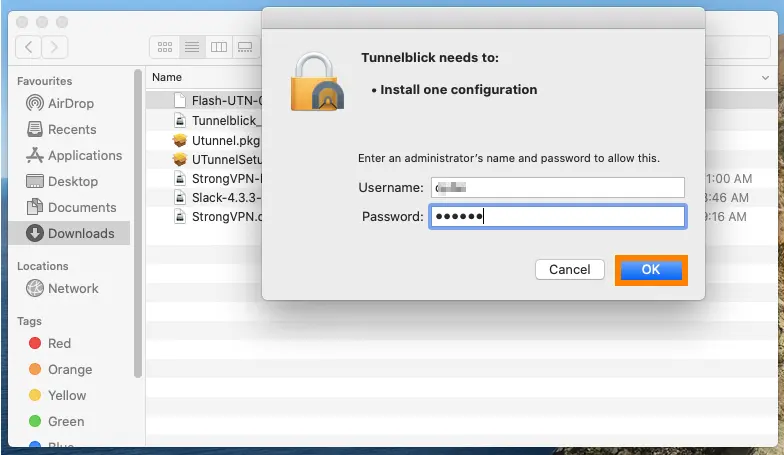
11. Enter the administrator username and password when prompted.
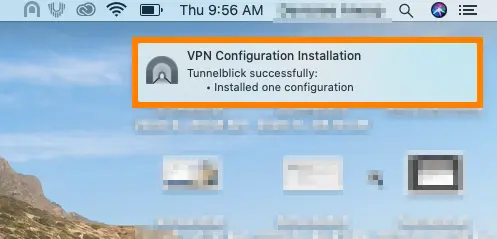
12. Once the installation is completed, a notification message pops up near the Tunnelblick icon at the upper-right corner of the screen.
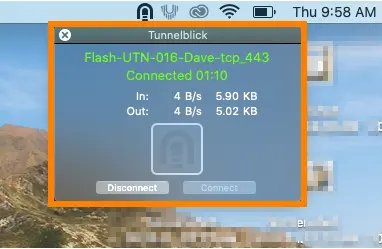
13. Click on the Tunnelblick icon at the top right area of the screen. Click Connect button to connect to the VPN server. You can confirm the connection status from the icon color as well as the notification.
Similarly, you can add any number of OpenVPN profiles in Tunnelblick and connect to the VPN servers seamlessly.
Popular Support Articles