Auto-user provisioning allows server owners/admins to provision users on a server without manually adding them to the server. As auto-user provisioning is applied to a group of users, you have to create a group and add users to it before enabling auto-user provisioning.
This guide describes how to enable auto-user provisioning within your VPN server with detailed instructions.
1. Log in to your Organization account and navigate to the Server tab.
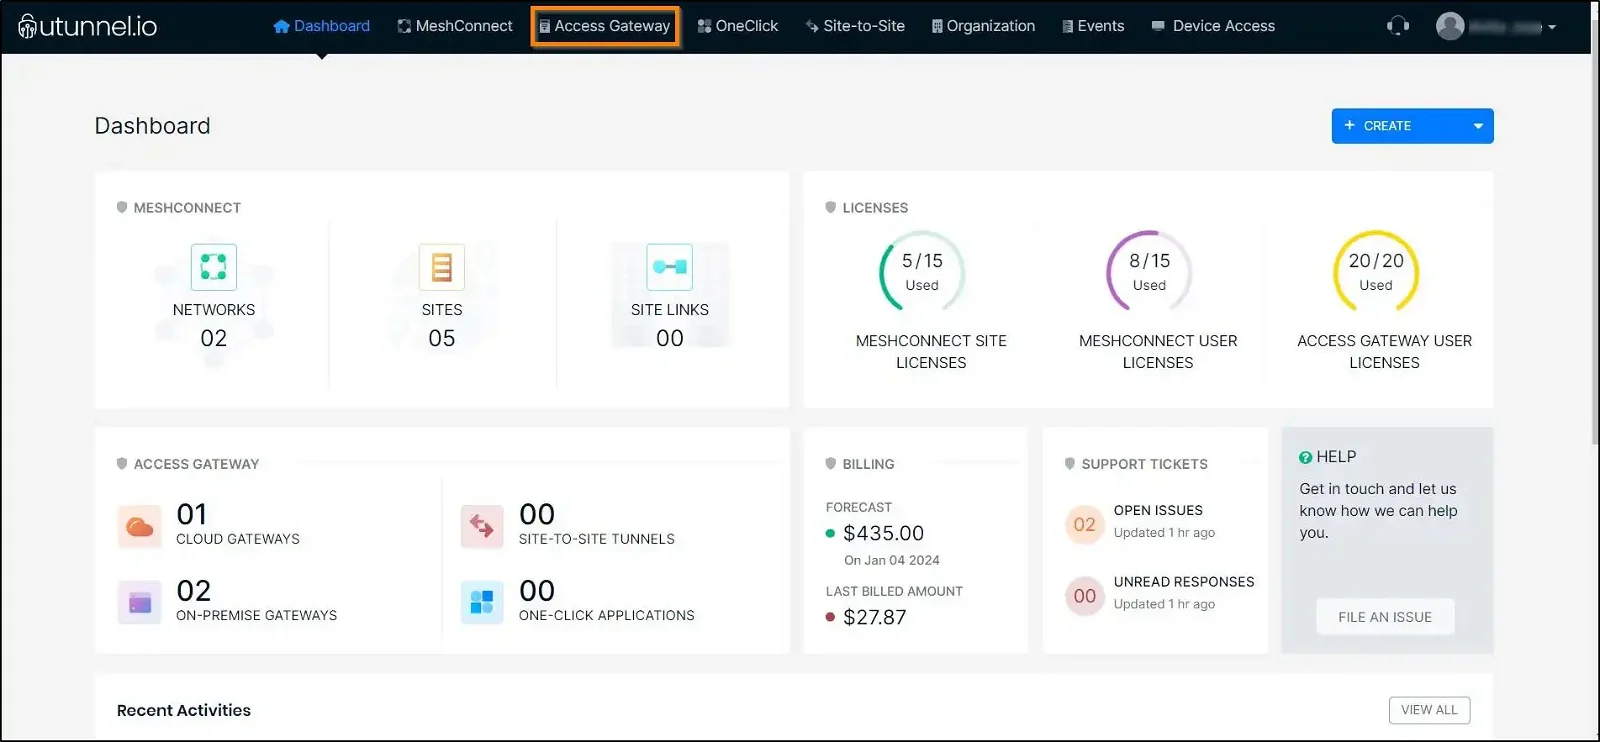
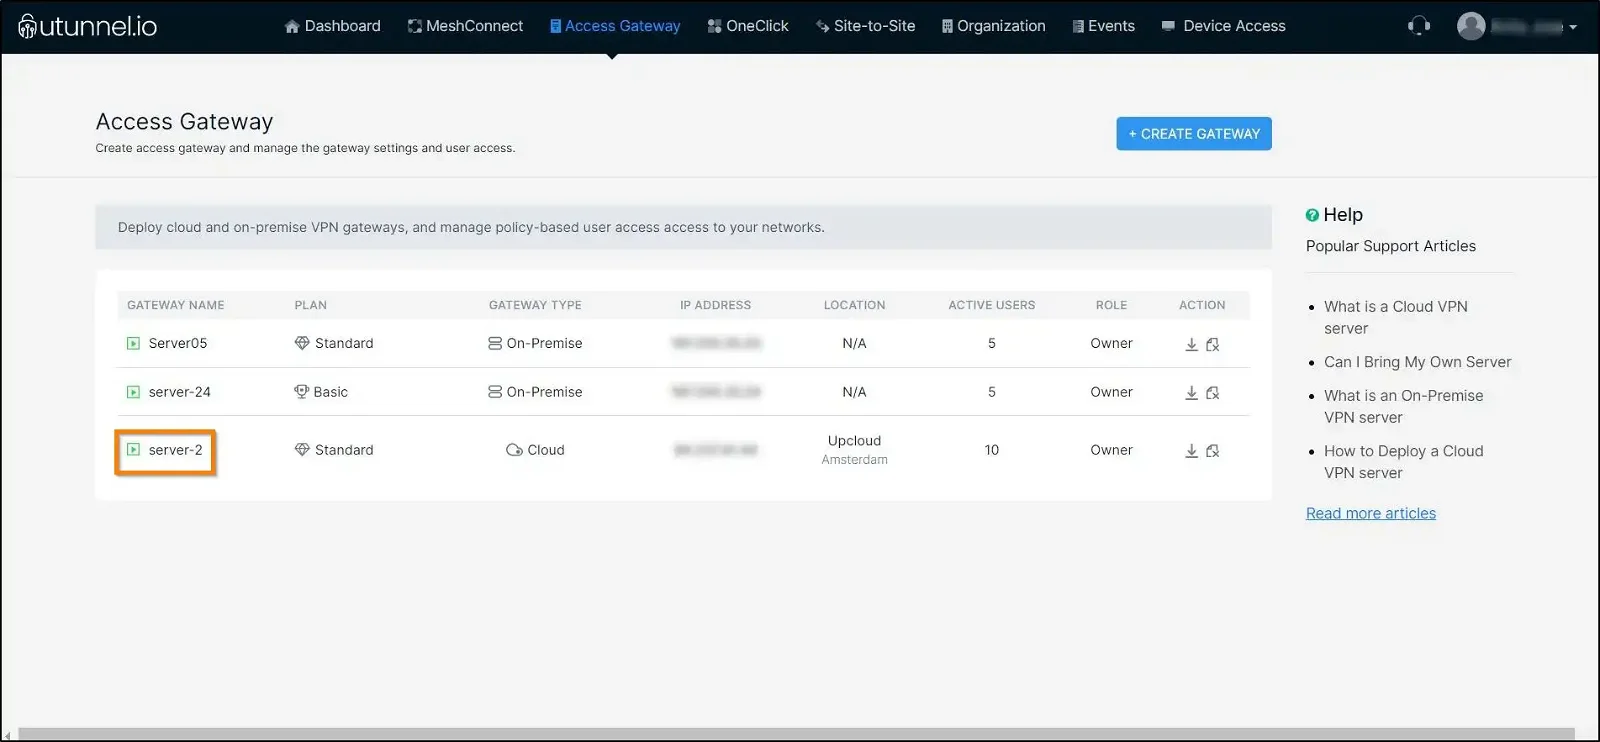
2. Click on the server on which you want to enable auto-user provisioning.
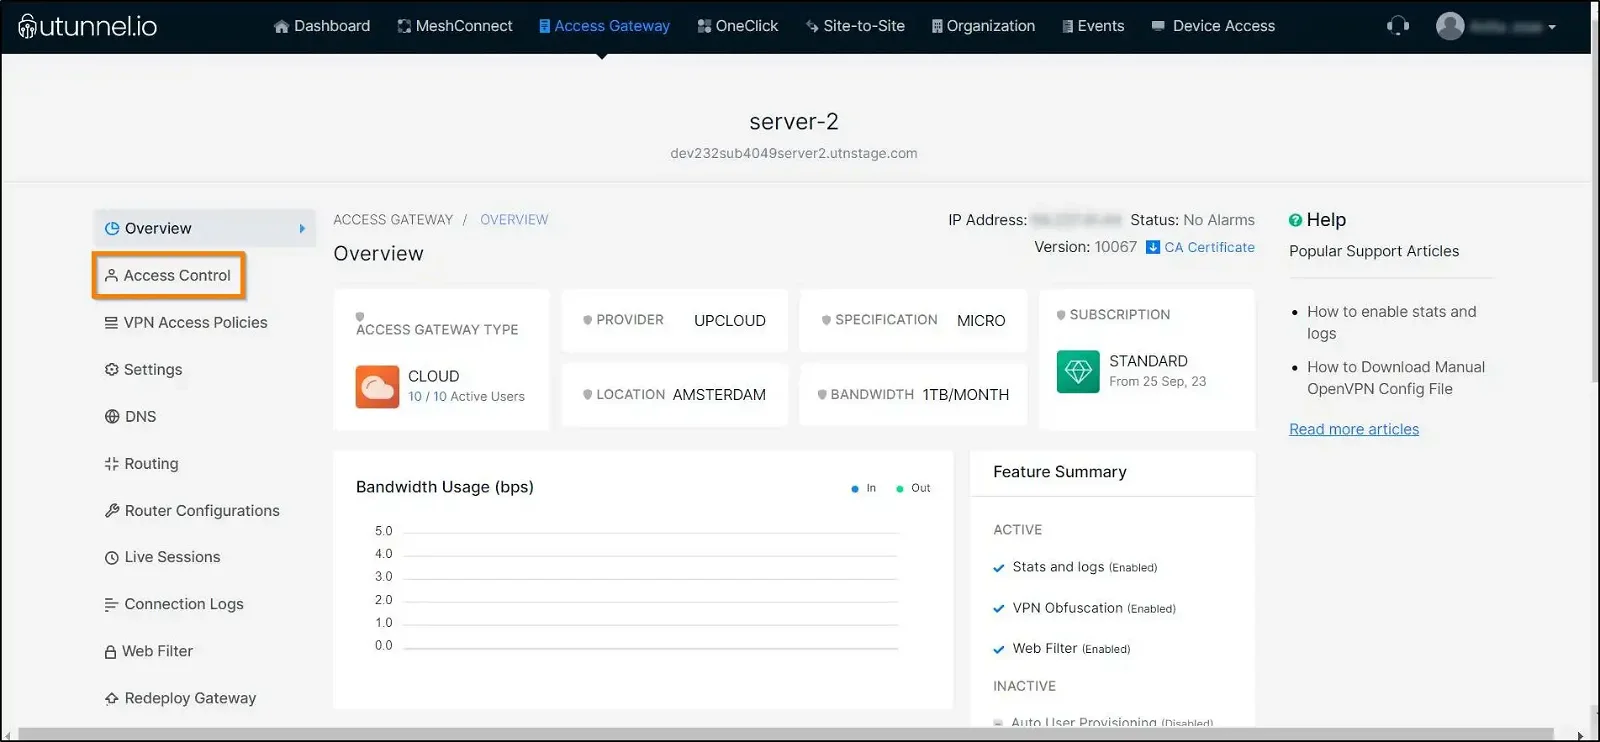
3. Navigate to the Access Control section in the left-side menu.
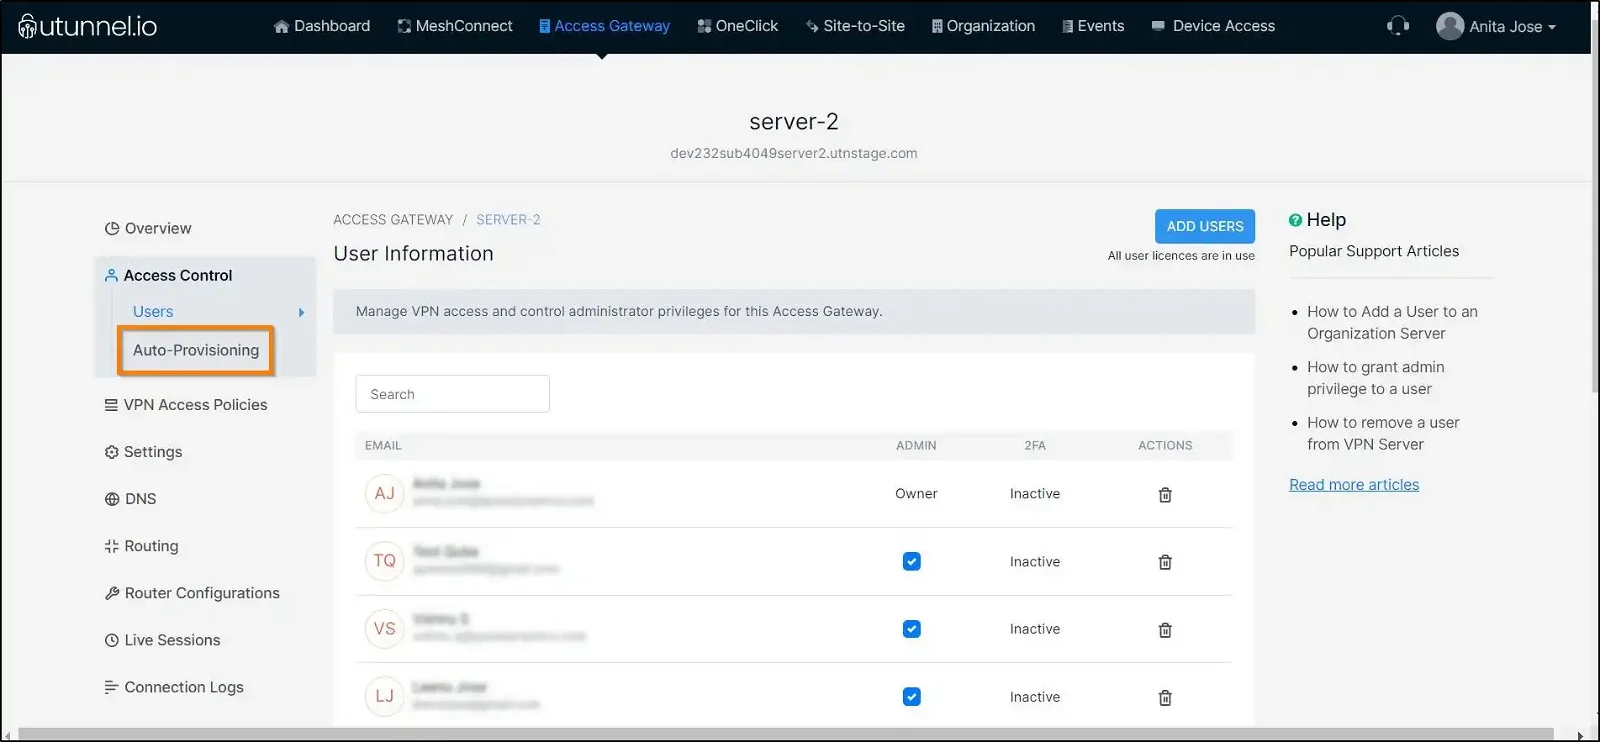
4. Proceed to the Auto-Provisioning section from the drop-down menu.
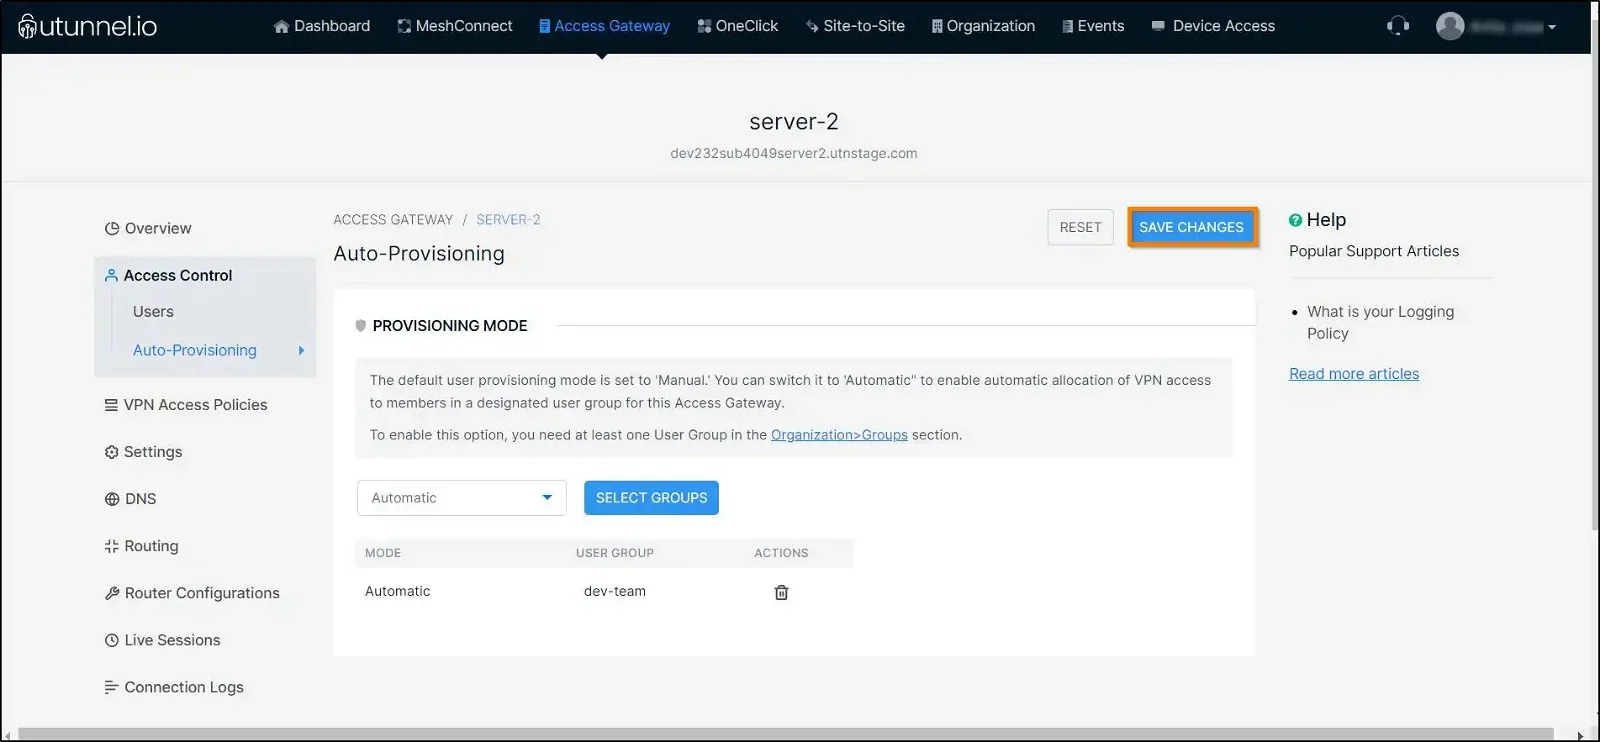
5. Select the user provisioning mode to be Automatic from the drop-down menu and click on the SELECT GROUP button.

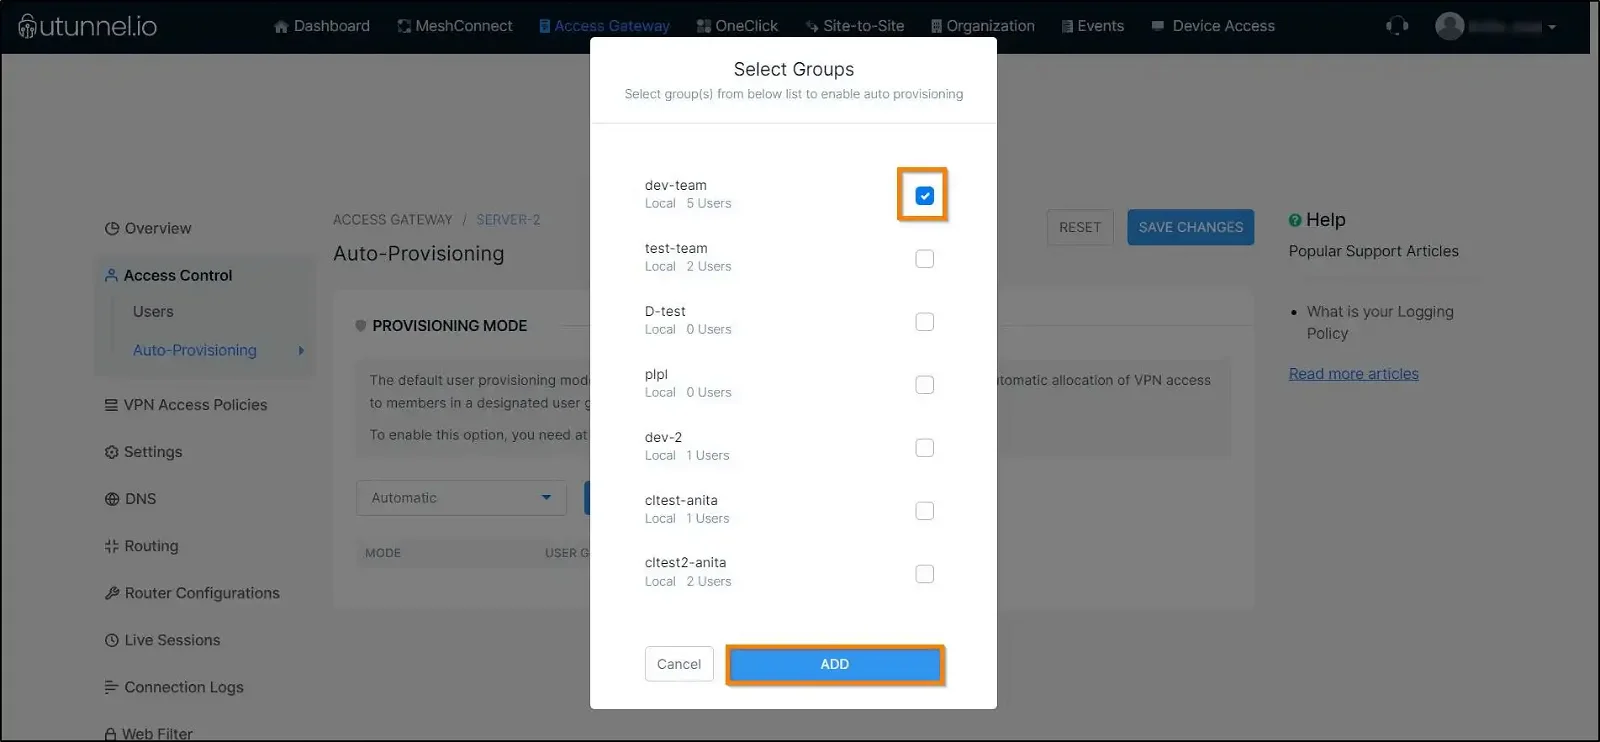
6. Select the group for which you want to enable auto-user provisioning by ticking the check box against the respective group. After selecting the group, click on the ADD button.
7. Click on the SAVE CHANGES button to enable auto-user provisioning for the selected group.
And that's how you enable auto-user provisioning on a server.