By Susmitha V
Updated on 03 Aug, 2023
VPN access policies are a set of regulations that stipulates the level of access a user or a group of users have on a particular VPN server. UTunnel’s server access policies allow network admins/owners to limit VPN access to devices operating on specific operating systems, or even particular individual user devices. The policies also allow setting up controlled access to manual OpenVPN config files on a VPN server.
This guide explains how to set up an access policy on a VPN server in your UTunnel account.
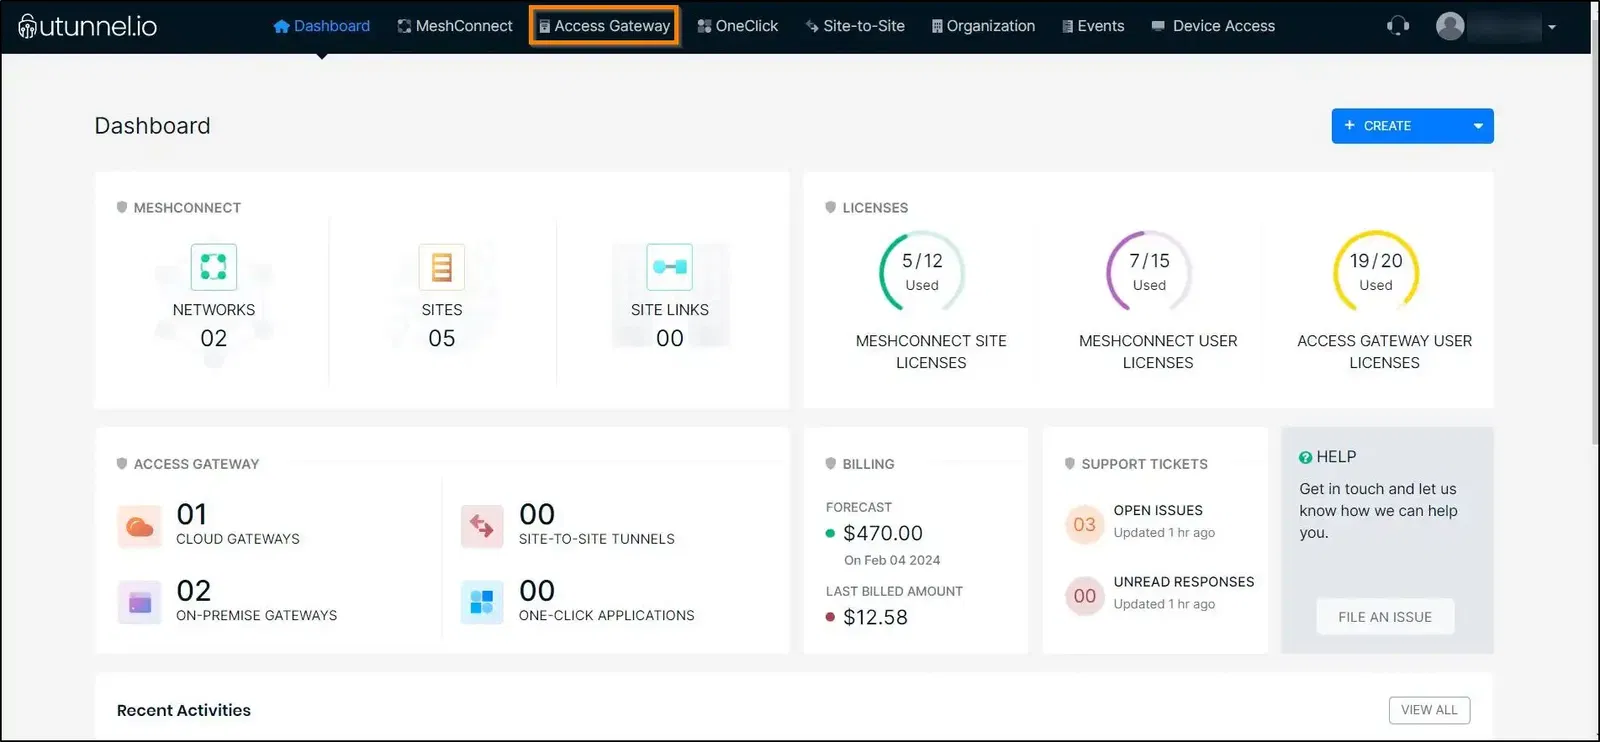
1. Log in to your UTunnel account (Personal/Organization) and navigate to the Server tab.
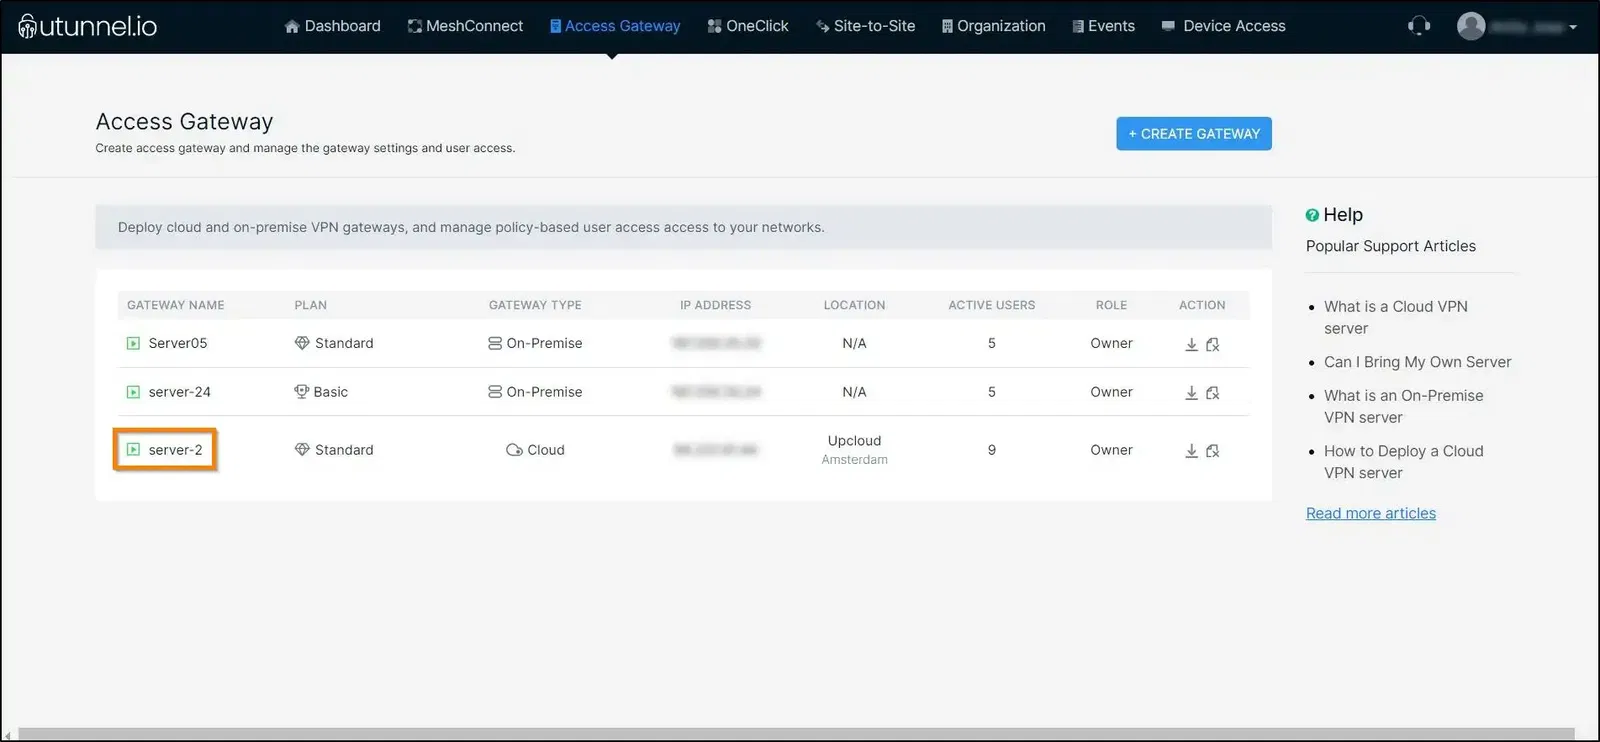
2. Click on the VPN server on which you want to set up the access policy.
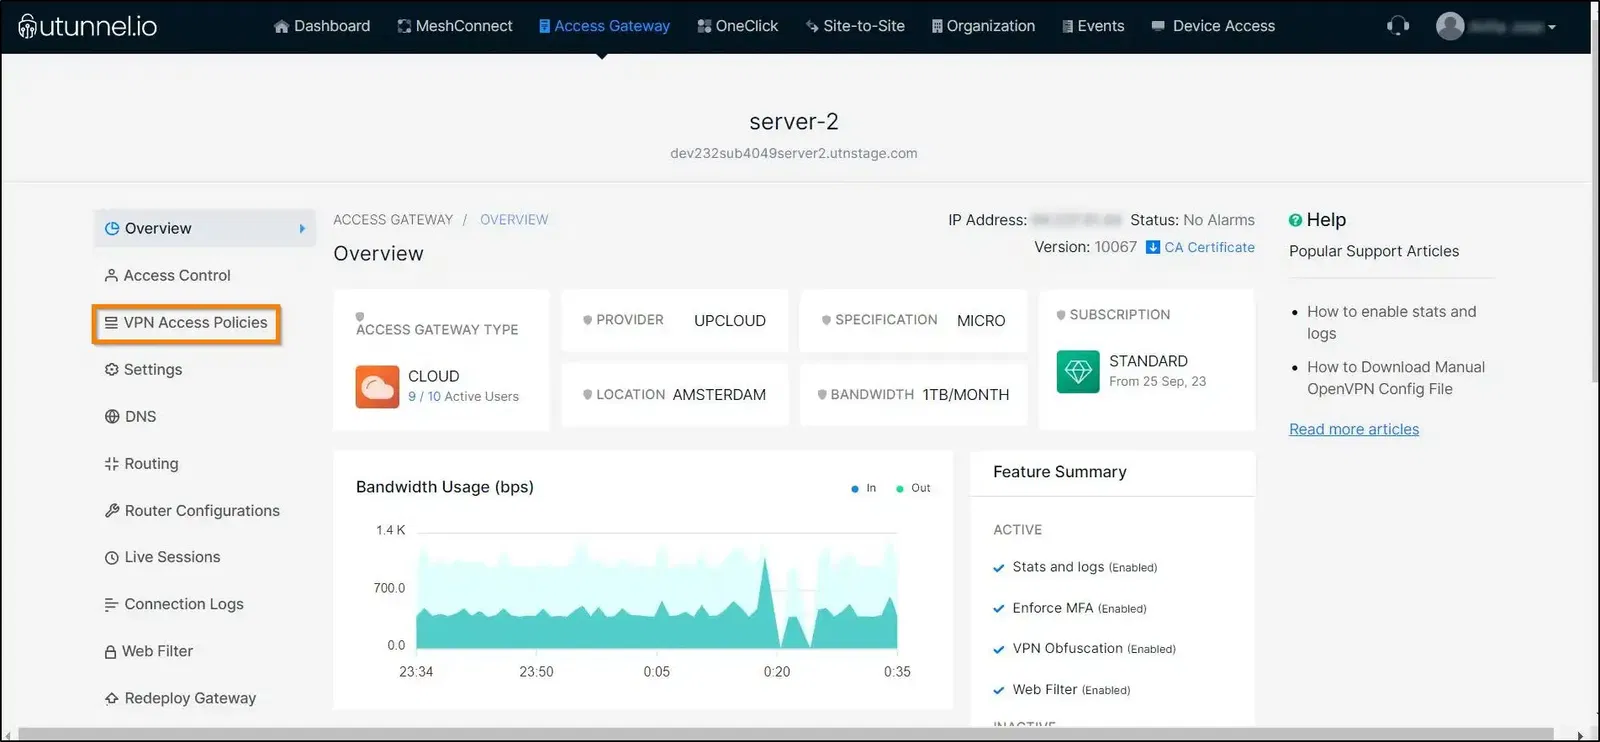
3. Navigate to the Access Policy page.
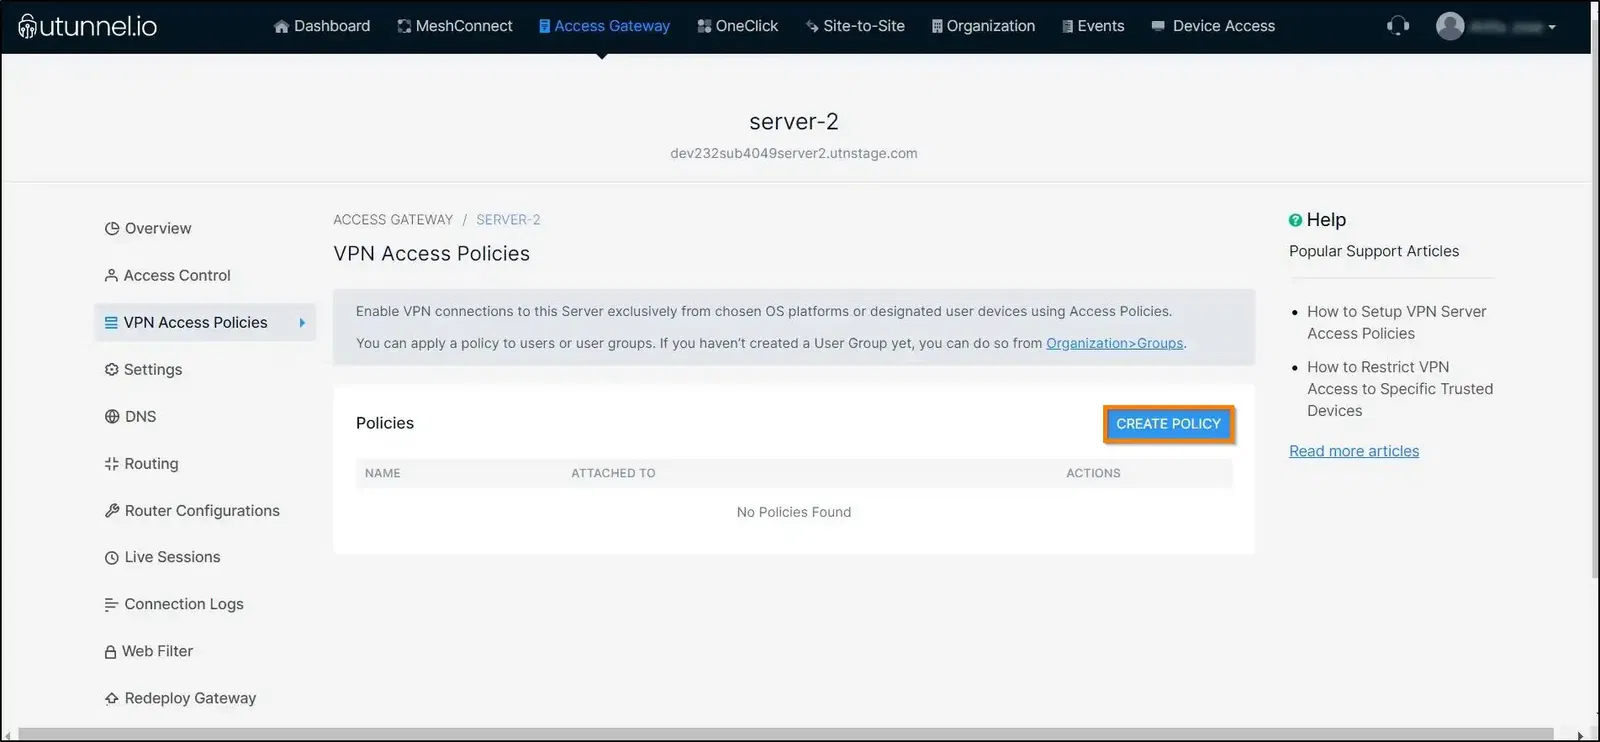
4. Click on the Create Policy button to create the access policy.
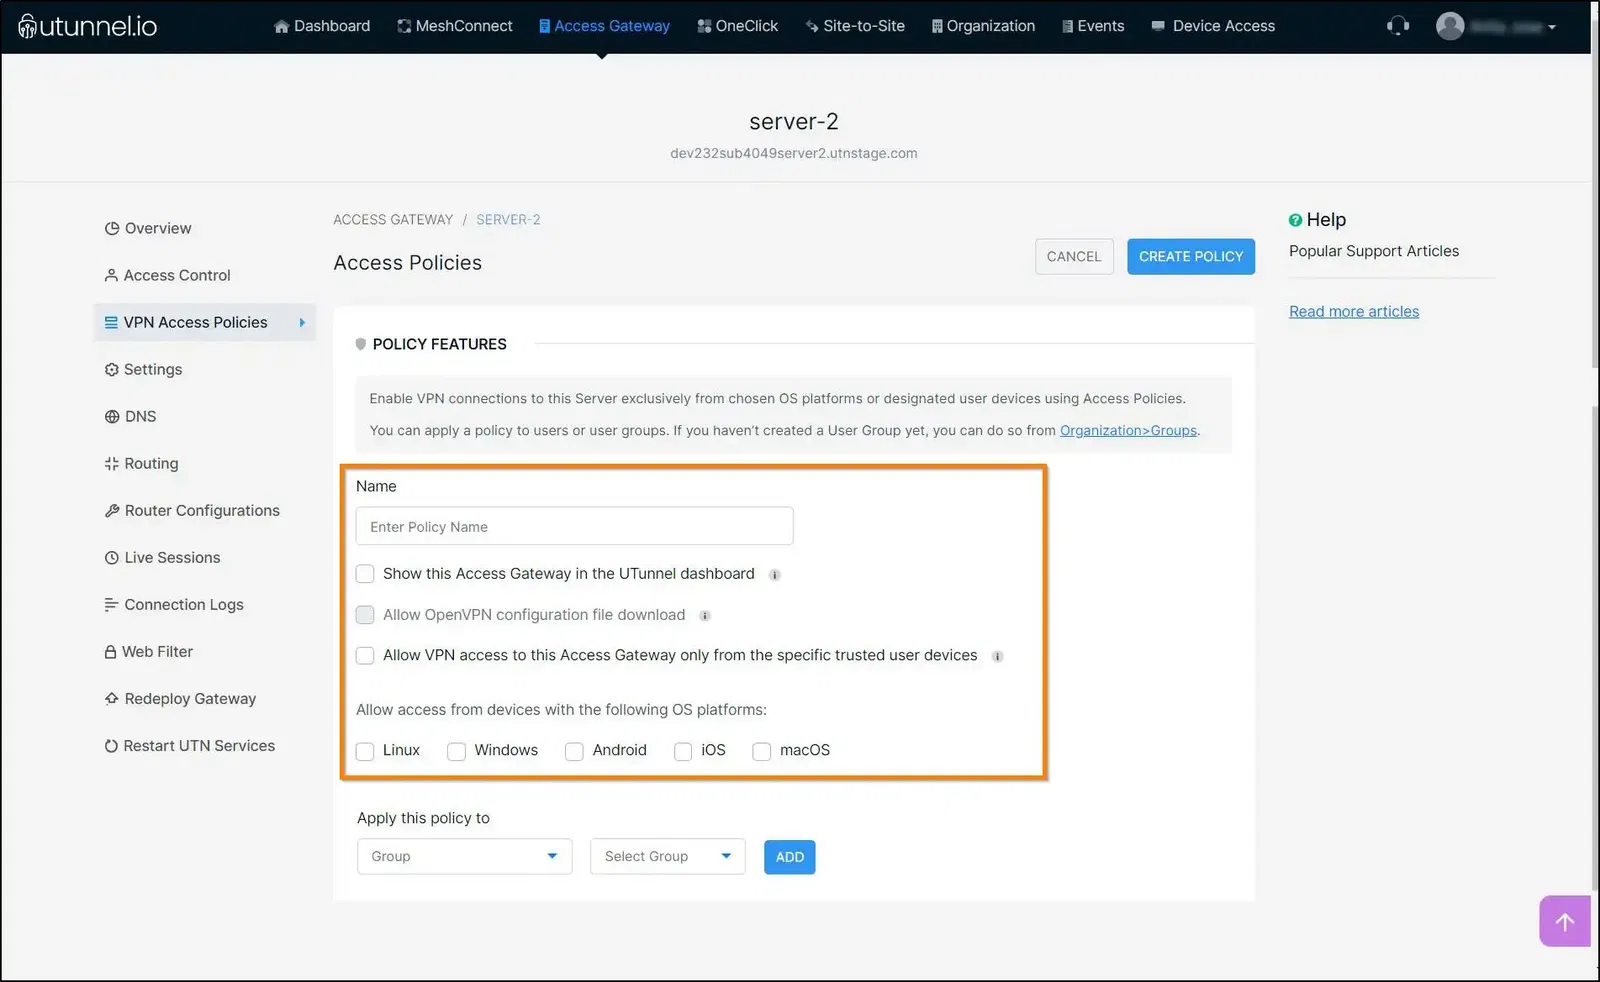
5. Enter a name for the access policy and select the checkboxes beside the controls that you want to include in the VPN access policy.
The controls let you (an admin/owner):
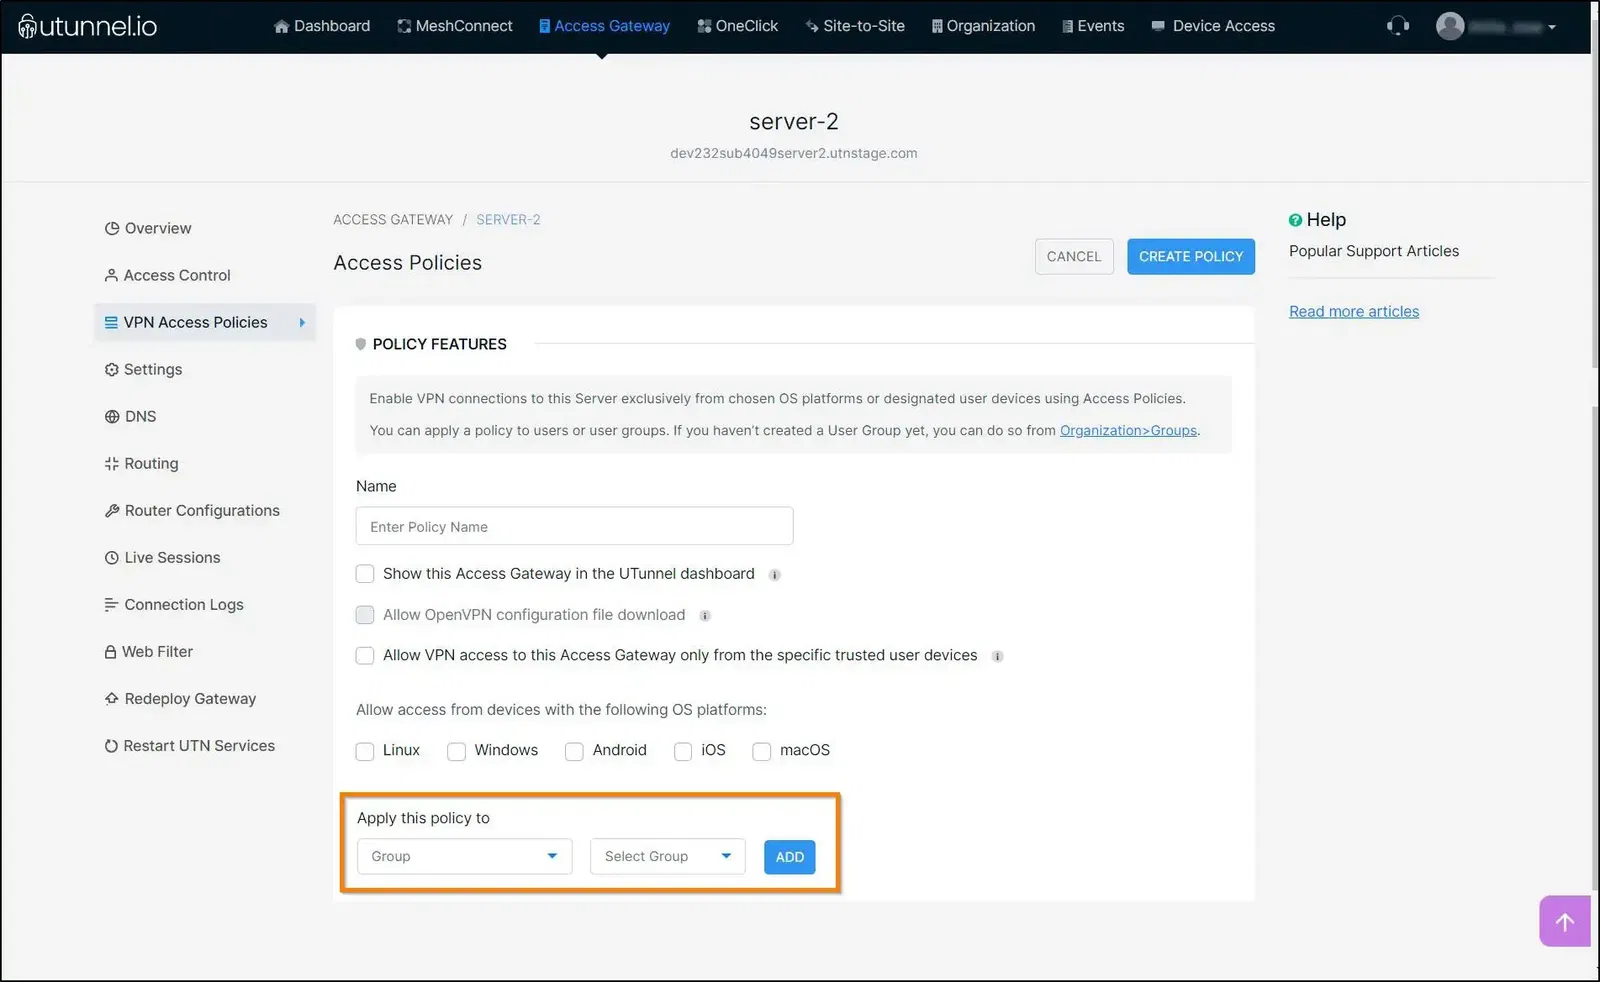
6. Now select the groups or individuals for whom you want to apply this policy and click on Add button. You can add all the required users and user groups here.
7. After customising the access policy with the necessary controls and adding all the users and groups to the policy, click on the Create Policy button to finish setting up the access policy.
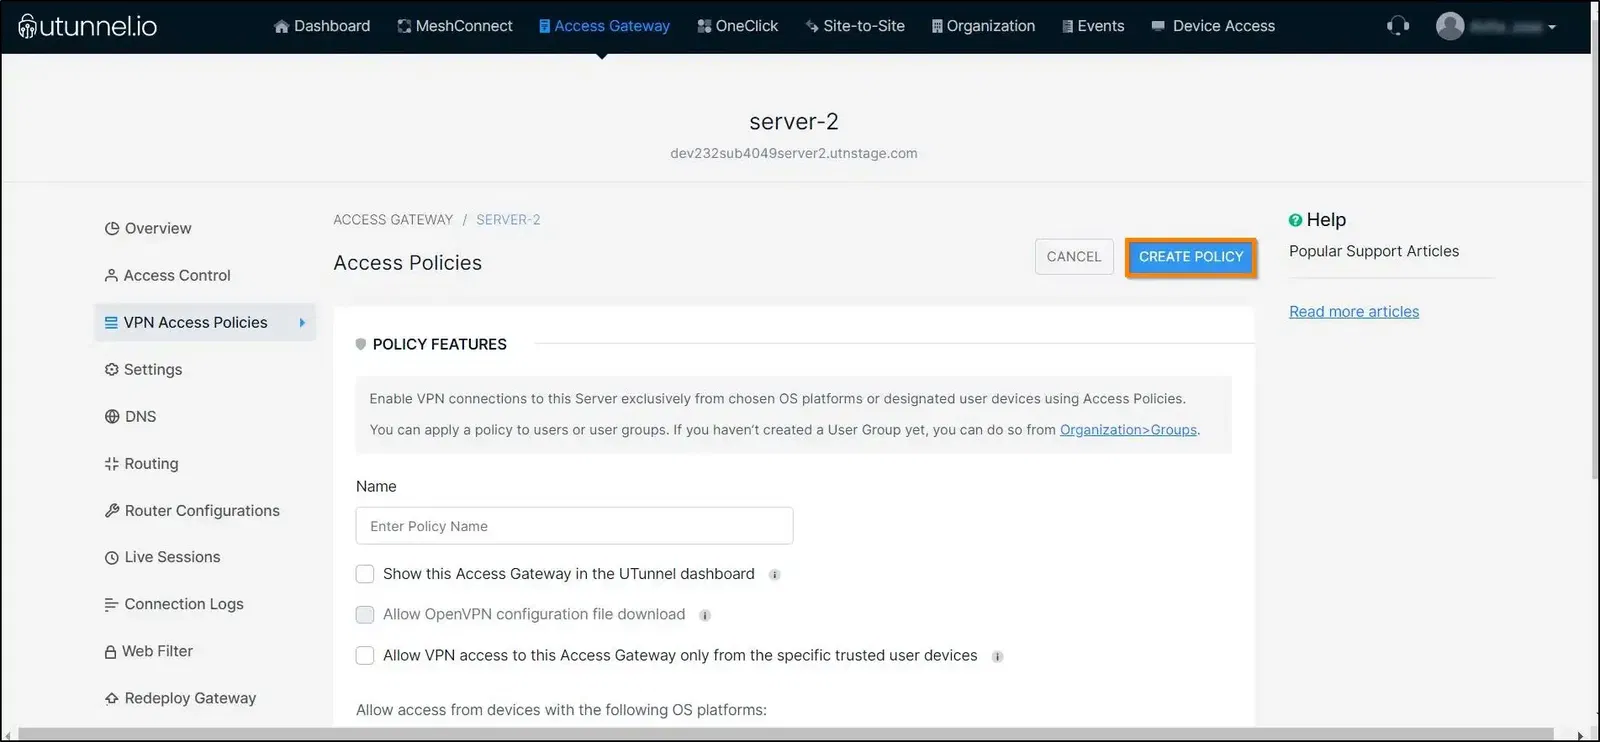
You have now successfully created an access policy on this VPN server based on your requirements and attached it to users and user groups.
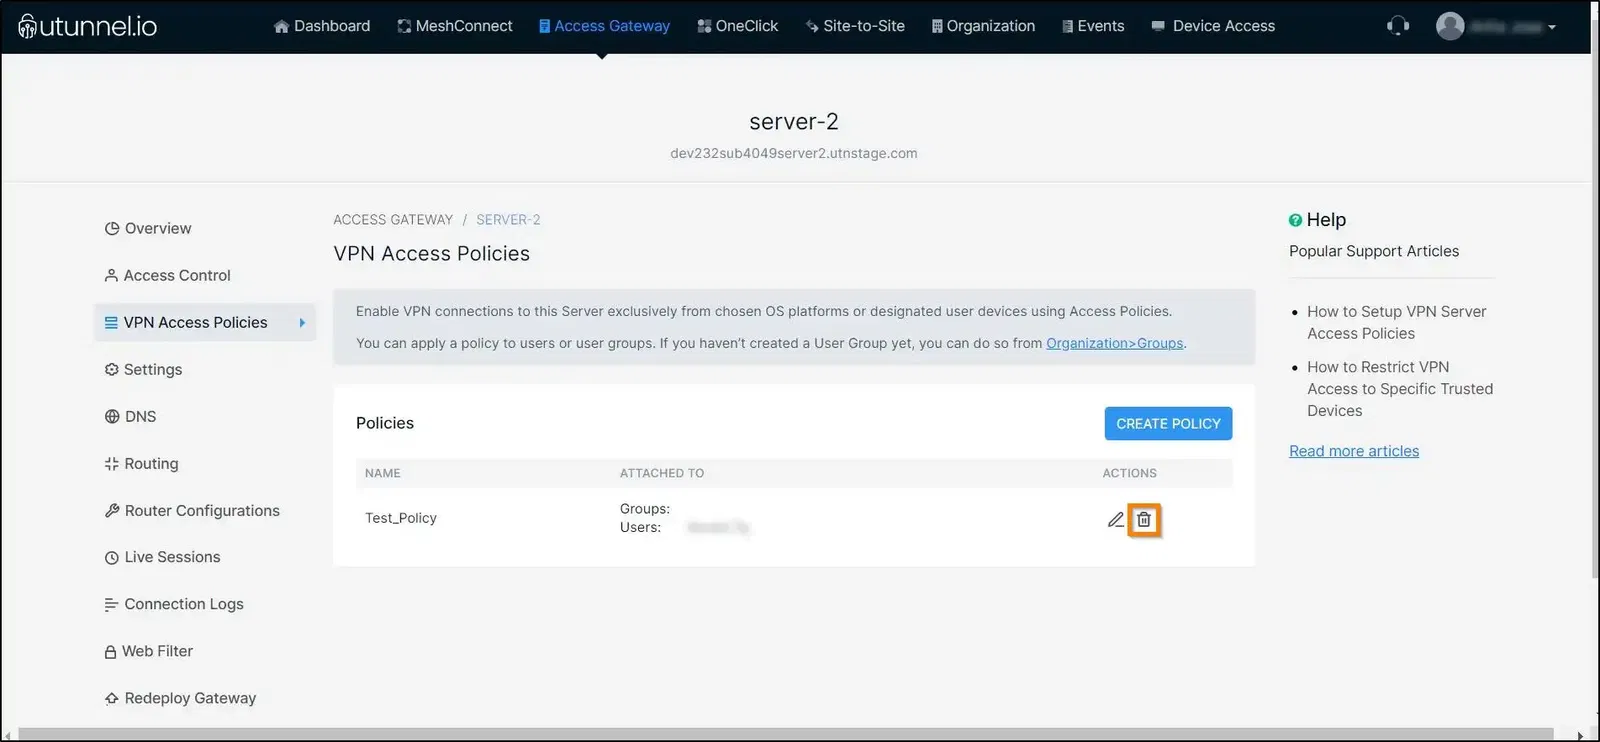
Once you create an access policy, you can edit the policy settings and add/remove users from the policy using the edit button beside the policy name.
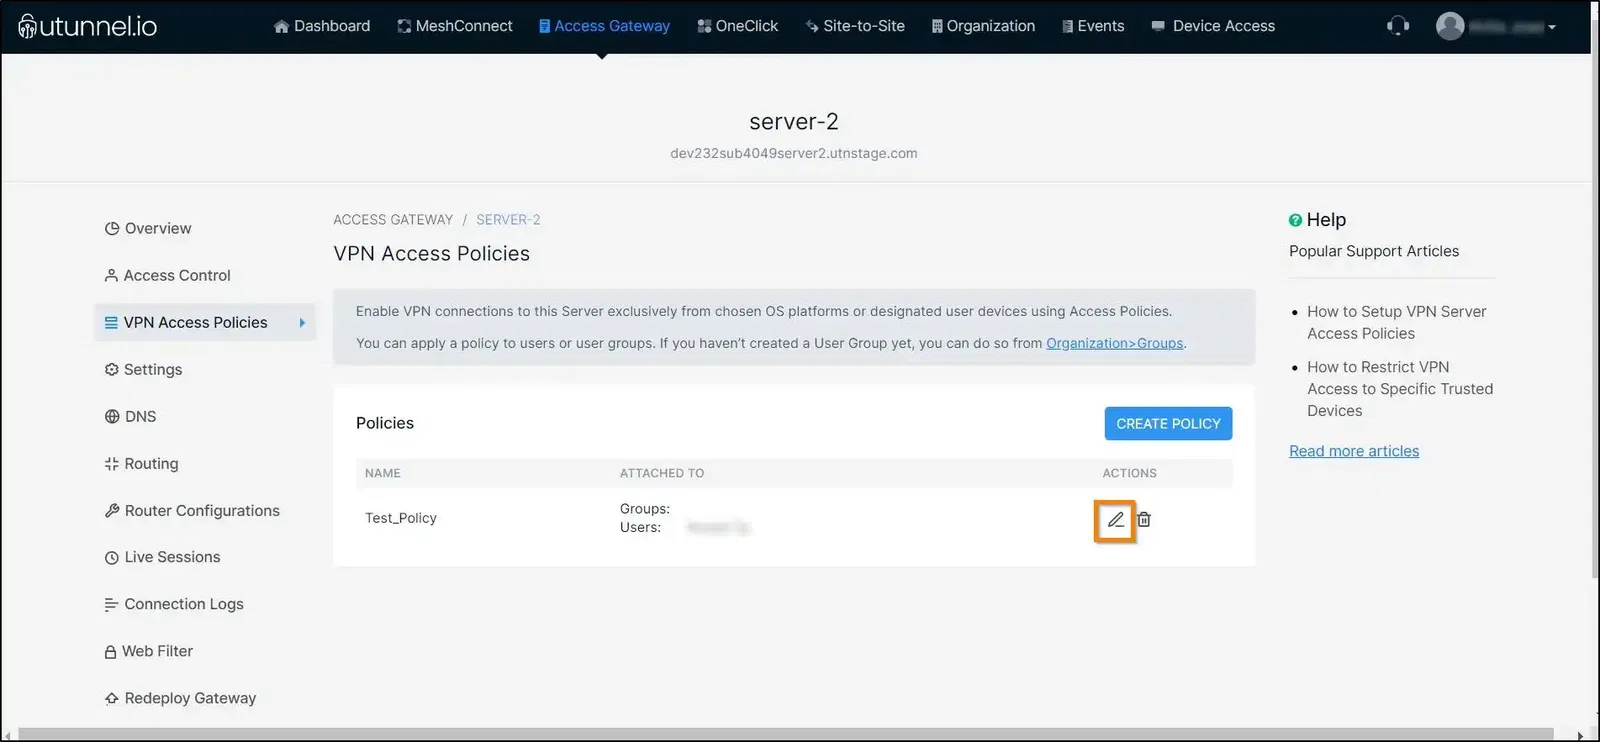
You can also delete a VPN access policy using the delete button beside the policy name.
