UTunnel allows users to connect to a VPN server using the OpenVPN protocol via custom protocol (UDP/TCP) and port. This guide details the steps to configure this feature. To use this feature, you need to enable manual OpenVPN Connections from the VPN server settings first.
Once you enable OpenVPN on a custom protocol and port, it will be listed as a connection option on UTunnel’s Android and Windows VPN client applications.
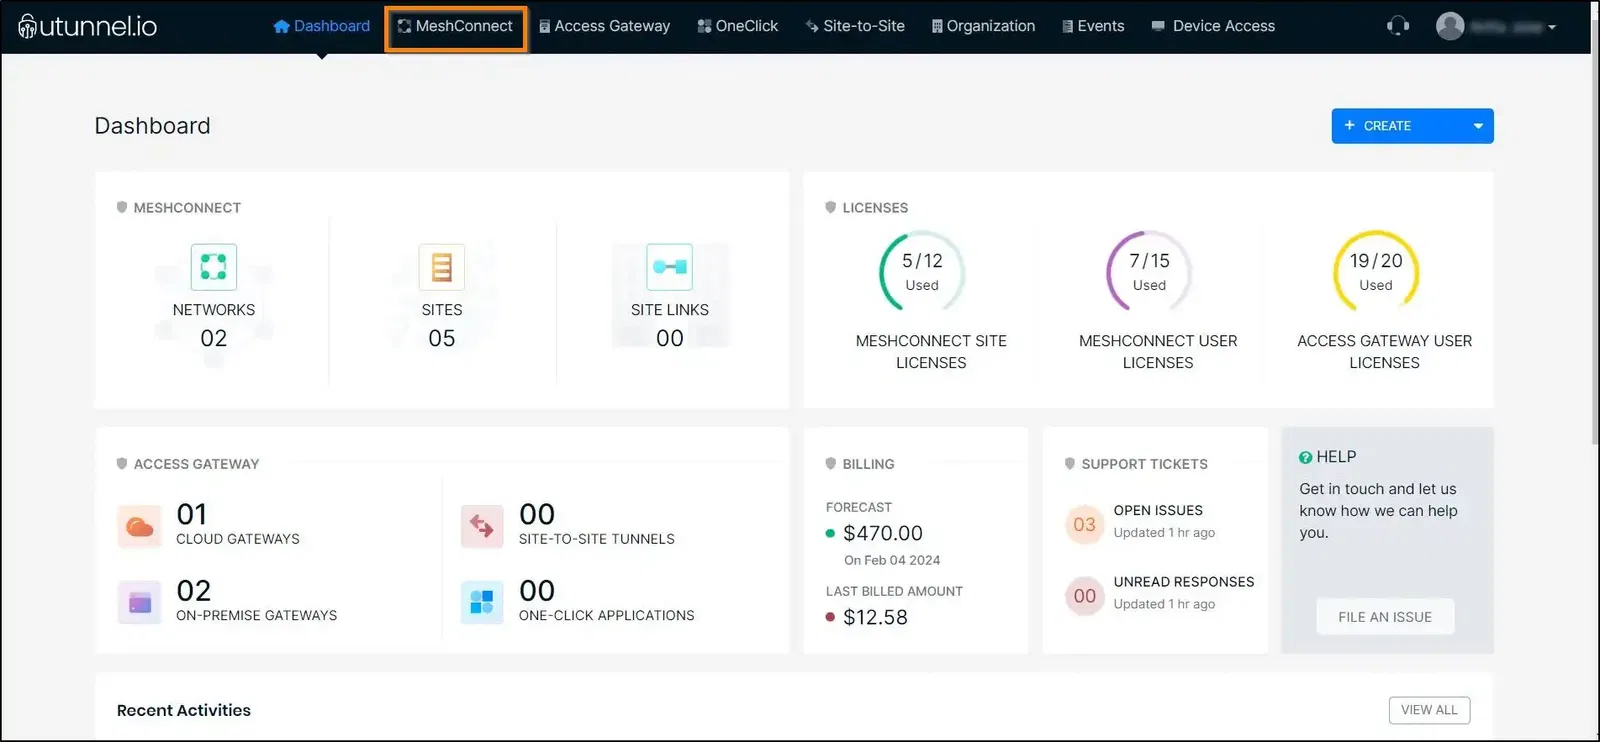
1. Log in to your UTunnel account and click on the Server tab at the top menu to view your servers.
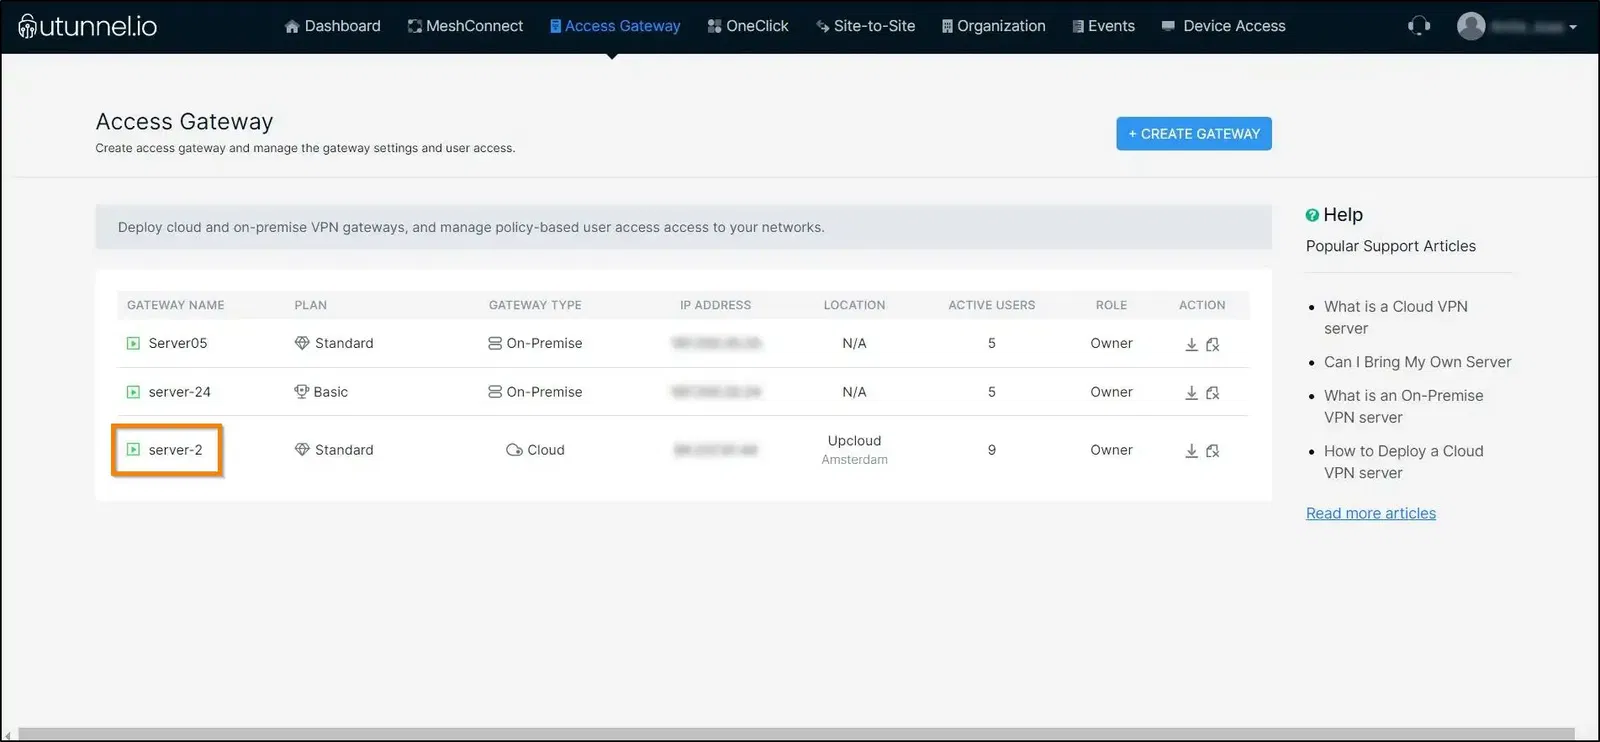
2. Click on your preferred server to view more details about the server.
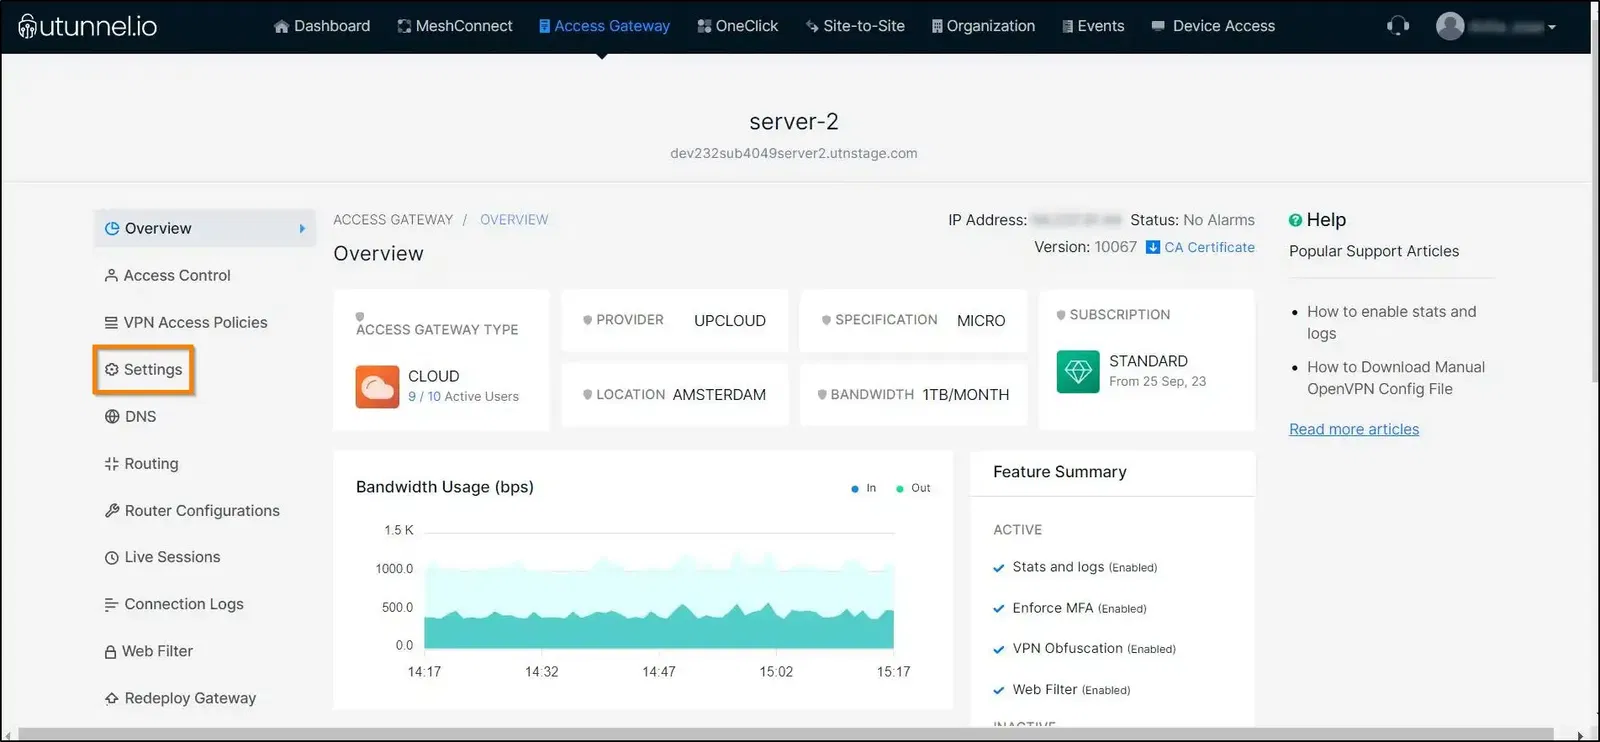
3. You will land on the server details page of that particular server. Select Settings from the left side menu.
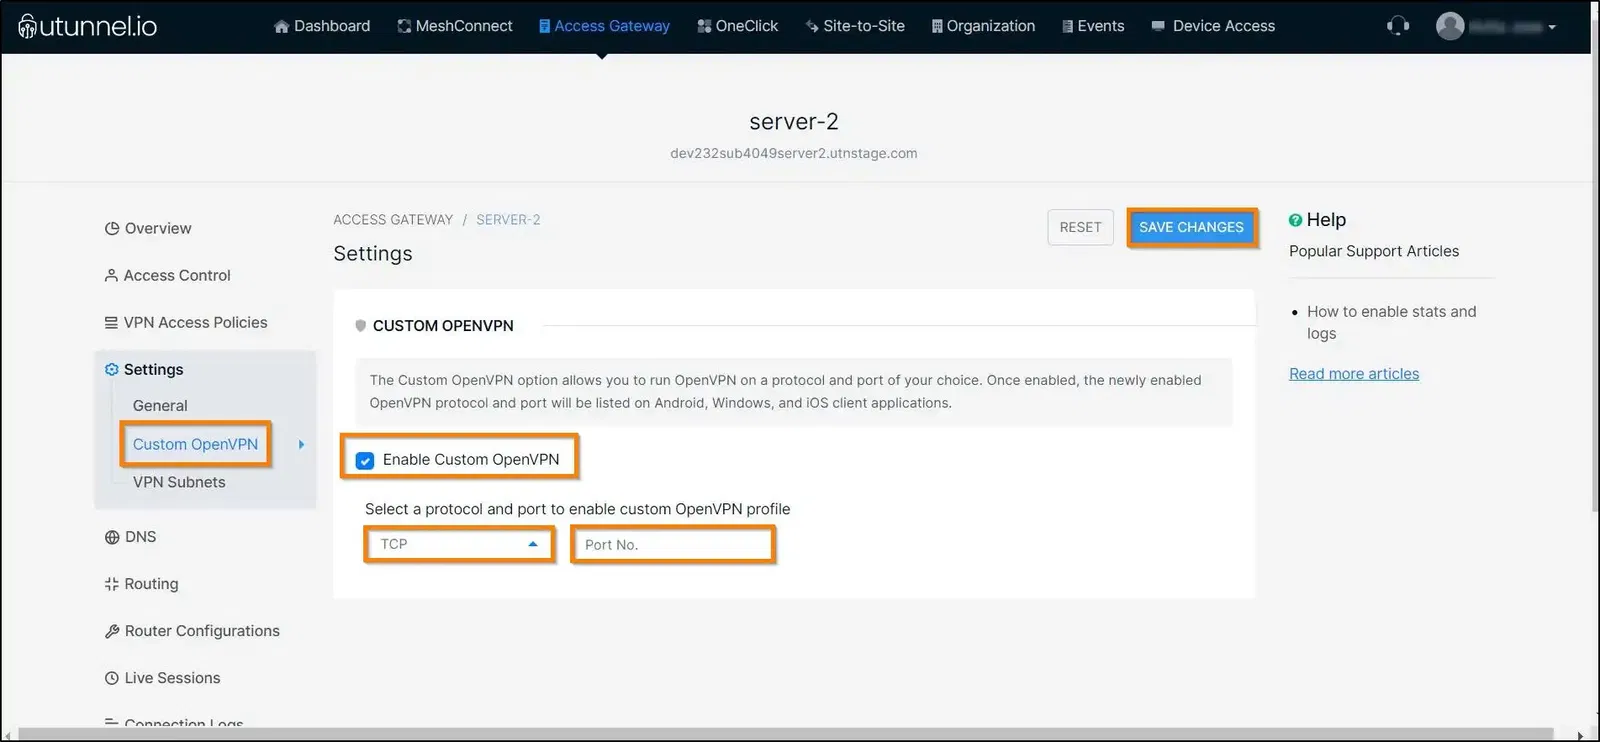
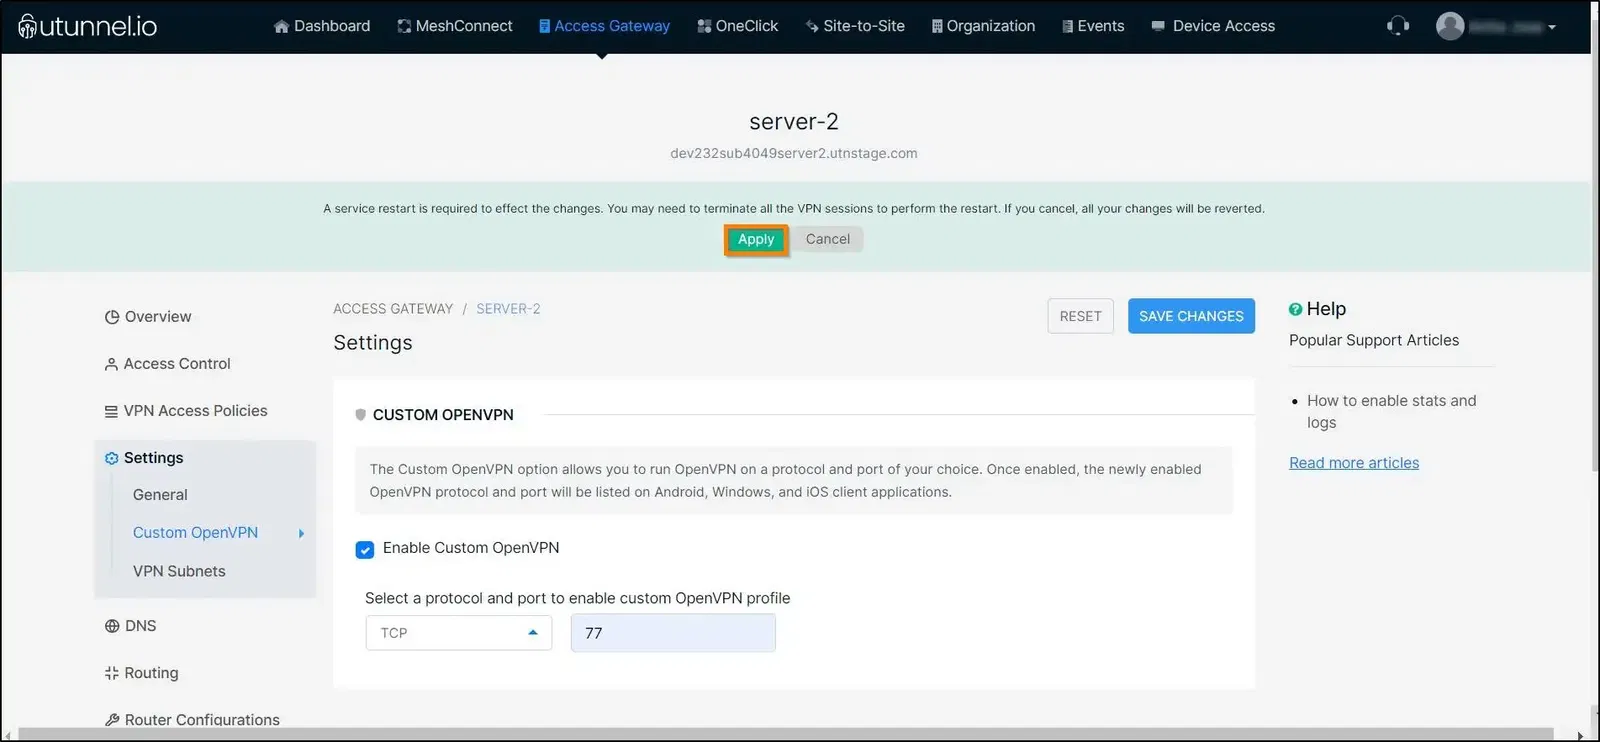
4. Scroll down to find Custom OpenVPN. Enable Run OpenVPN on a custom port. Select your preferred protocol from the dropdown and enter your preferred port. Click the SAVE CHANGES button to effect the changes.
5. In order for the changes to reflect on the VPN server, a service restart needs to be performed on the server. Click on the Apply button on the prompt asking you to restart the service.
For a cloud VPN server, the service restart will be performed automatically. But, in the case of an on-premise VPN server, you have to restart it manually.
6. You have to wait while the service automatically restarts and the changes are in effect.
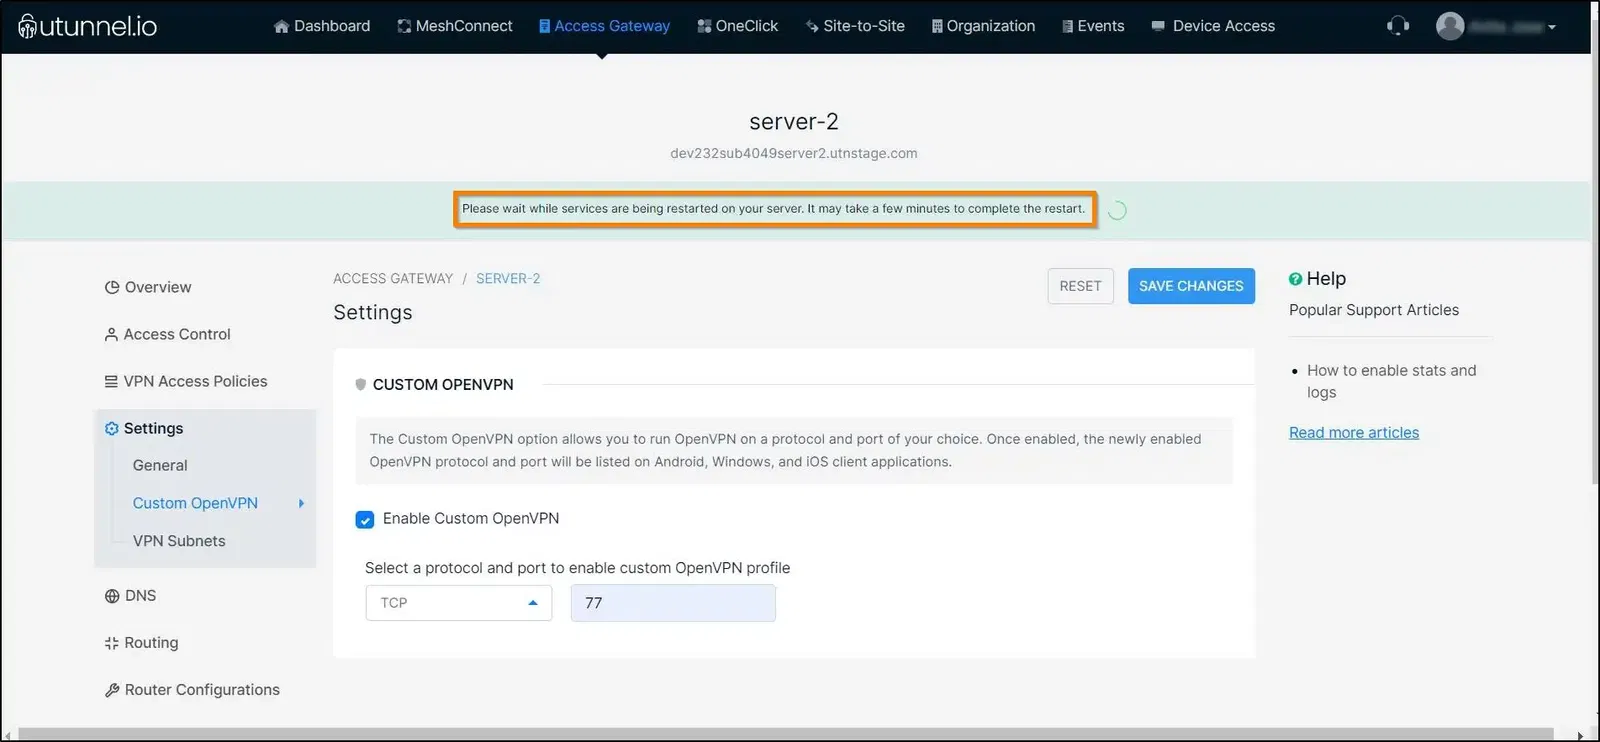
8. The status of the UTunnel service restart can be inferred from the message bar.
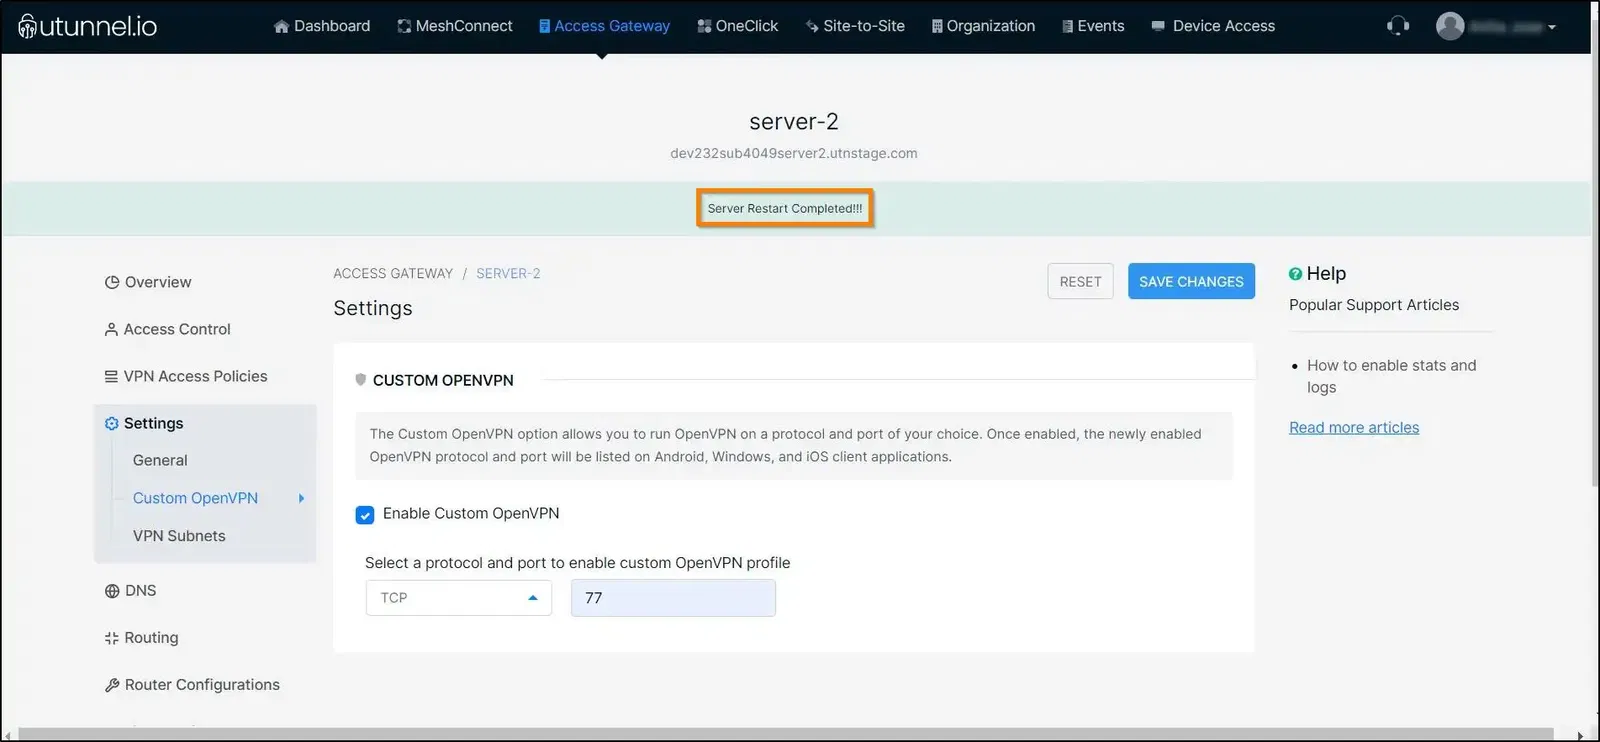
9. Once restarted, users will be able to connect to the UTunnel VPN server using the Custom OpenVPN protocol and port as defined above from UTunnel VPN client applications.
If you need further assistance, contact our support team.