By Harsha Vardhan
Updated on 29 Apr, 2025
UTunnel’s Access Gateway enables you to set up internal DNS Zones, allowing you to create private domain namespaces and configure DNS records accessible only from the devices connected to the Access Gateway. This setup provides seamless access to internal applications and services using domain names instead of IP addresses, simplifying resource access and enhancing the overall user experience within private networks. In this article, we will walk you through how to set up and configure a private DNS Zone with an Access Gateway.
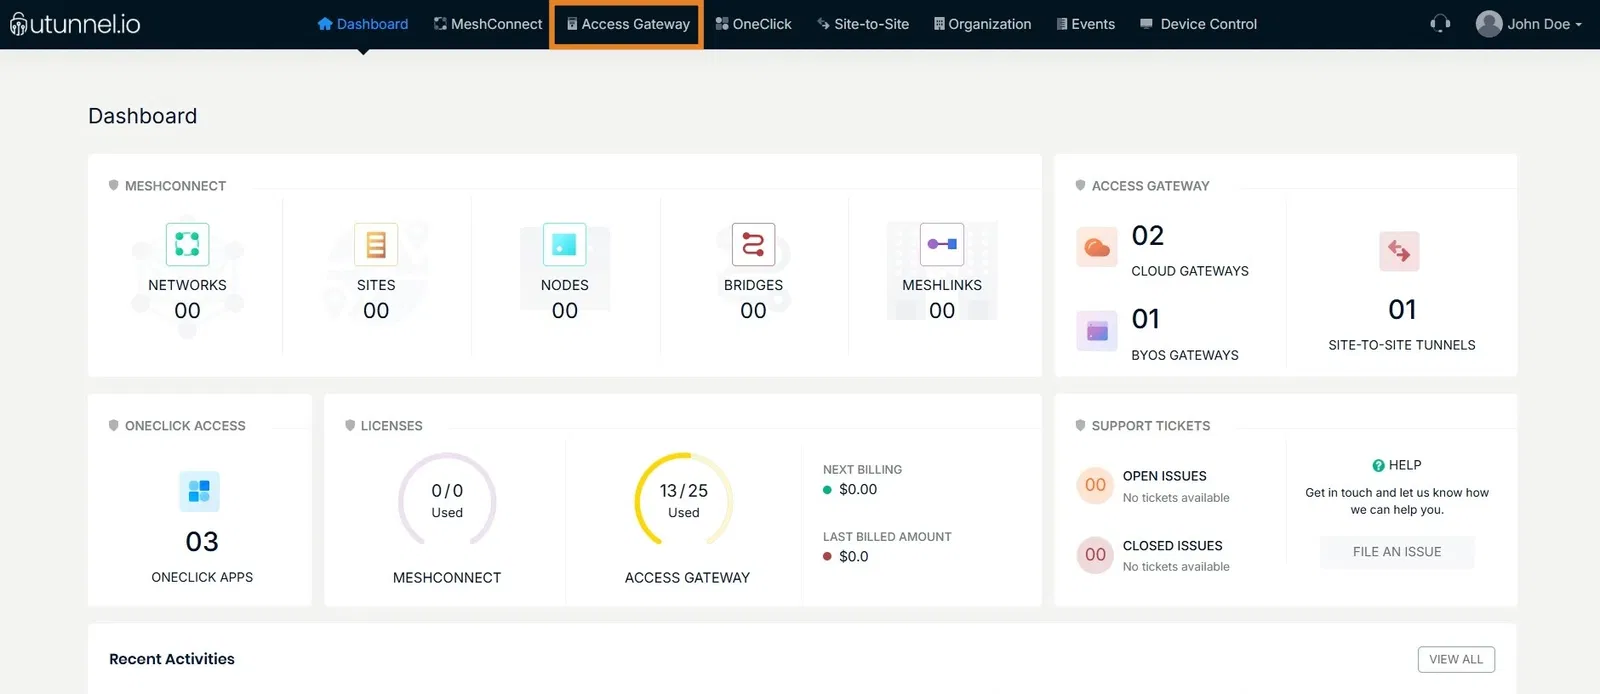
1. Log in to your UTunnel organization account. From the dashboard, navigate to the Access Gateway option at the top menu and click on it.
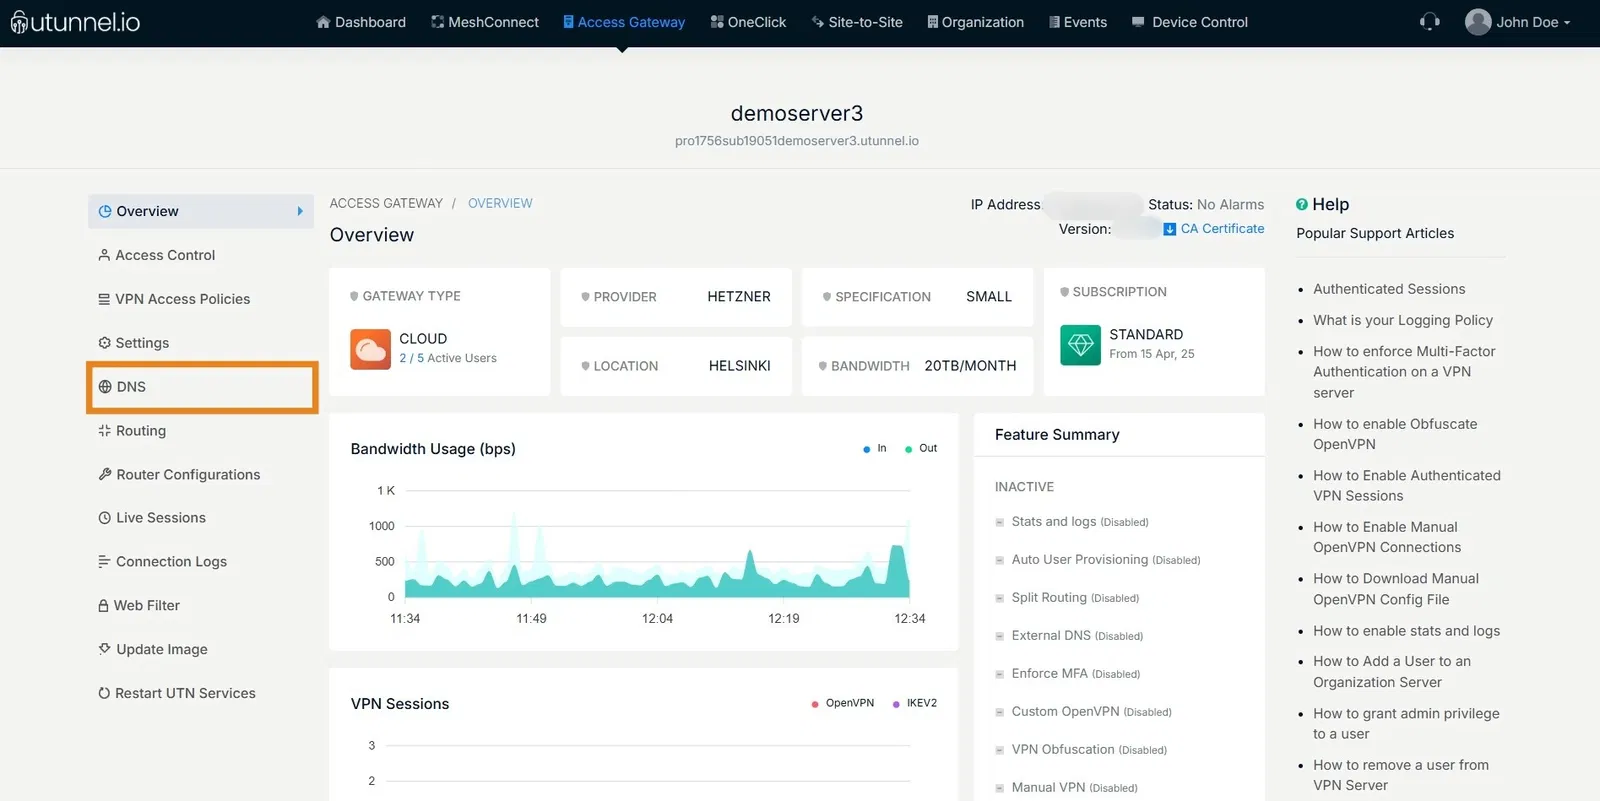
2. Choose your Access Gateway and click on DNS from the list of options on the left.
3. Doing so, you’re displayed multiple options under DNS - click on DNS Zone .
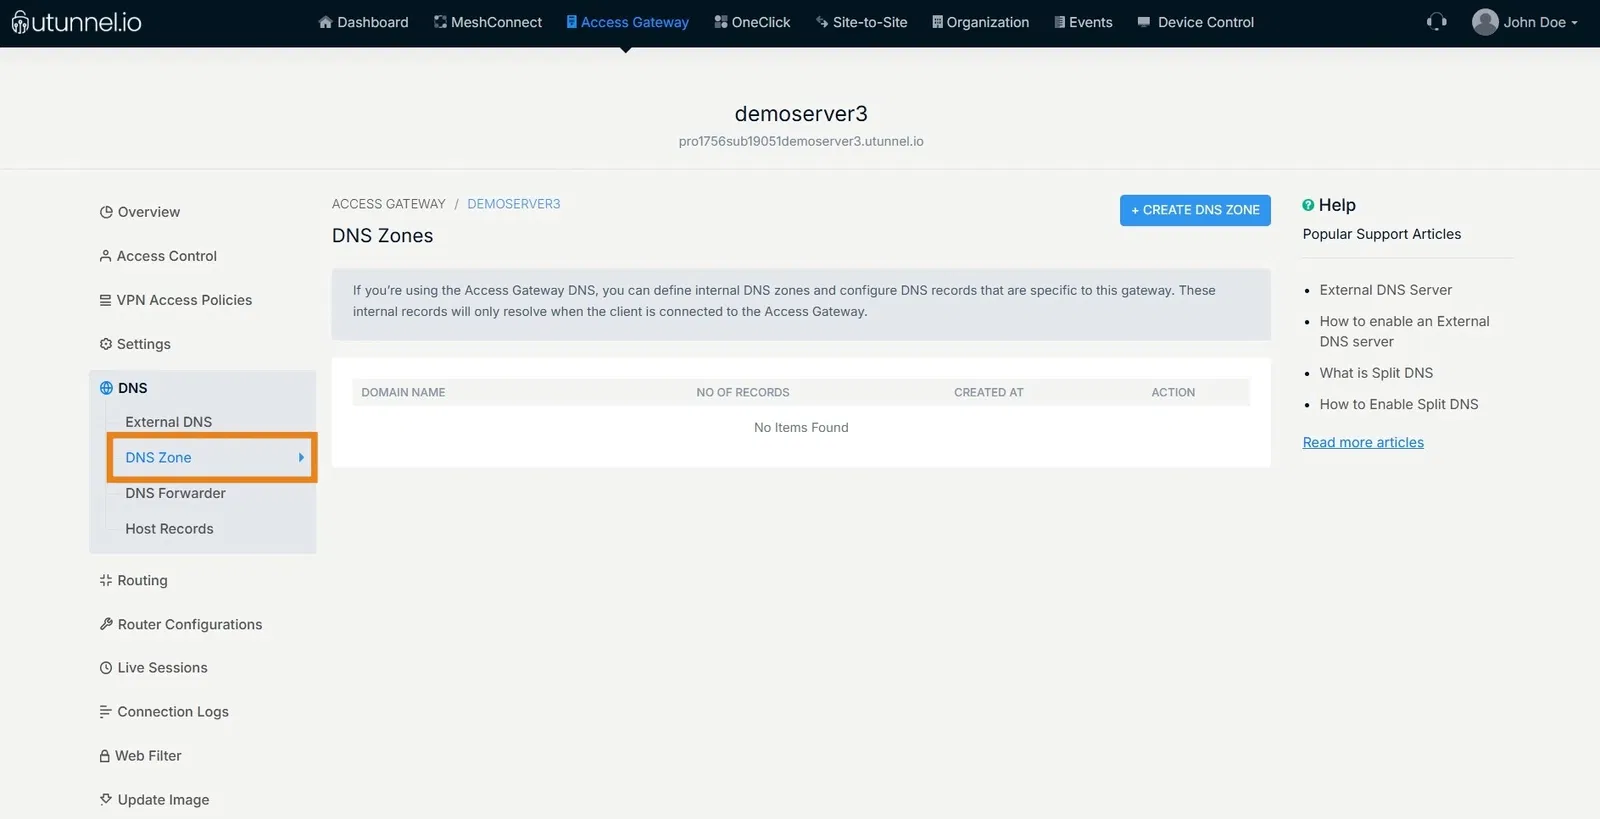
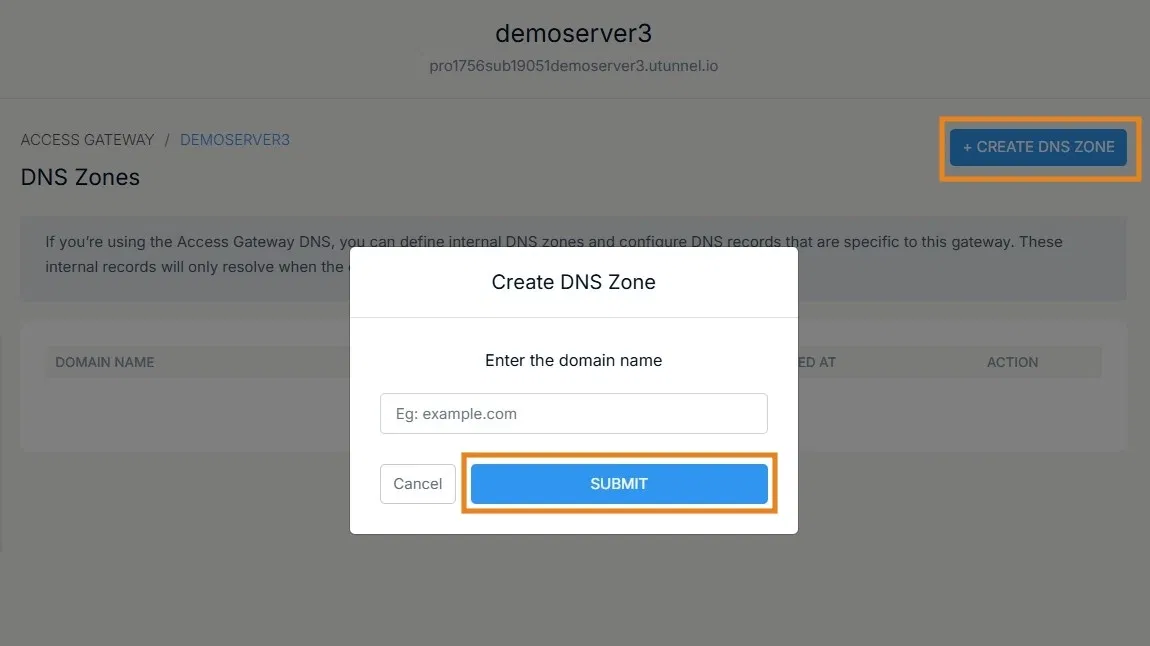
4. From the DNS Zone page, navigate to Create DNS Zone and click on it. You’re asked to enter the domain name. Once done, click on Submit to proceed.
5. Zone records need to be added for the DNS zone to work. To do that, click on the DNS Zone you just created and then click on Create DNS Record . Fill in the Subdomain and Target . For record type , choose between - A (IP address), CNAME (Domain), MX (Domain), and TXT. Next, click on Submit .
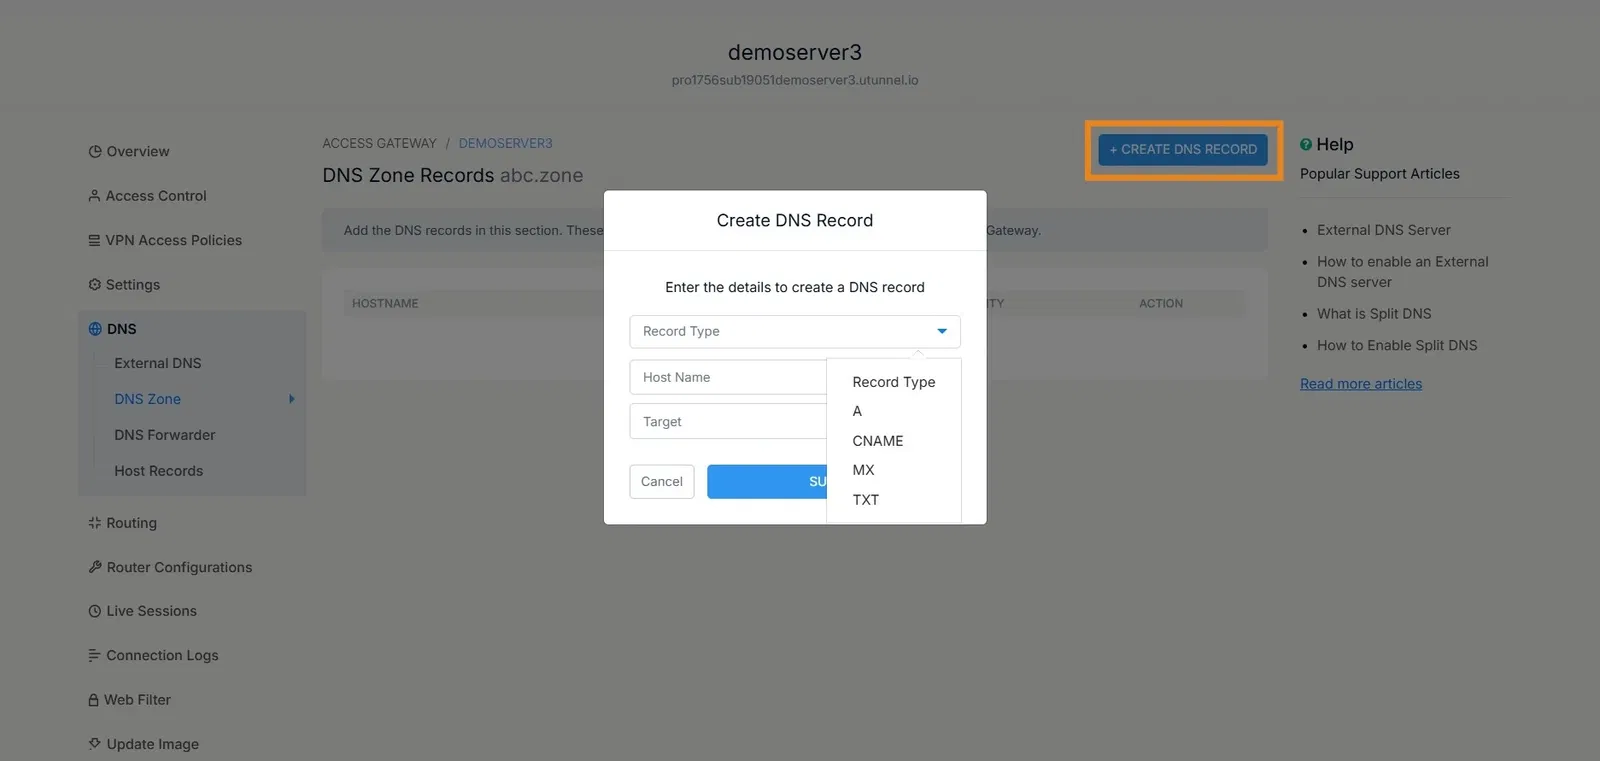
Note : If you have selected MX as the record type, the priority must be an integer.
6. The DNS Zone is now set up and ready to resolve internal domain names for clients connected to your Access Gateway.