This guide describes how to deploy a Kamatera VPN gateway using UTunnel's Cloud VPN as a Service.
UTunnel facilitates quick and easy VPN gateway deployment with many leading IaaS providers in the industry and Kamatera is one among them. UTunnel’s hassle-free VPN gateway deployment process makes it easy for users to deploy and manage a VPN gateway with Kamatera.
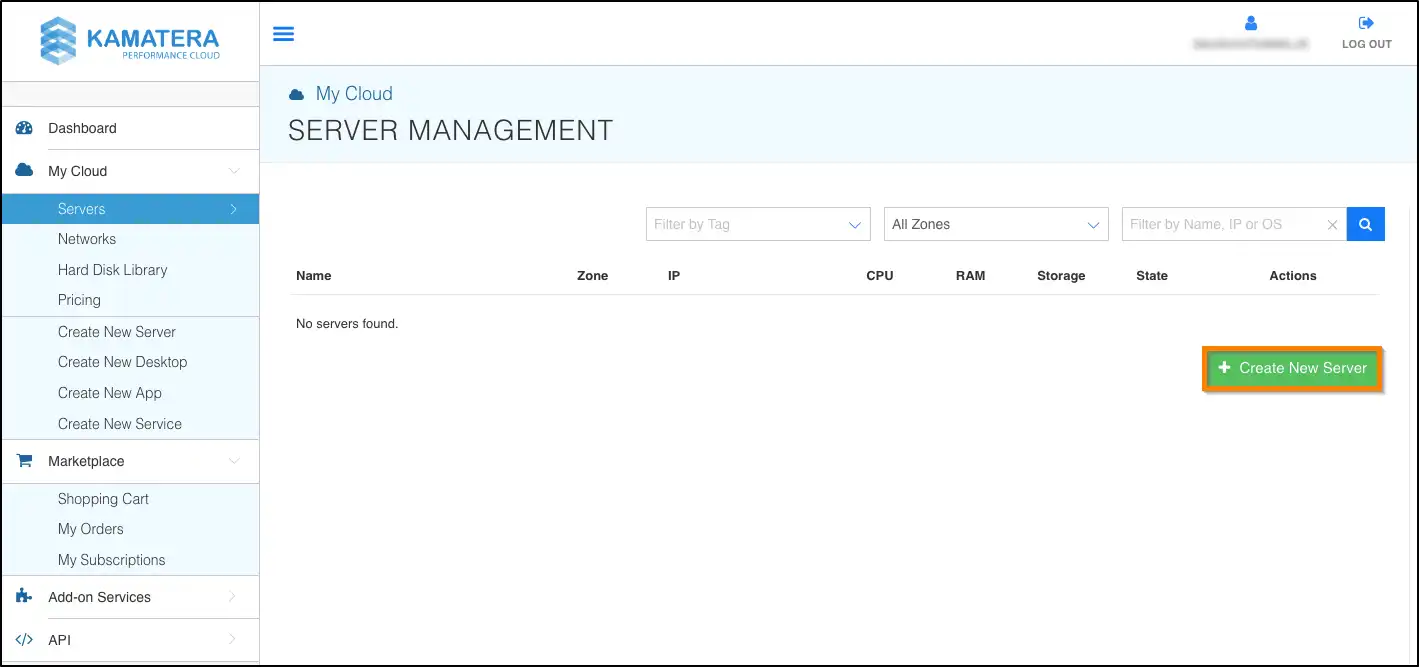
1. Log in to your Kamatera account and navigate to your Kamatera Dashboard > My Cloud > Servers and click on the Create New Server button.
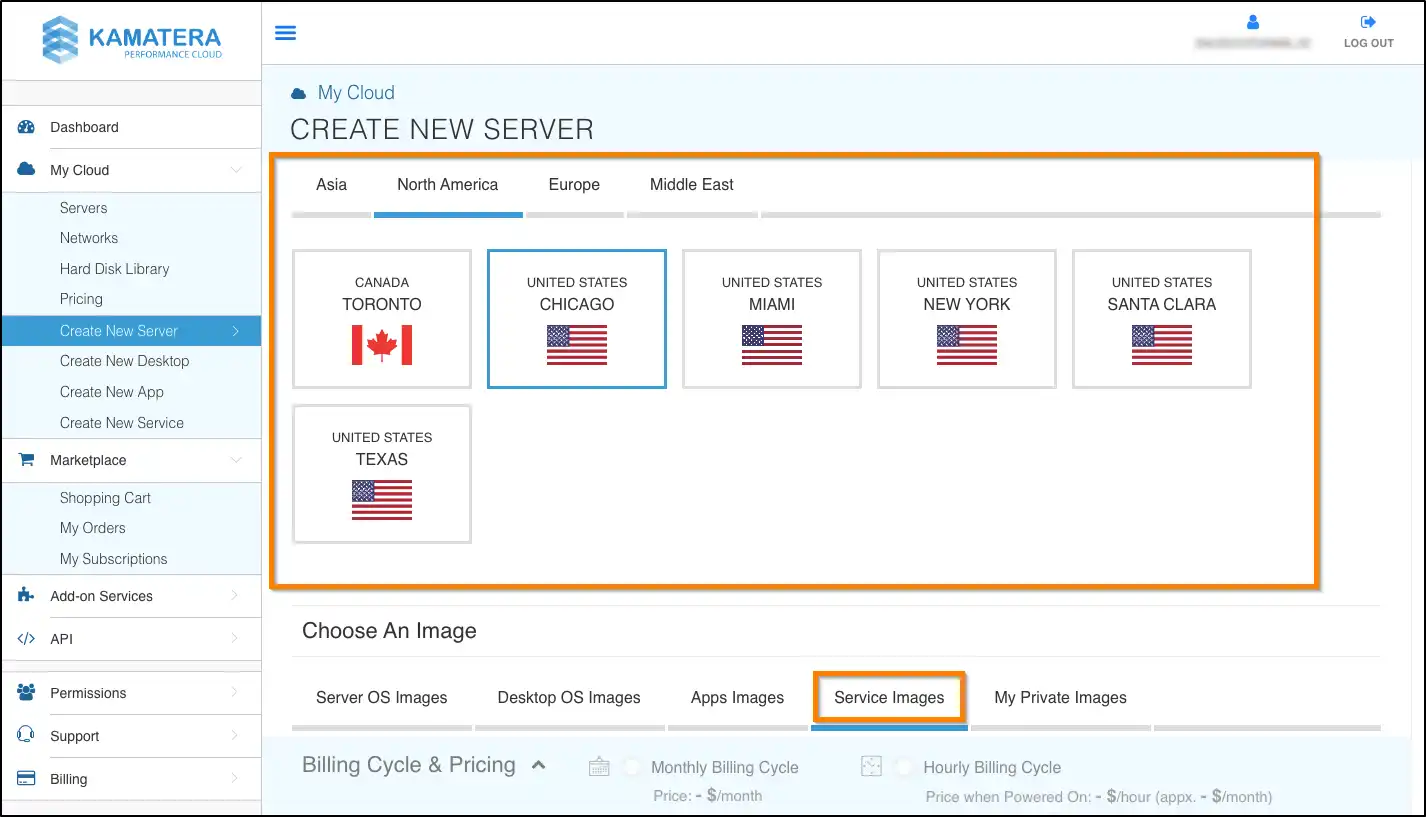
2. Choose the location where you want to deploy your Kamatera VPS. In the next section titled Choose An Image, click on Service Images.
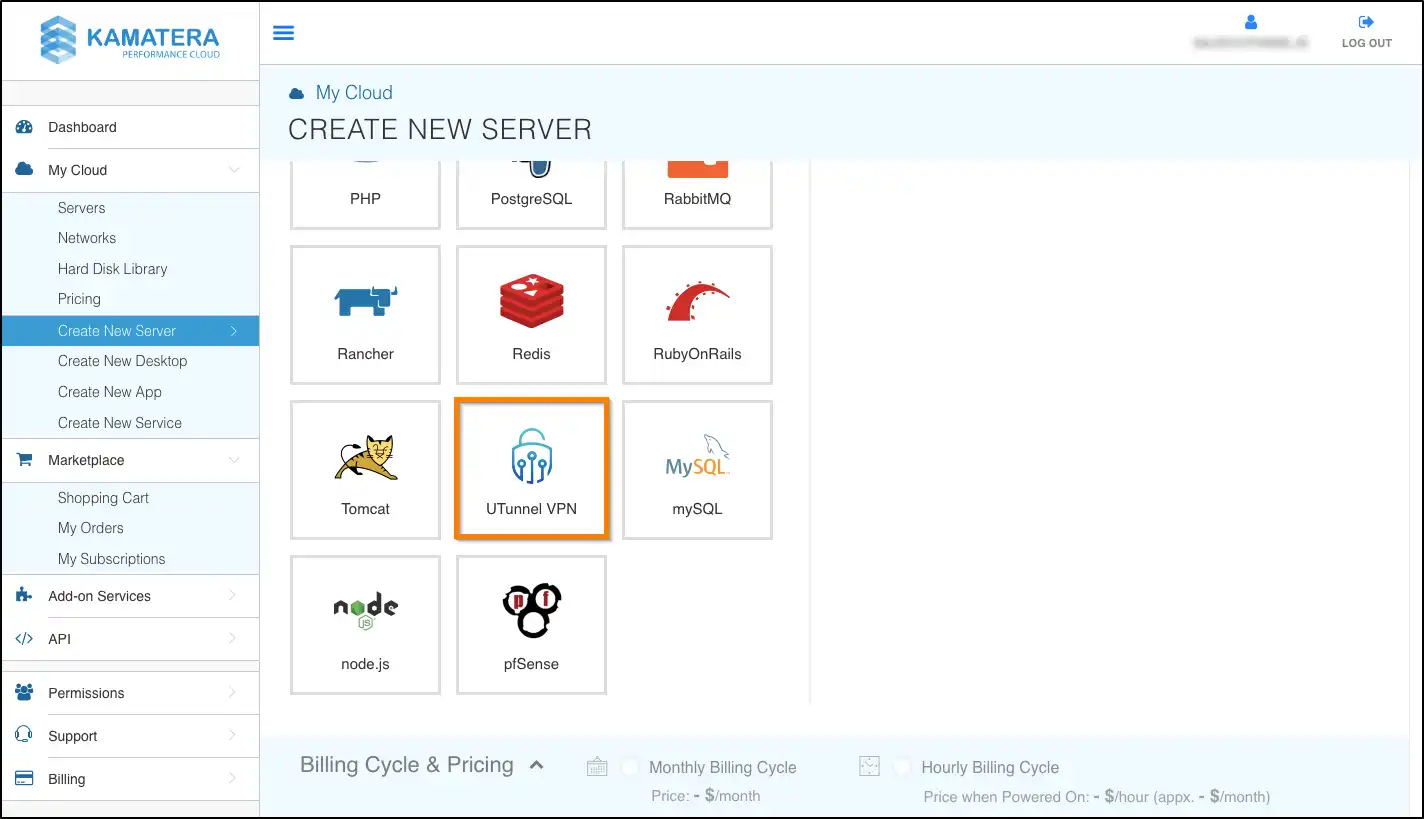
3. Scroll down and choose the UTunnel VPN service image.
4. Choose your server specifications and create the server. Copy down the newly created instance’s IP address.
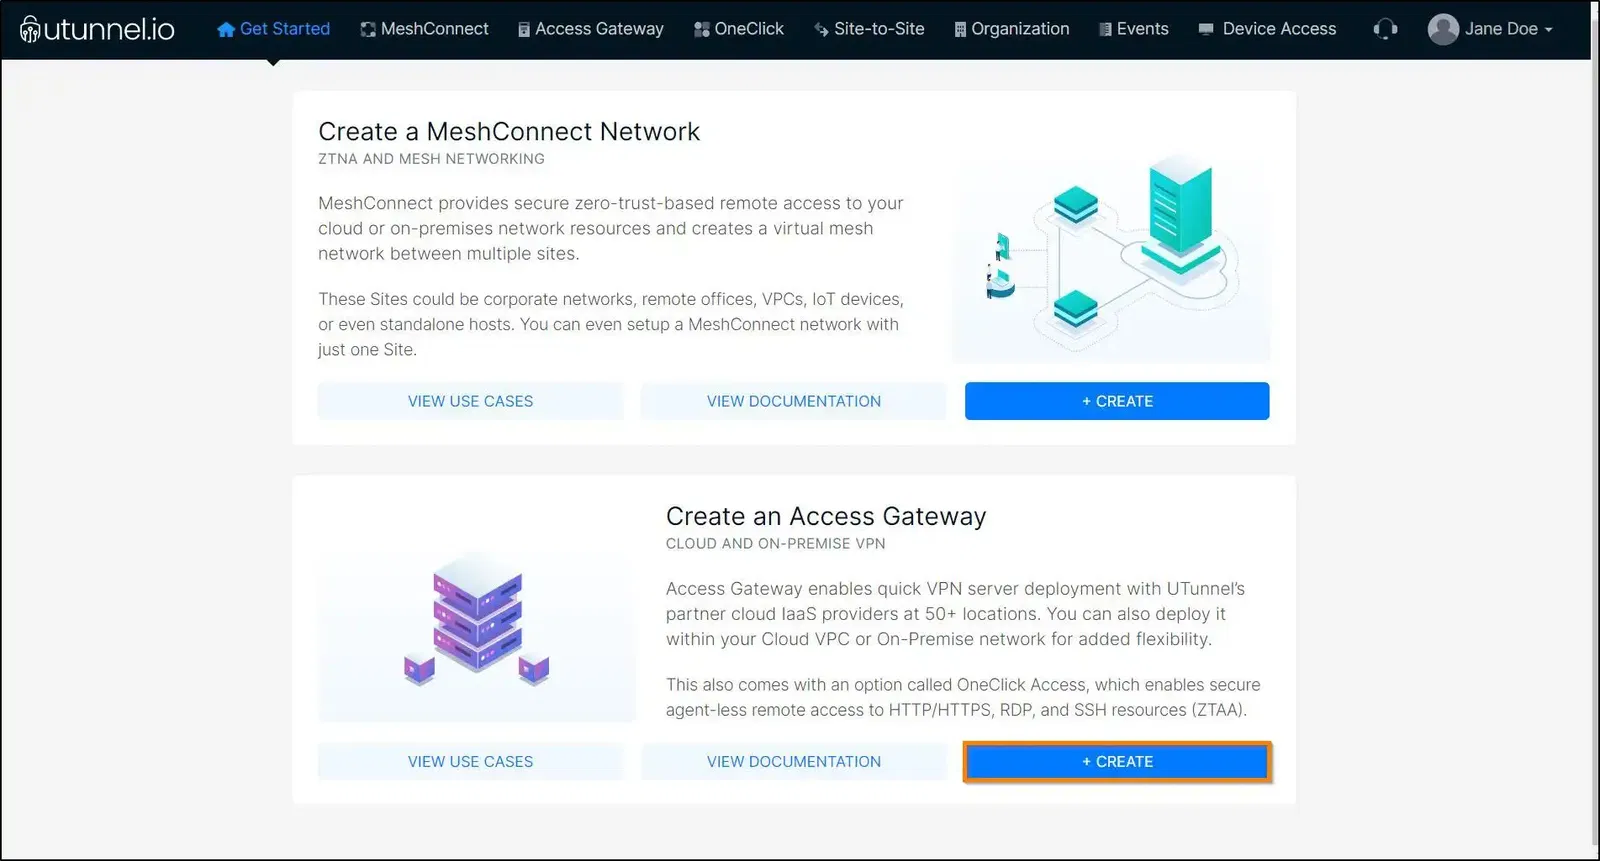
5. Create a UTunnel account and log in to your account. Navigate to the CREATE button in the Create an Access Gateway section..
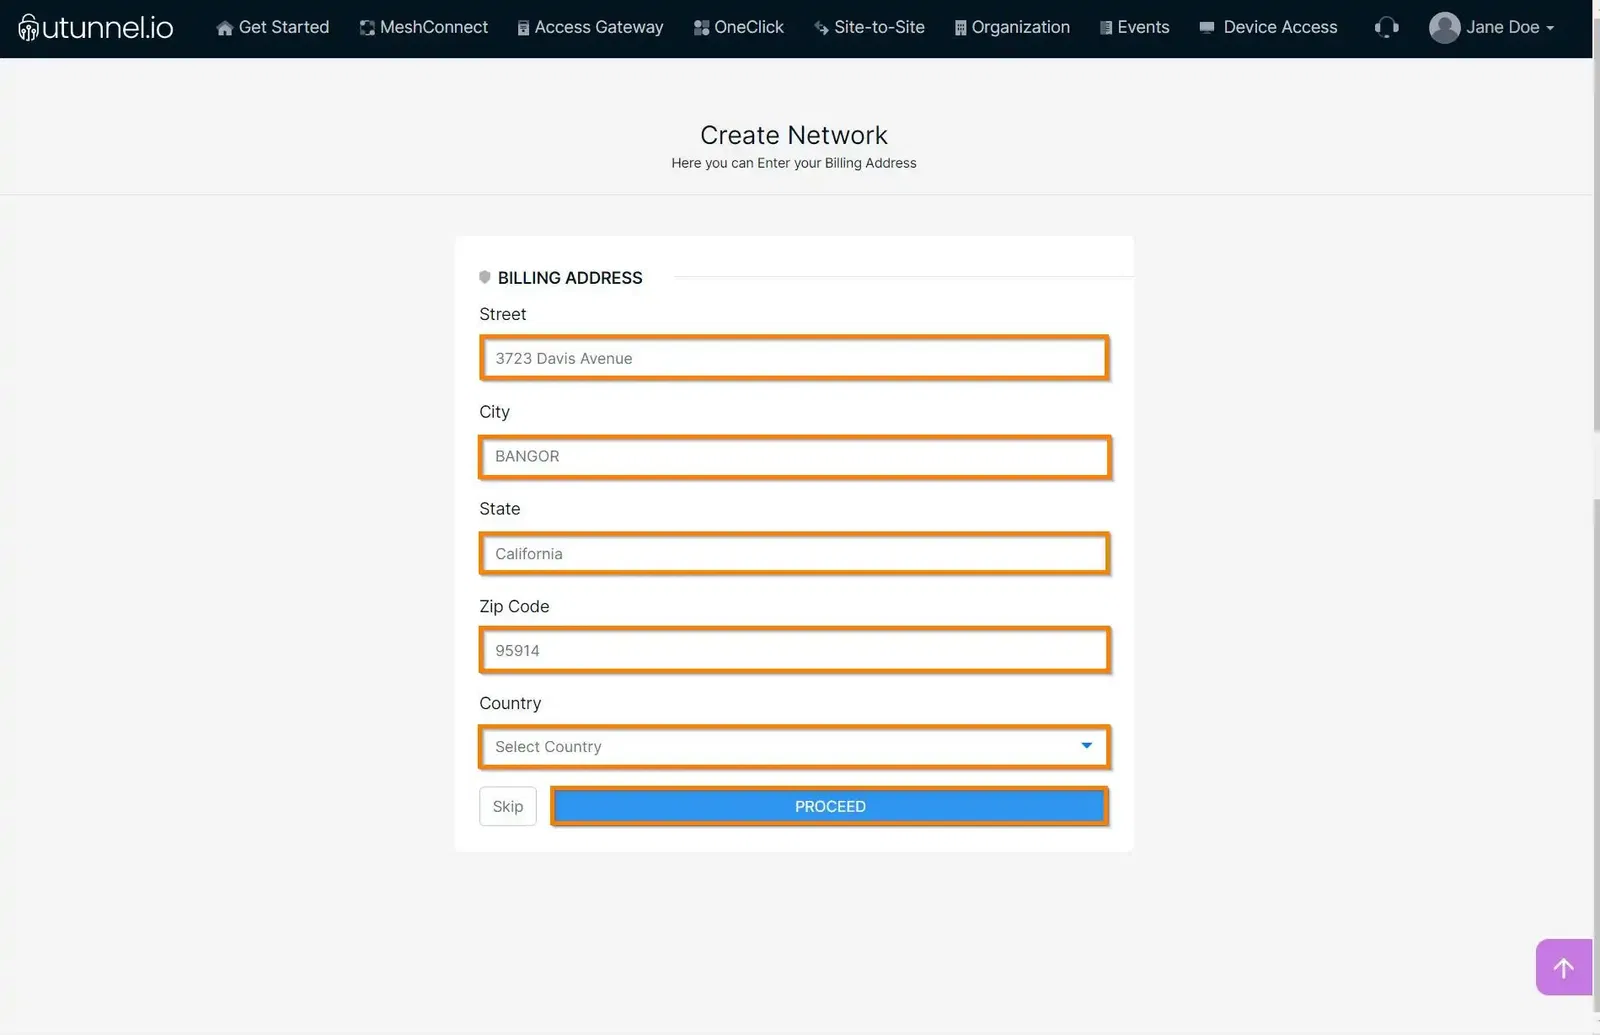
6. Fill in your billing address and click on the PROCEED button to advance to the next step. You can also skip this step to do it later by clicking on the Skip button.
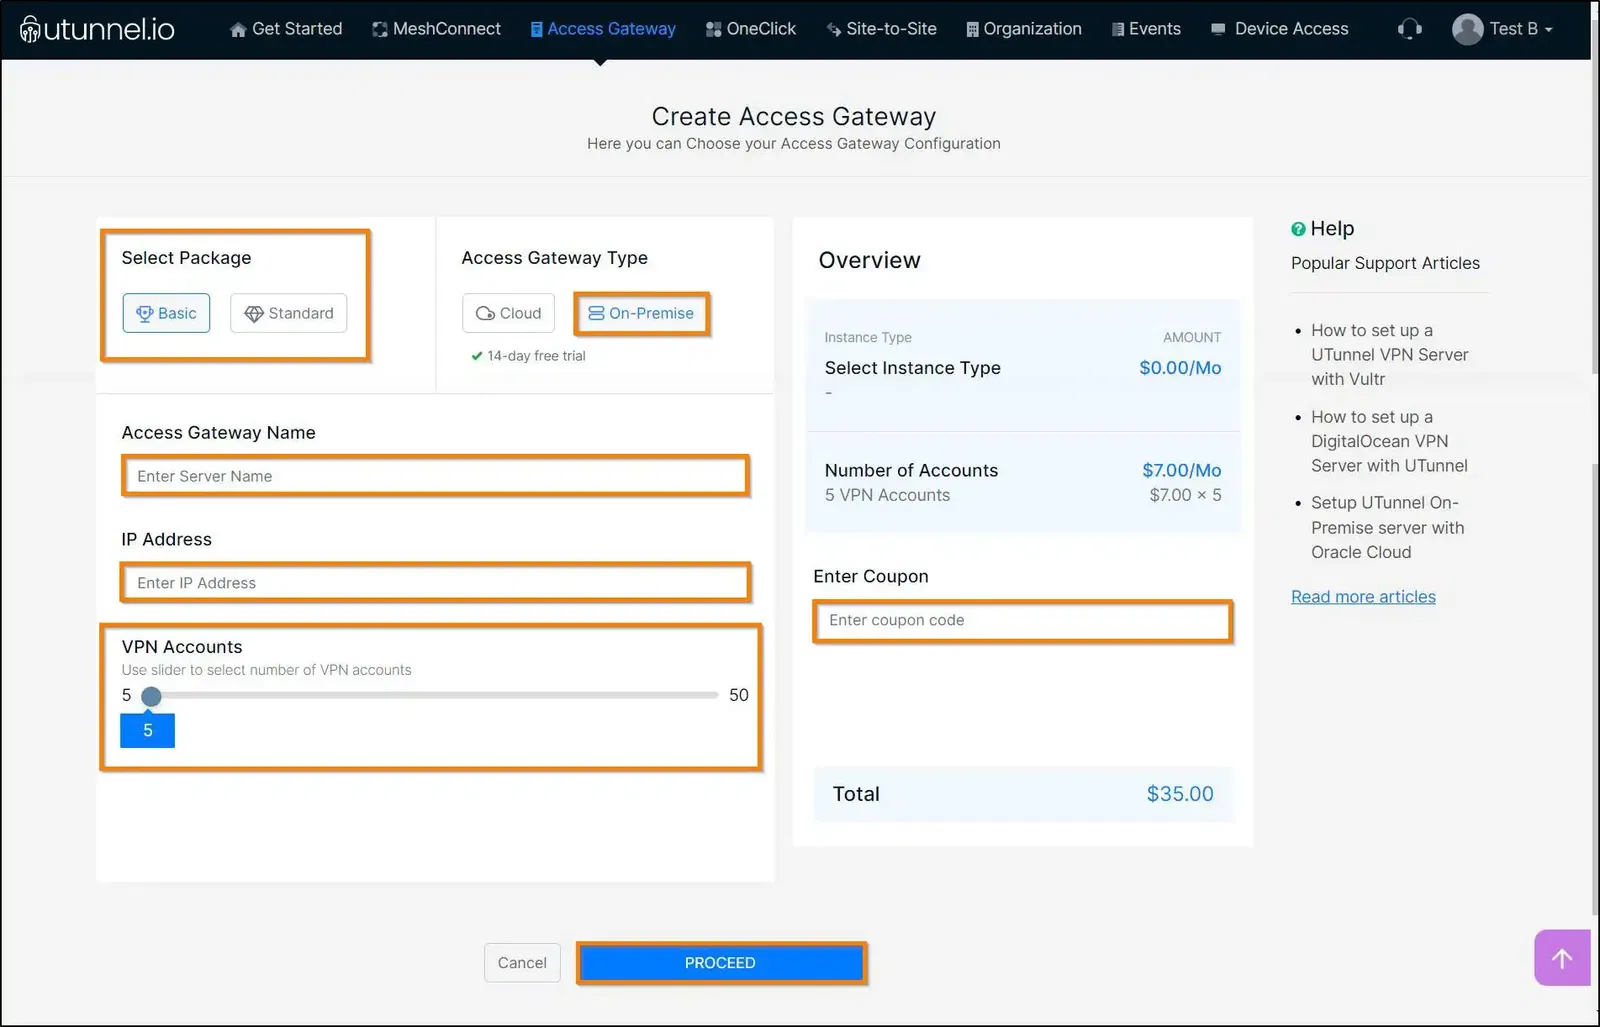
7. You can proceed to customize your Kamatera VPN gateway by managing the following options:
Click on the PROCEED button once you finish customizing the Access Gateway configurations to advance to the next step.
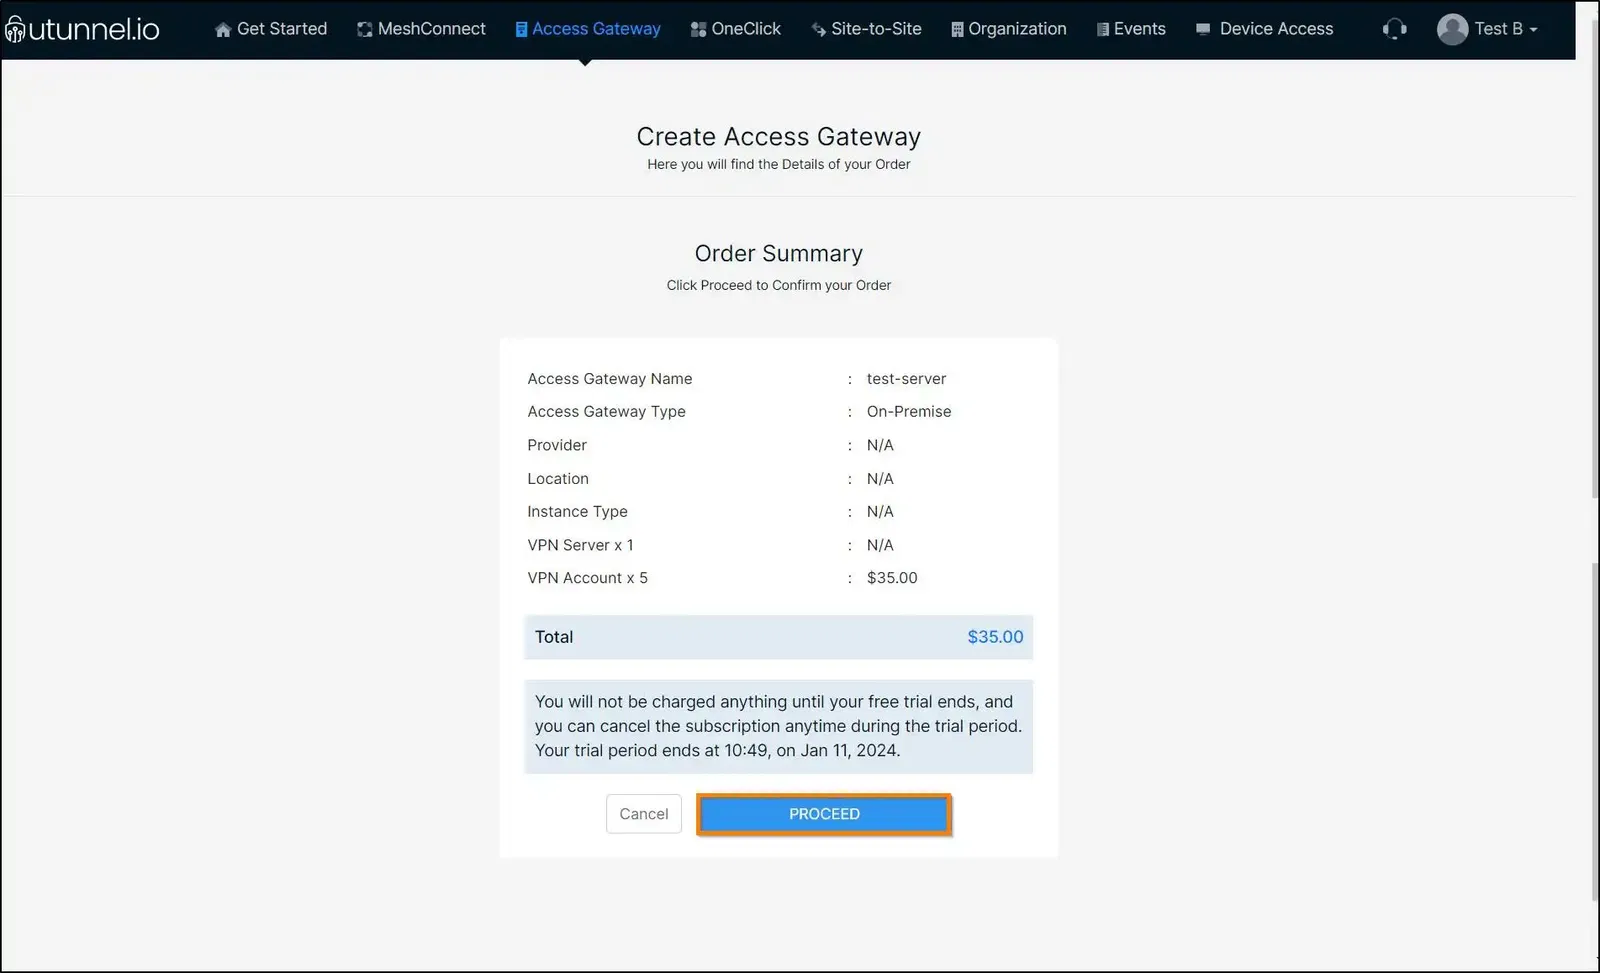
8. You can review your Access Gateway details on the Order Summary page. Click on the PROCEED button to progress to the next step.
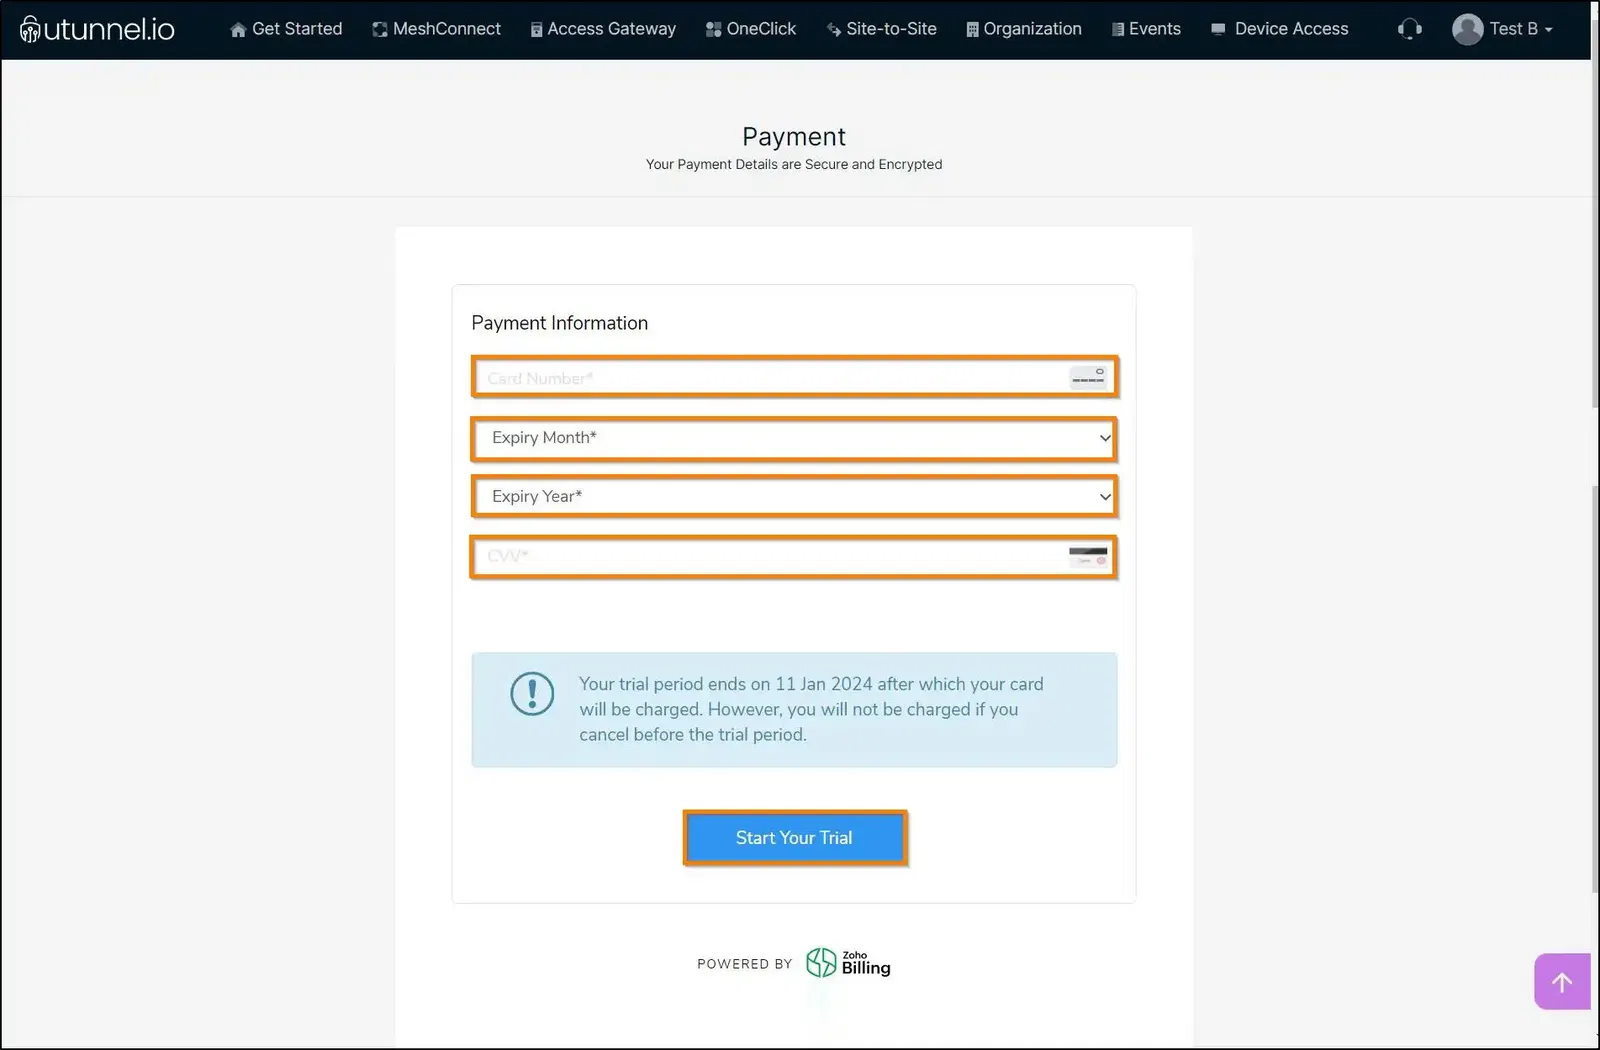
9. Enter your credit card details as required and click on the Start Your Trial/Pay Now button to initiate the Access Gateway creation.
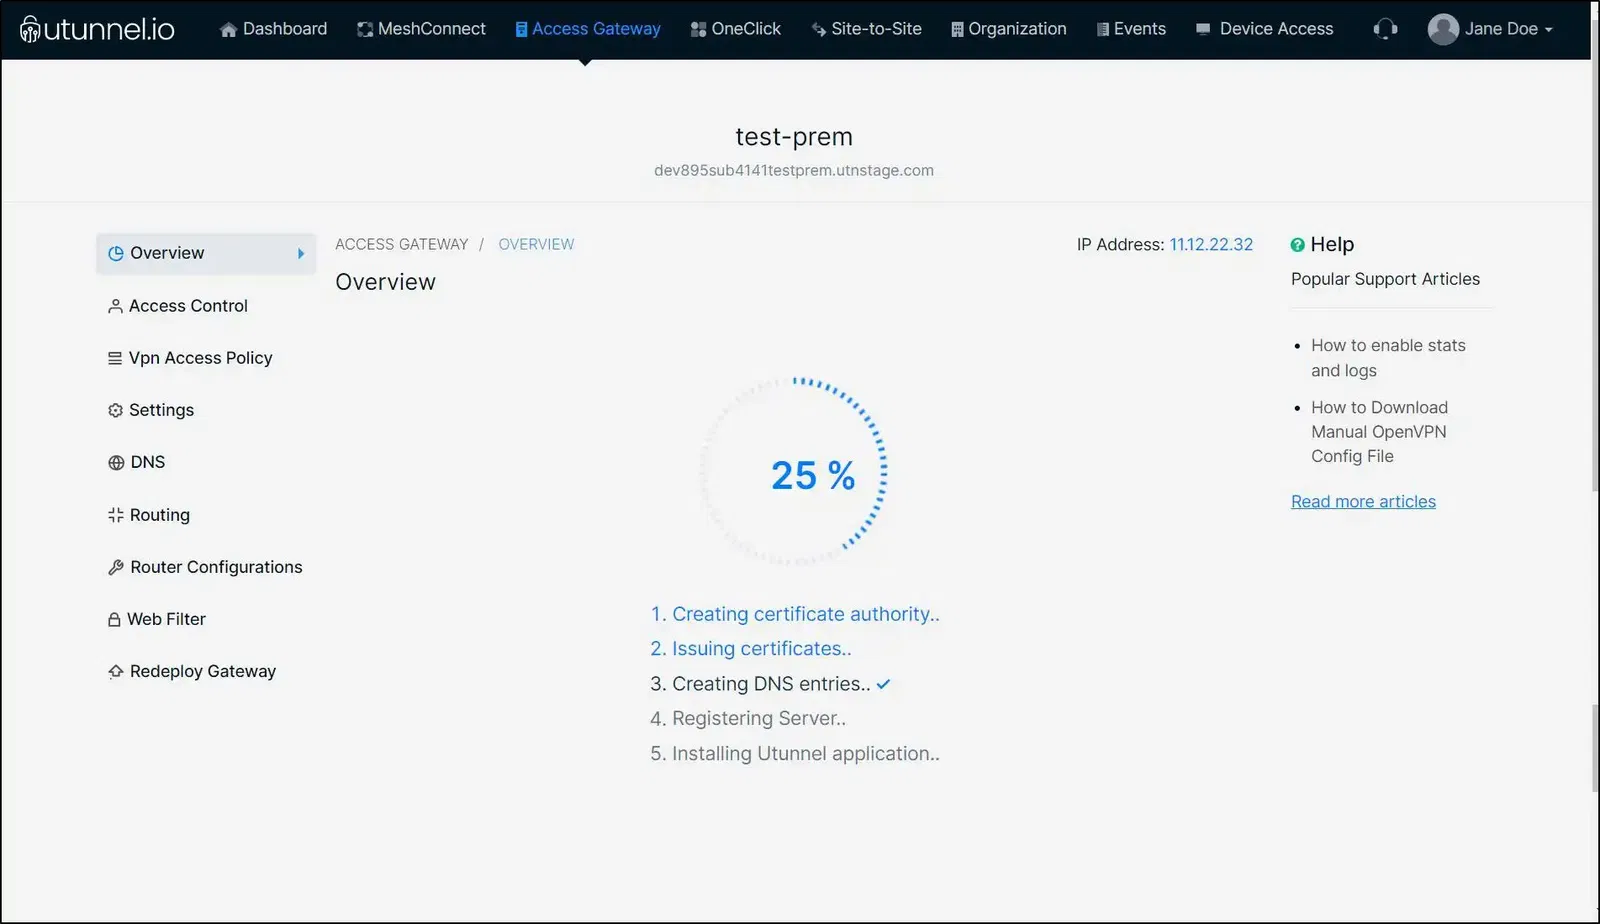
10. You will be directed to the Access Gateway Overview page where you can check the Access Gateway deployment status.
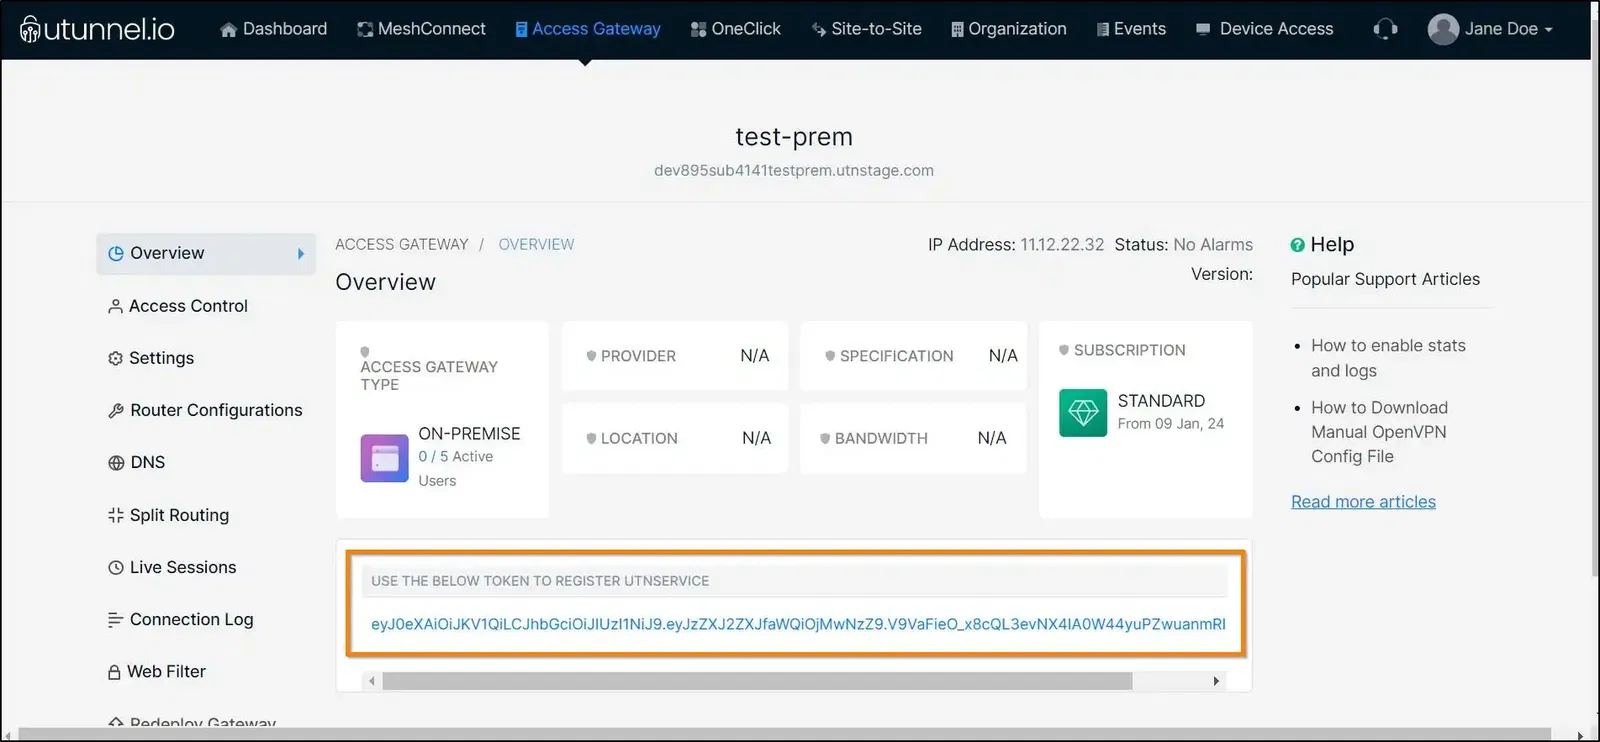
11. Once the Access Gateway deployment is initiated, you will get a registration token, which you need to register your Kamatera VPN gateway.
12. To execute the next steps to deploy your Kamatera VPN gateway, your need to connect to your server via SSH and run the following commands. You need to have sudo access to run these commands.
Create a directory named utunnel and make it the current working directory:
Download the required files and extract them with the command:
Register your Kamatera VPN gateway after replacing YOUR_REG_TOKEN with the registration token you received earlier
Now start the VPN service with the command:
13. You also have to make sure that inbound connections to the following ports are allowed to accept VPN connections.
Ports used for OpenVPN connections
Ports used for IPSEC connections
Ports used for managing UTunnel services like live sessions, firewall, and site-to-site tunneling.
Now your Kamatera VPN gateway is ready for use. You can invite users to your Access Gateway and start using the VPN.