When using the UTunnel VPN client application on a Windows PC, the CA certificates will get automatically downloaded and installed for users with administrator permission. But, non-admin users will not be able to connect to the VPN server until they manually download and add the CA certificate as a trusted root authority.
This help guide details on how to download and manually install CA Certificate on Windows.
Only VPN server owners or admins will be able to download the CA certificate for a particular server. Please follow the steps here to download the certificate.
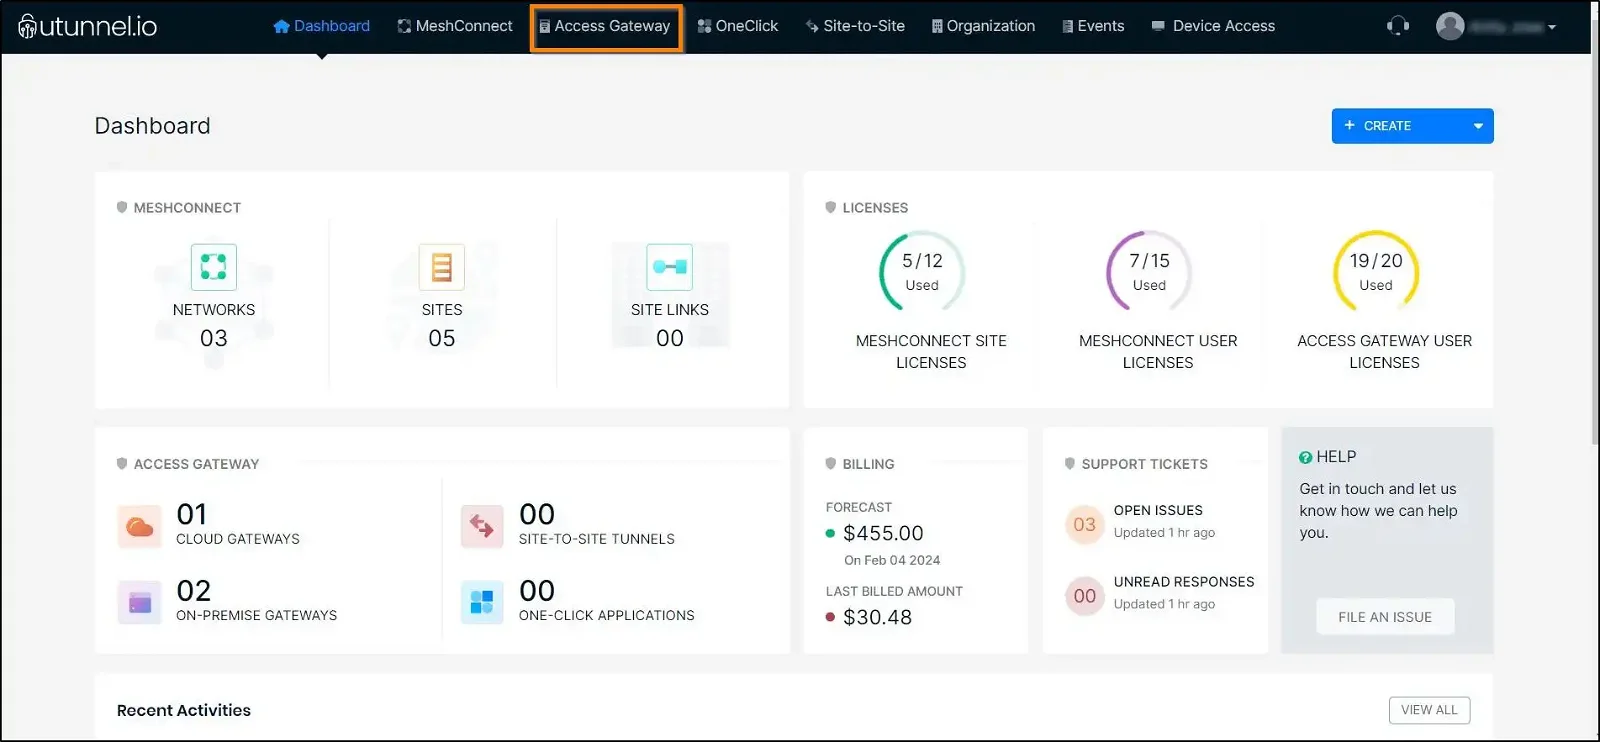
1. Log into your UTunnel account (personal/organization) and navigate to the Server tab.
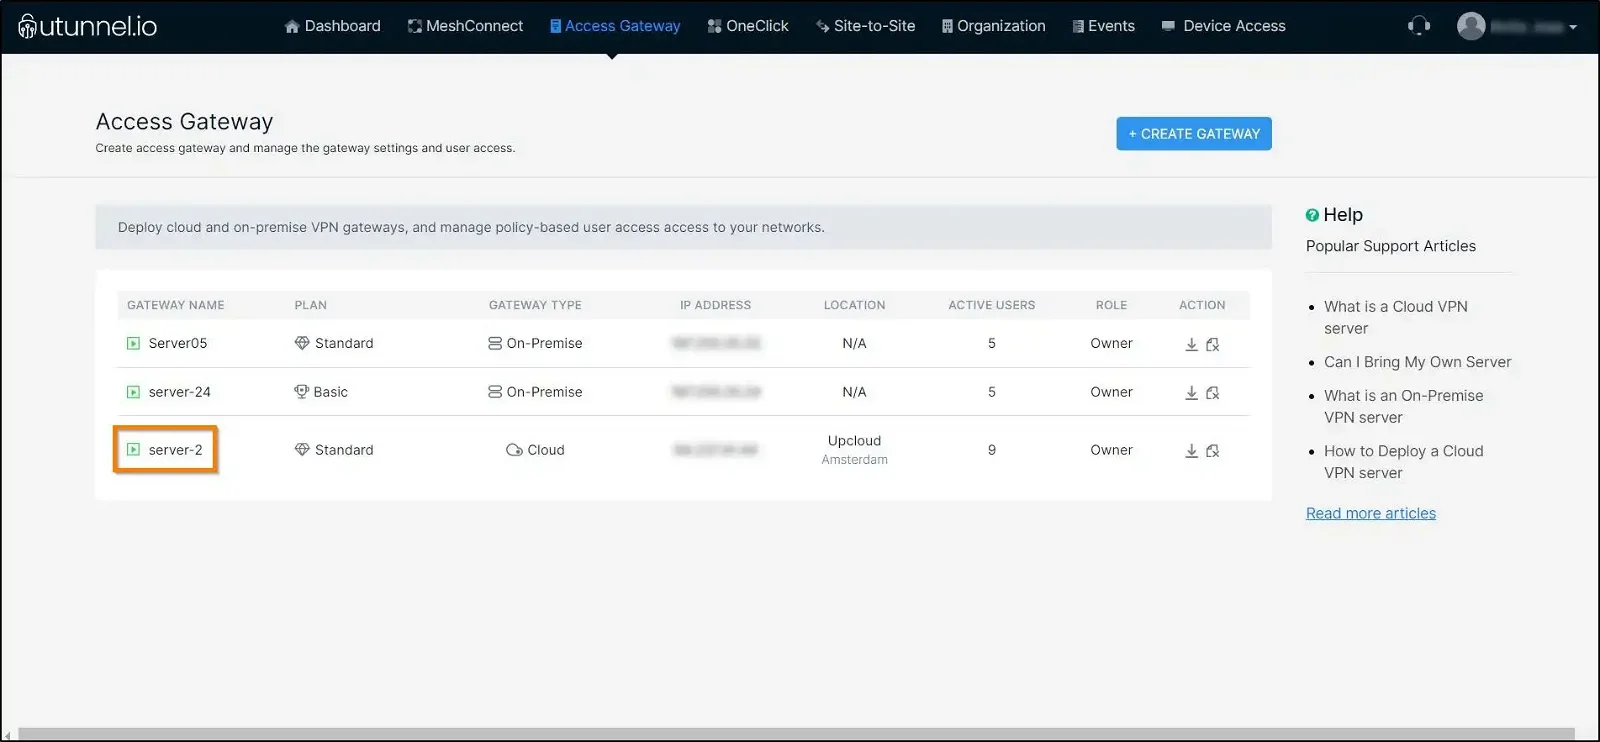
2. From the server list page, click on the server name for which you want to download the CA certificate.
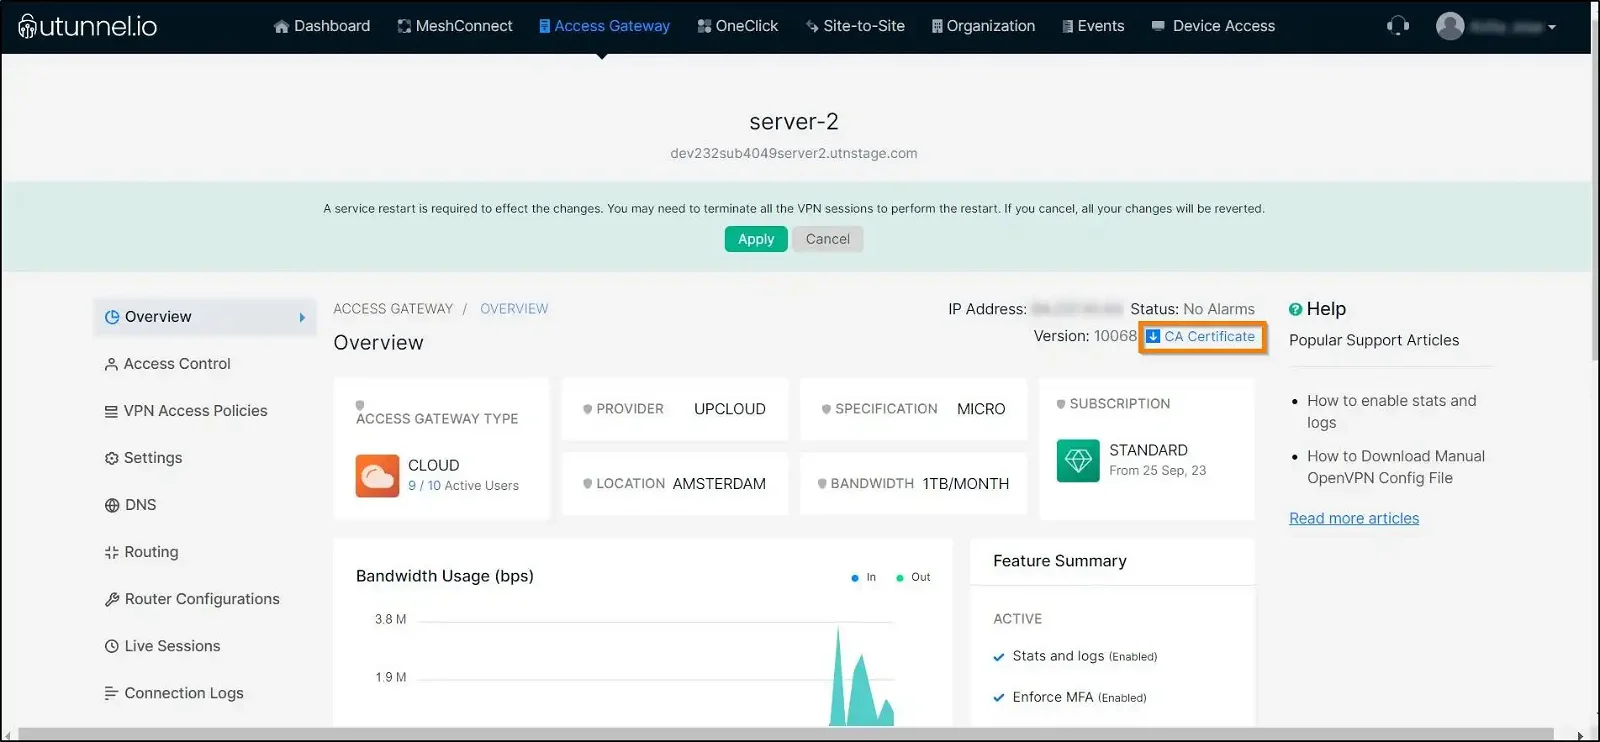
3. On the server overview page, you can see the link to download the CA Certificate on the right side of the page, right under the server IP address. Click on it to download the CA certificate.
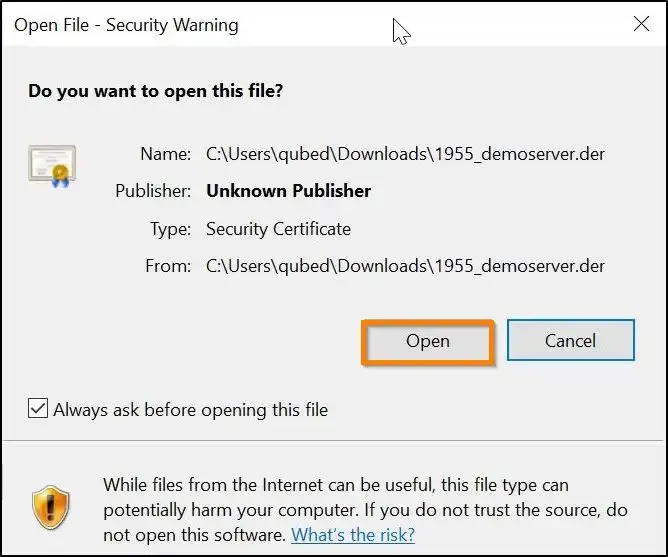
2. Once it opens, you will be able to see the certificate details. Click on the Install Certificate button to install the CA Certificate.

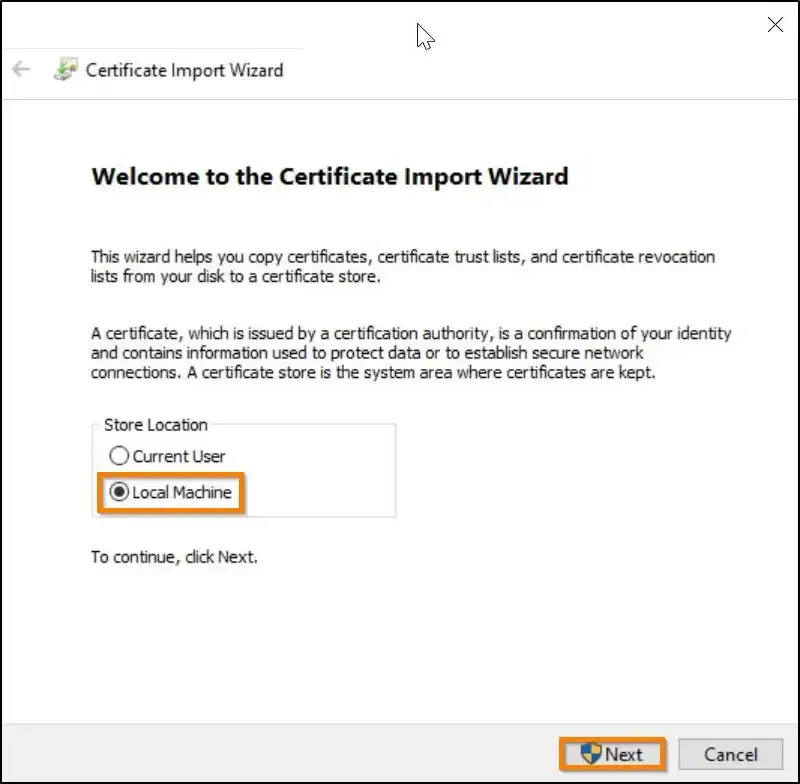
3. In the Certificate Import Wizard, click on the Local Machine radio button and select the Next button to continue.
4. Click on the Yes button in the User Account Control pop-up to import the CA Certificate.

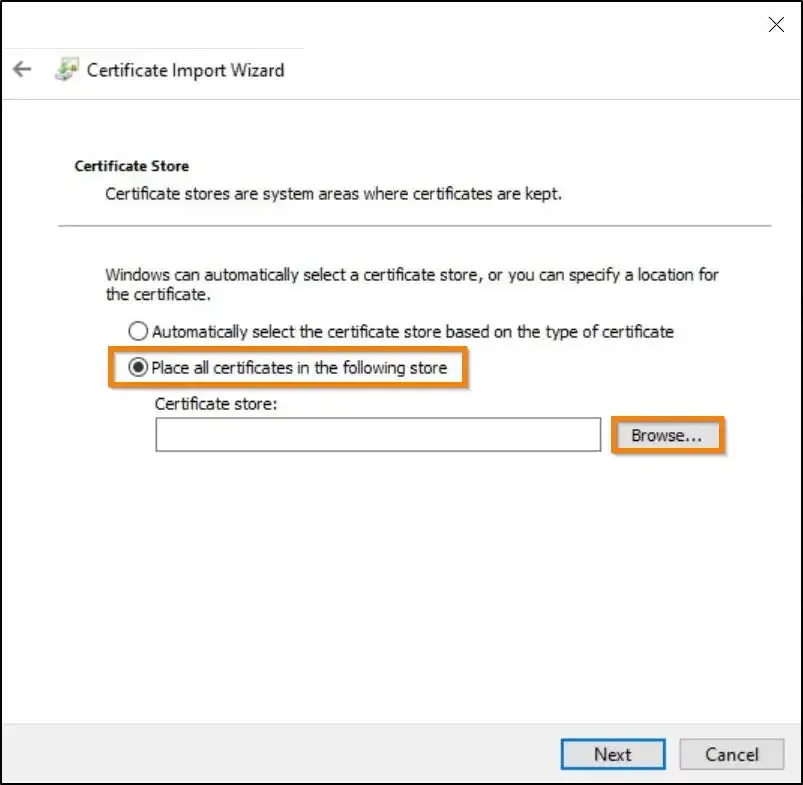
5. In the Certificate Import Wizard, select the option - Place all the certificates in the following store and click on the Browse button to select the certificate store path.
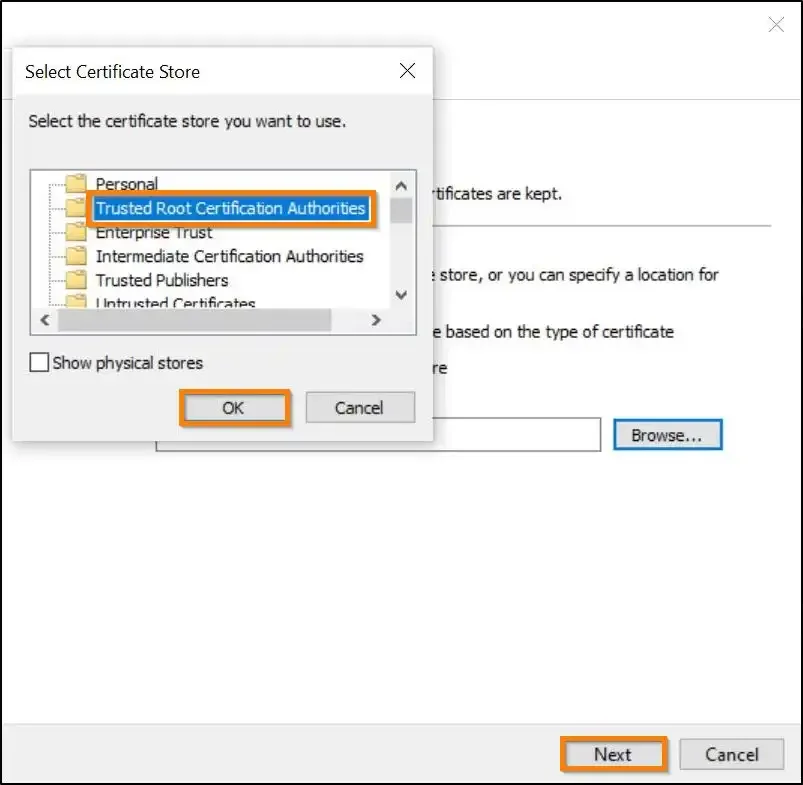
6. Select the path - Trusted Root Certification Authorities from the path list and click on the OK button. To continue with the Certificate Import Wizard, click on the Next button.
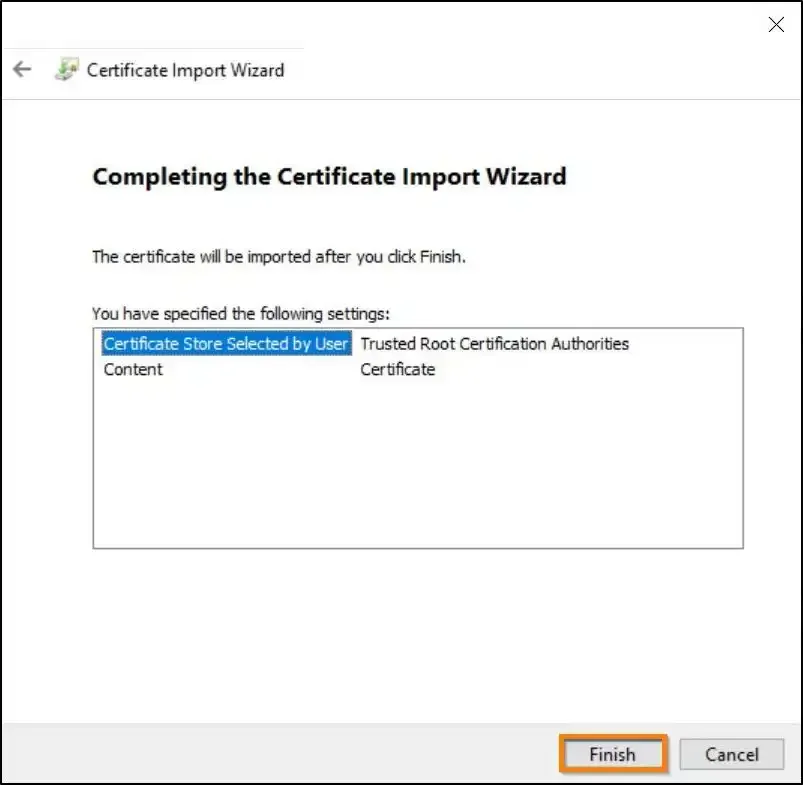
7. After verifying the selected certificate store path, click on the Finish button to complete the Certificate Import Wizard.
Once the CA certificate import is complete, you will receive a notification showing the message - The import was successful.
Now that the CA certificate is imported, the non-admin Windows user will be able to connect to the VPN server using the IKEV2 protocol from the UTunnel VPN client application.