This guide helps to enable and configure split routing or split tunneling on the UTunnel VPN gateway. Split routing, or split tunneling, allows predestined web traffic to be passed through the VPN tunnel while the rest is traversed directly through the internet service provider. It is a sought-after VPN feature in business use cases as it helps in avoiding VPN network congestion due to unnecessary traffic passing through the VPN.
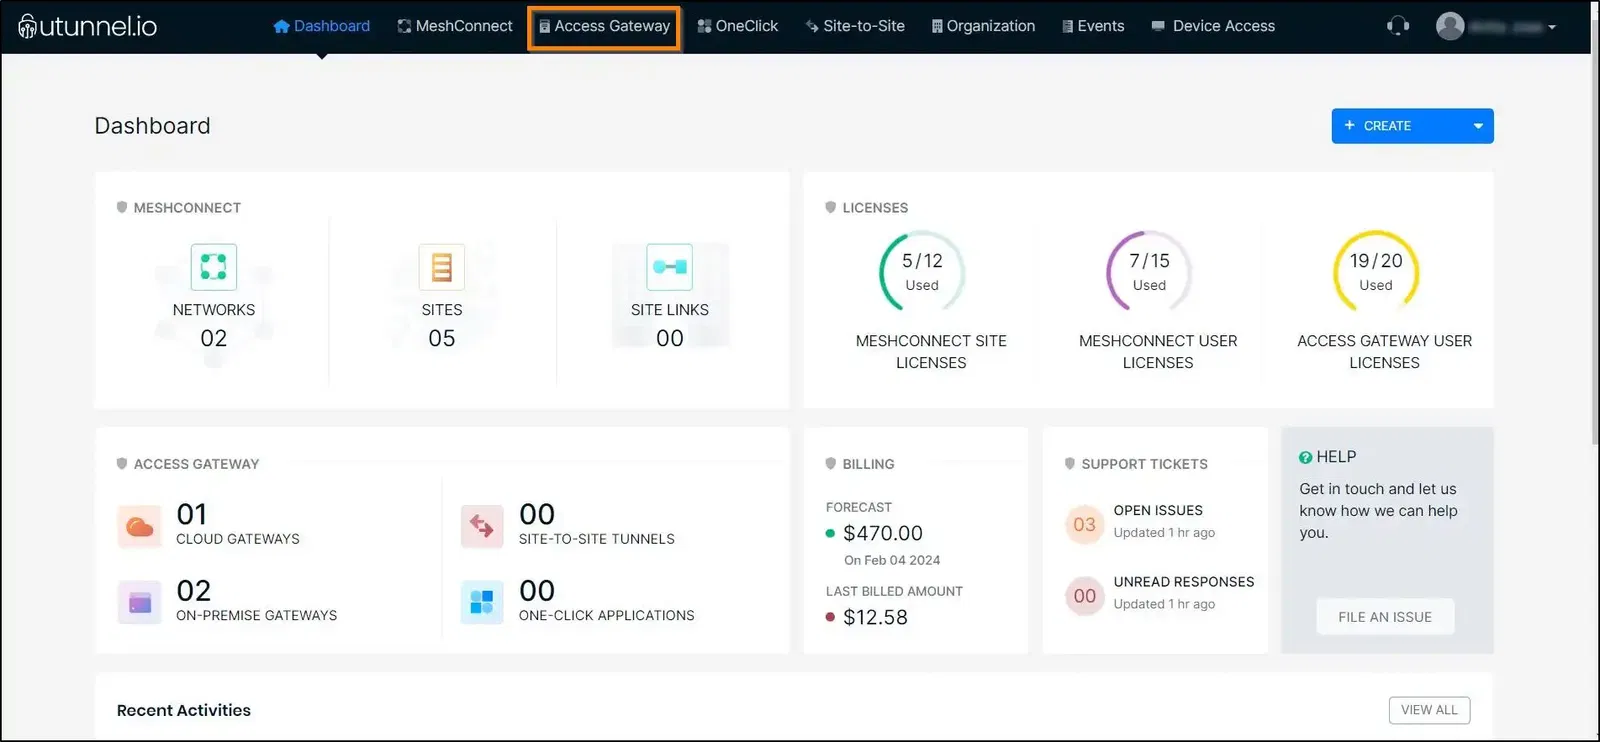
1. Log in to your UTunnel account (Individual/Organization) and navigate to the Access Gateway tab.
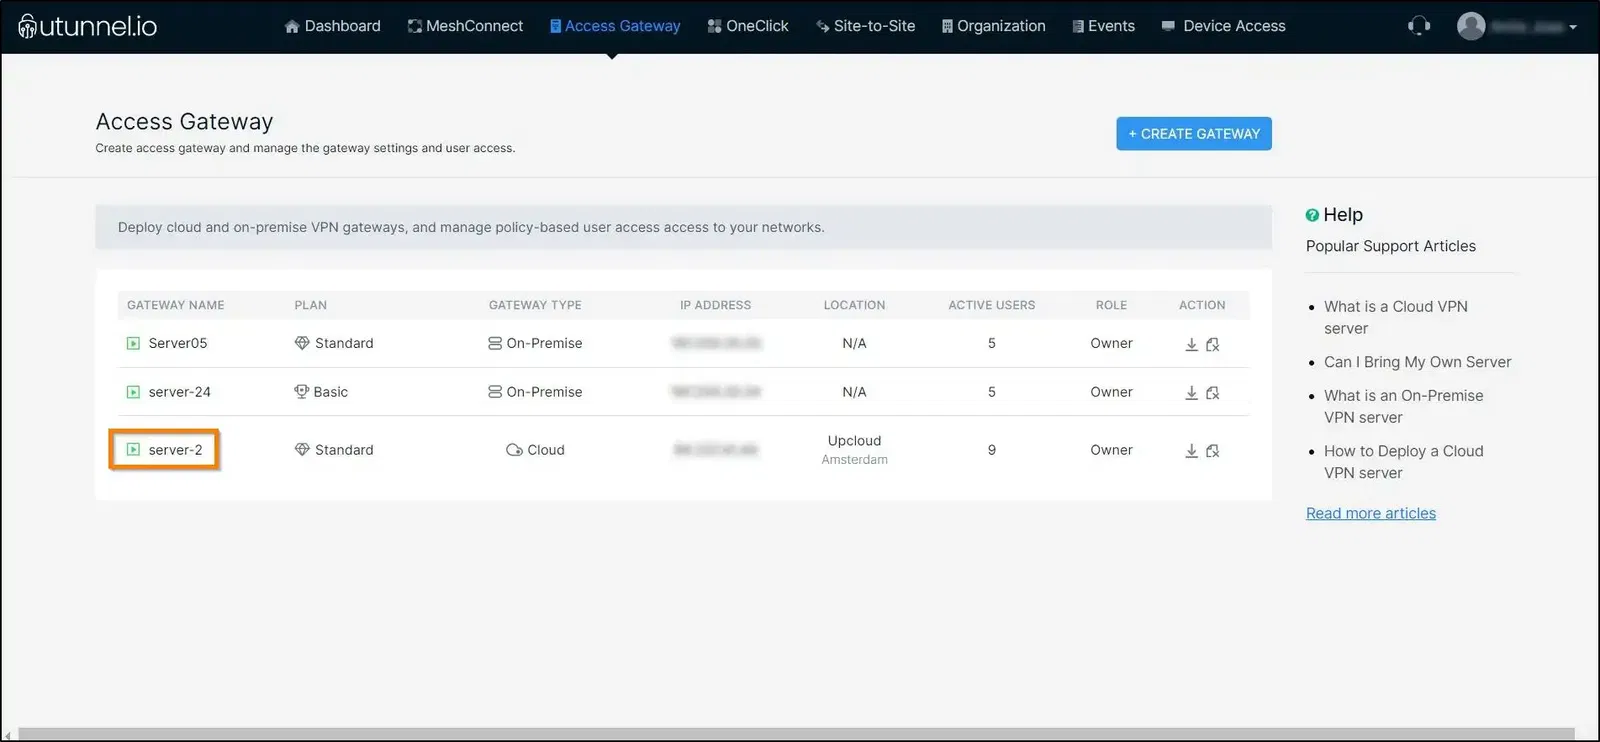
2. Click on the access gateway for which you want to enable split routing.
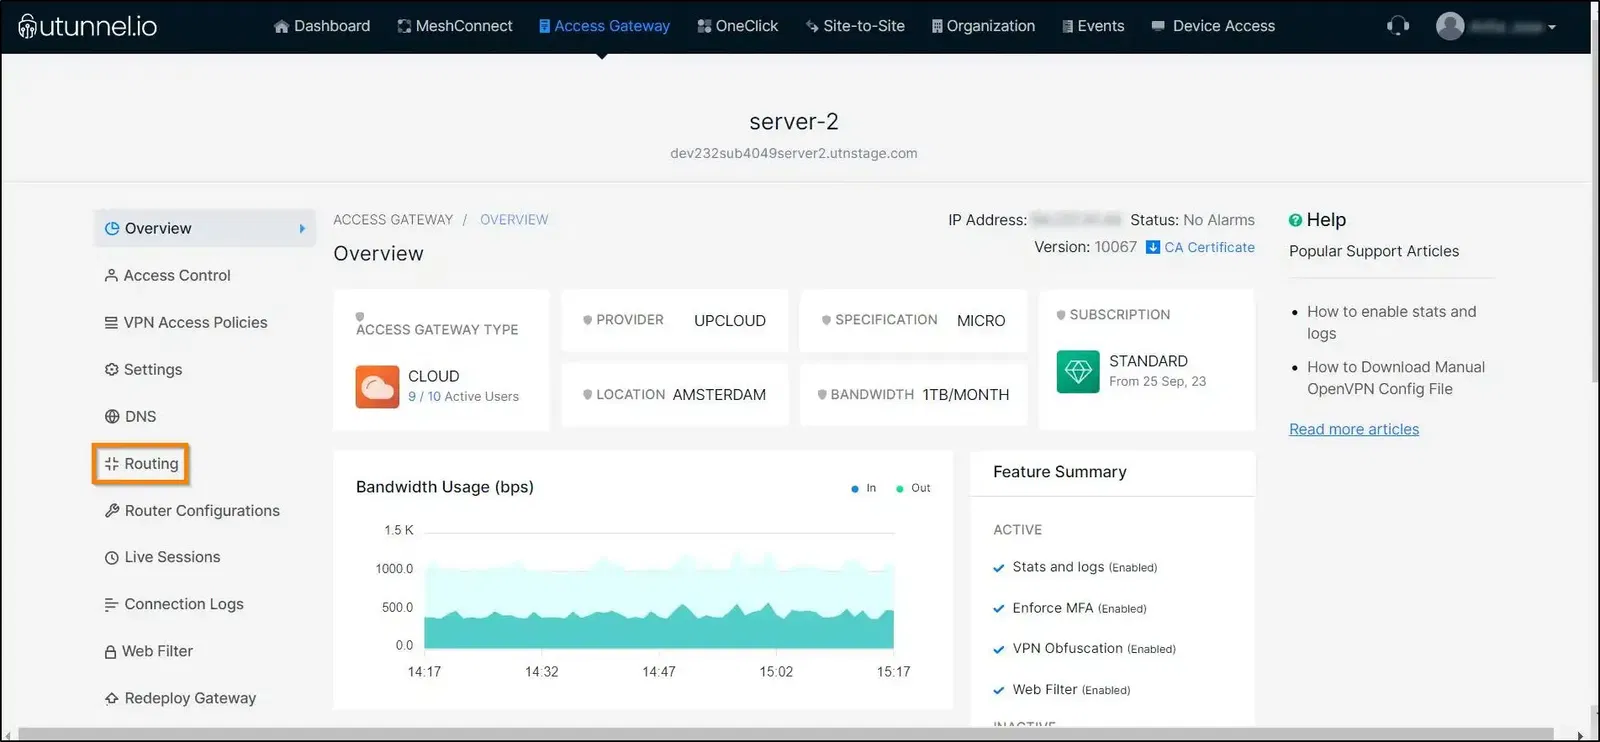
3. From the Access Gateway Overview page click on the Routing tab from the left-side menu and navigate to the Split Routing option.
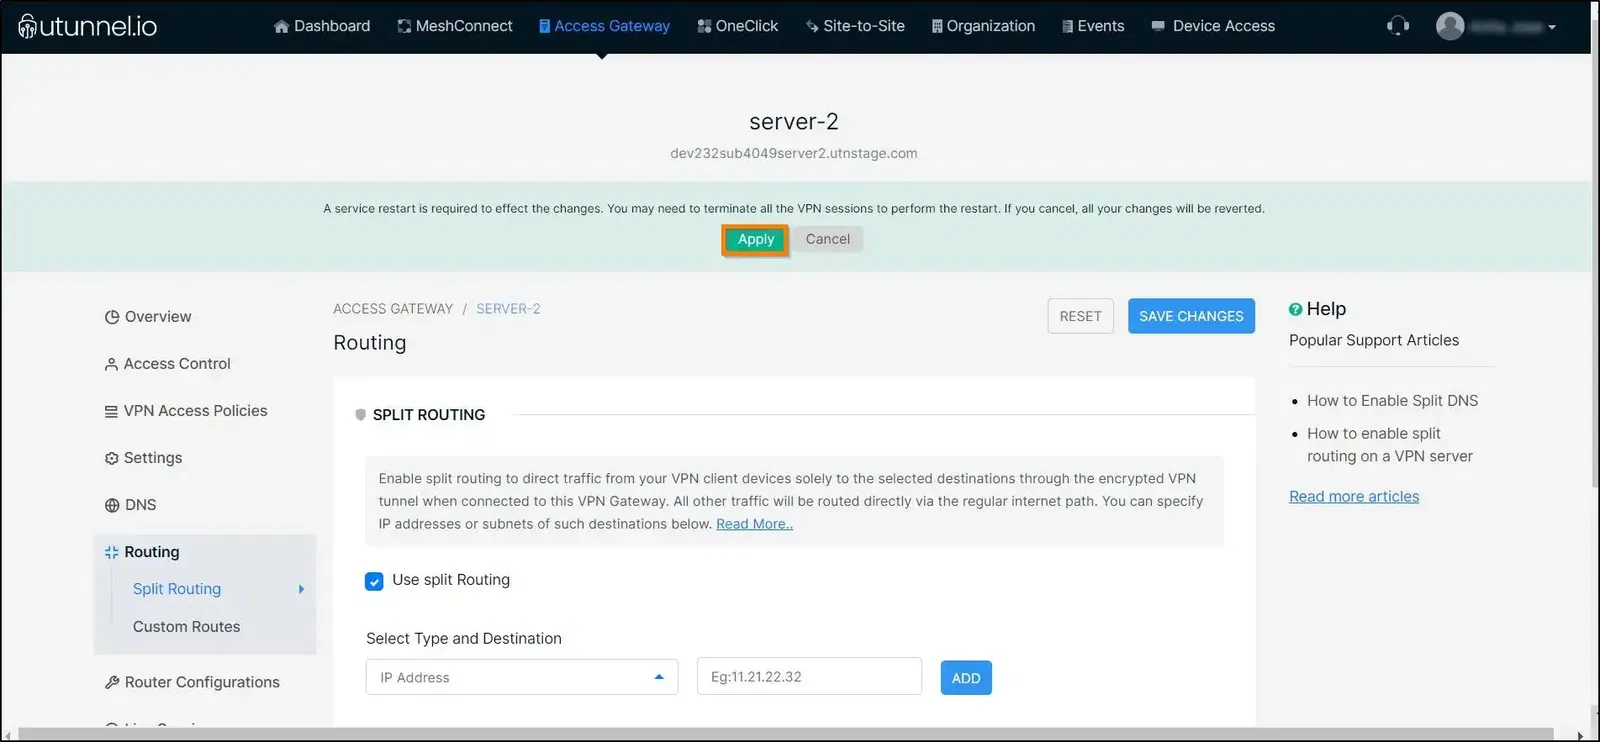
4. To enable the split routing, tick on the Use Split Routing check box and select the split routing type to be an IP address or network according to your requirement. Key in your desired destination IP address or network into the respective field. Once you configure the settings, click on the SAVE CHANGES button.

5. Click on the OK button on the warning message that cautions you about enabling split DNS on your access gateway. If you haven’t enabled split DNS, split routing might fail to function without split DNS in certain conditions.

6. In order to reflect these changes on the VPN gateway, a service restart needs to be performed on the access gateway. Click on the Apply button on the prompt asking you to restart the service.
For a cloud VPN gateway, the service restart will be performed automatically. But, in the case of an on-premise VPN gateway, you have to restart it manually.
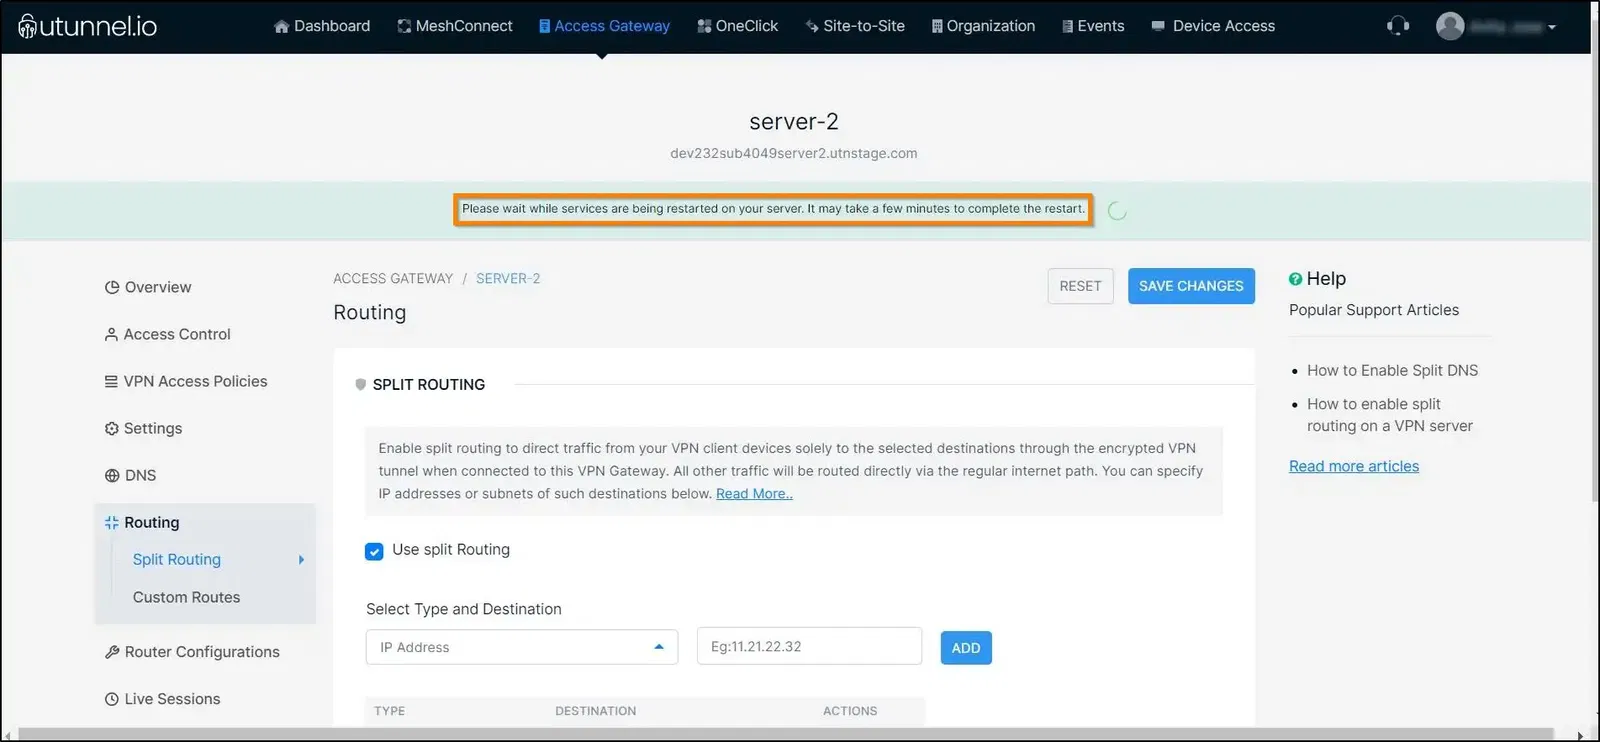
7. Please wait while the service gets restarted.
8. The UTunnel VPN service restart status can be inferred from the displayed message.
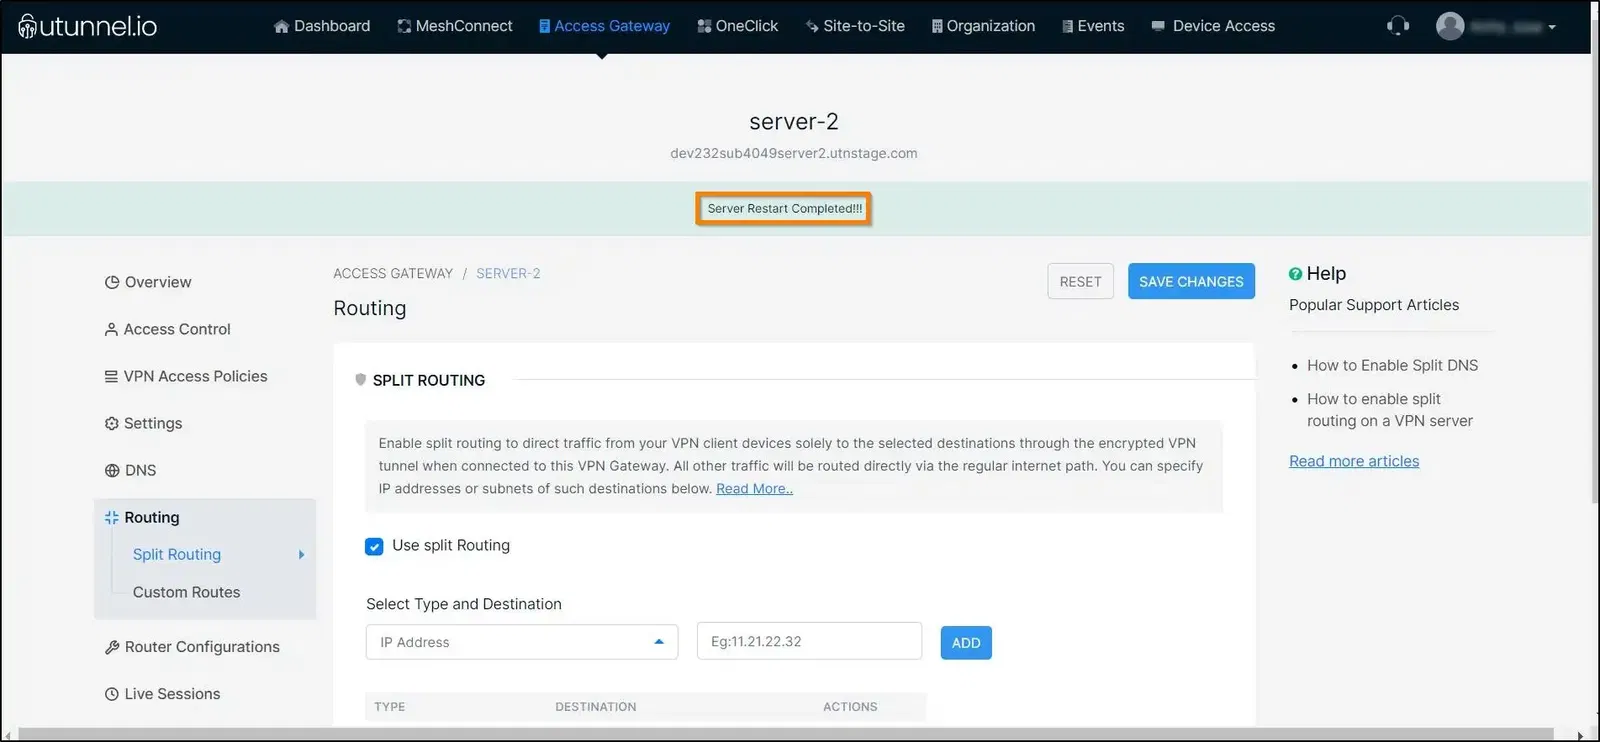
9. Once the service has been successfully restarted, you can confirm that split routing is enabled on your UTunnel cloud or on-premise VPN gateway.
Removing the routed IP Address
Navigate to your Access Gateway listing page. Select the access gateway for which you have enabled split routing. Navigate to the Split Routing page as above and click on the delete button to remove the IP address.