Instead of manually adding each user to a OneClick application, auto-provisioning enables UTunnel server owners/admins to easily provision multiple users belonging to a Group or Team. You must first create at least one User Group or Team in the Organization account and populate it with users before setting up auto-provisioning.
This guide explains how you can set up auto-provisioning on a OneClick application:
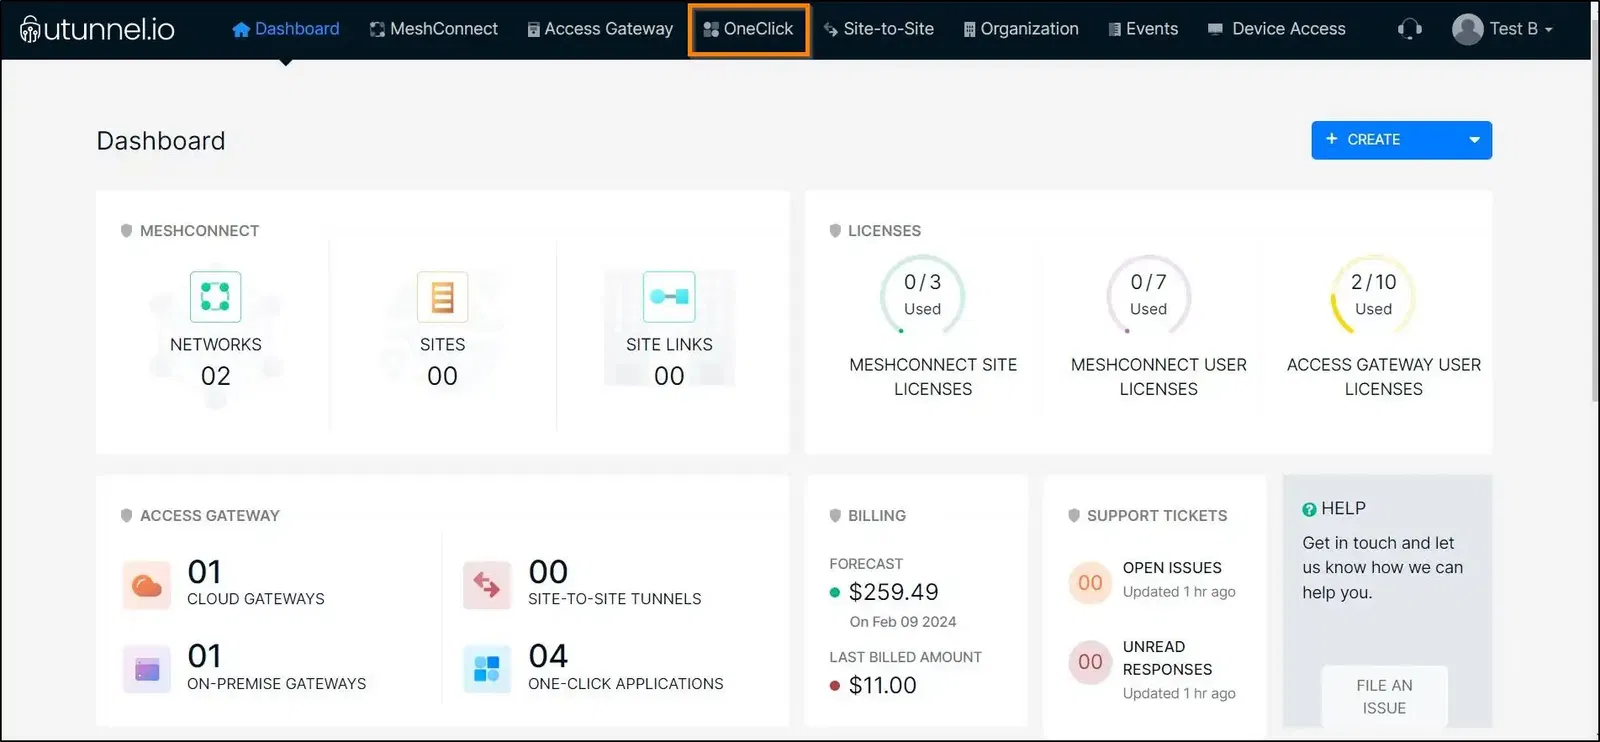
1. Log in to your UTunnel Organization account and navigate to the OneClick tab.
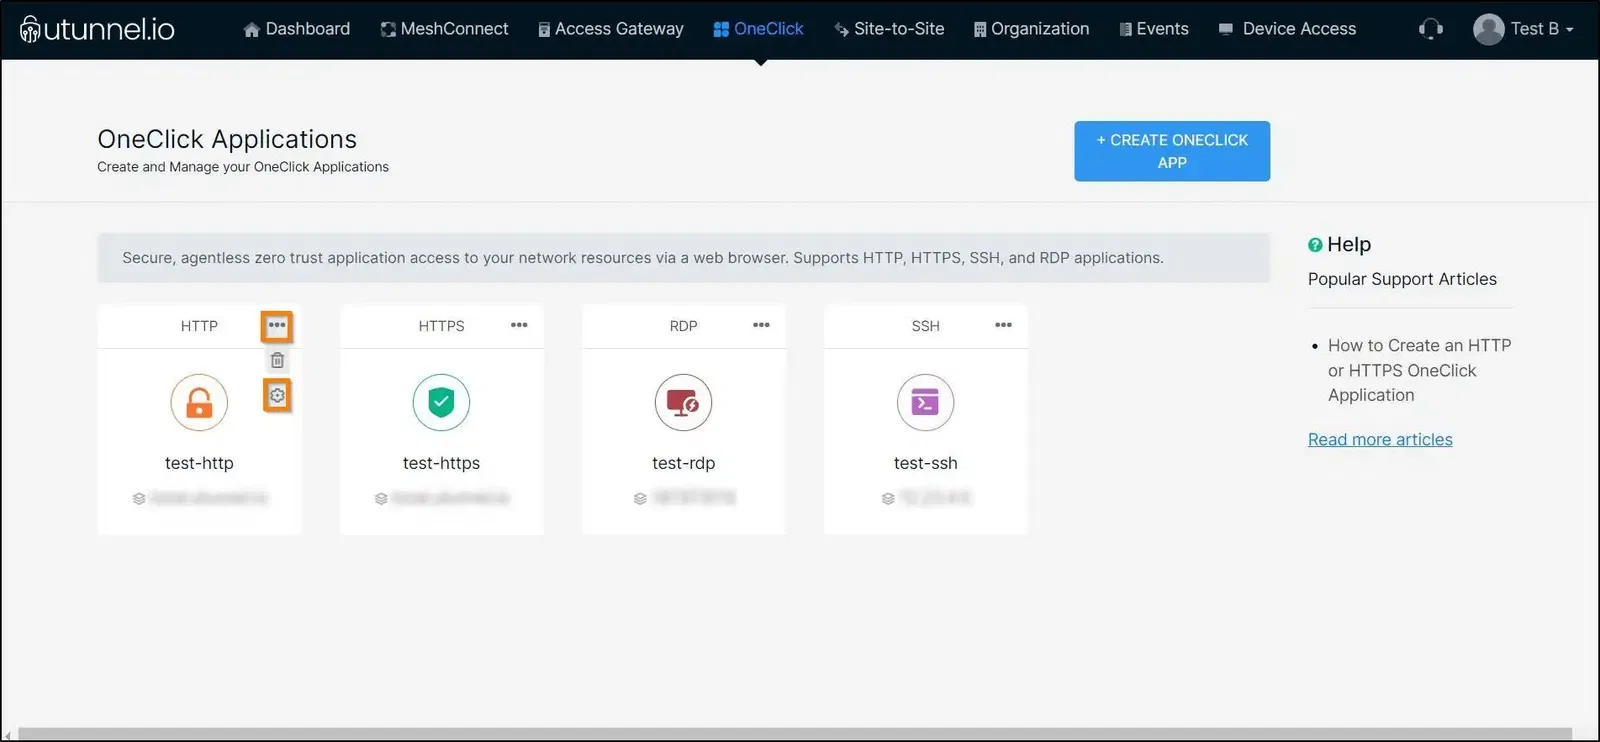
2. Hover your mouse pointer over the application on which you want to enable auto-provisioning and click on the Configure icon.
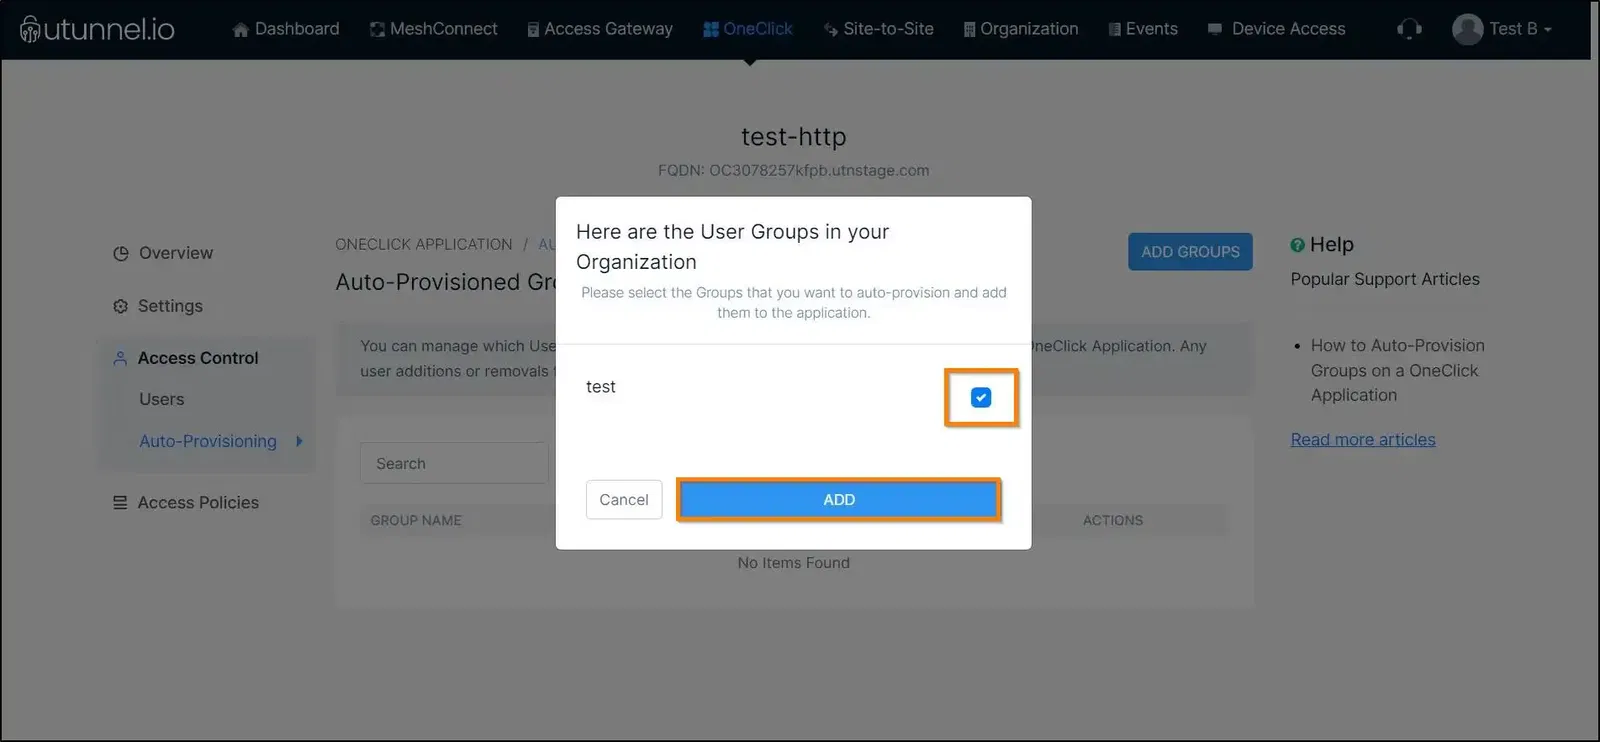
3. Navigate to Access Control > Auto-Provisioning and click on the ADD GROUPS button.

4. Select the groups that you want to auto-provision on the OneClick application by ticking the checkboxes beside the group names. Click on the ADD button to save the choice and add the group.
5. You have now successfully enabled auto-provisioning on the OneClick application.
Now, the users of the auto-provisioned group will get added to the OneClick application automatically when they login to the UTunnel web dashboard. Users who are already logged in to the UTunnel web dashboard would need to log out and log in to get auto-provisioned on the OneClick application.
Please note that the number of user licenses you have subscribed to on the specific UTunnel server connected to this OneClick Application determines how many users get auto-provisioned on it. Users are provisioned on a First Come First Serve basis until the licenses are exhausted.