Installing UTunnel’s VPN client application on your Windows 10 or 11 device is quite easy. This guide will describe the process of installing the UTunnel Windows VPN client with step-by-step instructions.
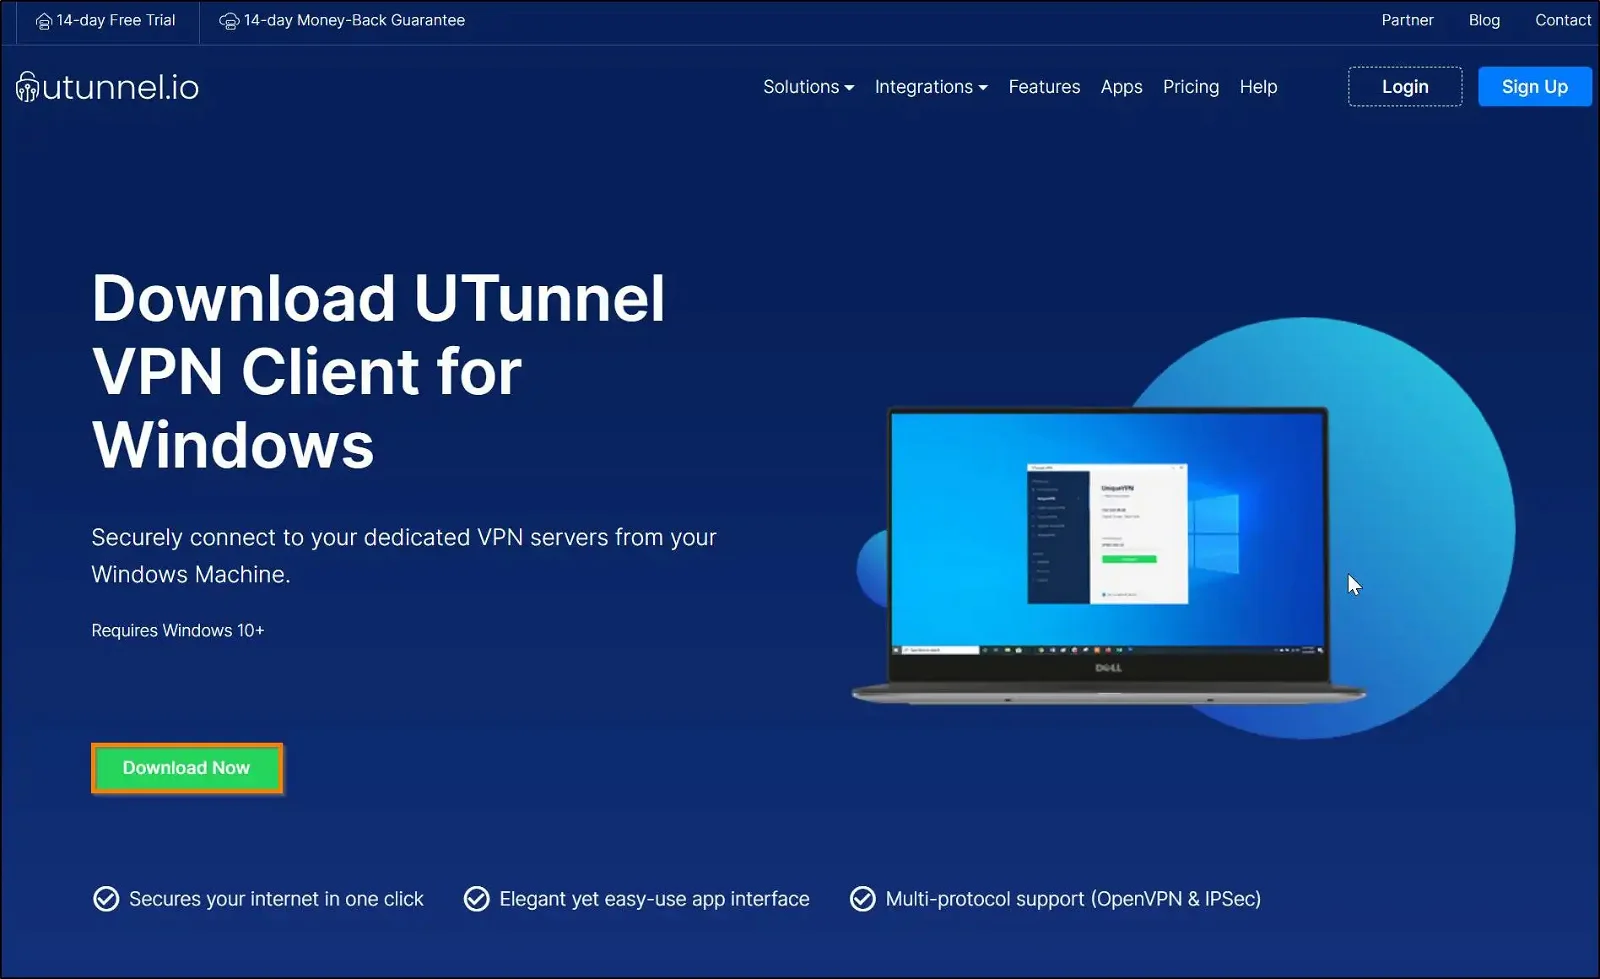
1. Log on to the UTunnel website from your Windows device and navigate to the Apps page.

2. Click on the Download Now button to download the UTunnel Windows VPN client app.
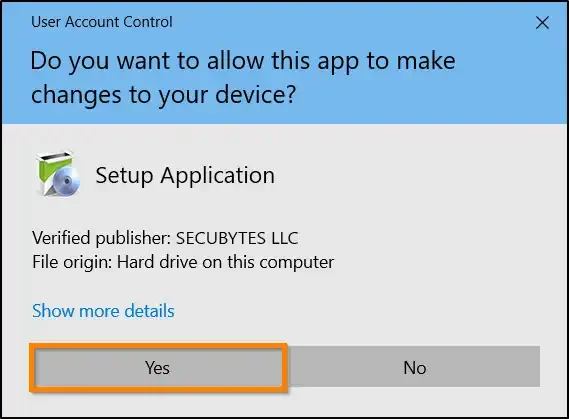
3. Click on the downloaded setup file to launch it. Proceed to click on the Yes button in the User Account Control pop-up to run the installer.
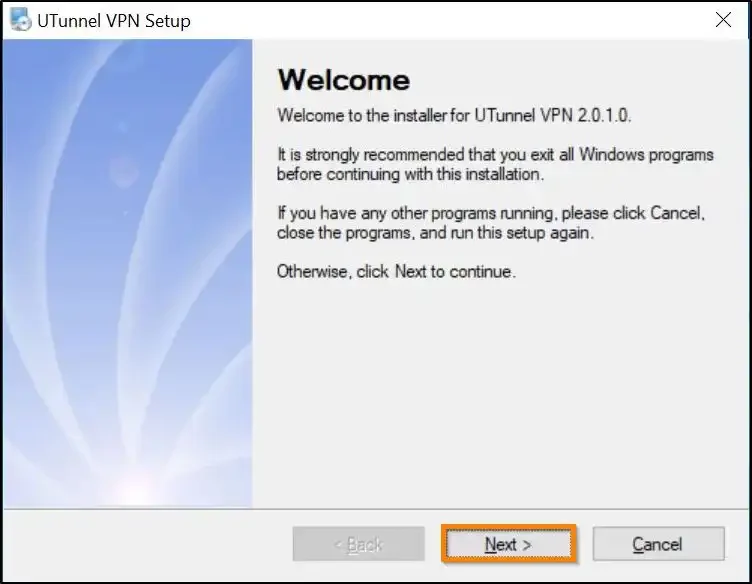
4. Click on the Next button to proceed with the installation process.
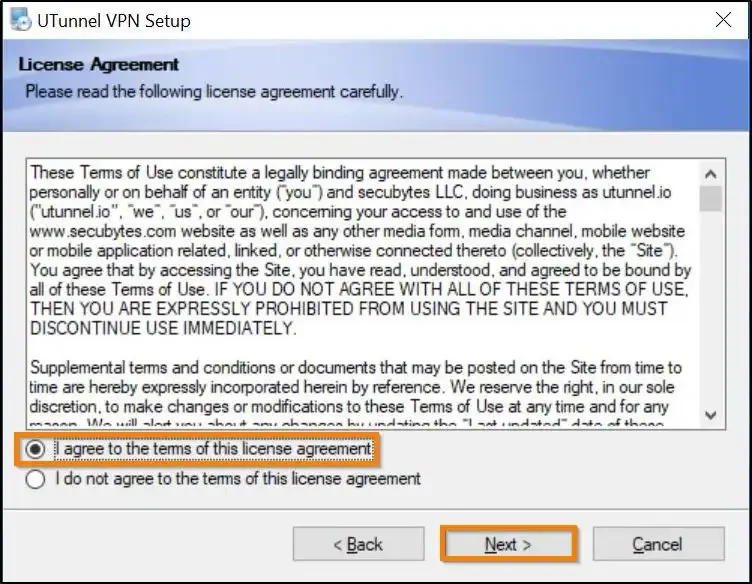
5. Select the I agree to the terms of this license agreement option after going through the license agreement and click on the Next button to continue the setup.
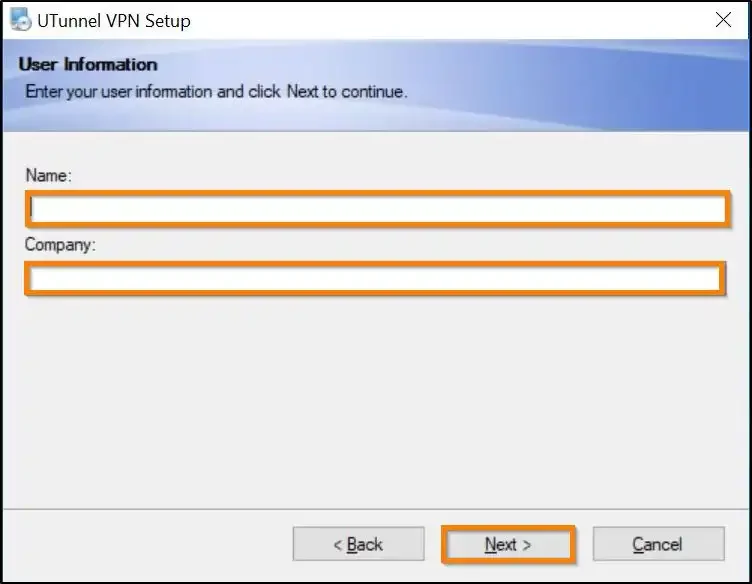
6. Fill in the Name and Company details and click on the Next button to continue with the setup process.
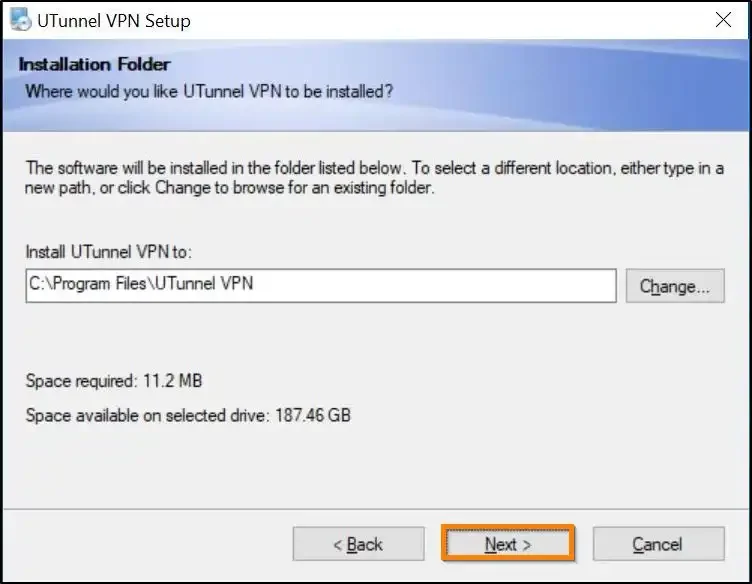
7. Choose your installation directory and click on the Next button to proceed with the installation process.
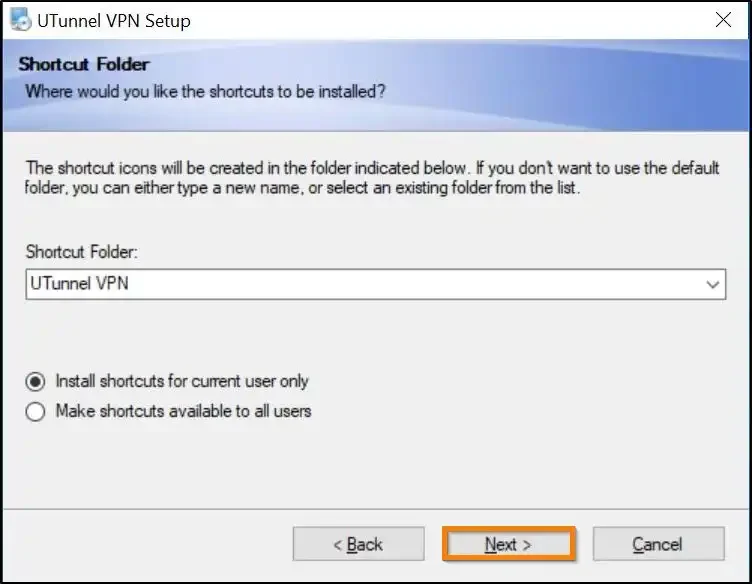
8. Choose your preference for app shortcuts and continue the setup process by clicking the Next button.
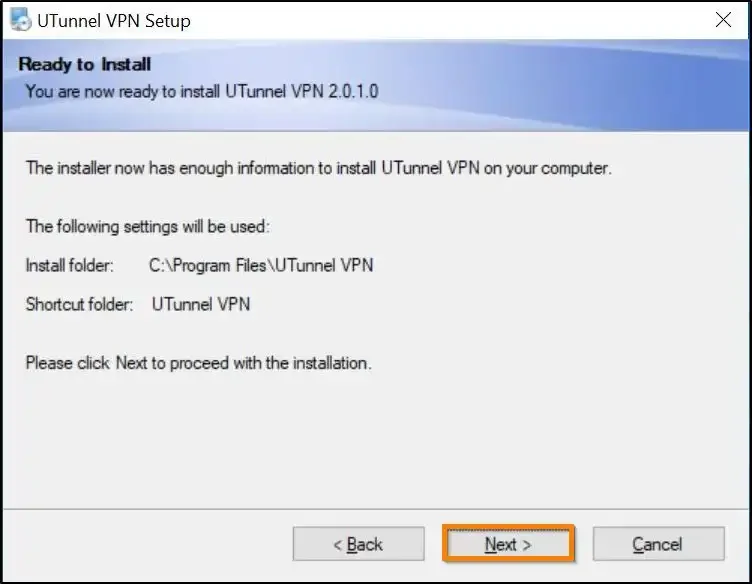
9. Review your preferences before proceeding further with the installation. Then click on the Next button, which will start the installation process.
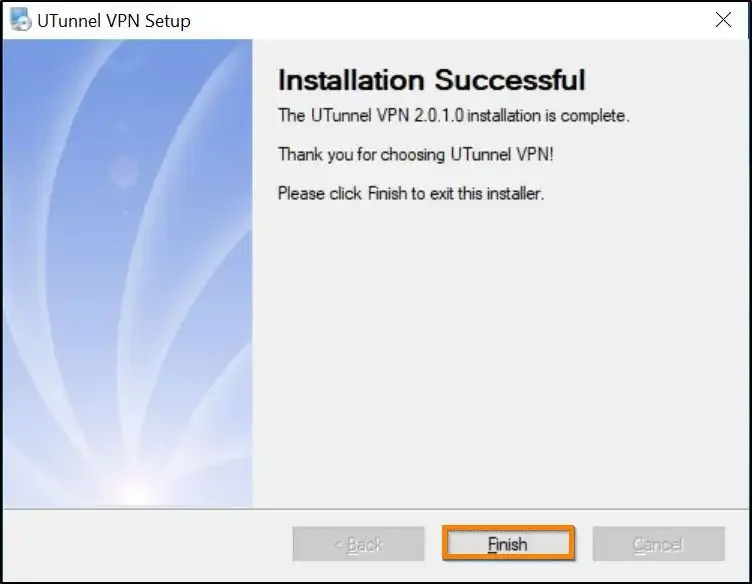
10.Click on the Finish button to complete the installation process and exit the installer.
11. Now you can go ahead and launch the UTunnel VPN client app by double-clicking on the UTunnel VPN icon on your Windows desktop.