This guide discusses the features of UTunnel’s macOS VPN client application, along with detailed instructions on how to configure and use it. You must first download and install the macOS VPN client application.
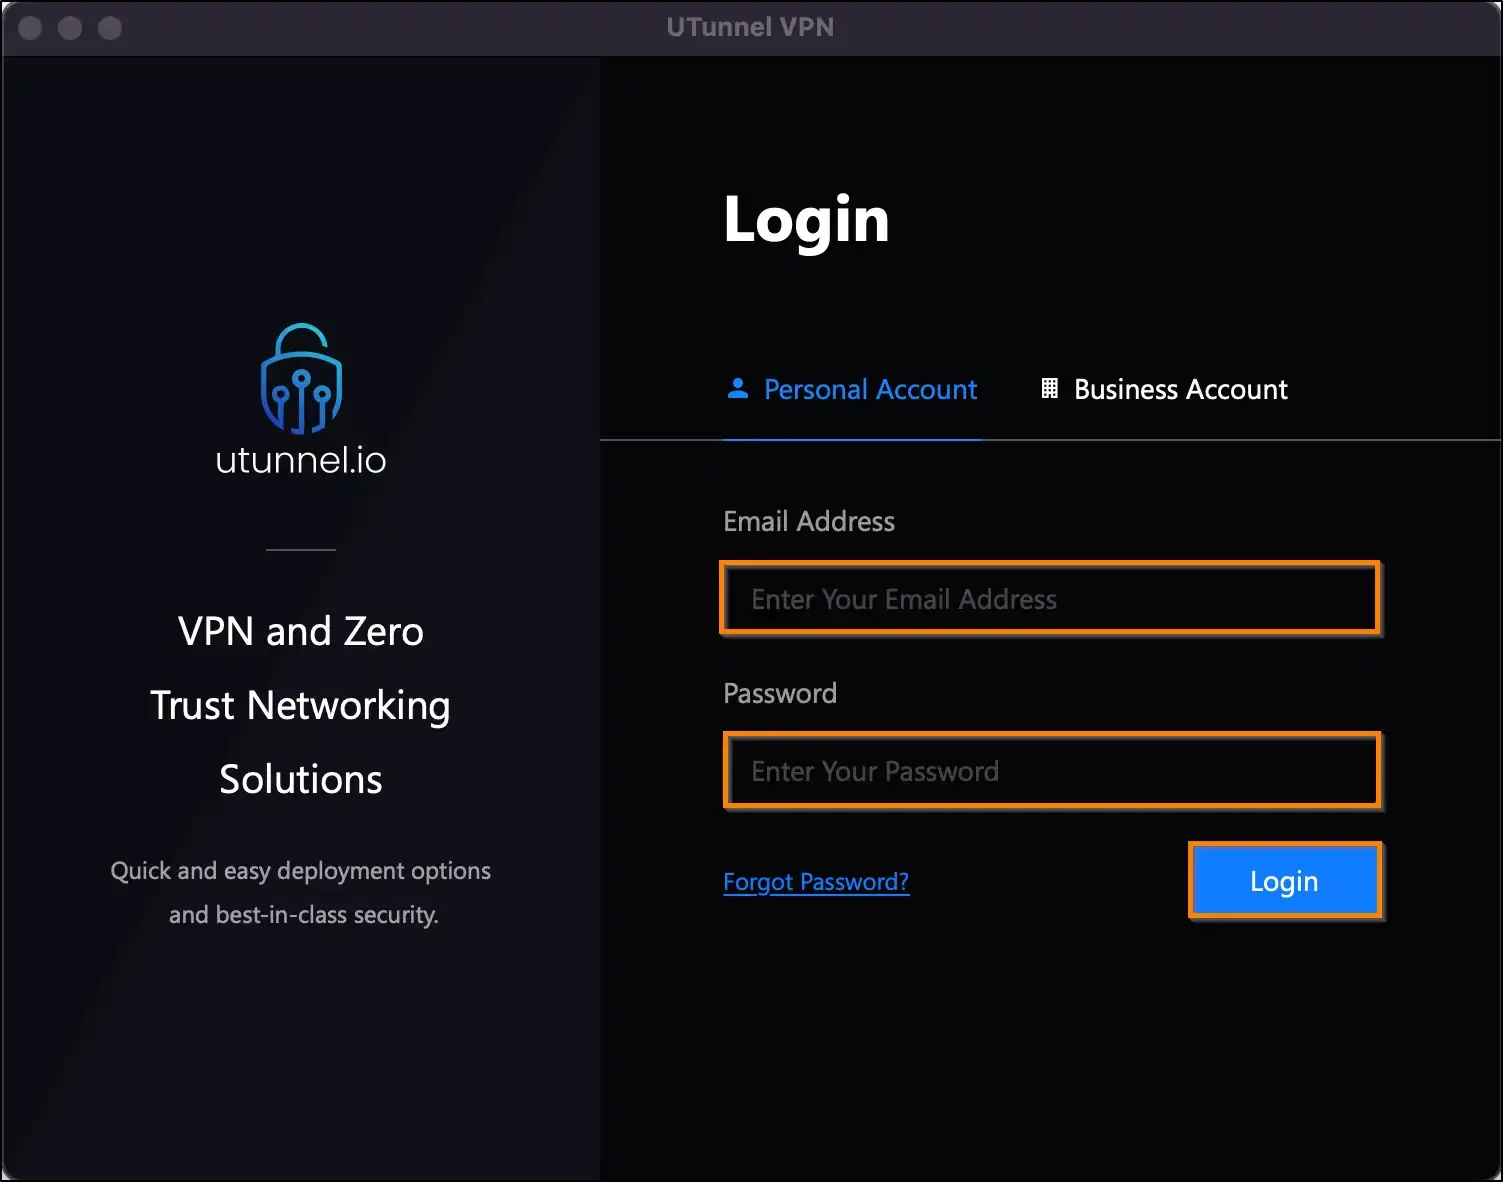
1. Personal Account Login: Personal account users can log in to the macOS VPN client by keying in their email address and password into the respective fields, followed by clicking on the Login button.
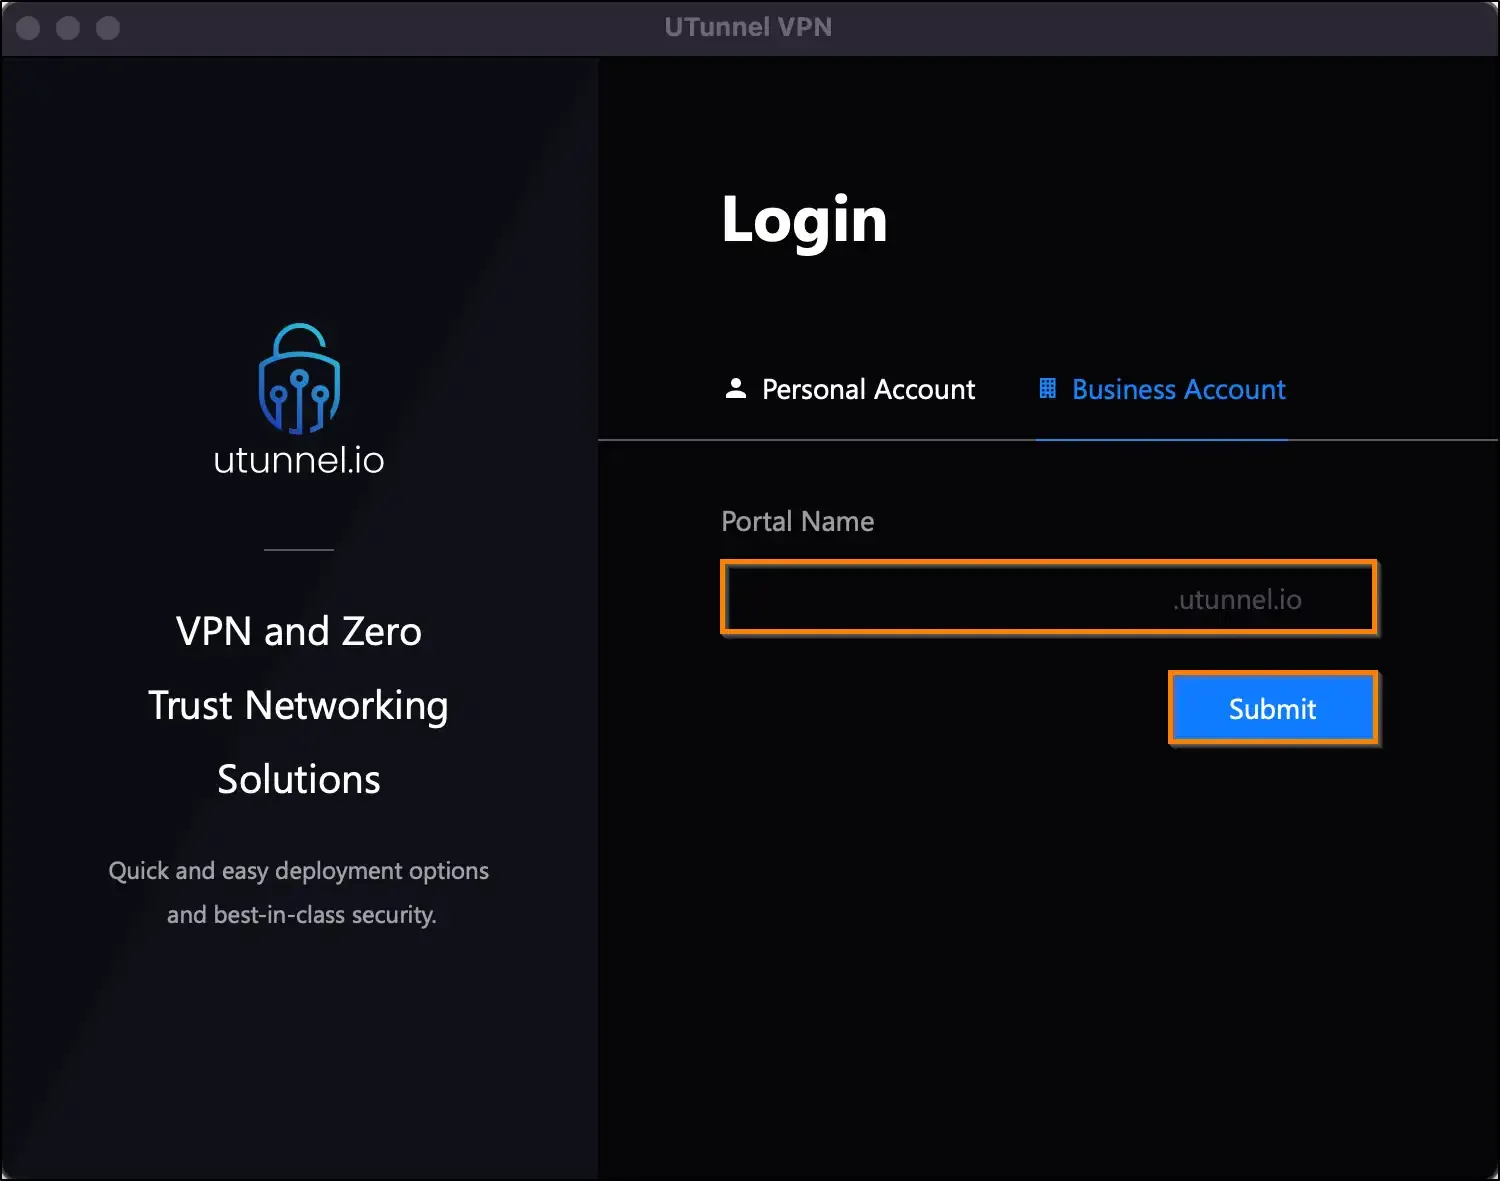
2. Business Account Login: Business account users can log in by switching to the Business Account tab in the VPN client app, typing in their organization’s portal name in the field, and clicking on the Submit button.
If your organization is using user authentication managed with SSO, you will be redirected to the respective identity provider’s login page to sign in with their SSO credentials.
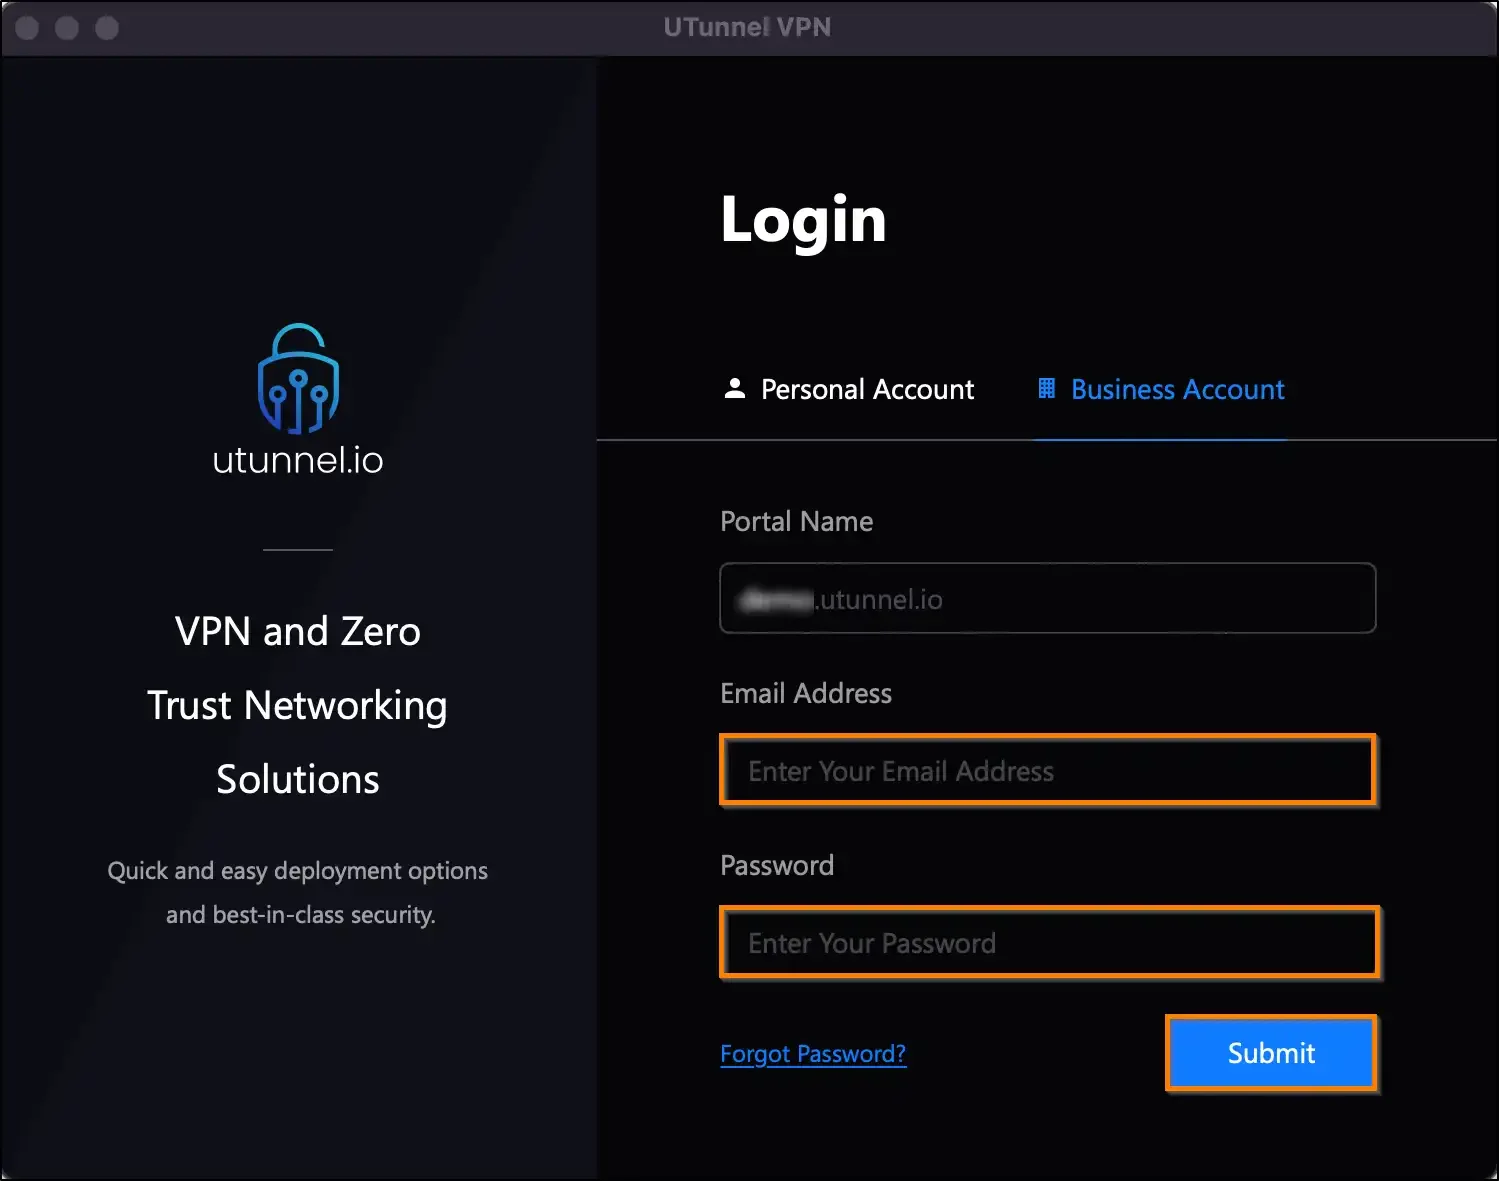
In the case of a Non-SSO Organization, users can log in by keying in their email and password into the Business Account login screen in the macOS client app and clicking on the Login button.
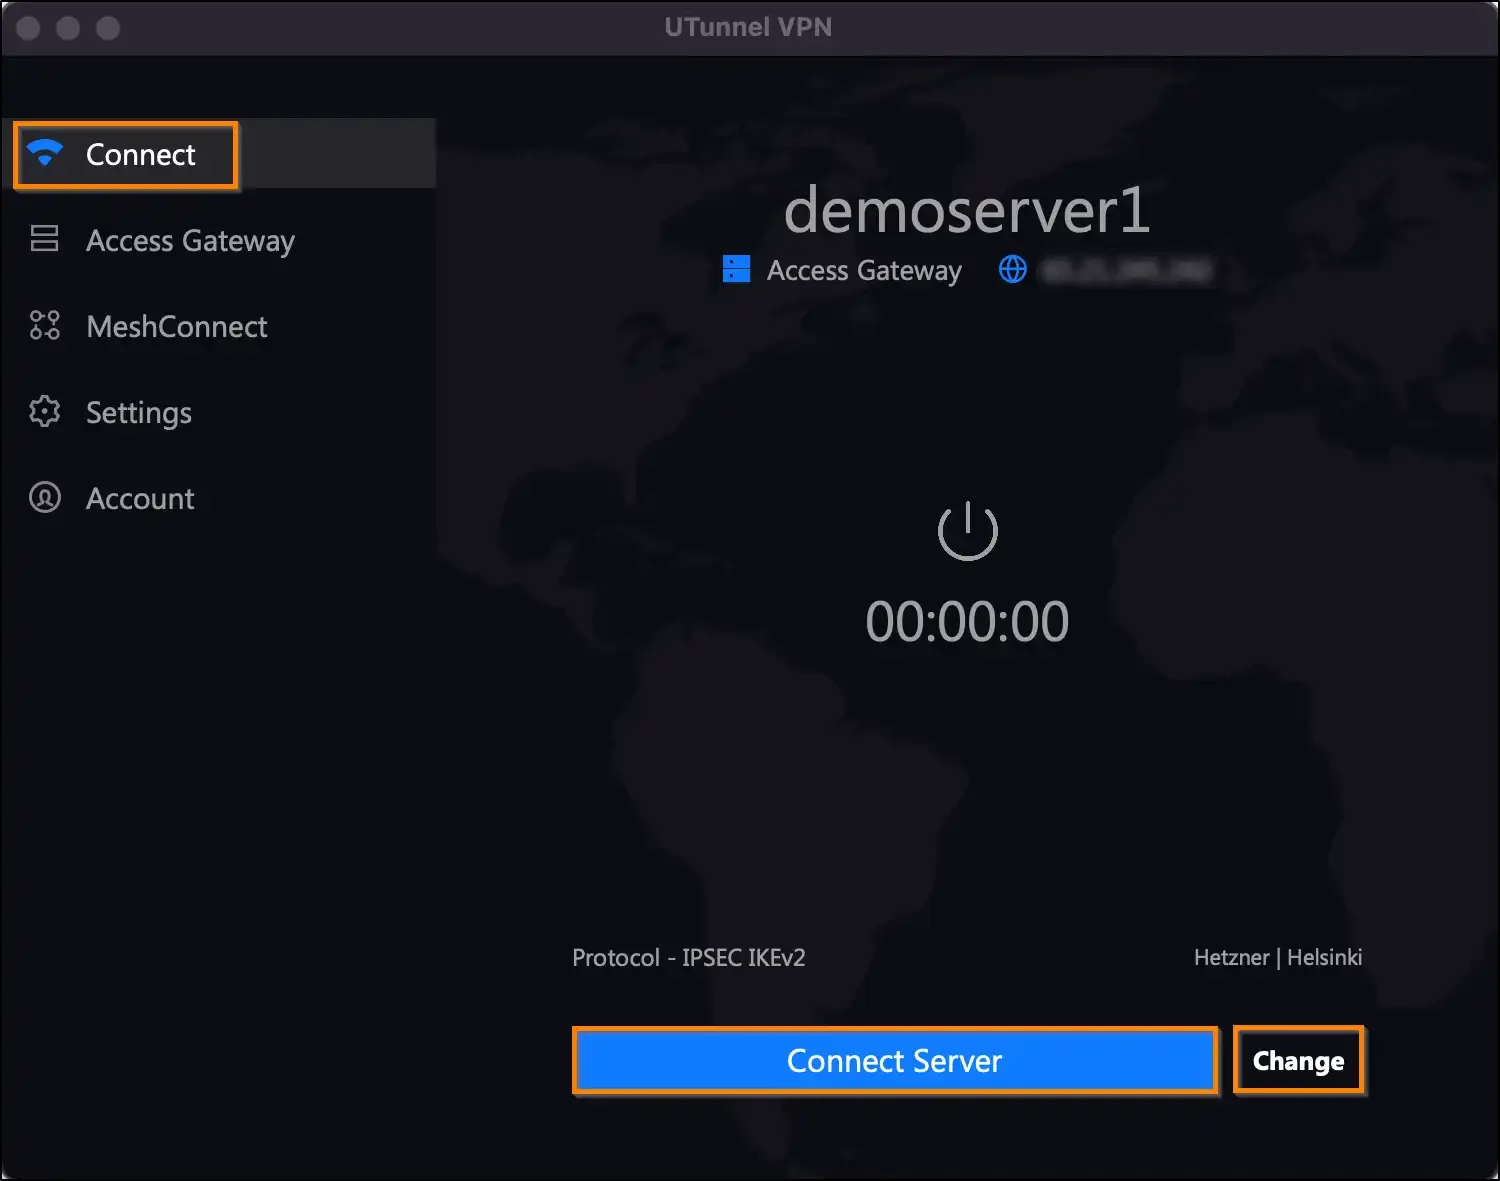
Once logged in, the Connect tab will be active in the client. You can see the currently selected VPN Gateway name and VPN IP address displayed at the top of the page. The VPN protocol and Access Gateway Type (Cloud/On-Premise) are displayed at the bottom of the page, right above the Connect VPN button.
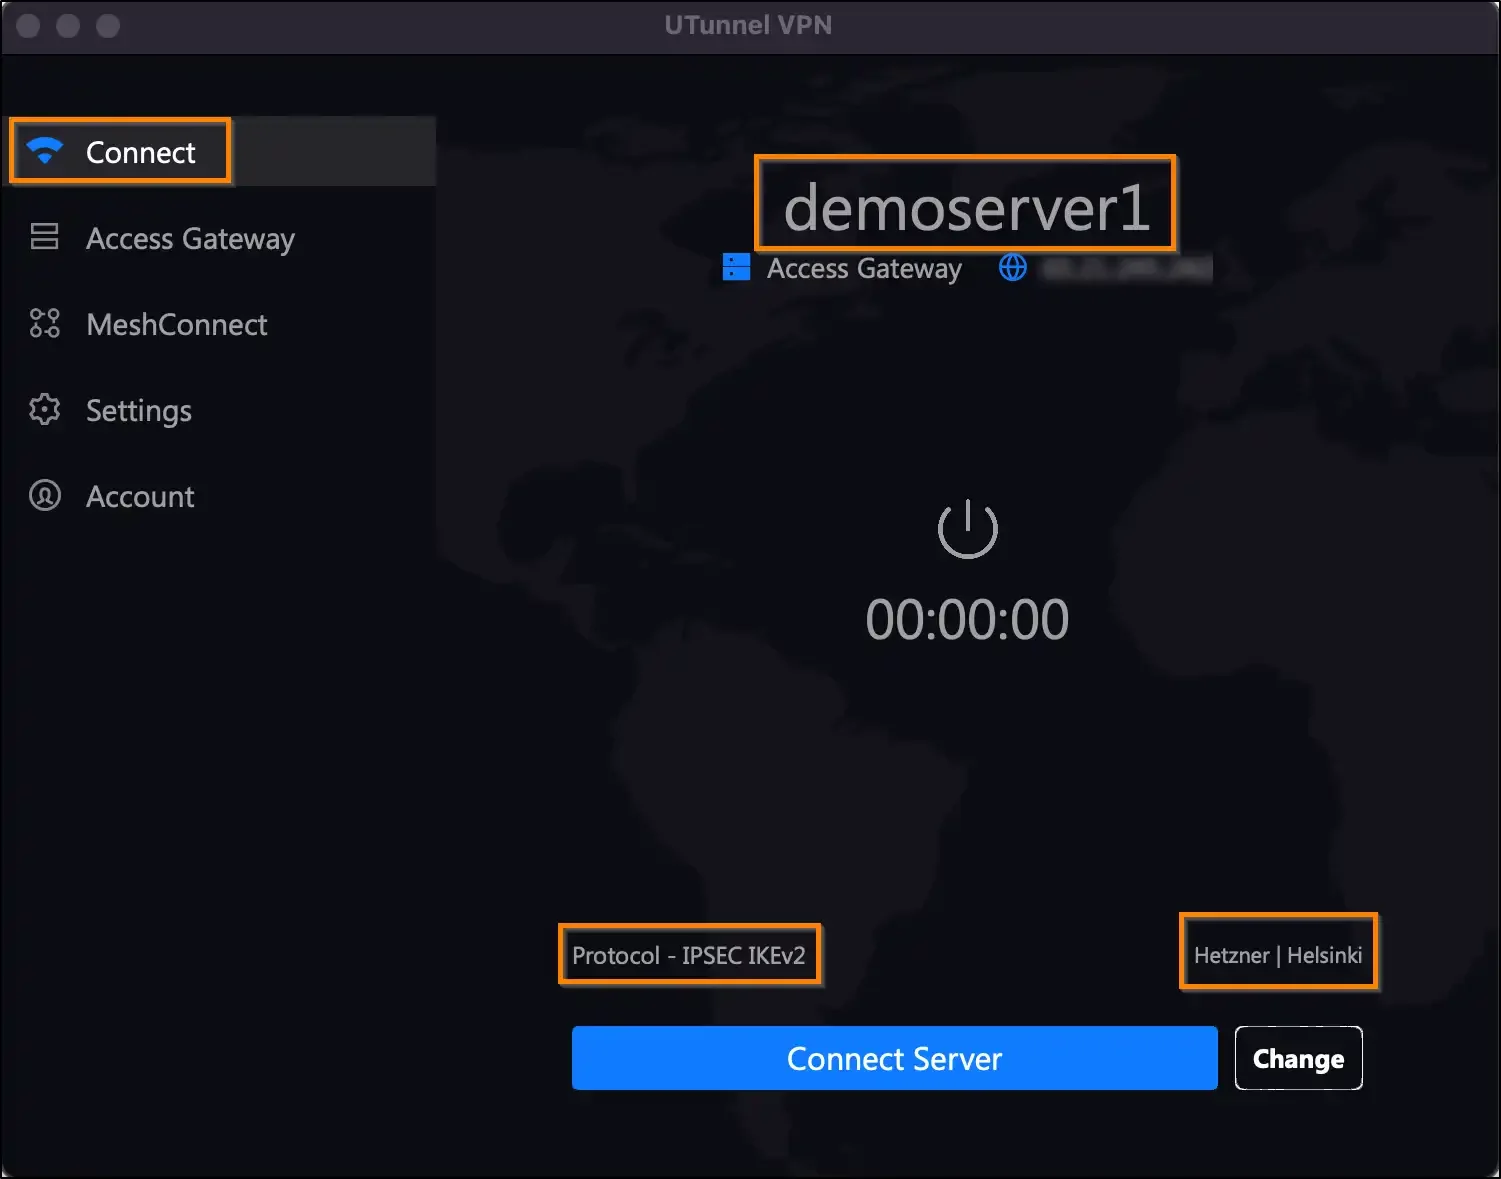
You can connect to the displayed VPN gateway, by clicking on the Connect VPN button. If you want to change the VPN gateway, click on the Change button, and it will take you to the Access Gateway page.
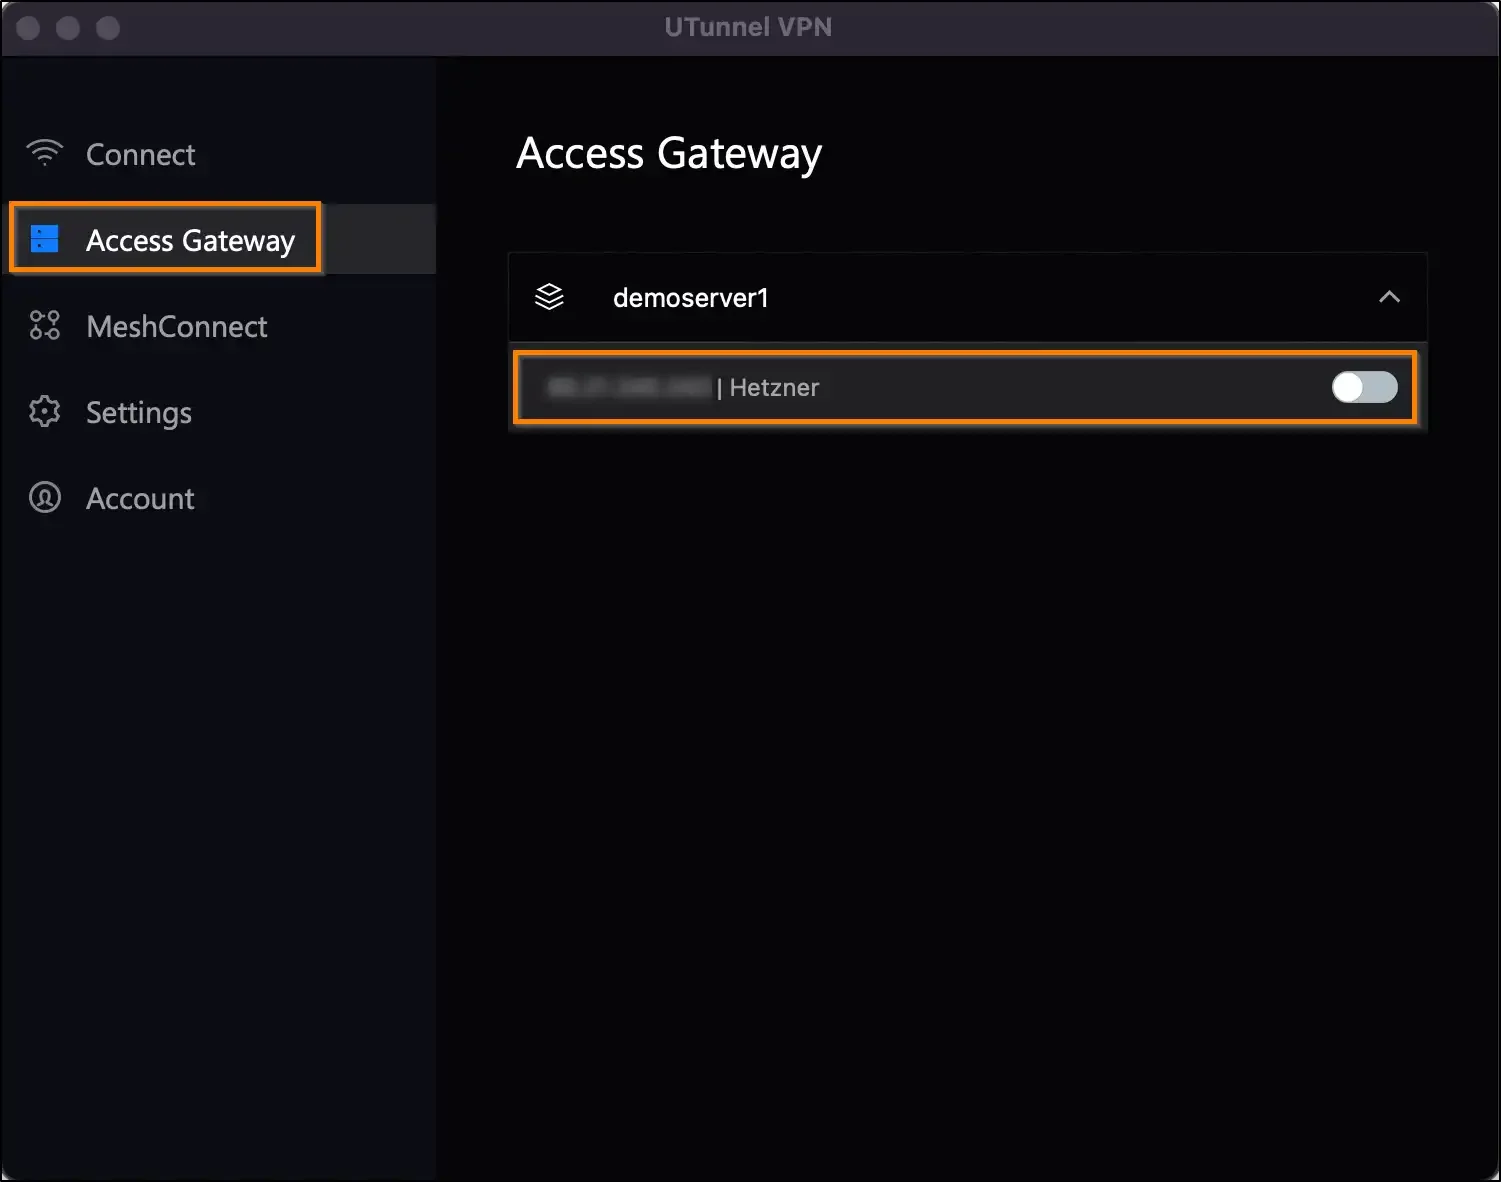
You can view the list of VPN gateways from the Access Gateway tab in the client app. Click on your preferred VPN Gateway and click the Connect toggle button to connect to the VPN gateway. As macOS supports only the IPSEC IKEv2 protocol, UTunnel’s macOS VPN client app does not offer a VPN connection in protocols such as UDP and TCP.
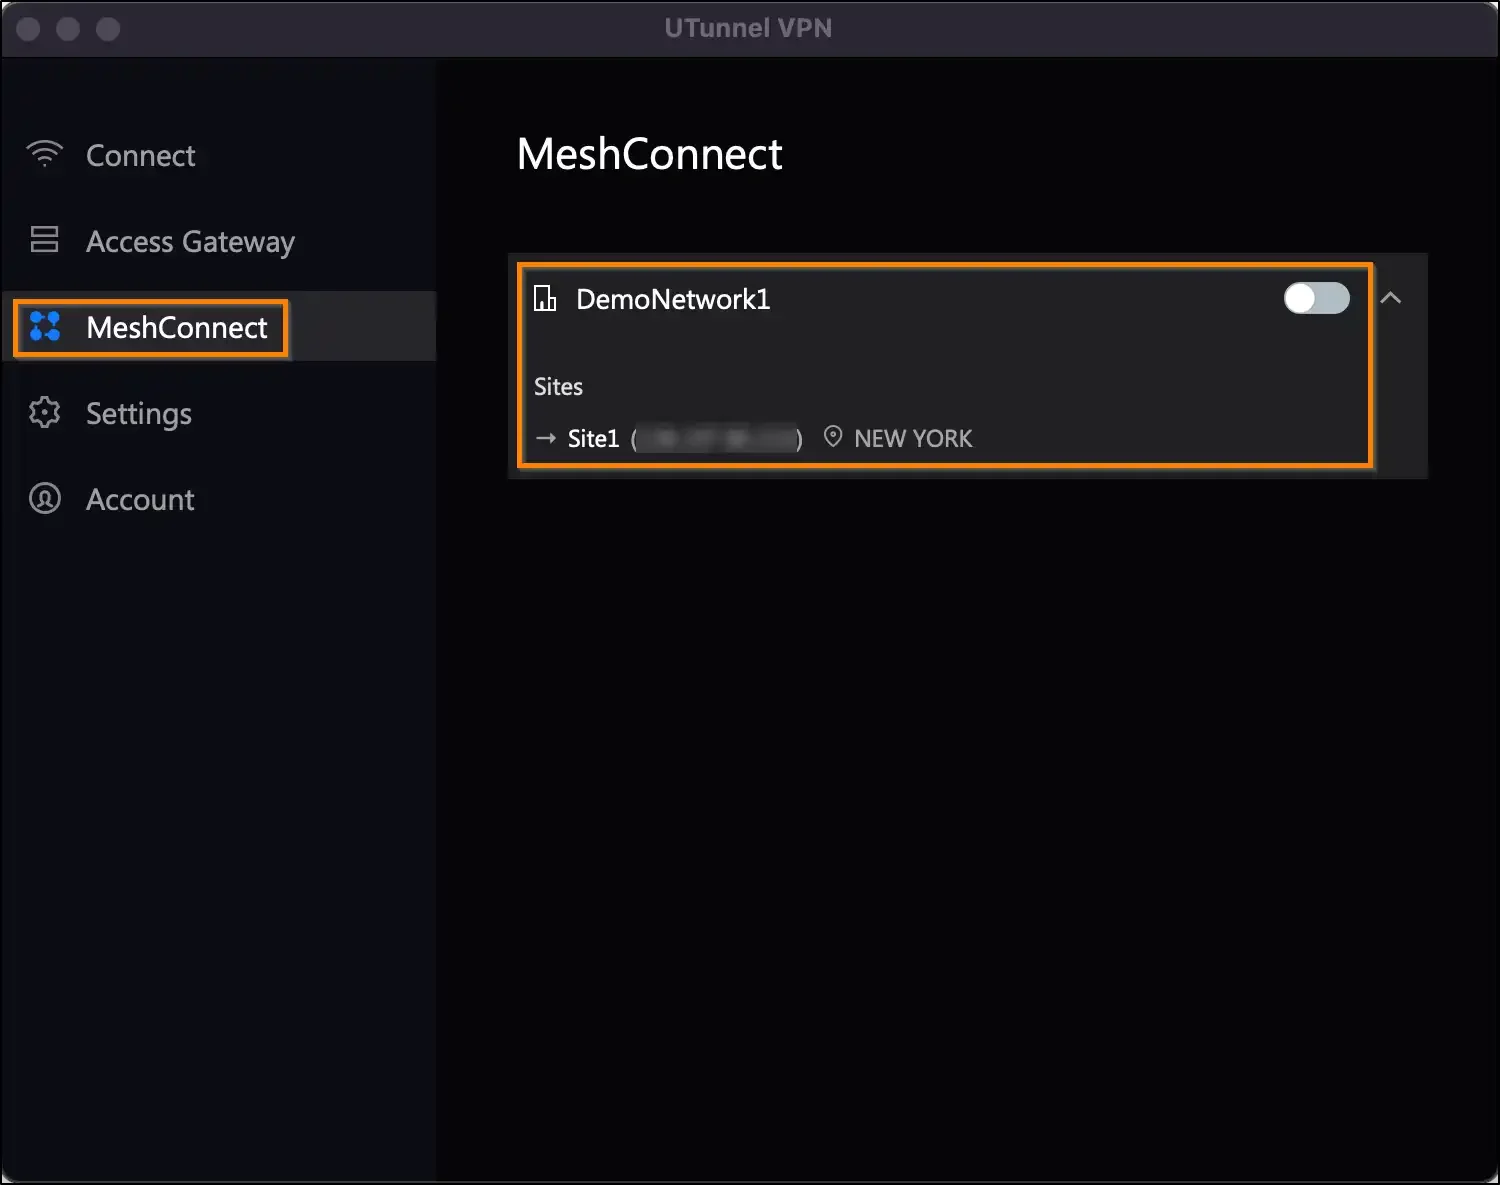
From the MeshConnect tab, you can view the list of available mesh networks. To connect to a mesh network, select your preferred mesh network and click on the connect toggle button next to the mesh network name.
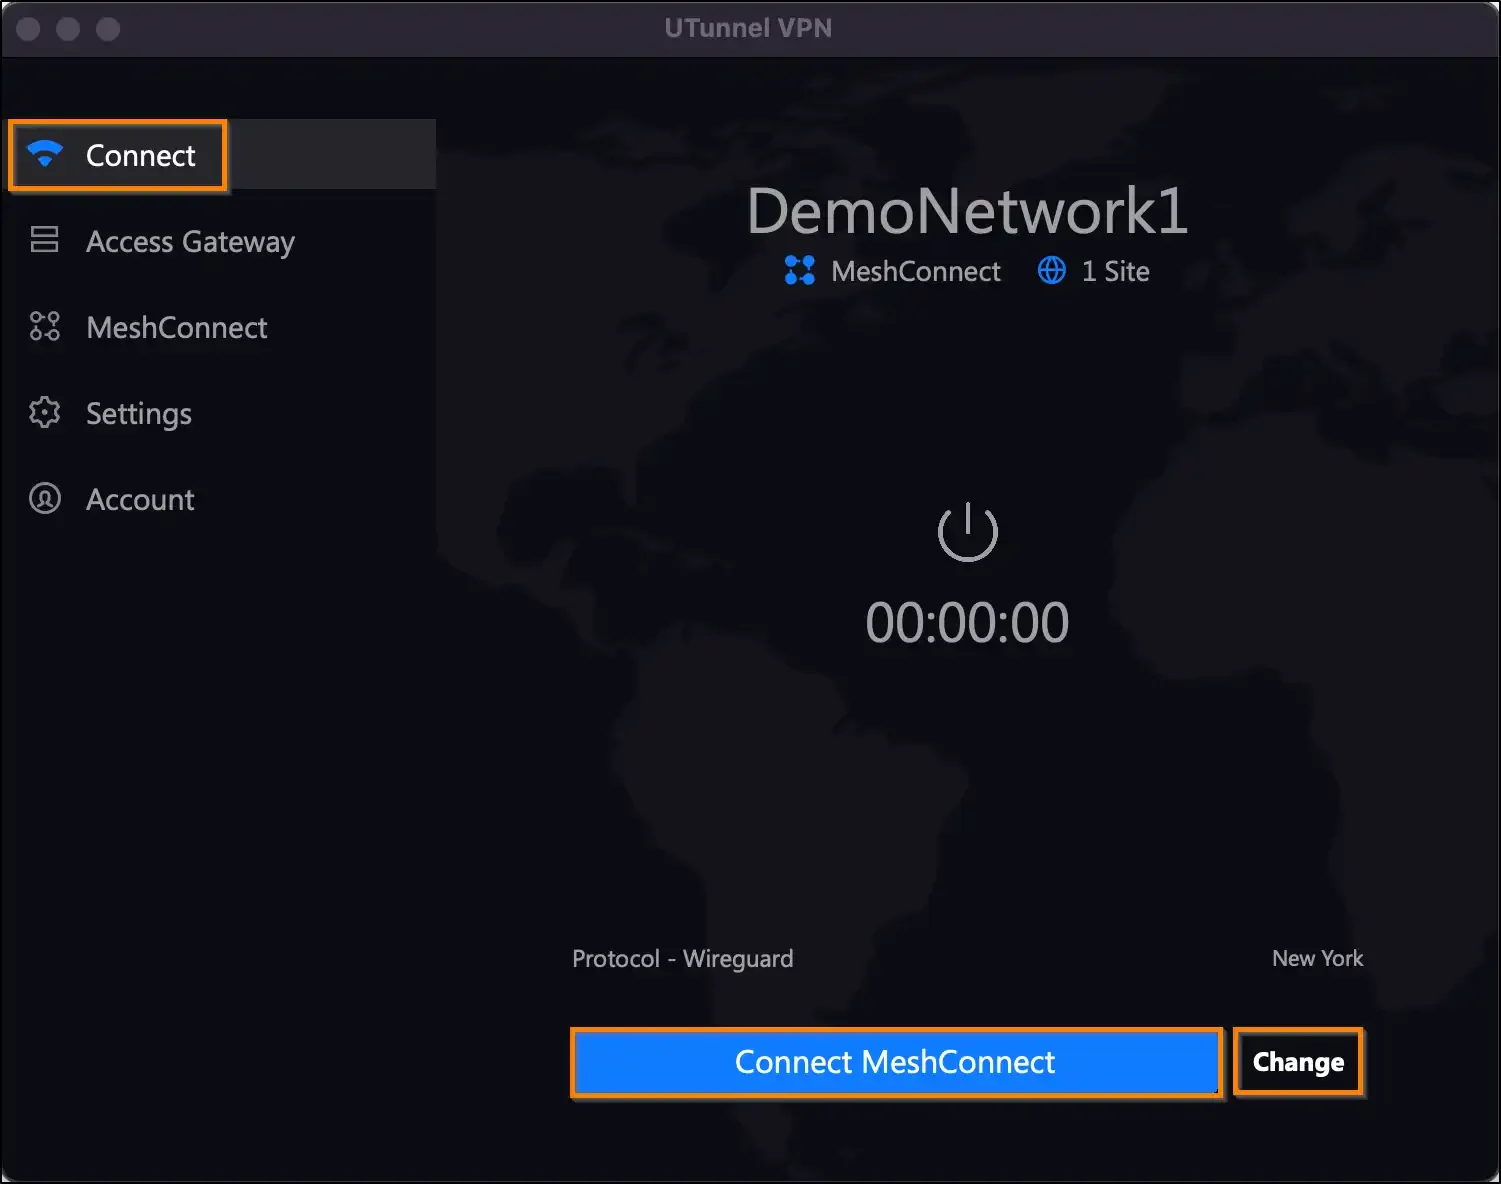
If you navigate back to the Connect tab, you can also view the mesh network connection details there. You can connect/disconnect the mesh network connection using the Connect MeshConnect/Disconnect MeshConnect button. The Change button directs you to the MeshConnect tab, where you can change the current mesh network to another one of your choice.
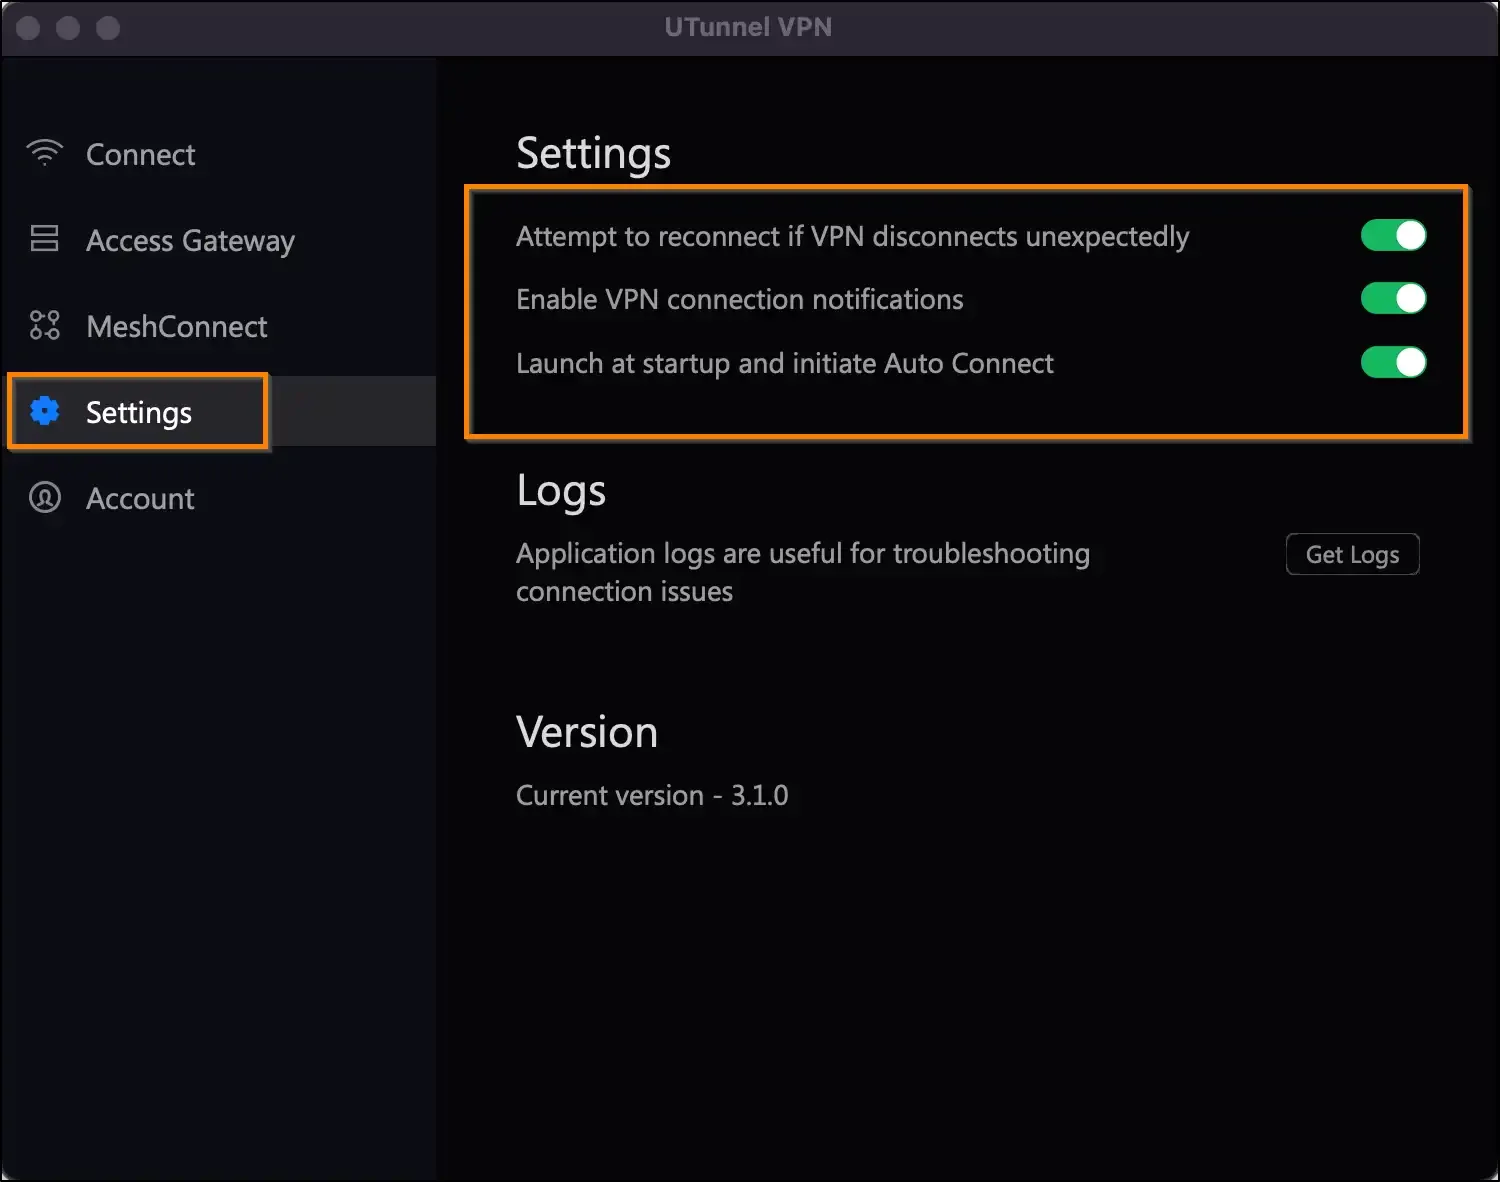
Navigate to the Settings tab to manage your macOS VPN client application settings. Here, you can configure the following settings by clicking on the toggle buttons:
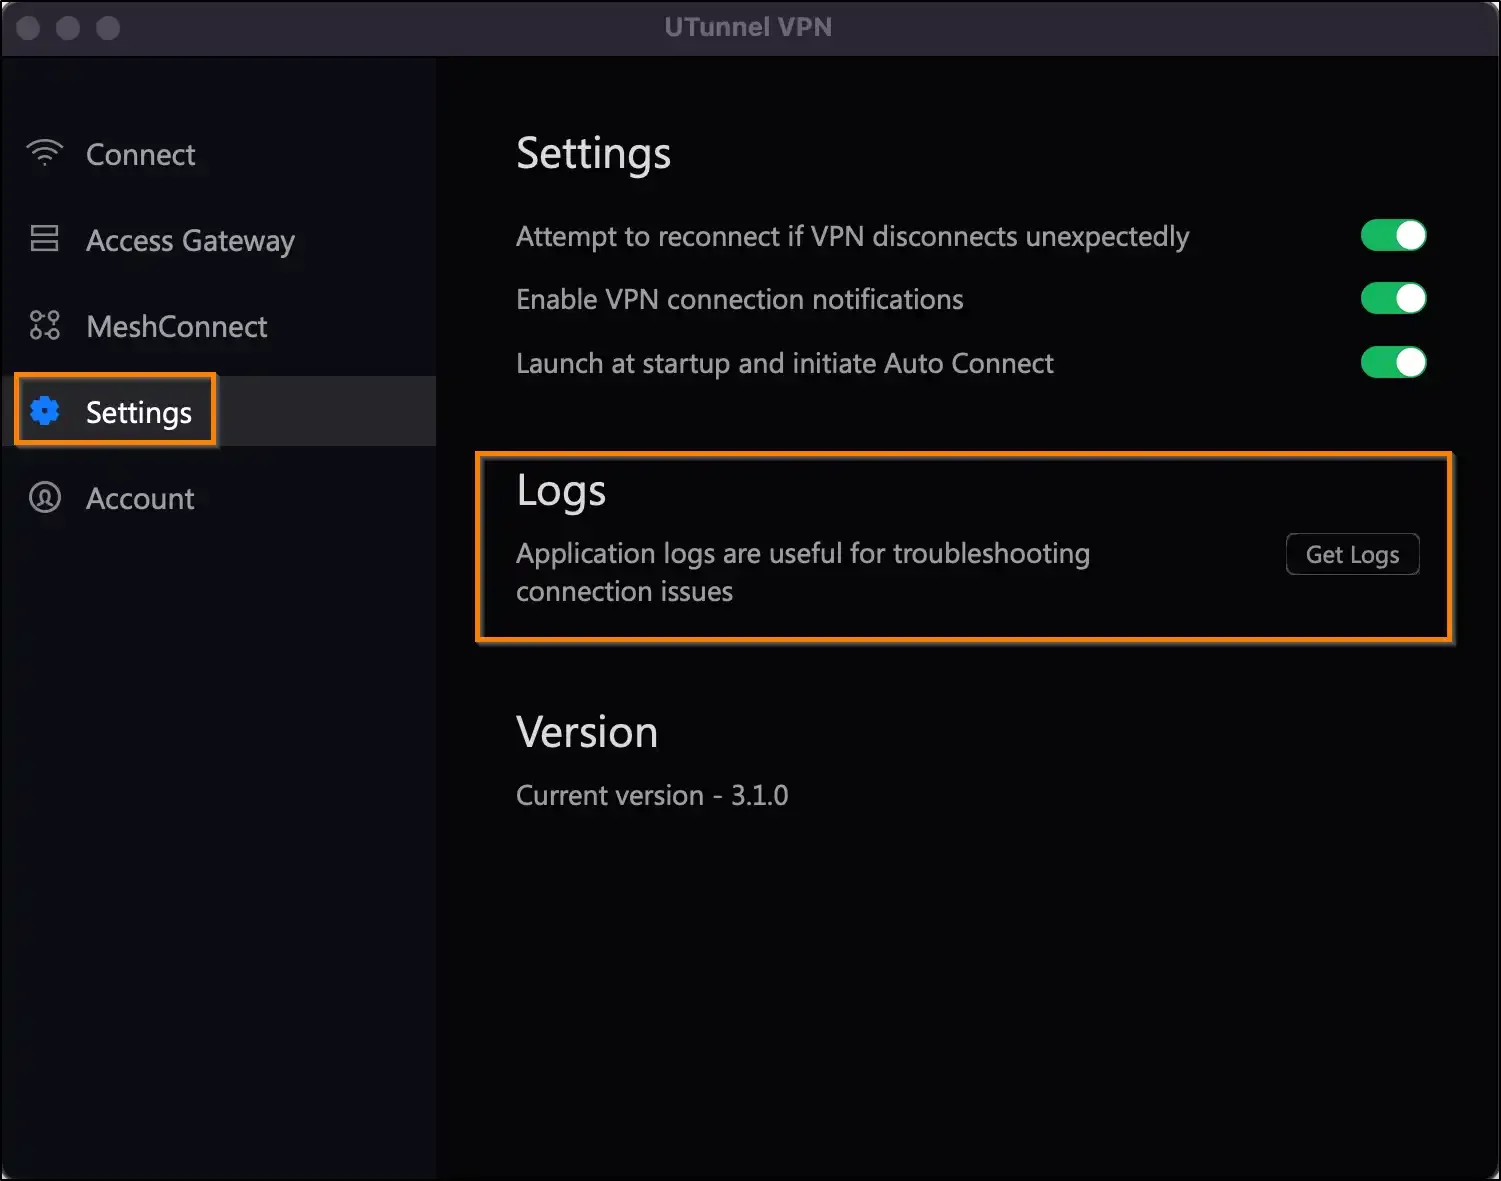
You can access application logs from the macOS client application by navigating to the Settings tab and clicking on the Get Logs button.
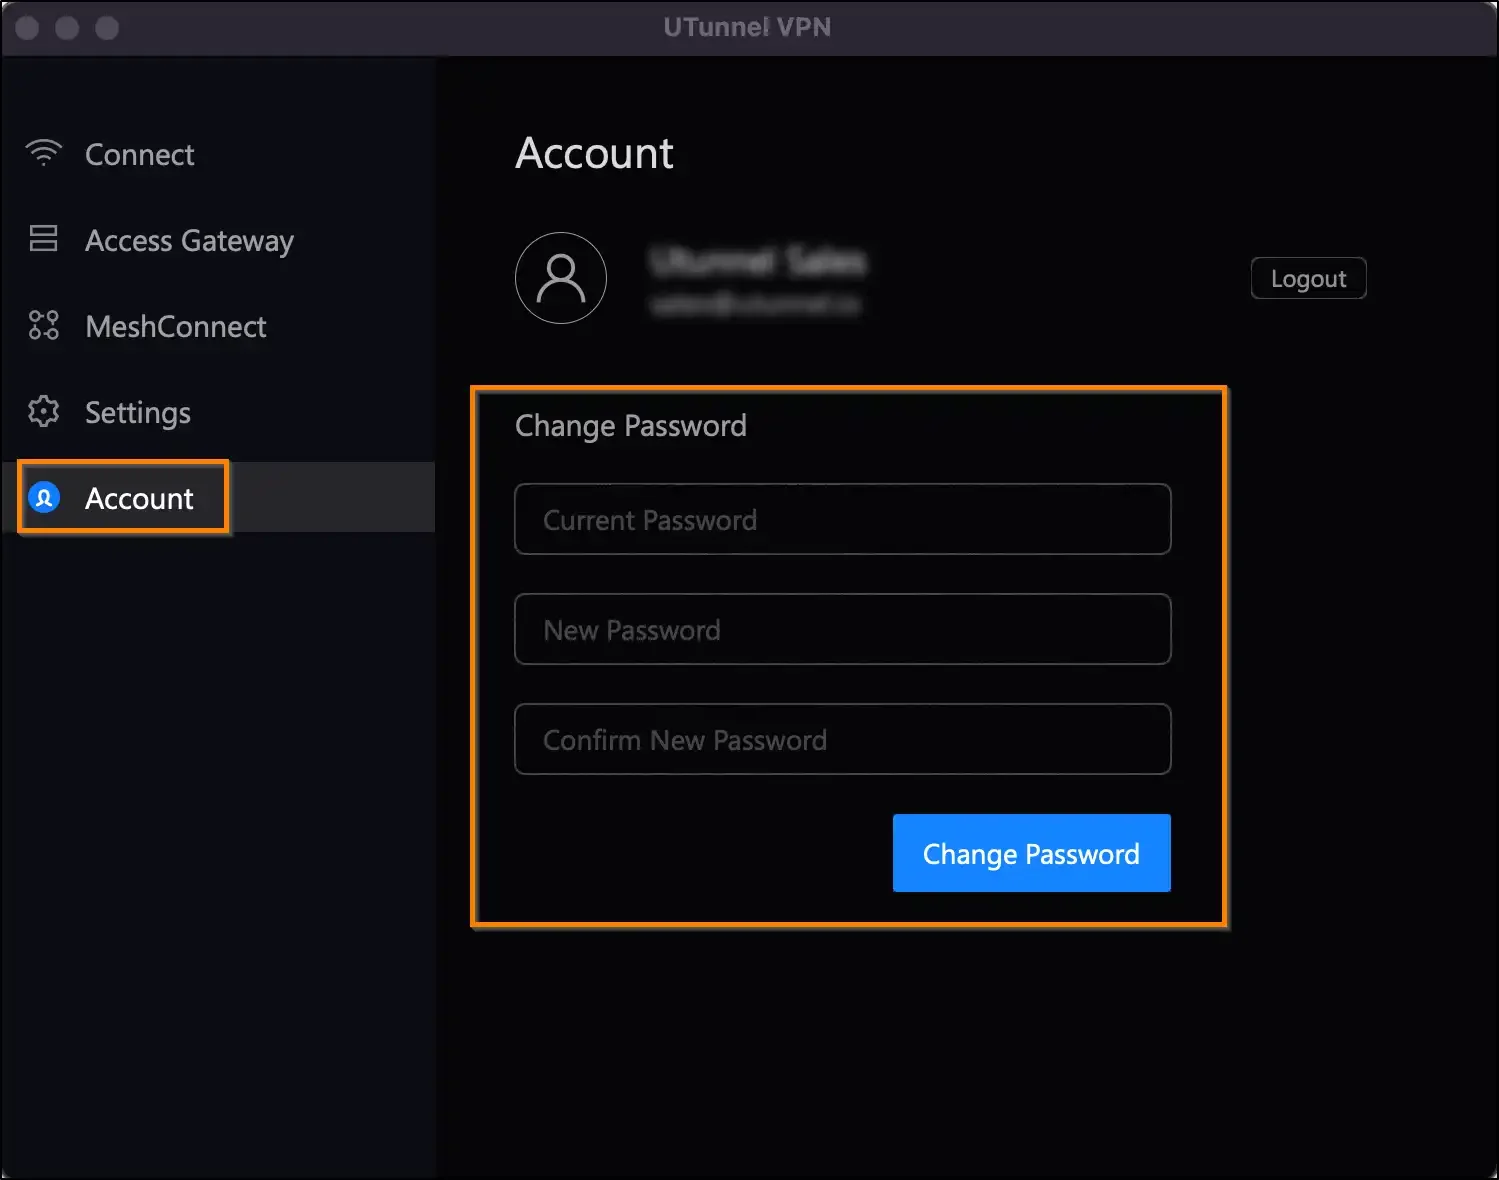
To change your UTunnel account password, navigate to the Account tab. You can input your old password and new password in the corresponding columns, and then click on the Change Password button.
Please note that the Change Password option is not available for Single-Sign-On-enabled account users.
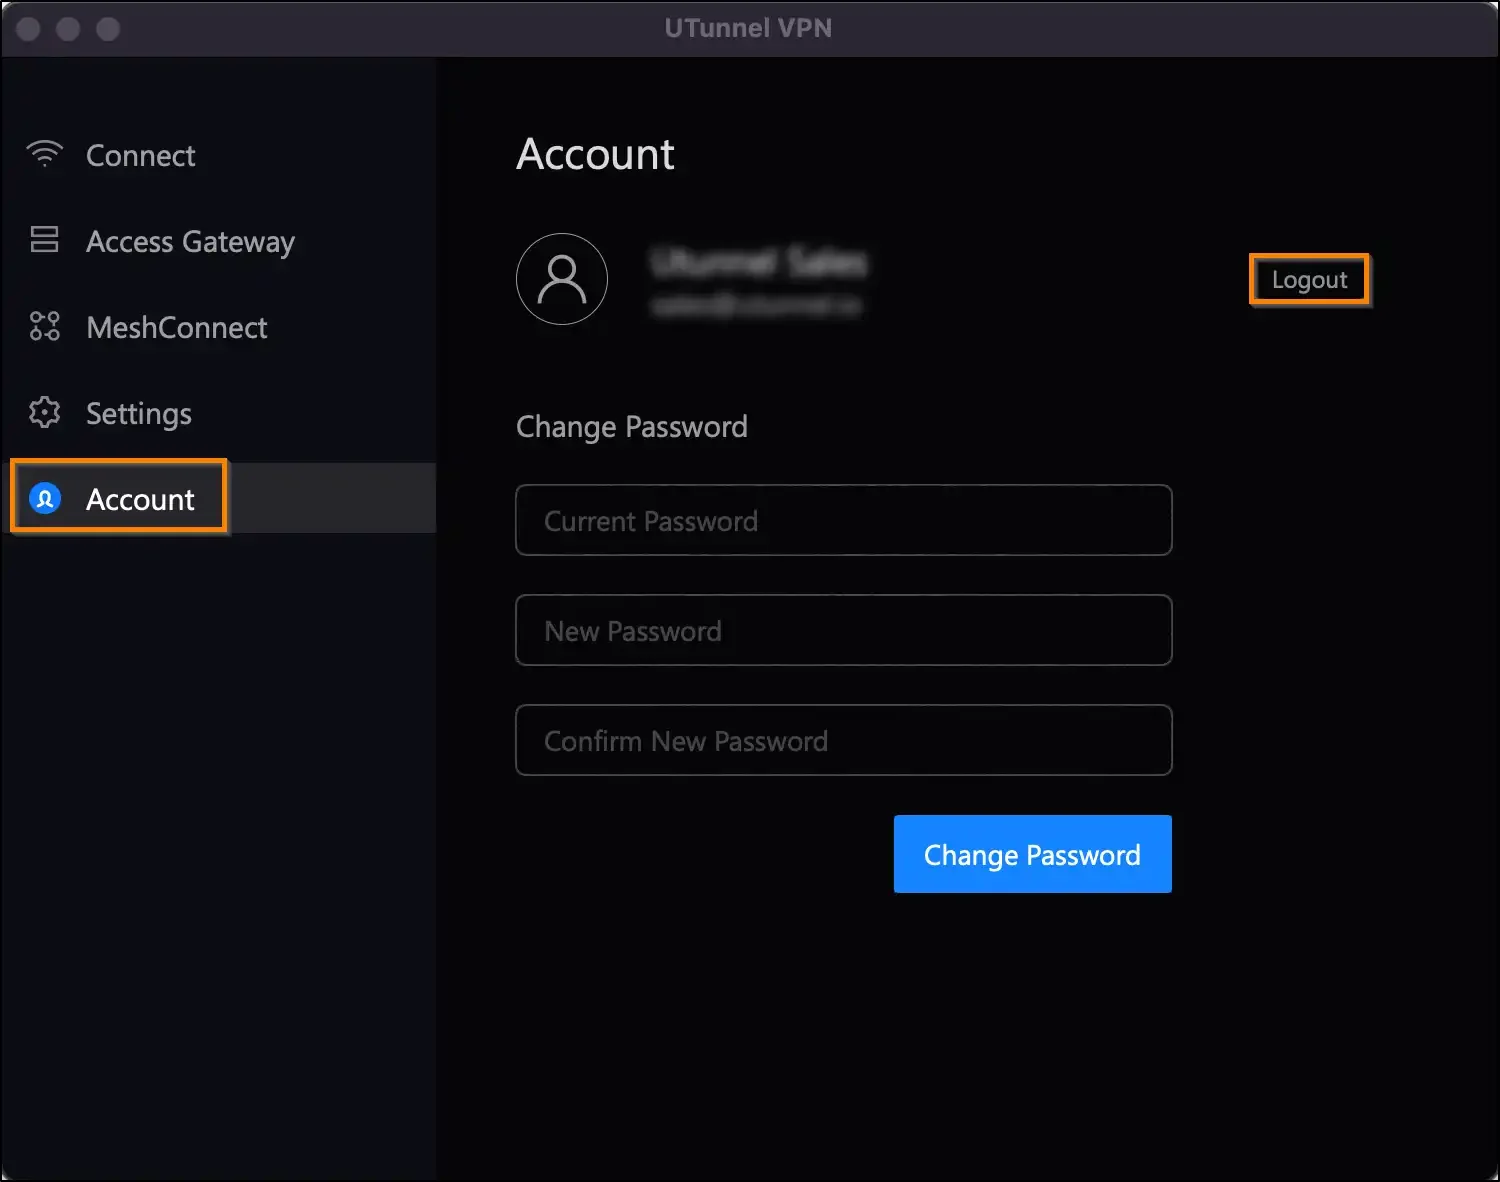
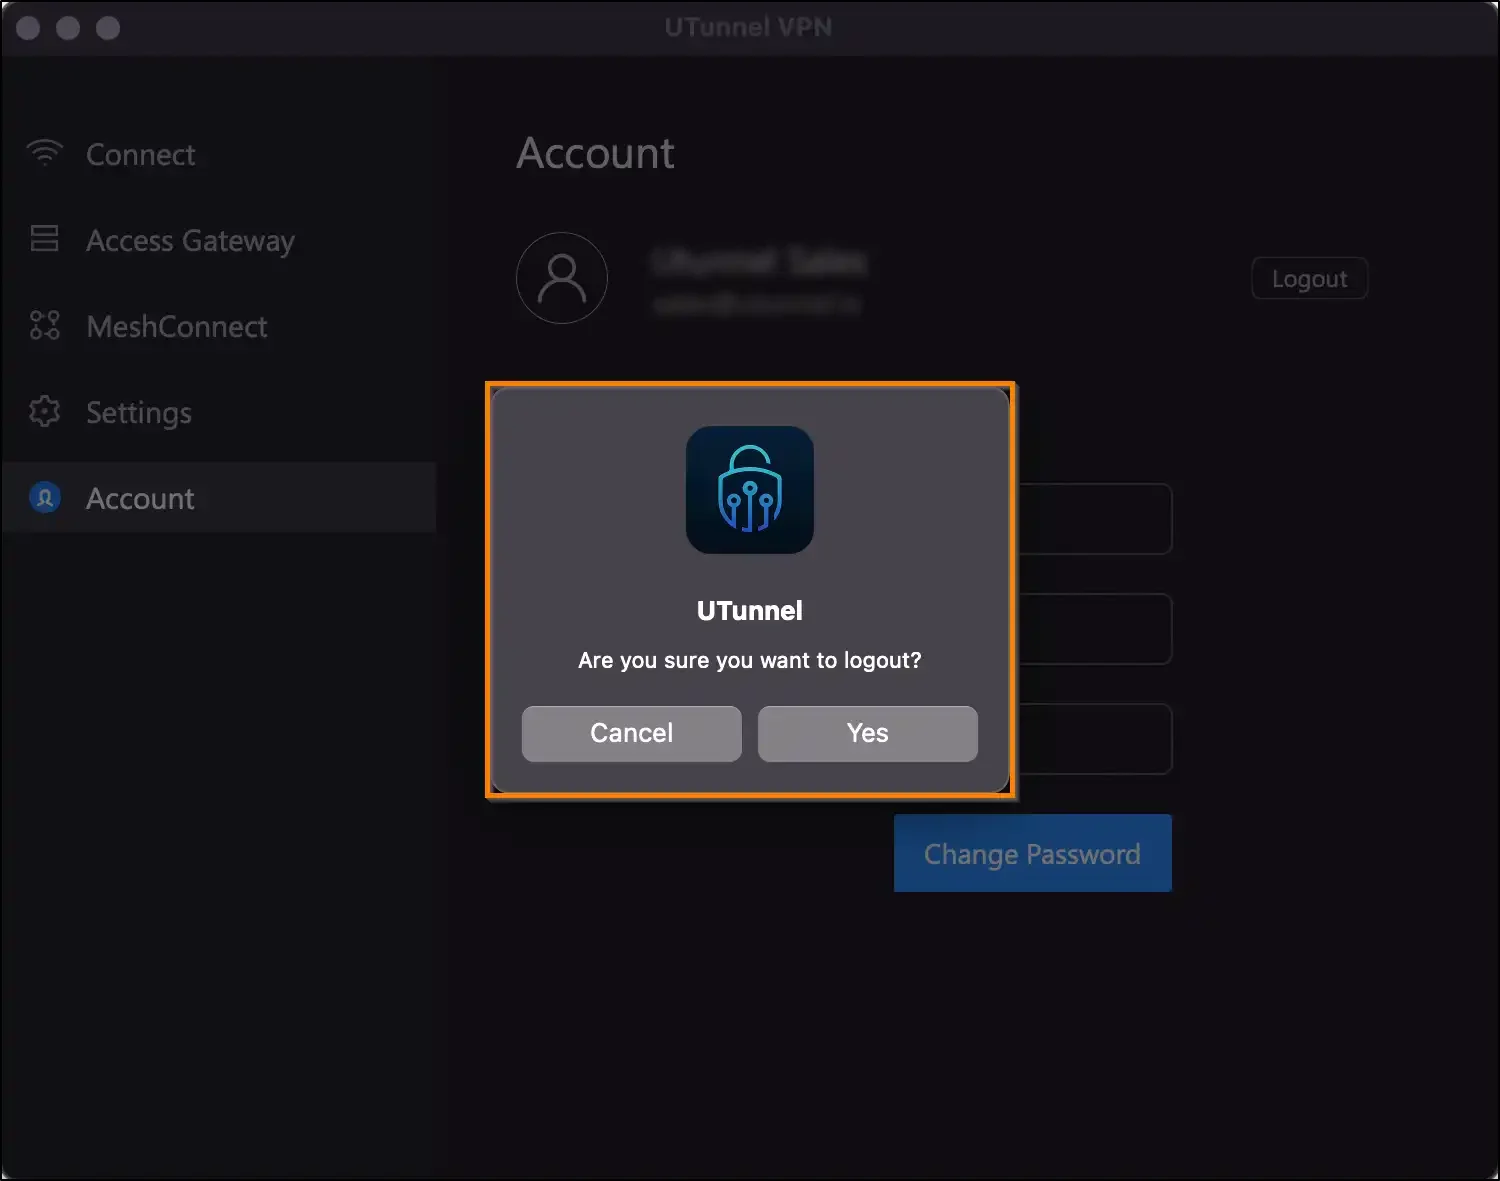
To log out of your UTunnel Windows VPN client, click on the Logout button in the Accounts tab.
You will be asked to confirm if you want to log out. Click the Yes button if you want to proceed with logging out.
Popular Support Articles