Updated on 24 Jan, 2024
You can add users to your MeshConnect network, assigning an access policy to each user. After creating access policies in your MeshConnect network, you can proceed to add users to the network. You must note that a user can be attached to only one access policy.
This article guides you through adding and managing users in the MeshConnect network from the UTunnel web dashboard.
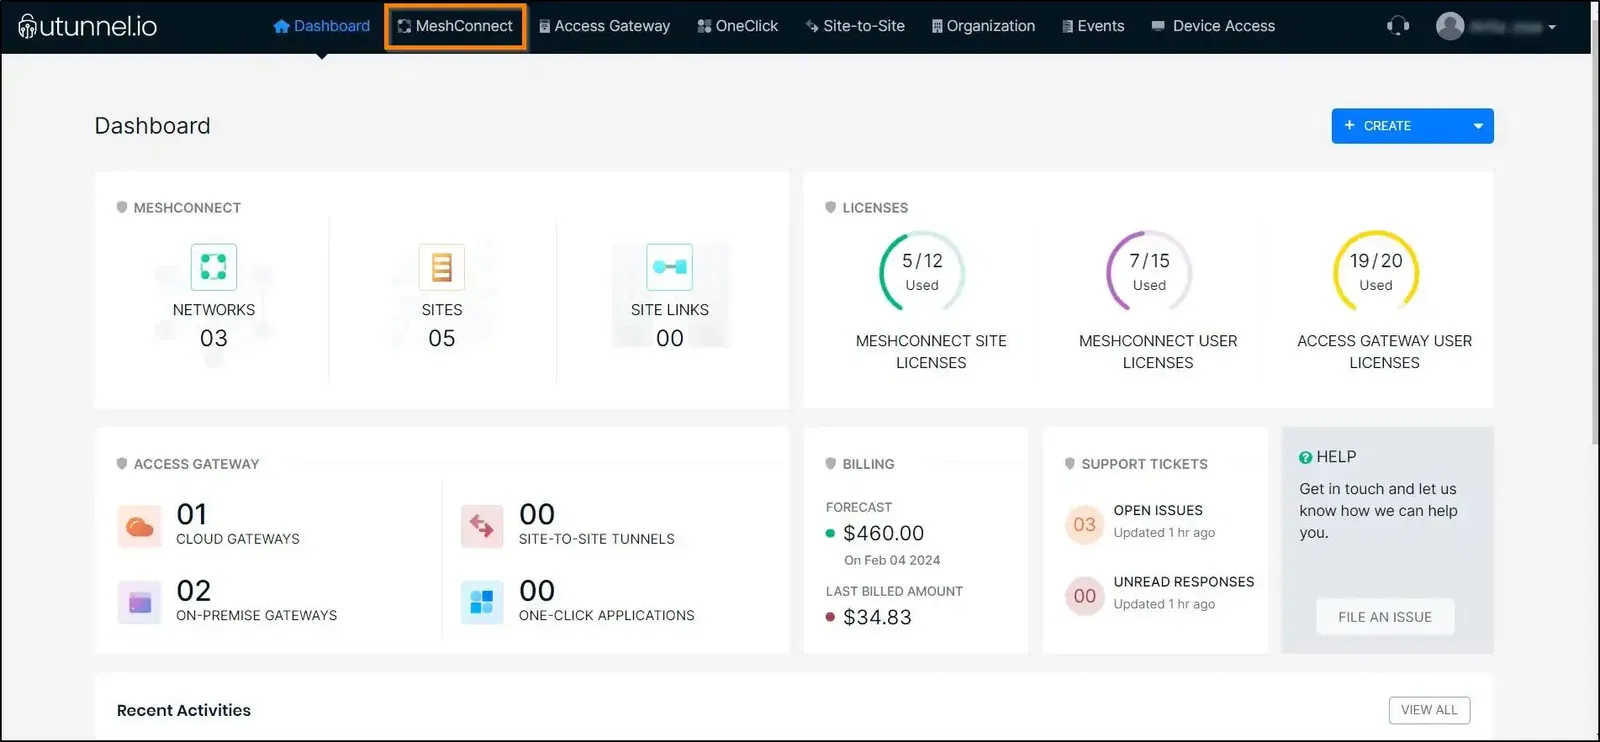
1. Log in to your UTunnel organization account and navigate to the MeshConnect tab.
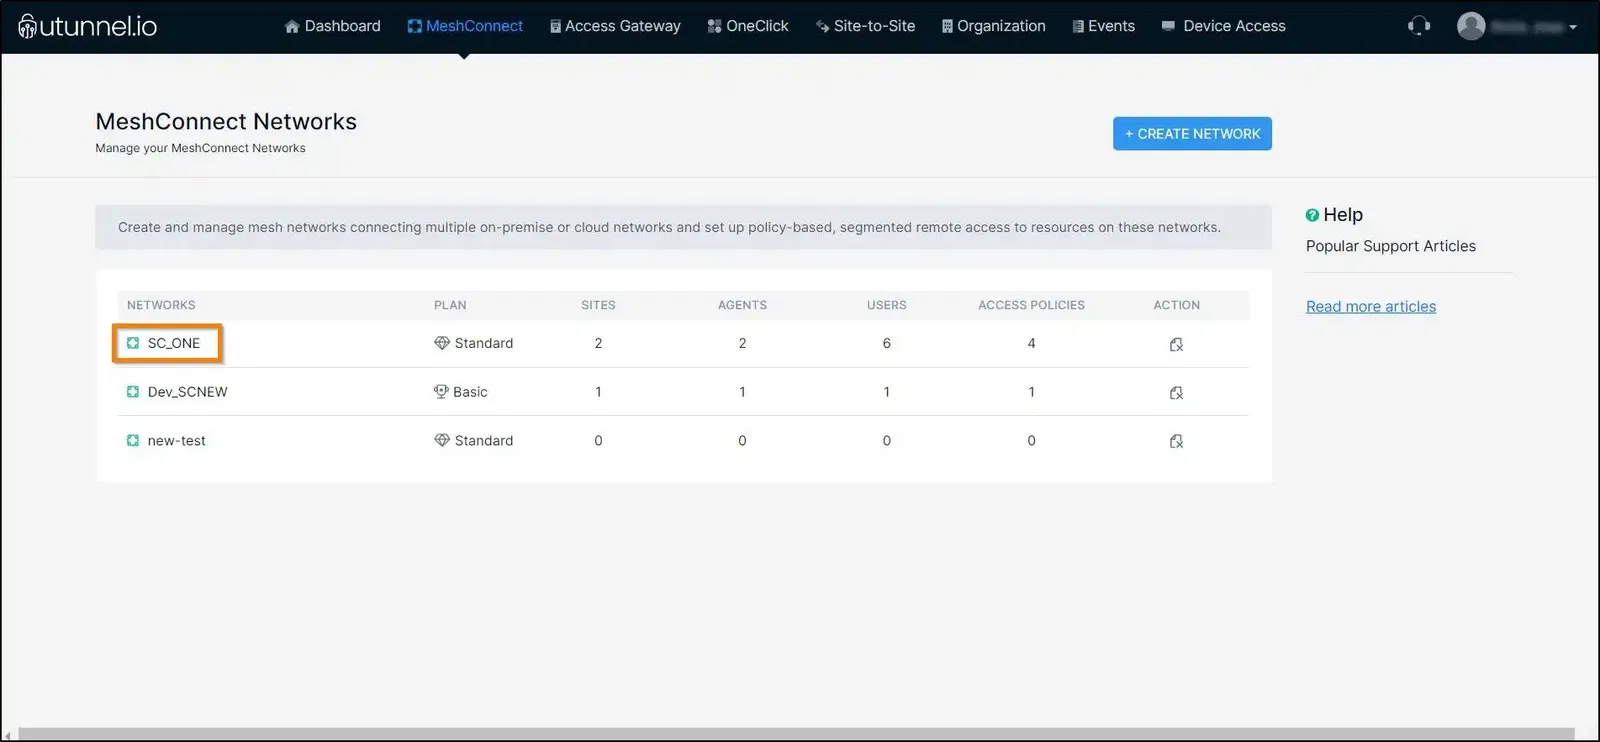
2. Click on the network to which you want to add users.
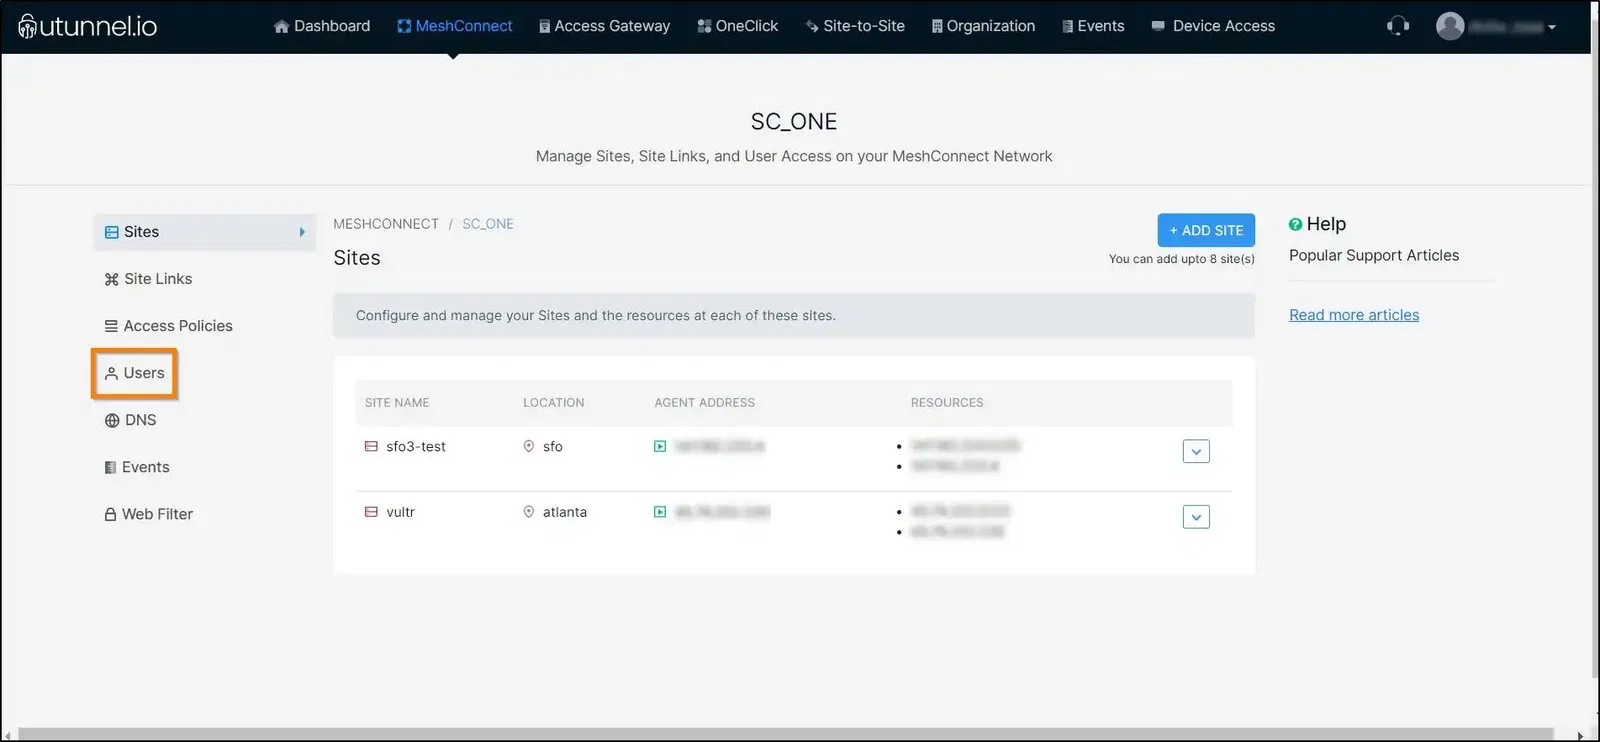
3. Navigate to the Users section in the left-side menu.
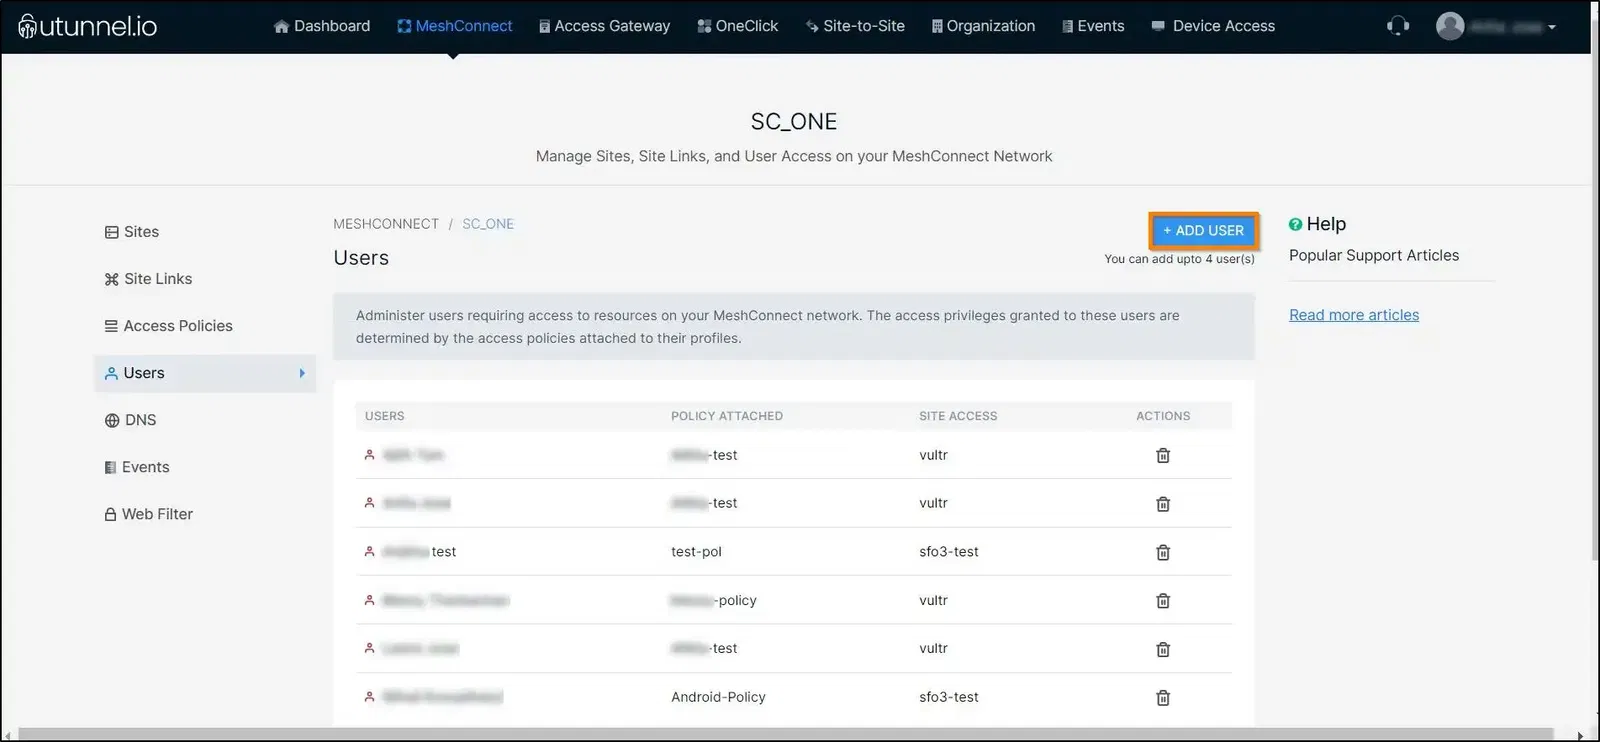
4. Click on the ADD USERS button.
5. Proceed to select the Access Policy from the drop-down menu. You can then select the users to whom you want to grant network access based on the chosen policy by marking the corresponding check boxes beside the users’ names. Click on the ADD button once you finish selecting the users.
You must note that only those users who are already a part of the organization can be added to a MeshConnect network. You can add users to the organization by inviting them.
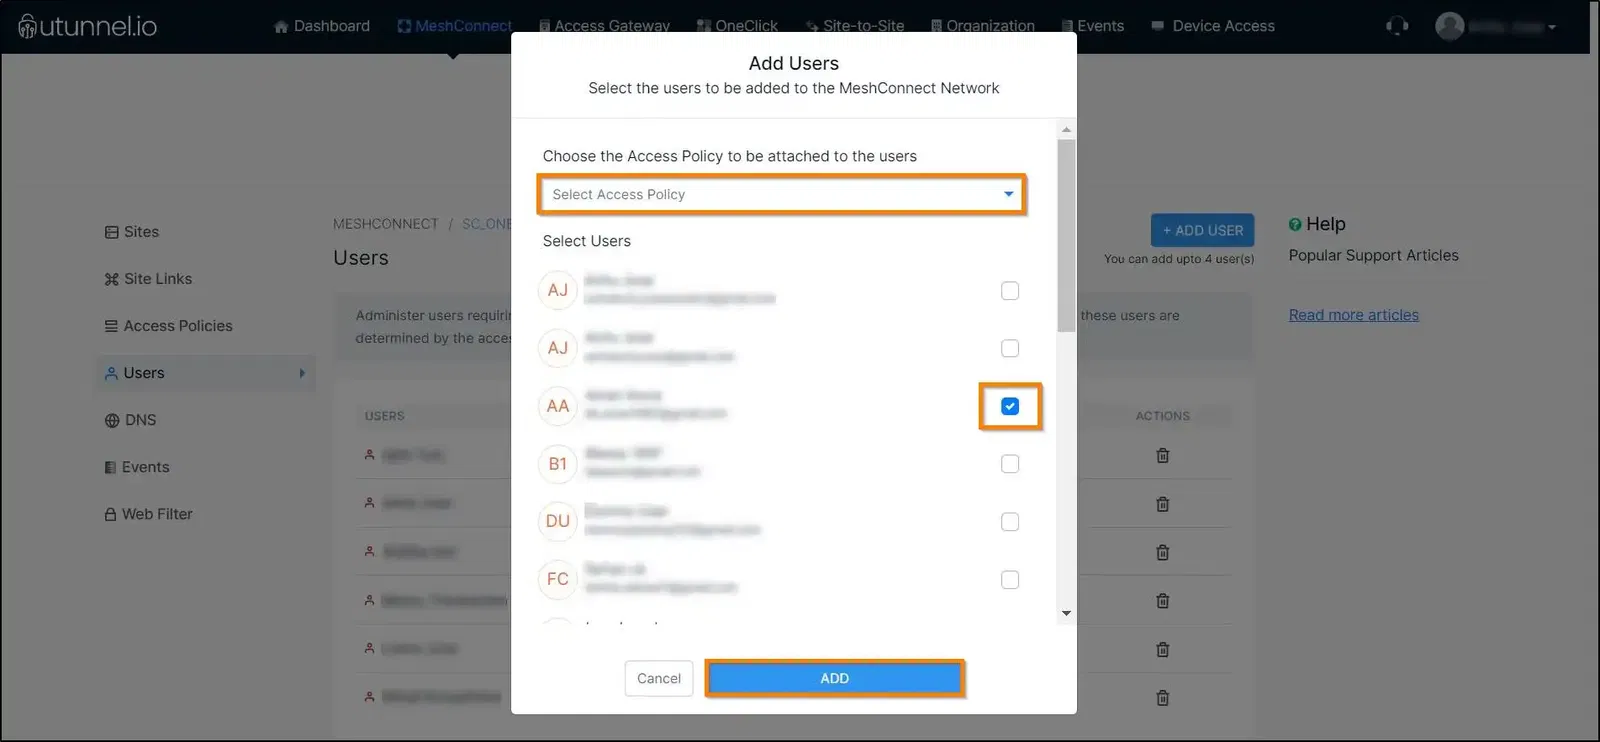
You have now successfully added users to your MeshConnect network.
6. To delete a user from the MeshConnect network, click on the bin icon.
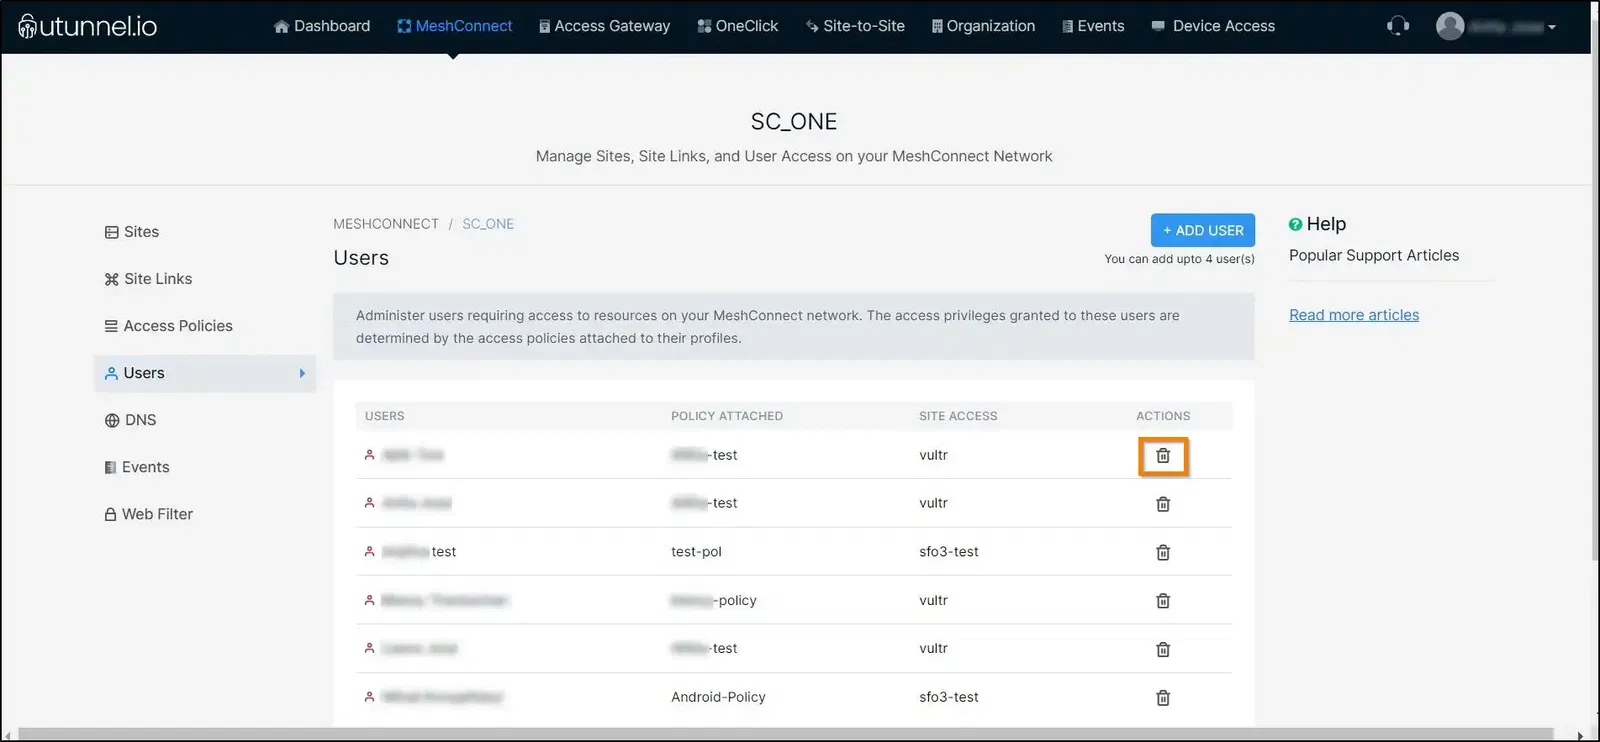
7. A Confirm User Deletion pop-up window will appear, asking you to confirm the deletion of the user. Click on the PROCEED button to continue with the deletion.
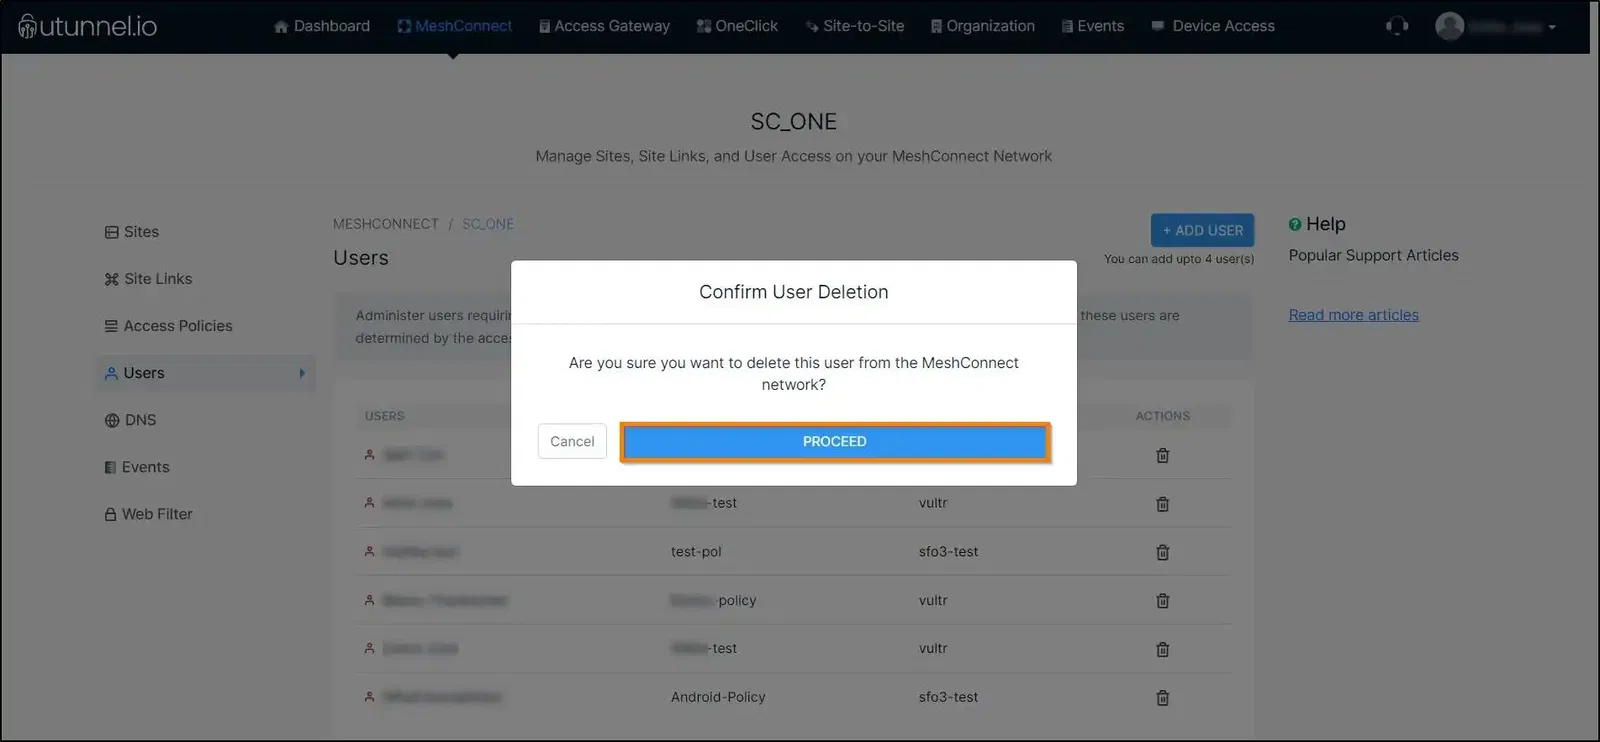
That will delete the user from the MeshConnect network.
Please be aware that if you wish to modify the Access Policy assigned to a user, you will need to delete the user and then re-add them, assigning the new access policy during the re-addition process.