UTunnel provides users with client applications for all major operating systems including macOS. Users can log on to the UTunnel website and easily download the macOS VPN client application.
This guide describes how to download and install the UTunnel macOS client application.
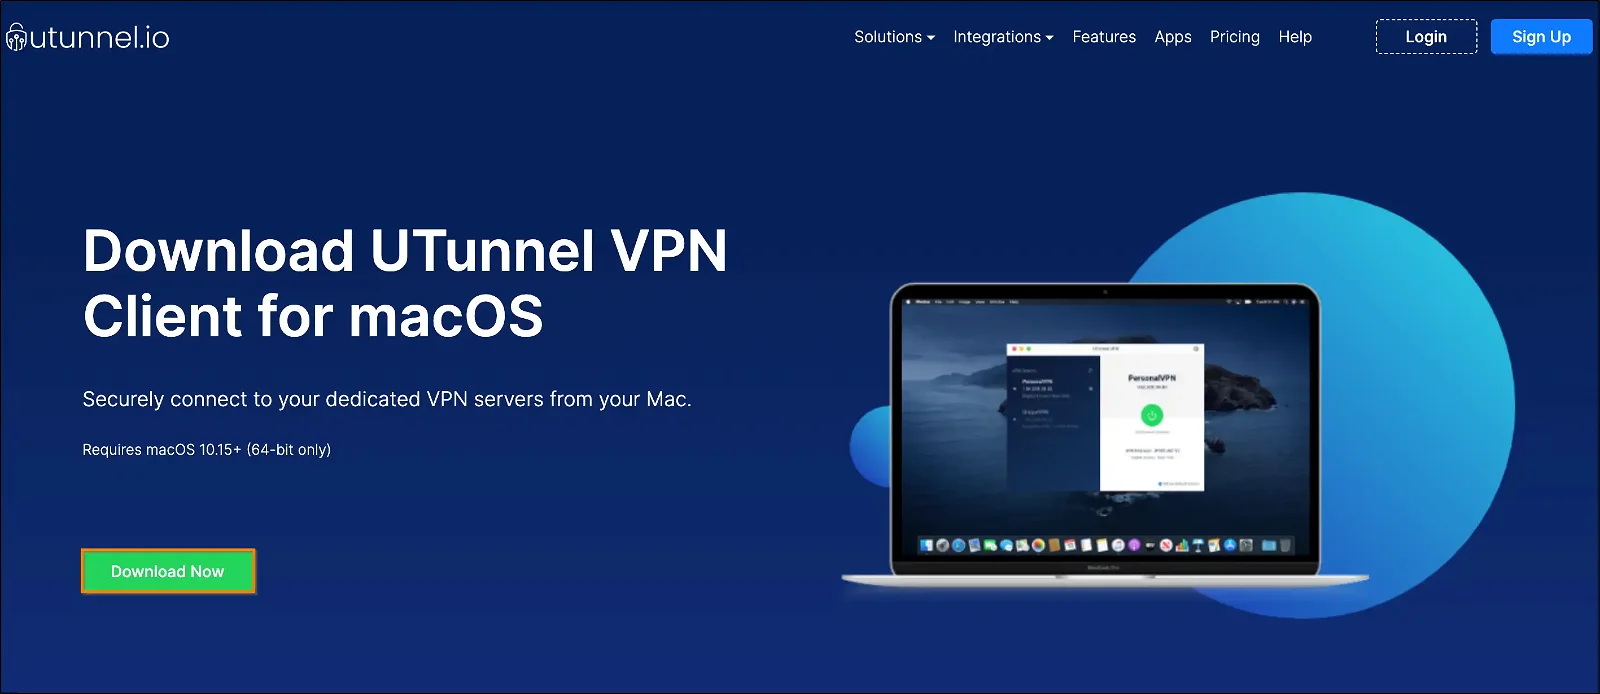
1. Log on to the UTunnel website from your Windows device and navigate to the Apps page.

2. Click on the Download Now button to download the UTunnel macOS VPN client application.
3. Navigate to the downloaded setup file in the Downloads folder. Click on the file to launch the installer.

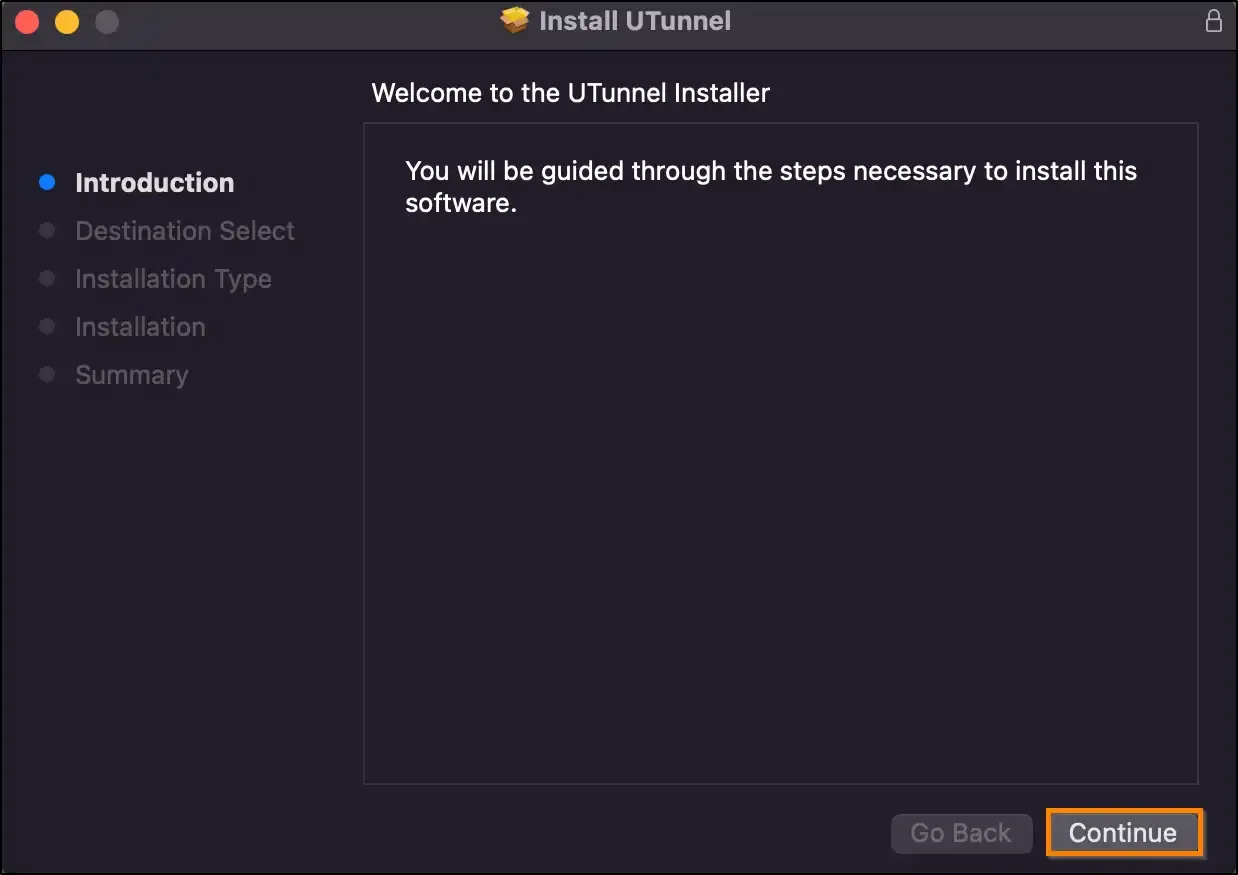
4. An Install UTunnel installer will pop up, guiding you through the steps to install the client application. Click on the Continue button to proceed with the installation.
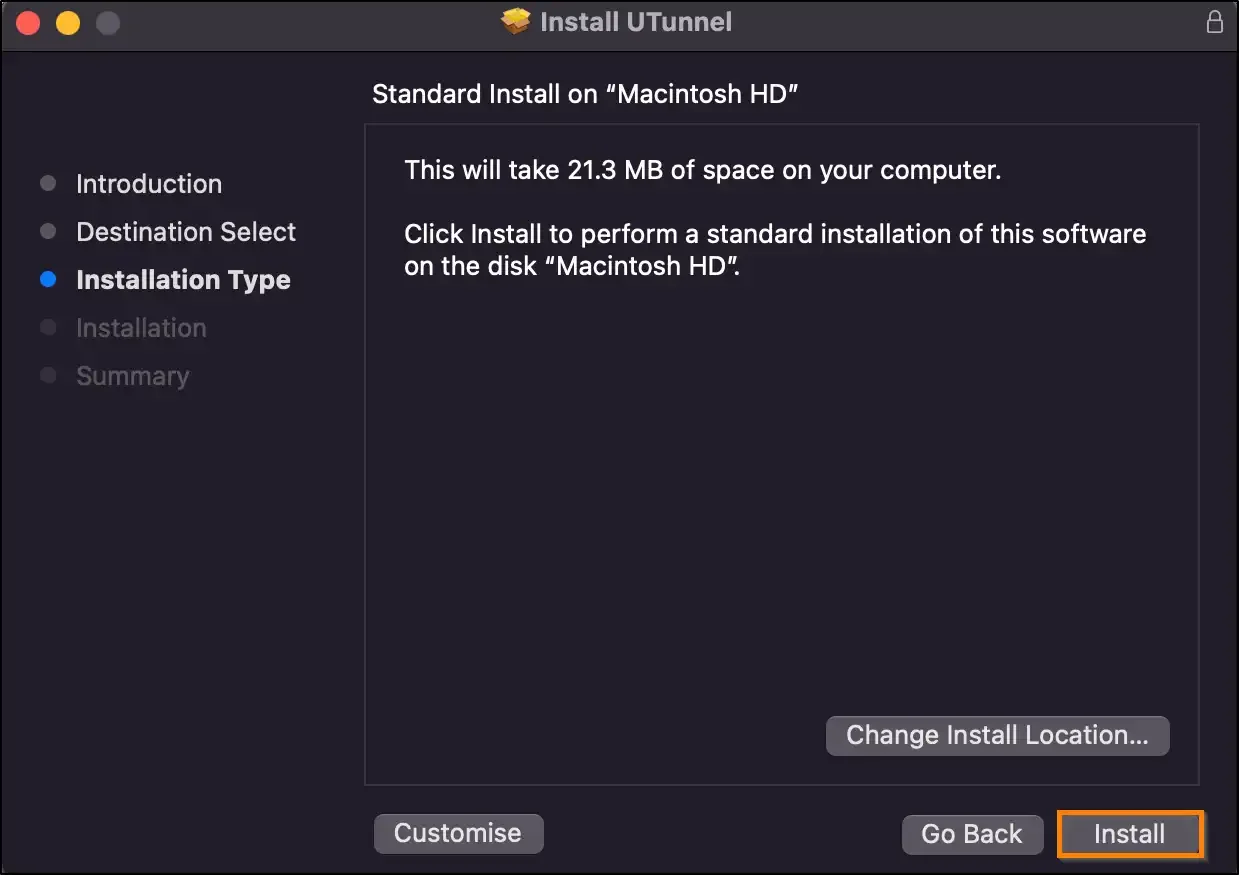
5. Installer pop-up will display the space required for installing the client app along with the location of the installation. If you want to change the location of the installation, you can click on the Change Install Location button and select the location where you want to install the client application. Once you finish selecting the destination for installation, click on the Install button to initiate the installation process.
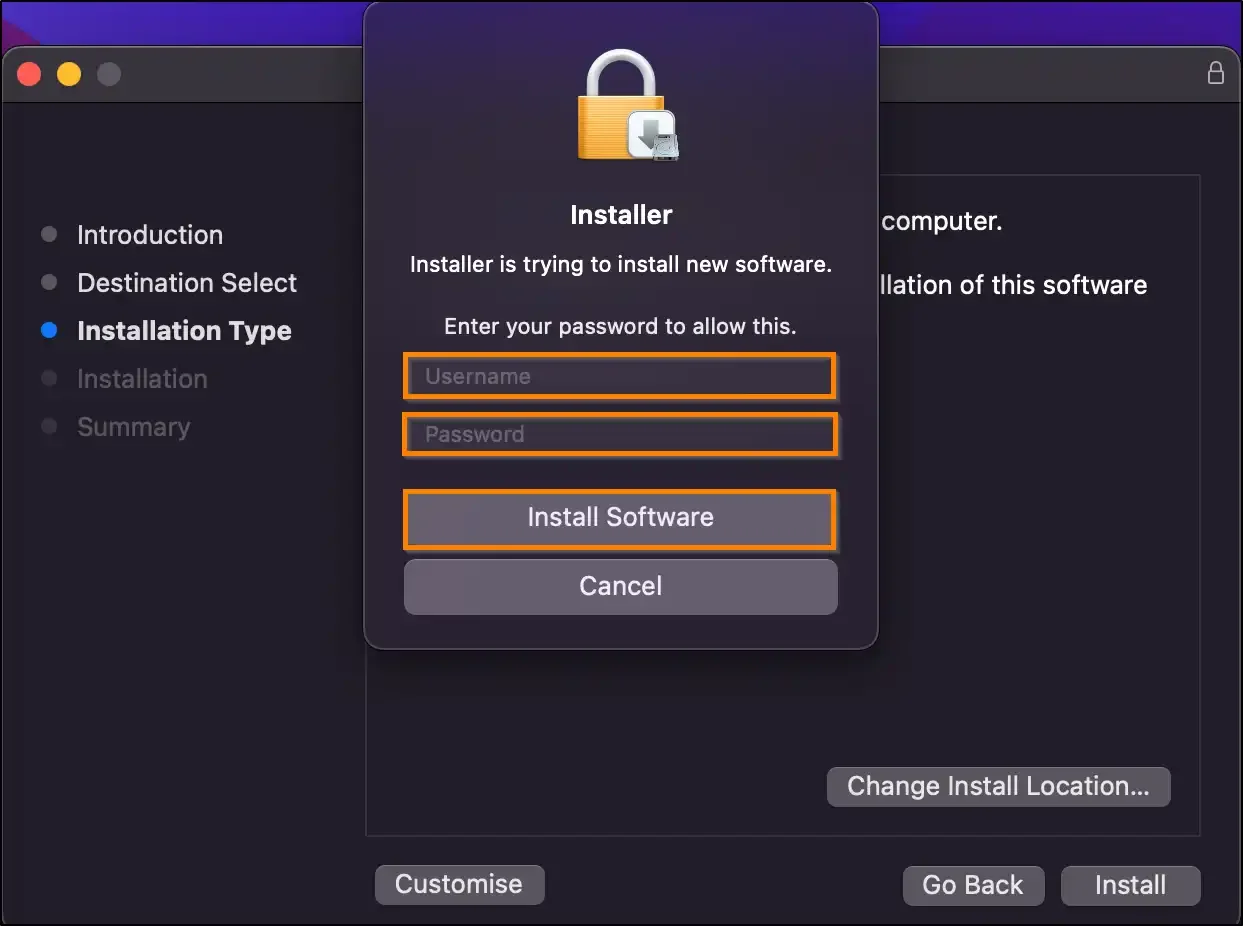
6. Enter your device username and password into the required fields and click on the Install Software button to proceed with the installation.
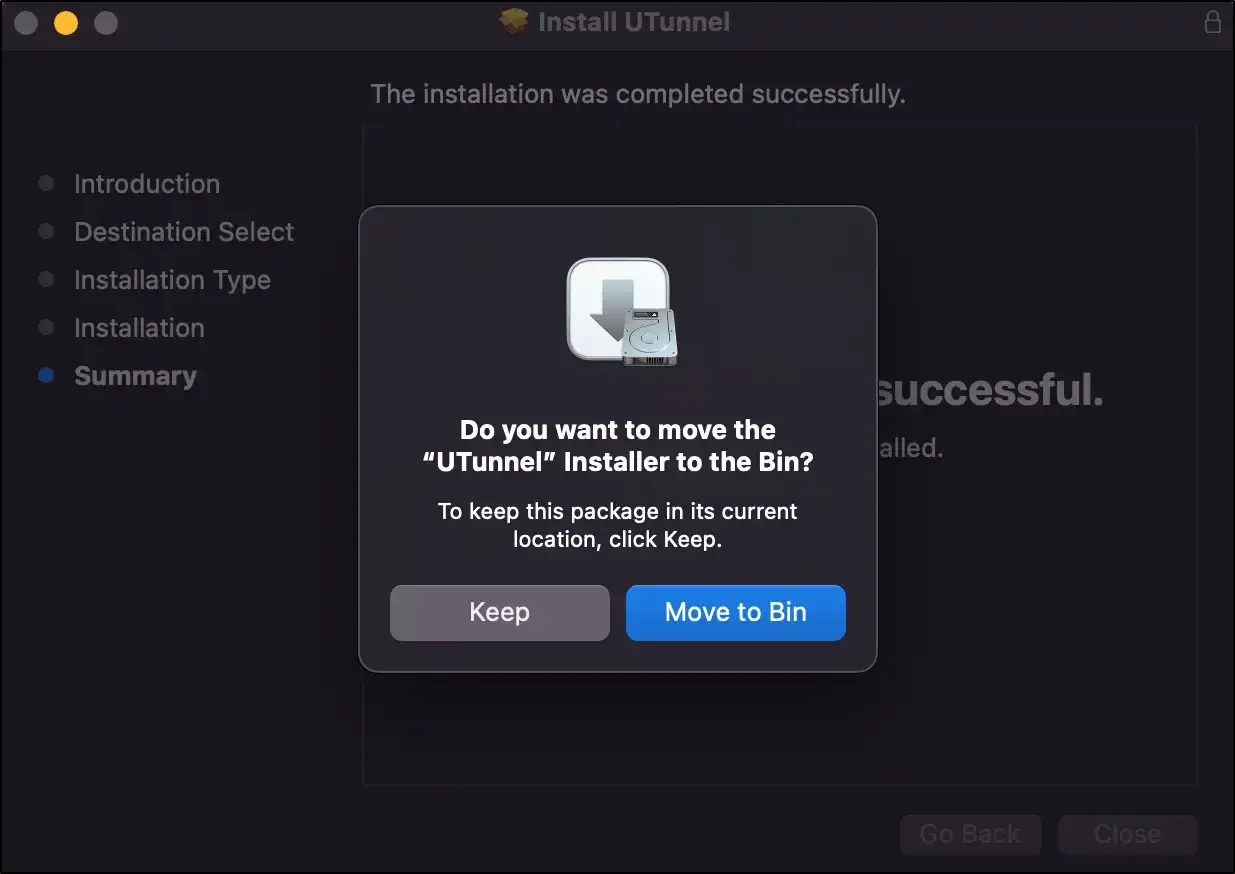
7. Once the installer finishes the installation, it will notify you of the completion of the installation process. Click on the Close button to close the installer.

8. You will be asked if you wish to keep the client application set up file or move it to the bin. Click on the Keep button if you wish to keep the setup file at its current location, else click on the Move to Bin button.
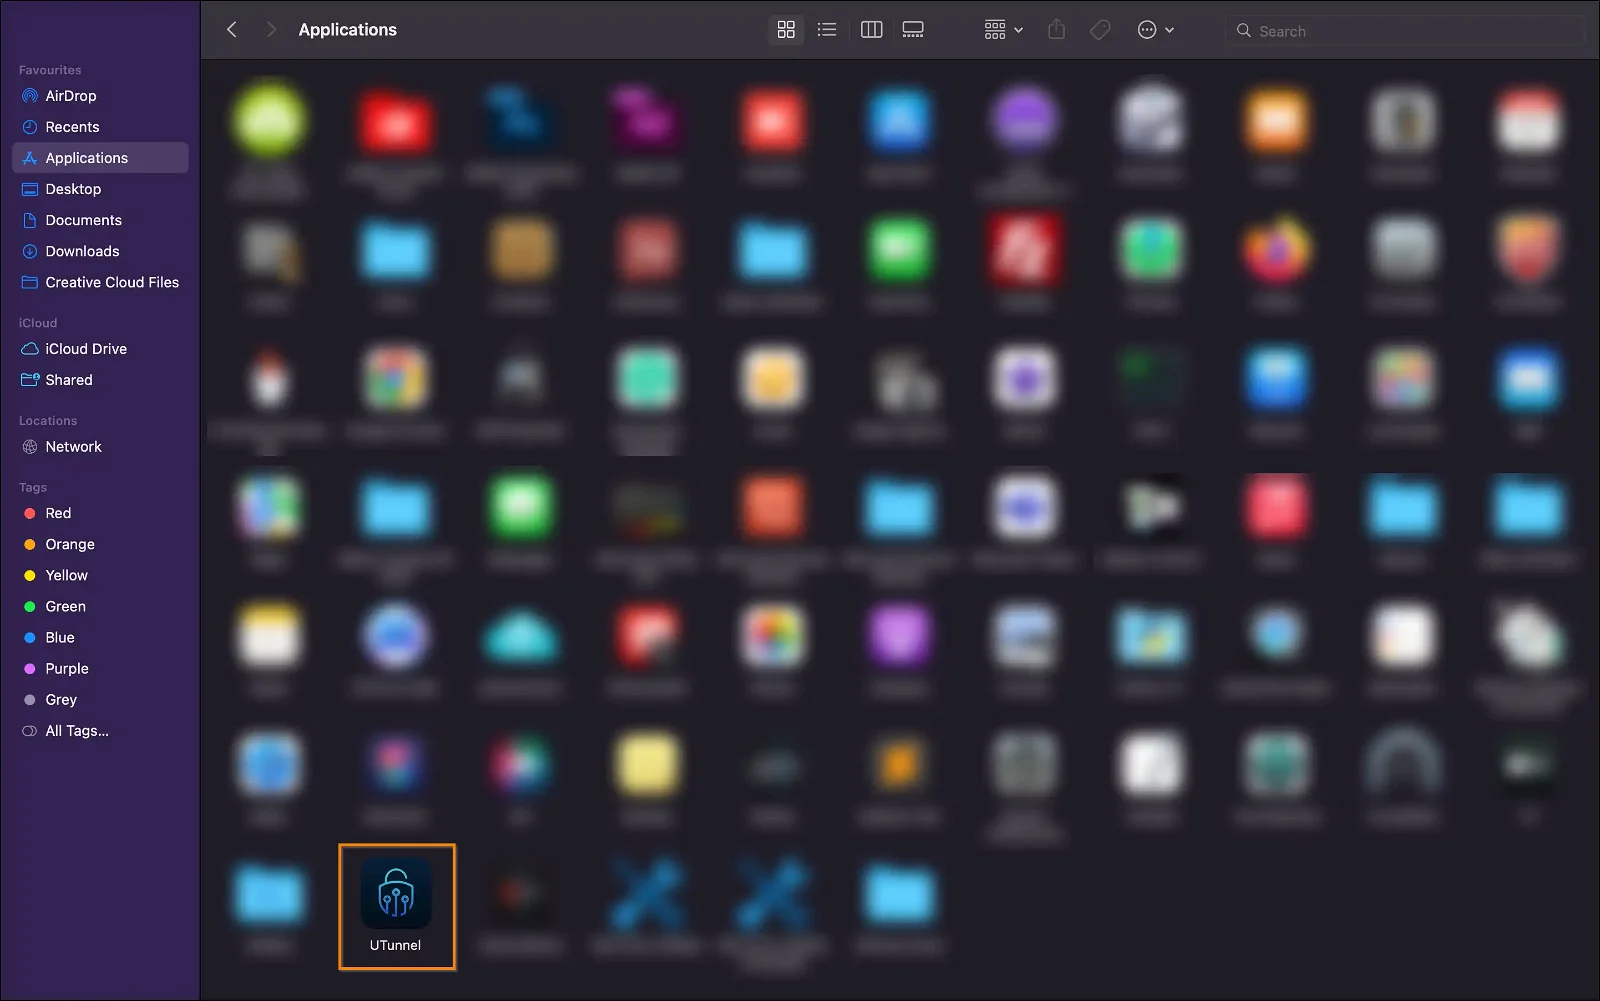
9. Navigate to the Applications folder and double-click on the UTunnel client application icon to launch the application.
Now you can proceed with configuring your VPN client in macOS and connect to your servers.
Popular Support Articles