UTunnel enables easy VPN gateway deployment with many popular cloud providers, and DigitalOcean is one of them. UTunnel VPN One-Click App is available in the DigitalOcean marketplace, making Access Gateway deployment and management hassle-free for DigitalOcean users.
Please find the detailed instructions below on how to set up your UTunnel VPN gateway in DigitalOcean:
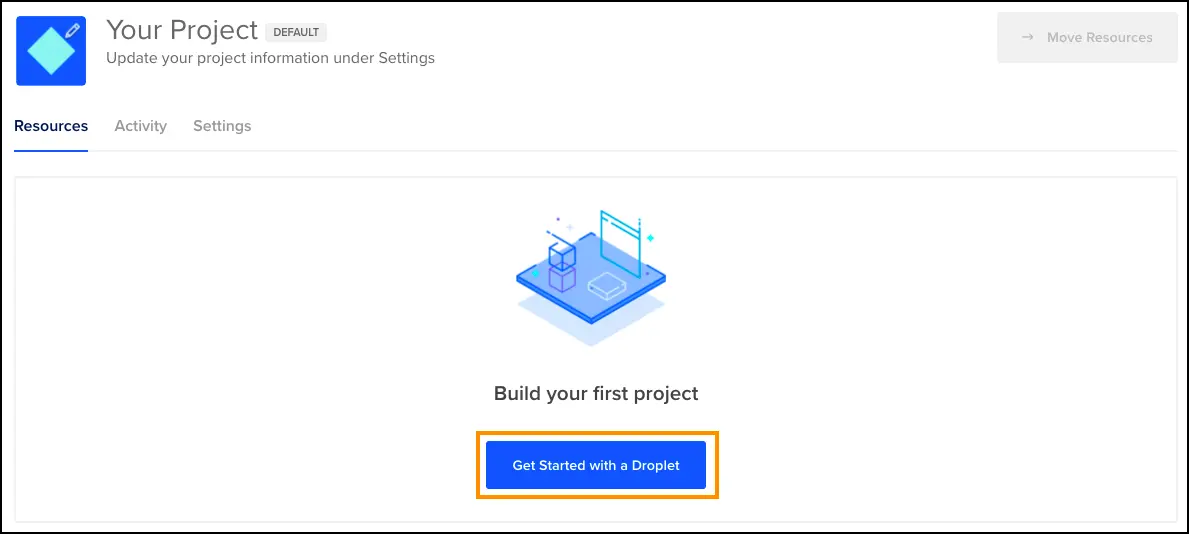
1. Log in to your DigitalOcean account and click on the Get Started with a Droplet button shown on your DigitalOcean account dashboard.
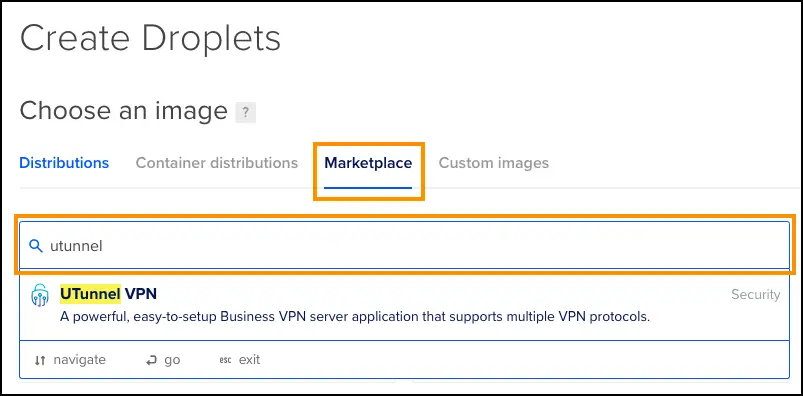
2. While choosing an image for creating a Droplet, click on the Marketplace tab, search for UTunnel using the search field, and select the UTunnel VPN app.
Then, choose your preferred server type, size, and location based on your requirements to deploy the DigitalOcean instance.
3. Your Droplet will now be listed on your DigitalOcean account dashboard. When the server deployment is finished, copy the Droplet's IP address.

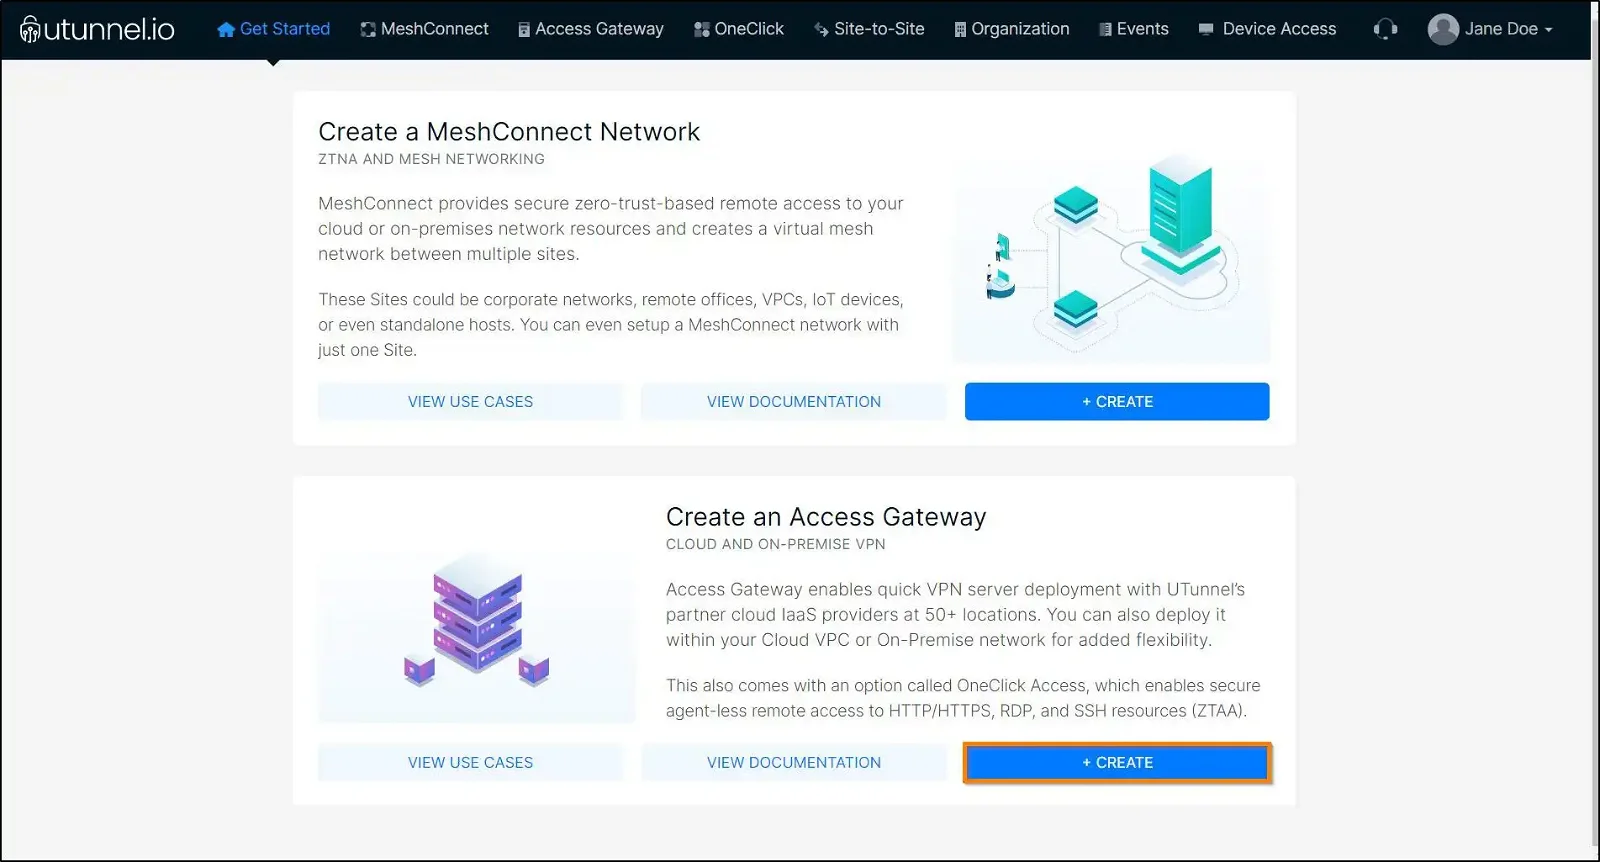
4. Log in to your UTunnel account (Organization/Personal) and navigate to the CREATE button in the Create an Access Gateway section.
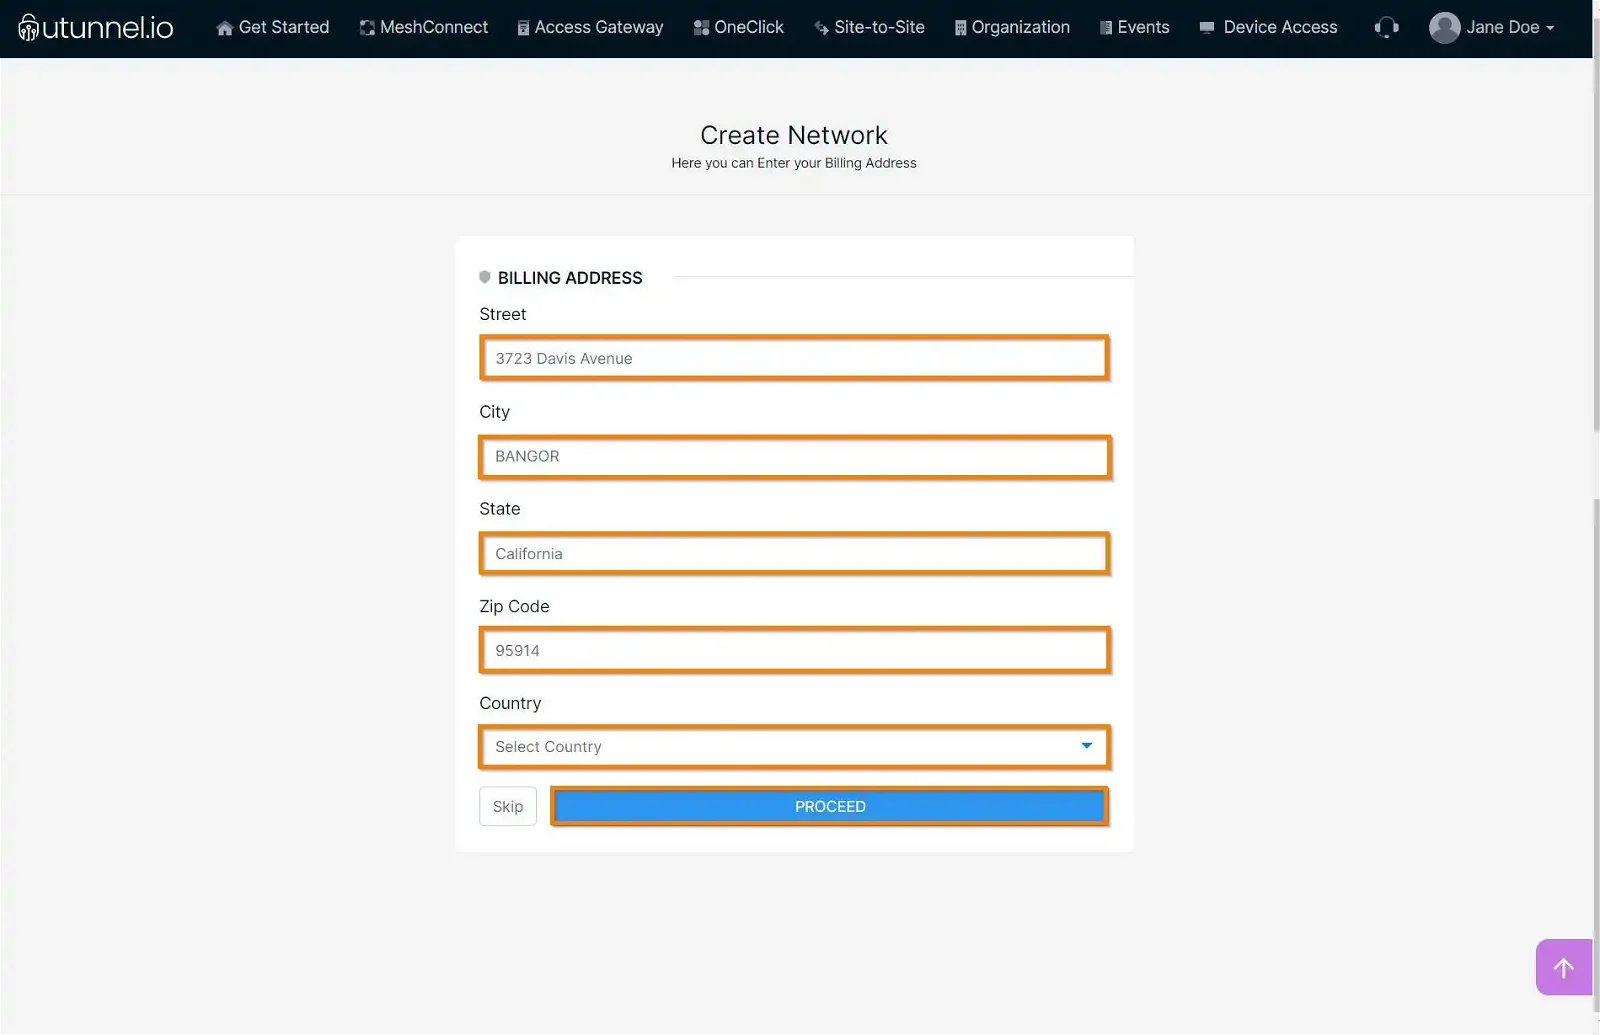
5. You will then be prompted to provide your billing address details. You can either provide the details or skip the step to do it later.
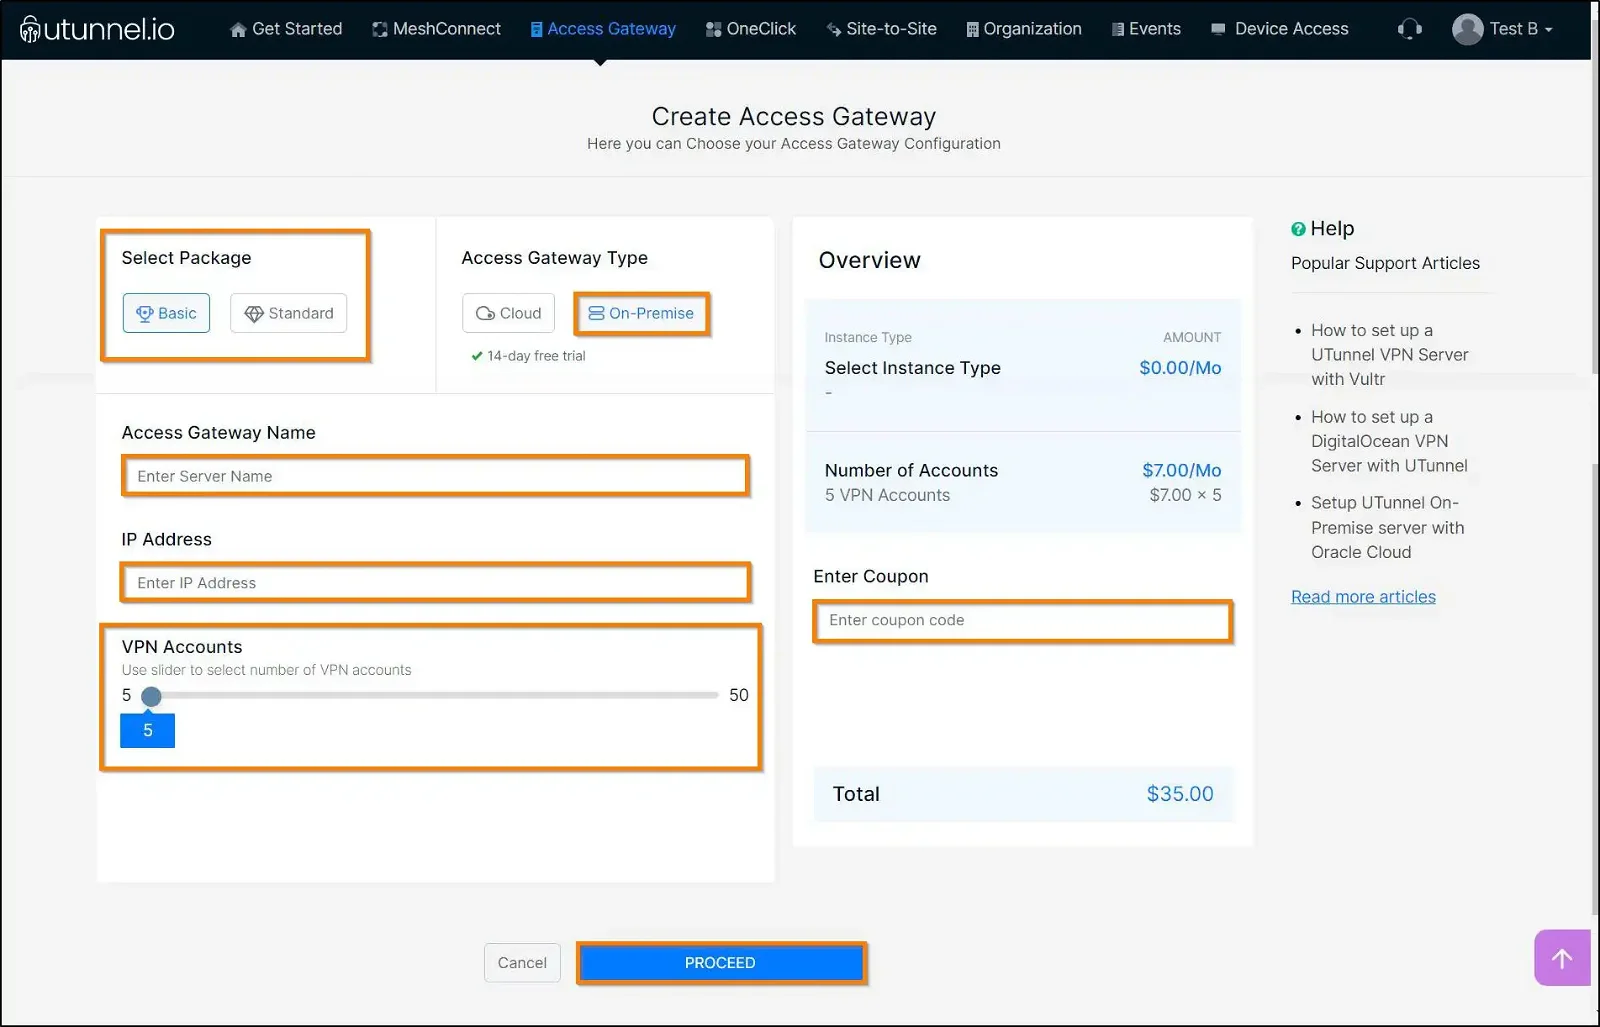
6. The next step is to select your subscription and Access Gateway type. You should choose the On-Premise option here and enter the Access Gateway details as given below:
Then, click on the Proceed button.
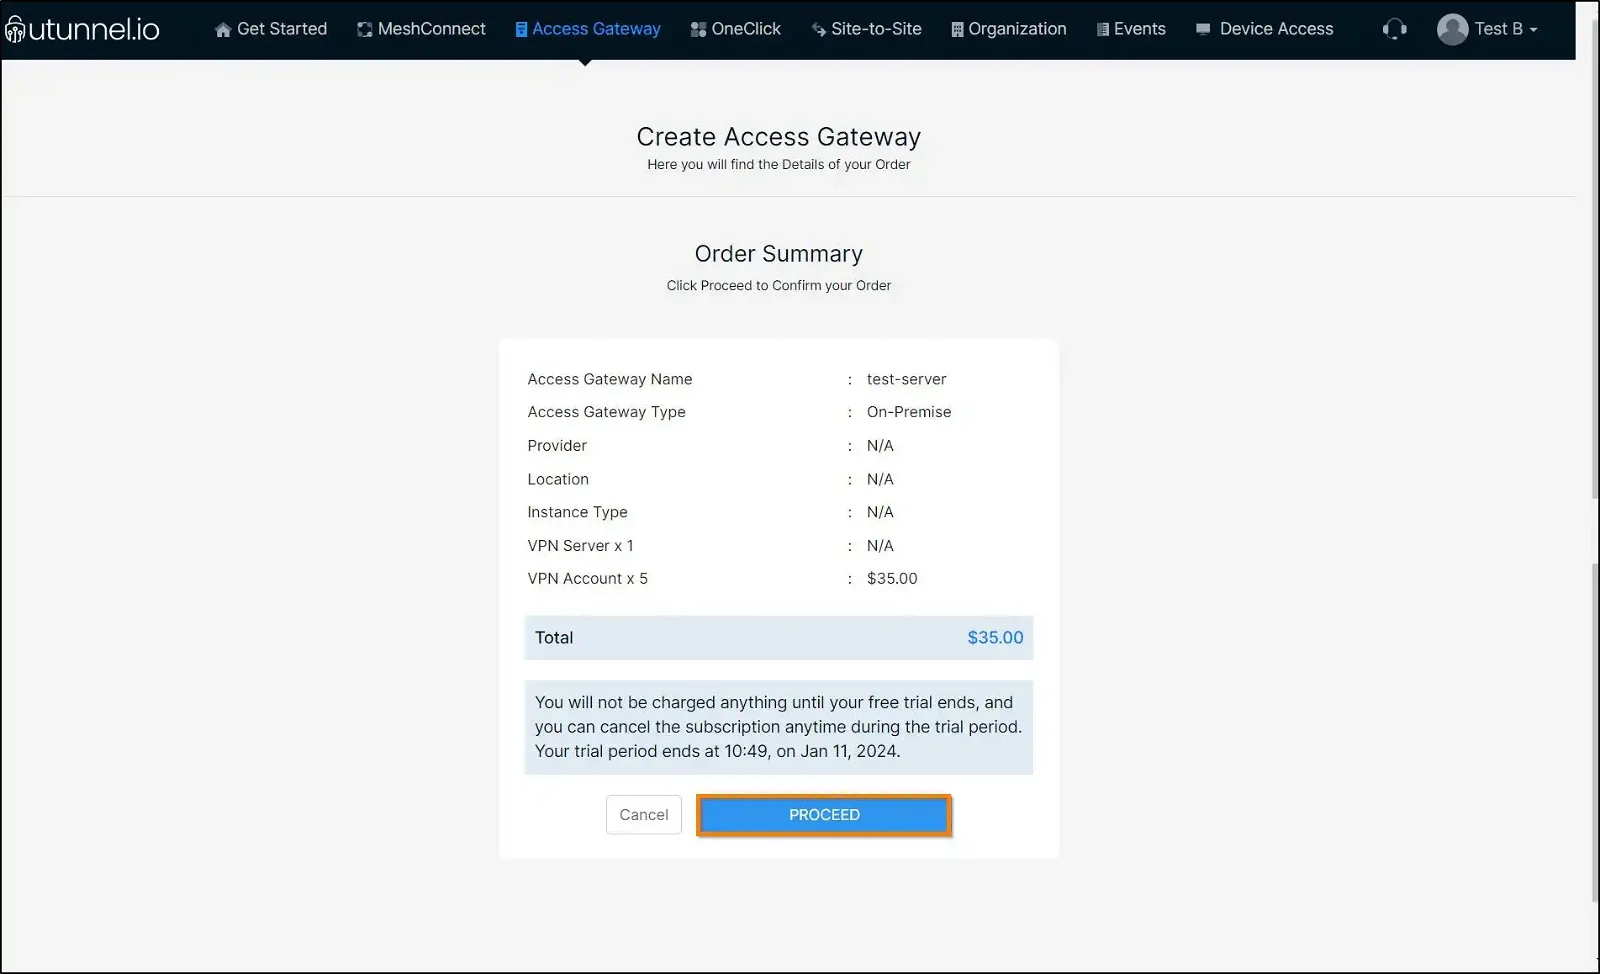
7. You will reach the Order Summary page, which displays the details of the Access Gateway configuration, the billing amount, and payment options. Click on the Proceed button to make the payment.
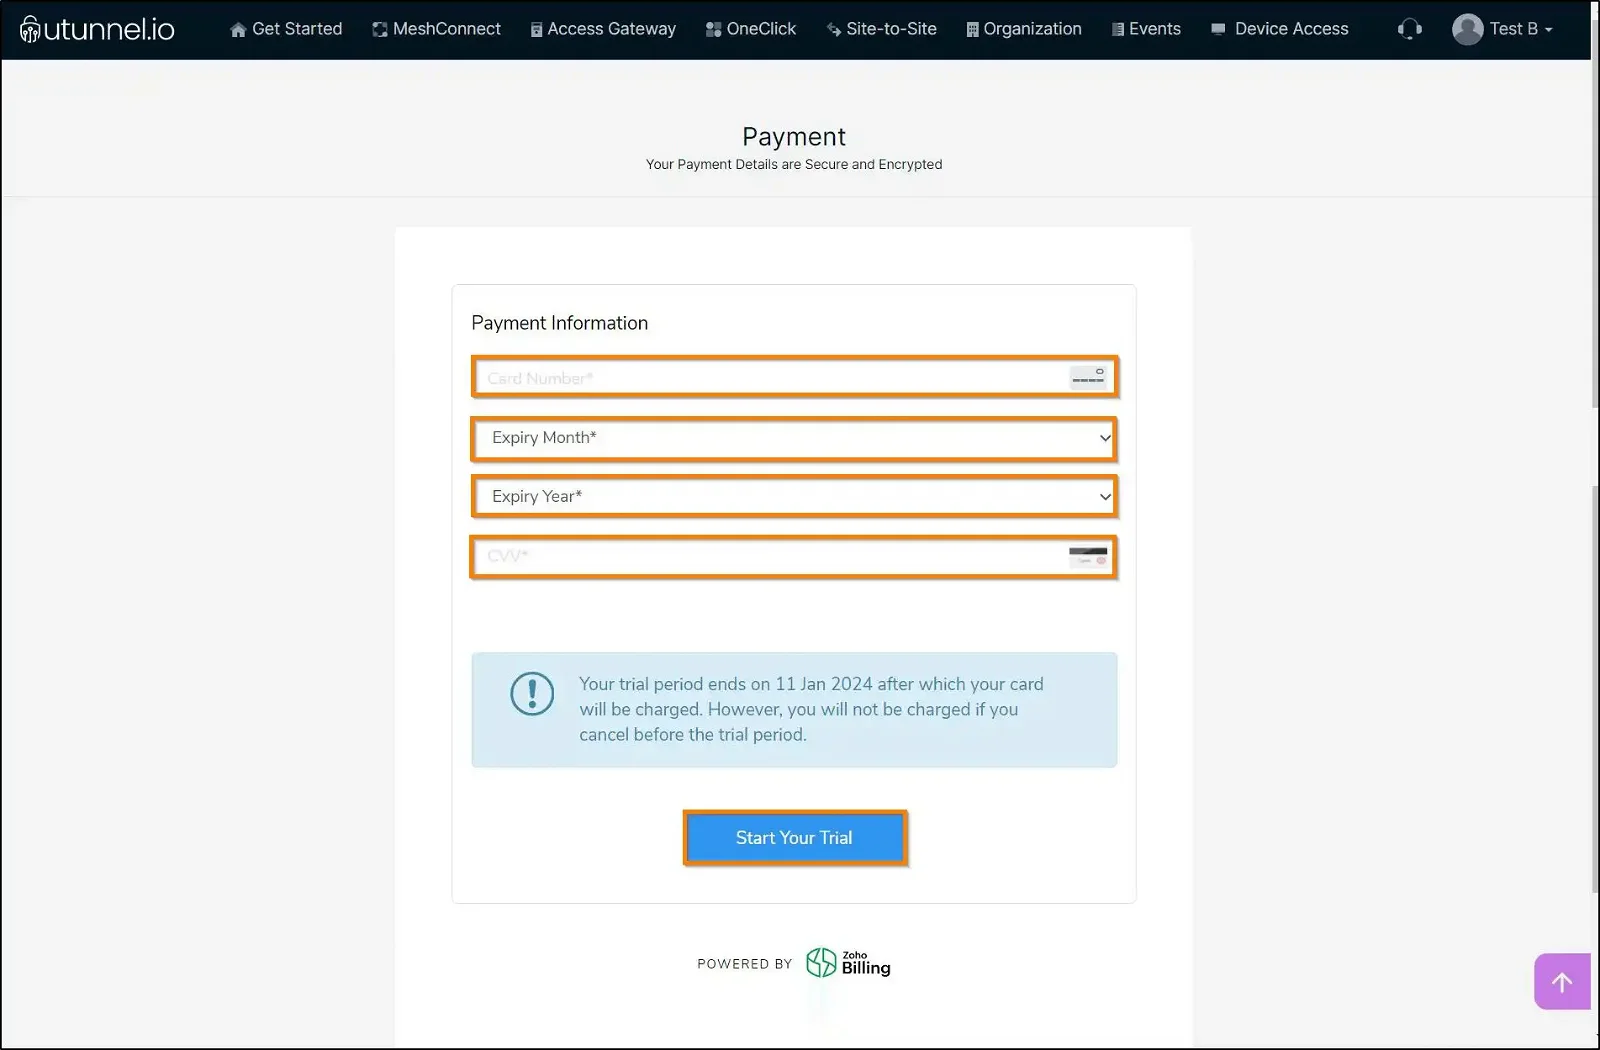
8. Now enter your credit card details as required on the screen and click on the Start Your Trial button.
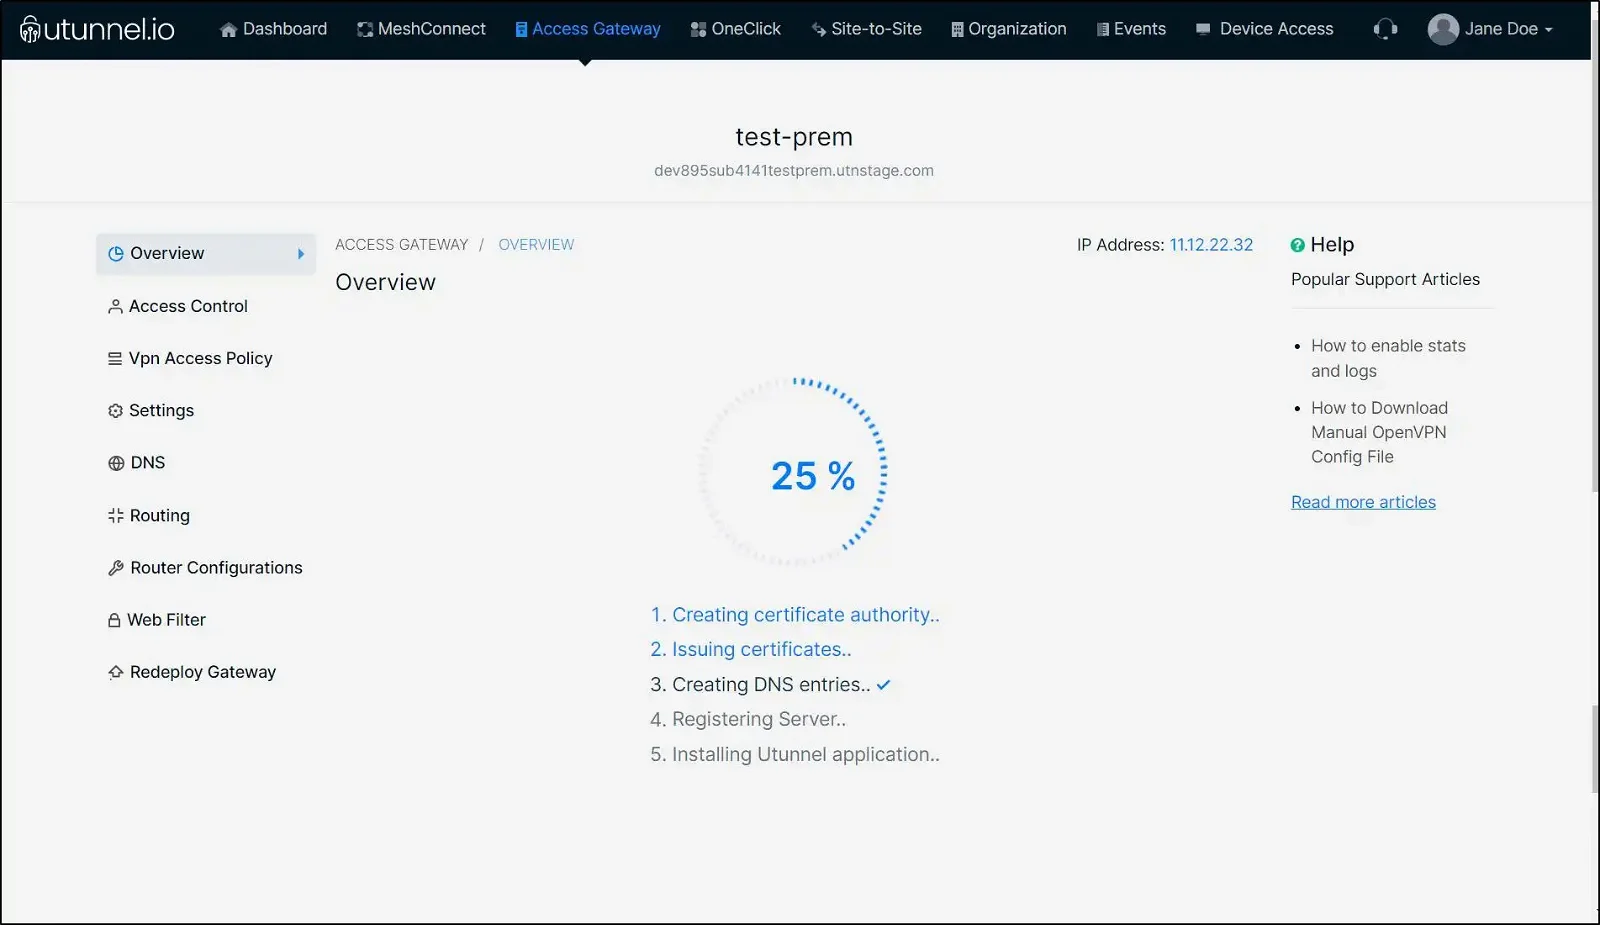
9. You will be directed to the Access Gateway Overview page, where you can check the Access Gateway creation status.
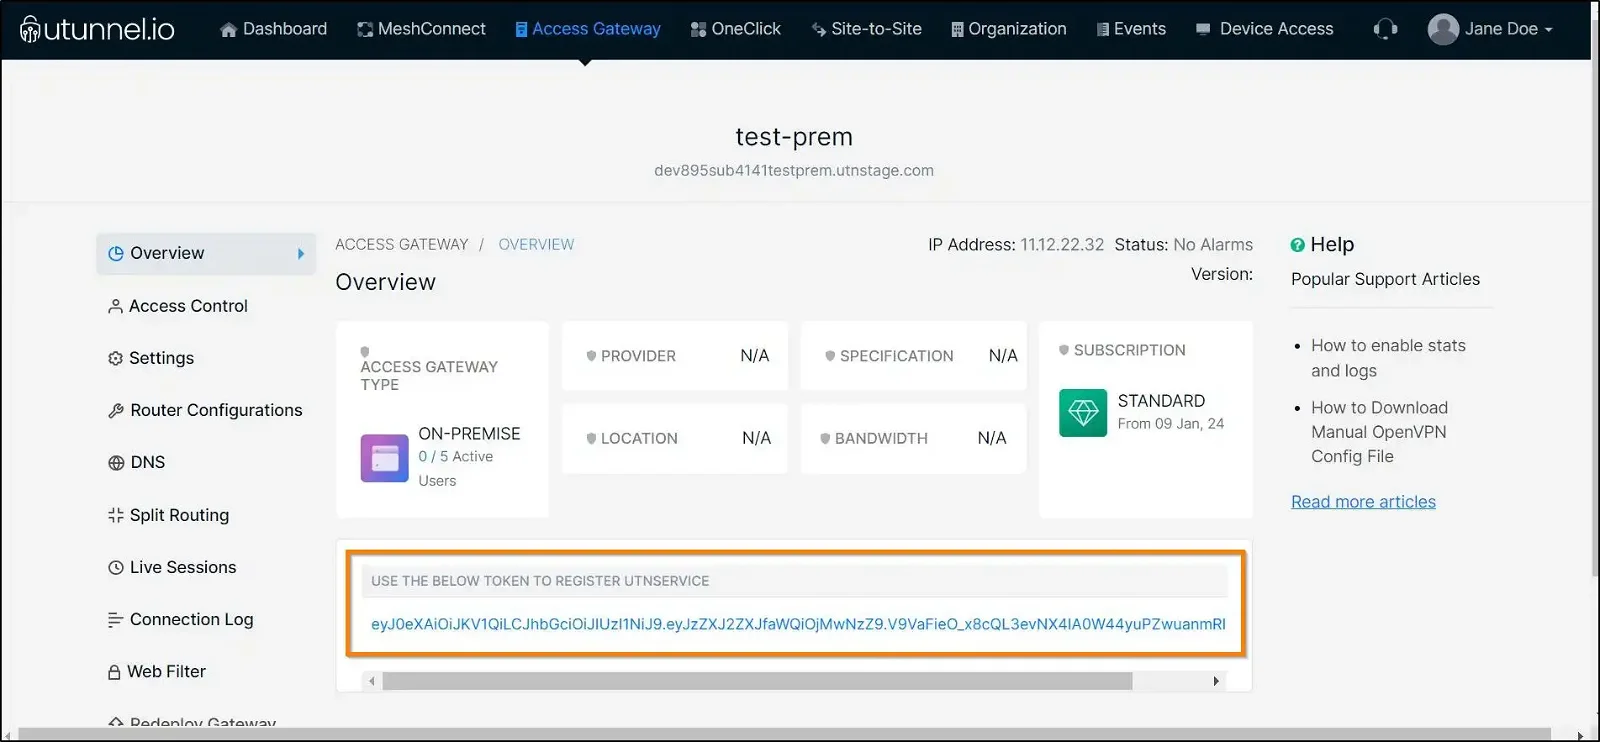
10. You will be directed to the Access Gateway Overview page, where the registration token is displayed. Please copy the registration token as it is required when you deploy the access gateway.
11. Now, connect to your DigtialOcean Droplet via SSH. You will need sudo access to complete the following steps. After the successful login, execute the commands given below. Replace the string 'REG_TOKEN' in the first command with the token you obtained in the above step.
Now, start the UTunnel Service on your server by running the following command:
12. Make sure that inbound connections to the following ports are allowed to accept VPN connections.
Ports used for OpenVPN connections
Ports used for IPSEC connections
Ports that are used for managing UTunnel services like live sessions, web-filter, and site-to-site tunneling.
Now your DigitalOcean VPN gateway will be ready to accept VPN connections. Invite users to your Access Gateway and start using the VPN.
If you require any further assistance, you can open a support ticket or email us at [email protected] and we'll be happy to help!
Popular Support Articles
How to setup a VPN server in AWS
How to set up a UTunnel VPN Server with Vultr
How to setup VPN Server in Linode or Akamai Cloud
How To Redeploy On-Premise VPN Server
Setup Oracle Cloud VPN server with UTunnel
How to Deploy a Cloud VPN Server with Access Gateway