Updated on 25 Jan, 2024
Split DNS is used when you have both custom DNS and split routing configured on your VPN. It allows you to define your internal domain names that must be resolved using the custom DNS server.
This guide describes how to enable split DNS on your VPN gateway so that internal domain names are resolved by your custom-defined DNS servers.
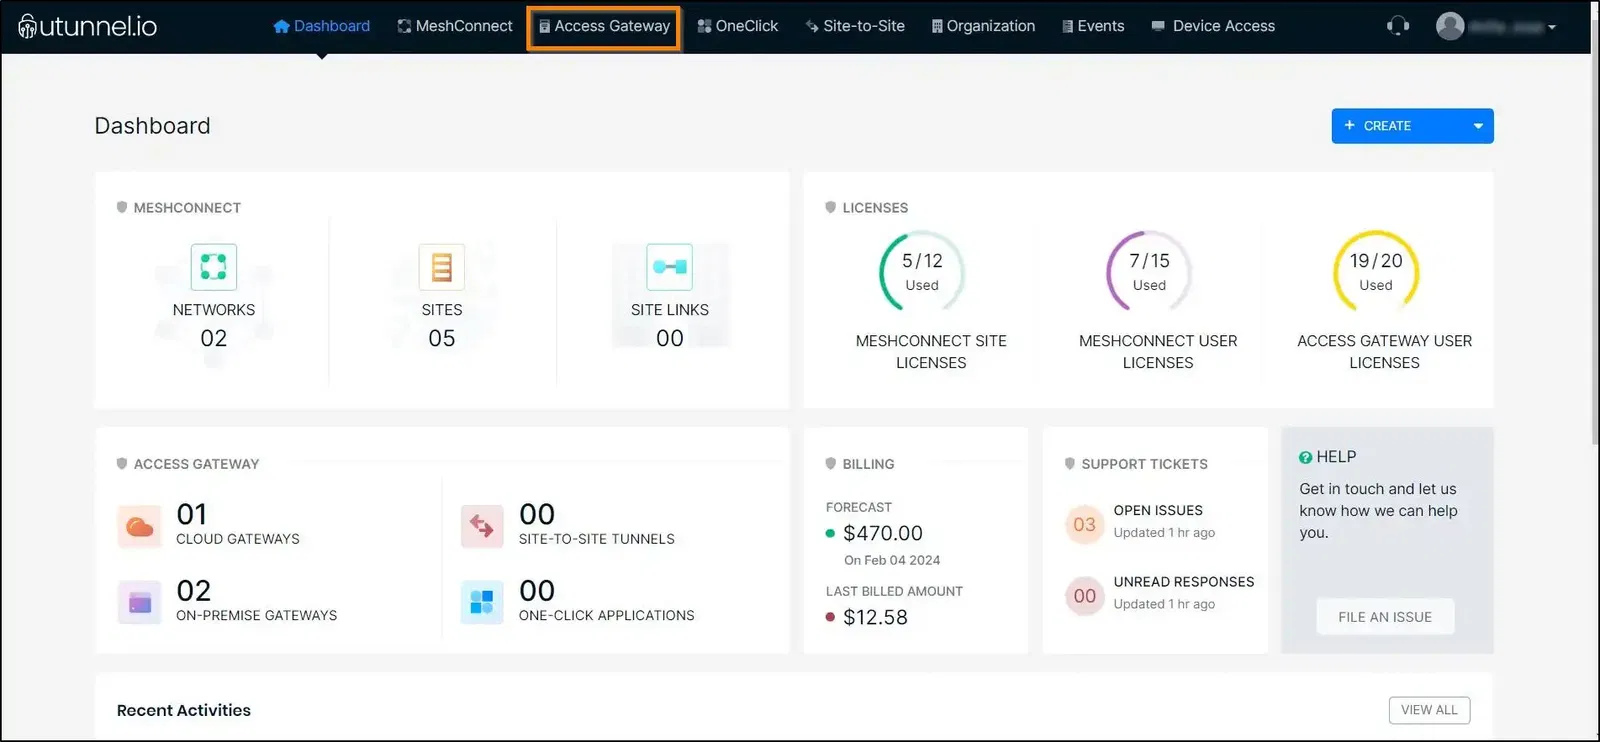
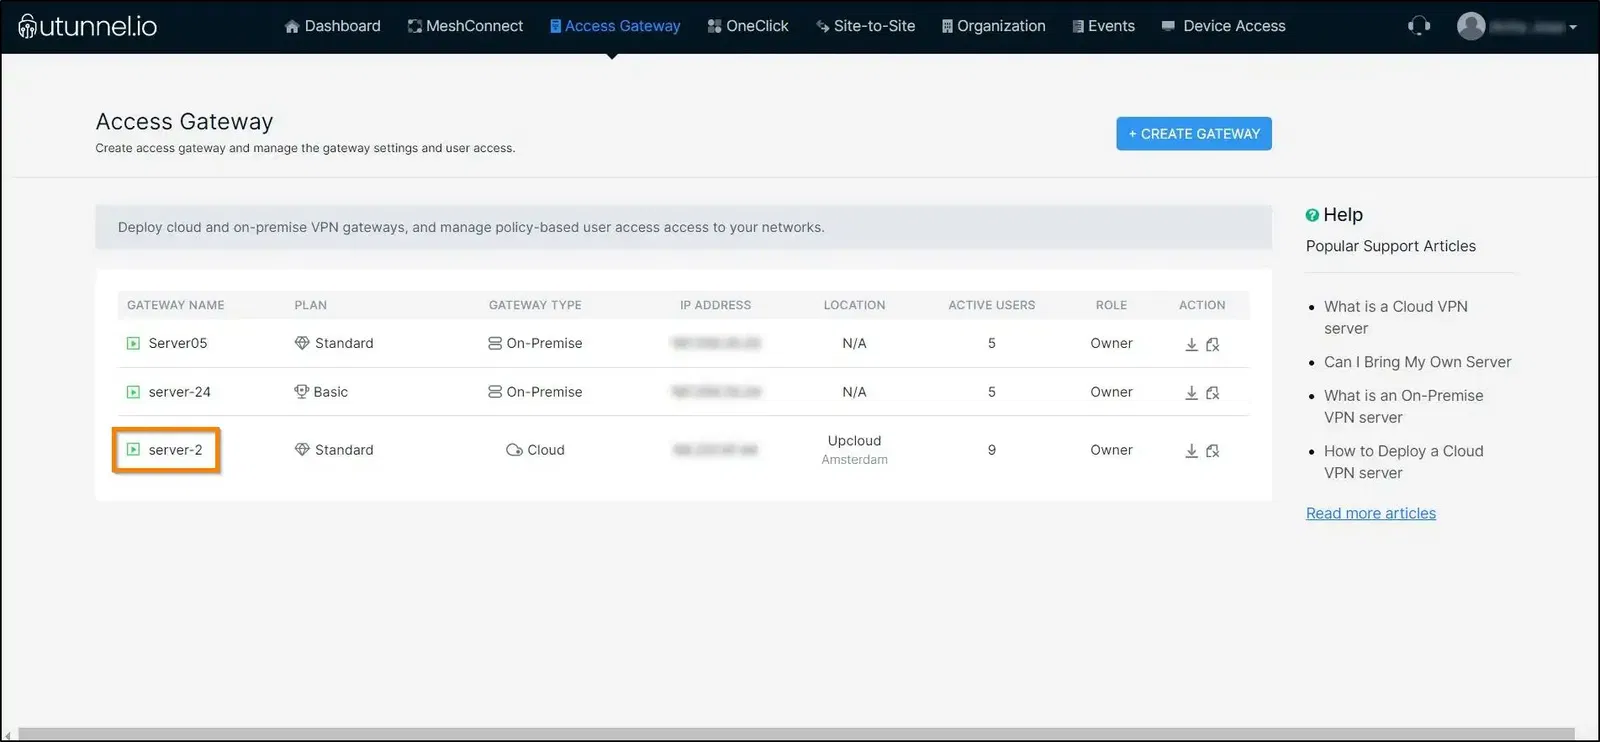
2. Click on the access gateway for which you want to enable the split DNS feature.
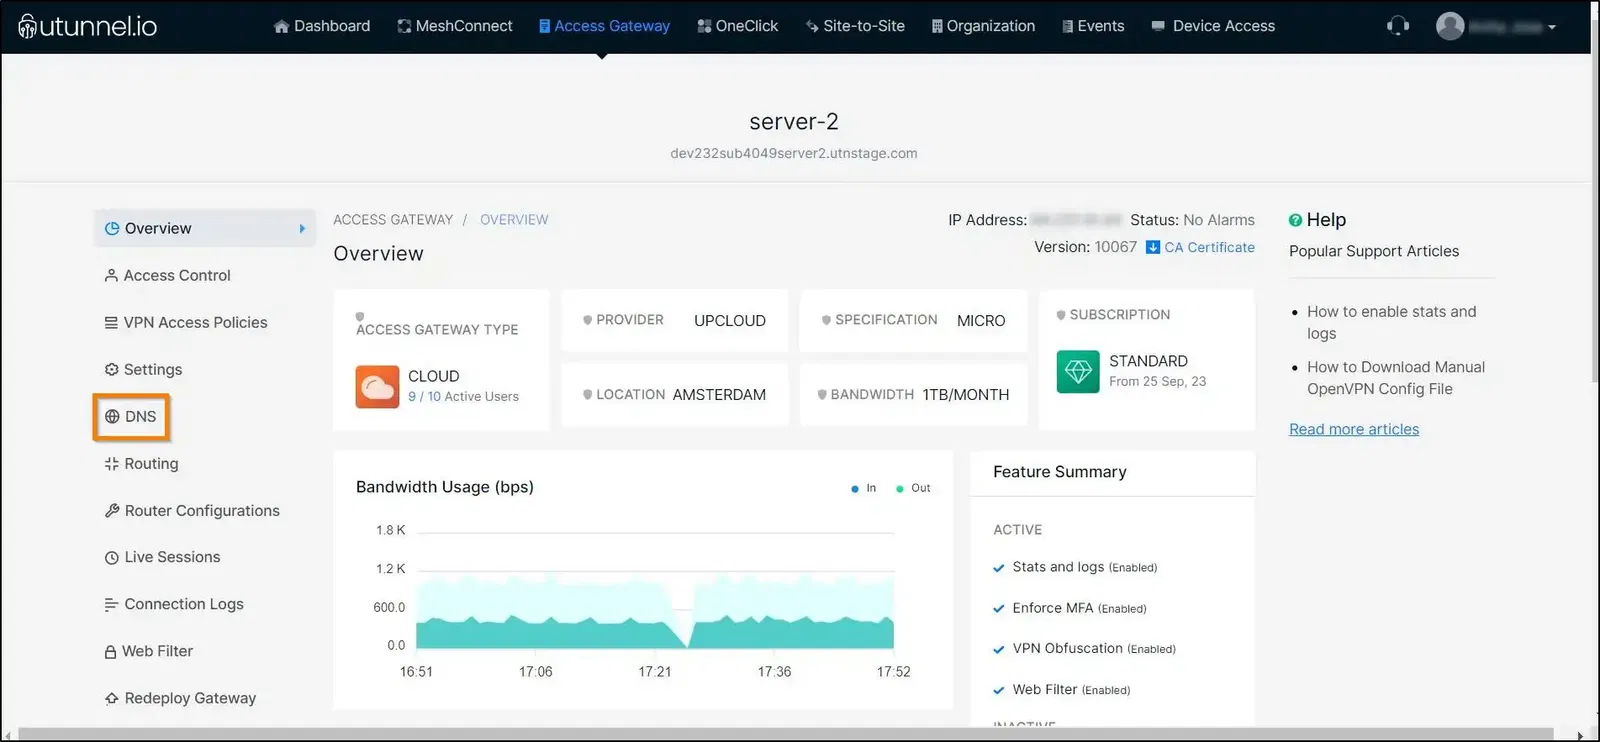
3. Navigate to the DNS section in the left-side menu.
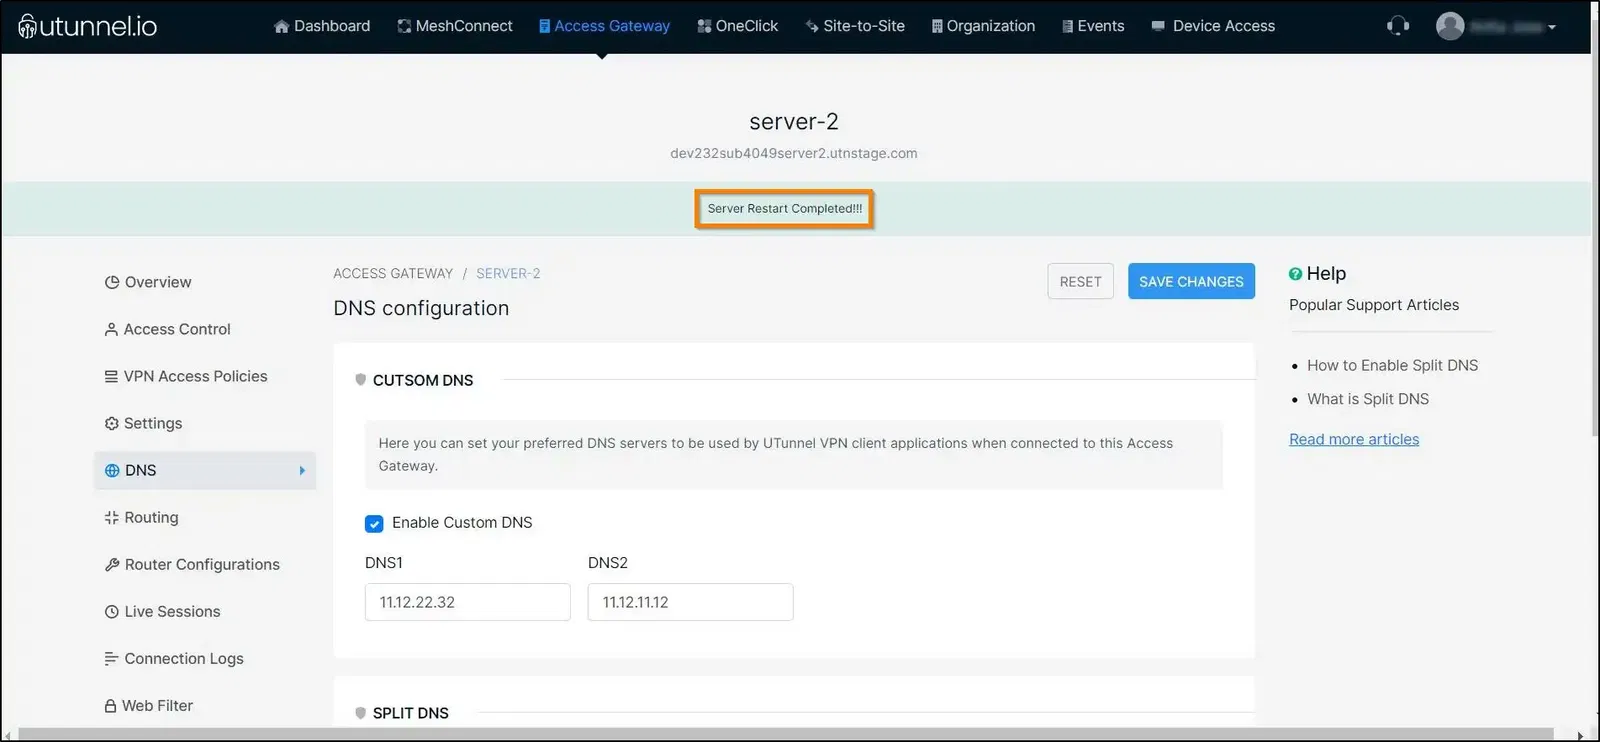
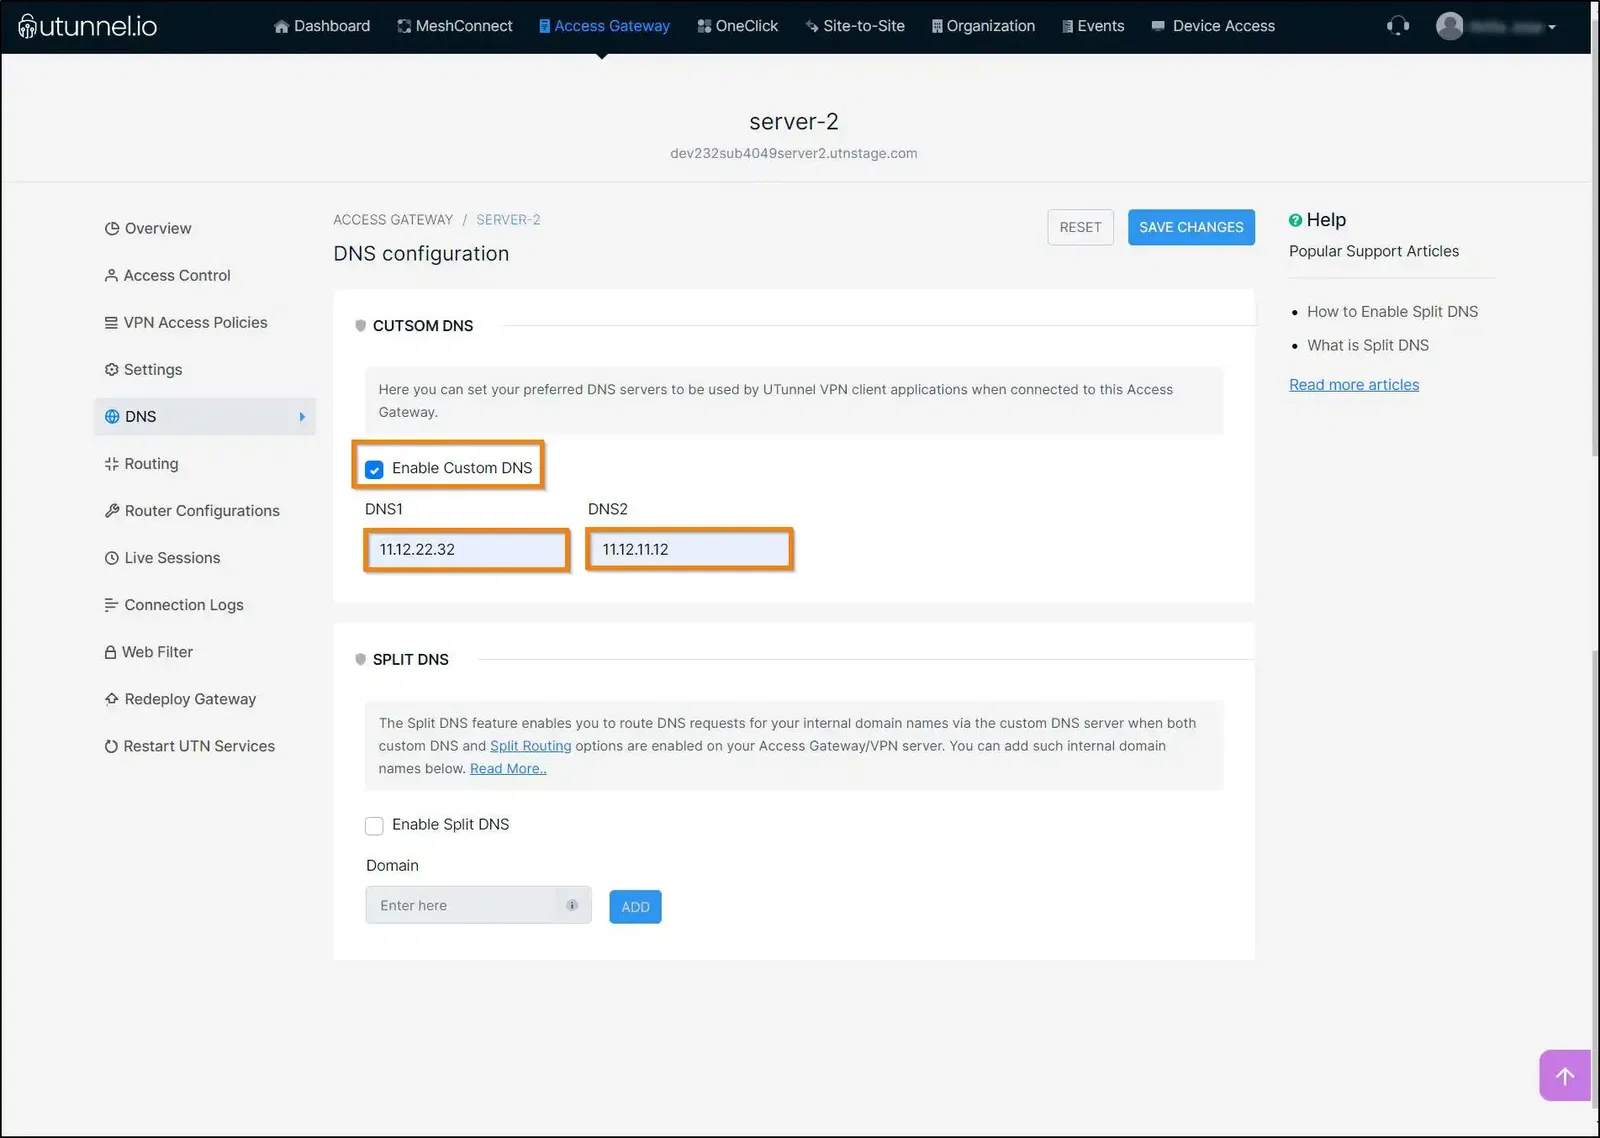
4. As split DNS can be enabled in the VPN gateway only if the custom/external DNS is enabled, you have to configure external DNS in the VPN gateway prior to setting up the split DNS. To enable external DNS, select the Enable external DNS option by ticking on the checkbox and key in your primary and secondary DNS domain names into the respective fields.
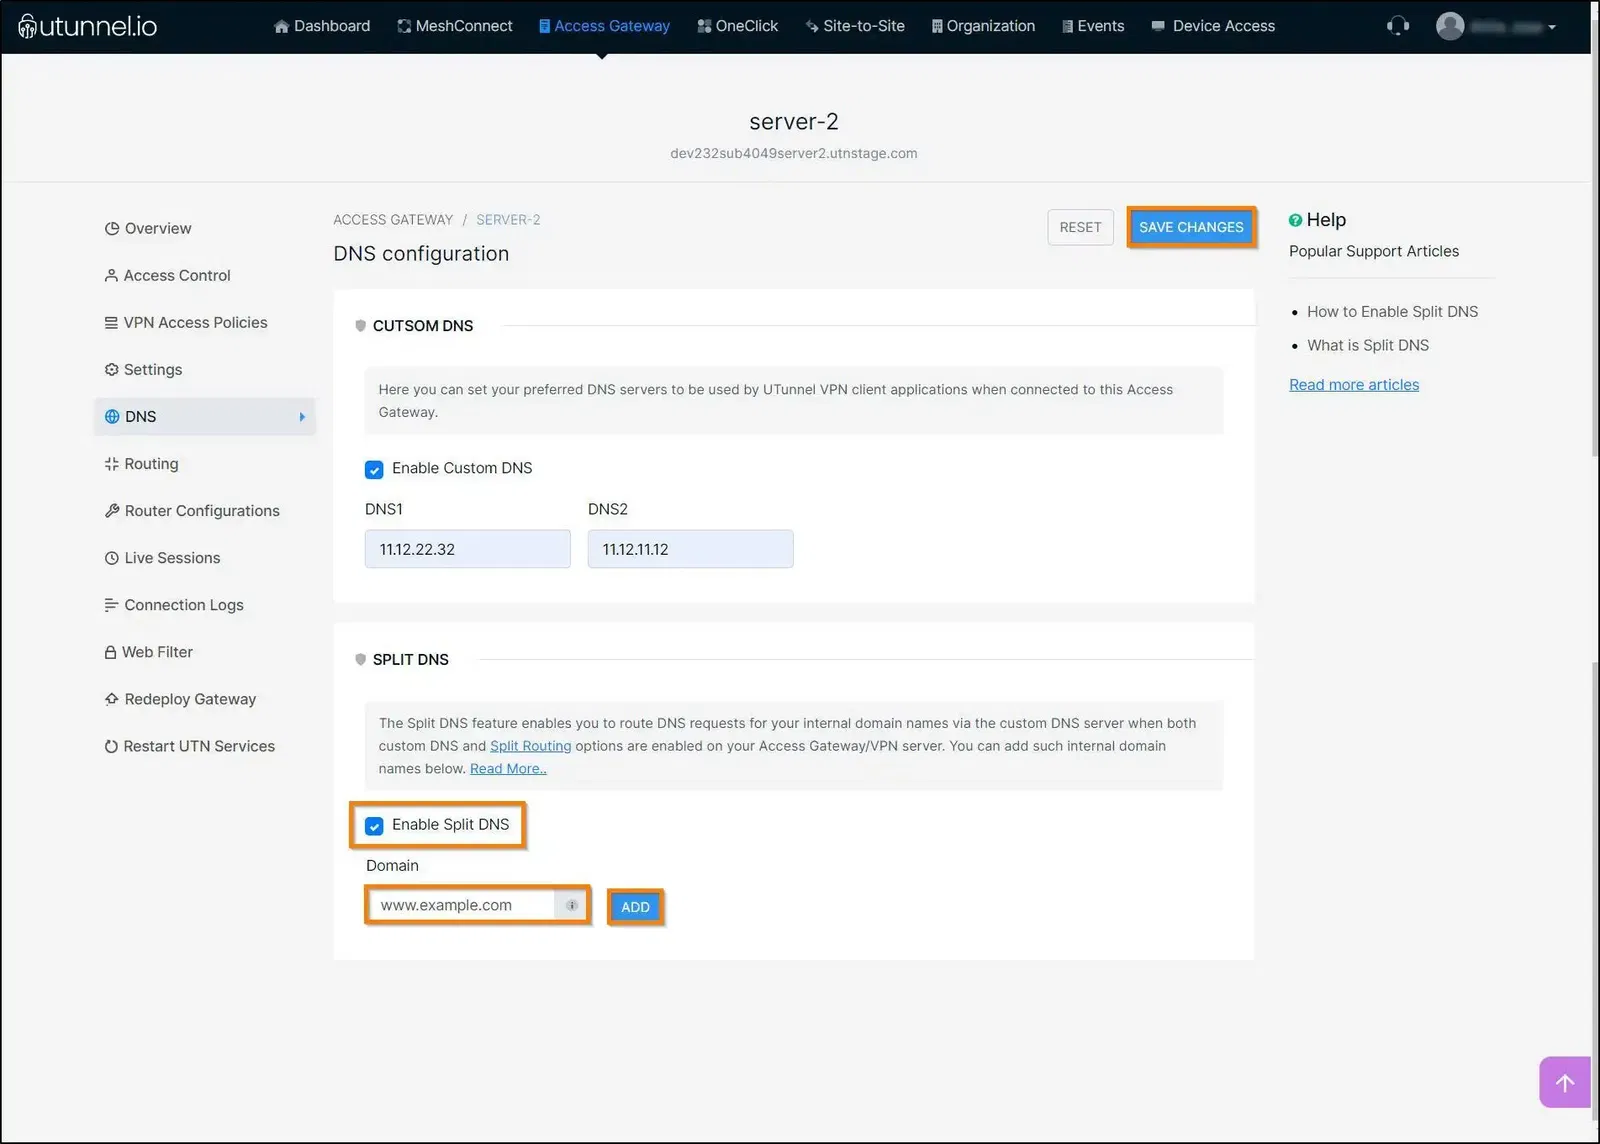
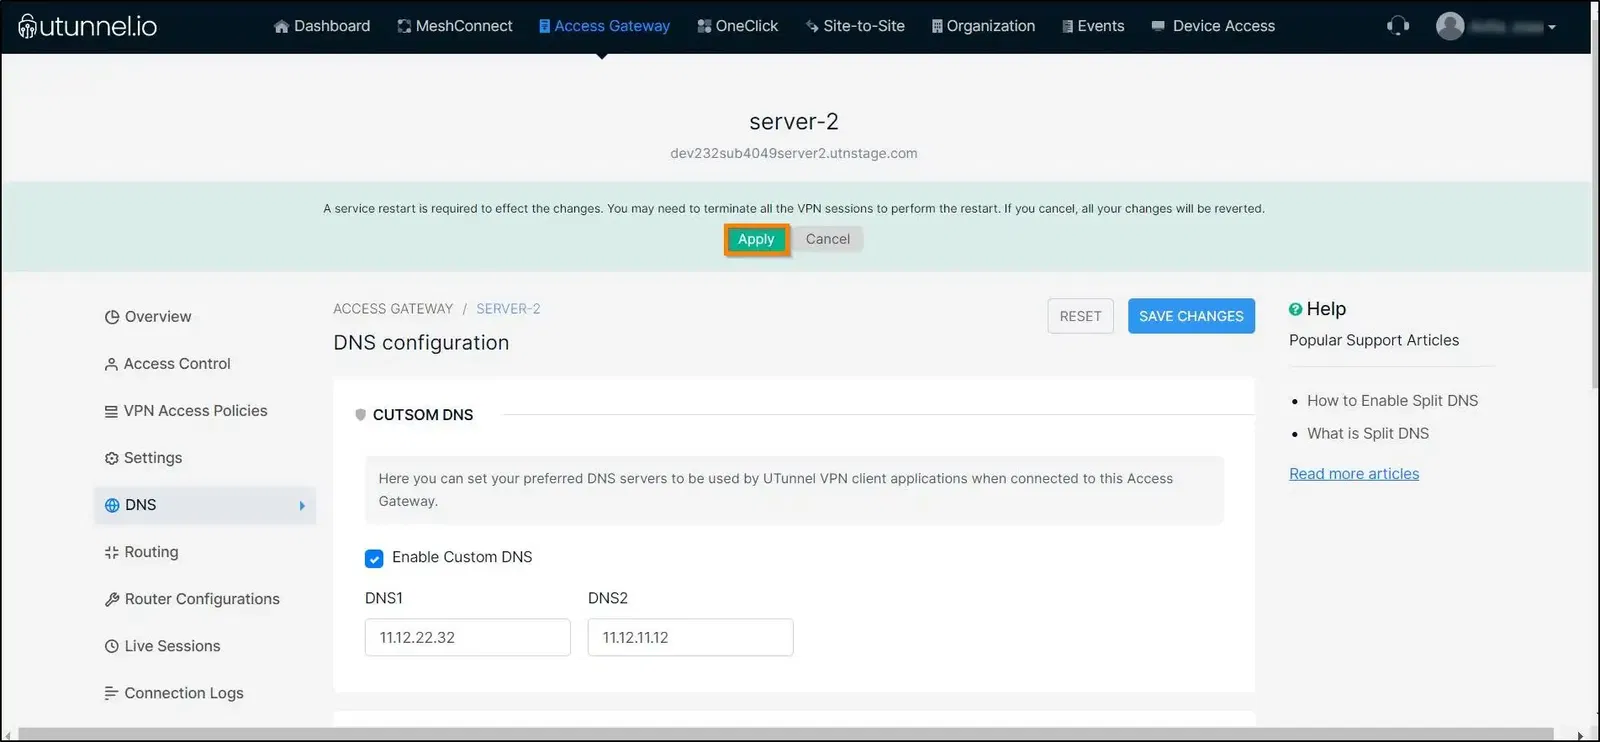
6. Once any changes are made to the access gateway, the VPN service needs to be restarted to effect the changes. So a pop-up would appear on the screen asking to restart the service. Click on the Apply button to restart the service. If it is an on-premise gateway, you have to restart it manually to effect the changes.
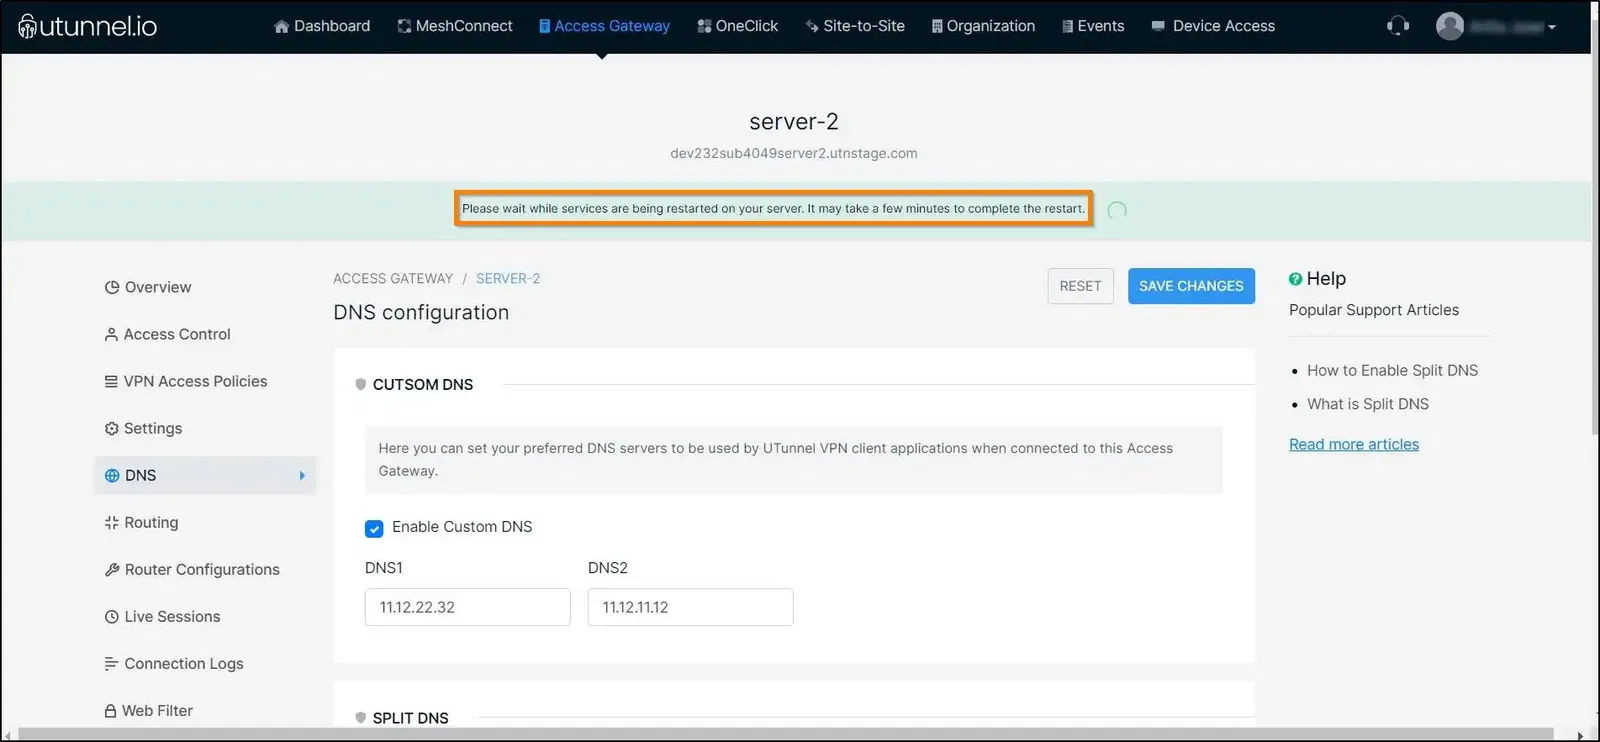
7. Please wait for a few minutes while the service gets restarted to reflect the changes.
8. Once the restart is complete, you can start using the VPN services and the added internal domain names will be resolved by the external/custom DNS servers.
